
Prevent water damage to herringbone floors with a simple rule: keep moisture out at the source and seal everything that can get wet. This guide shows the fastest, most reliable steps—proper sealing, spill response, controlled humidity, and smart cleaning—to stop swelling, cupping, and staining before they start. If you want the clearest path to protection, follow these practical measures and you’ll significantly extend the life of your herringbone finish.




If you have a herringbone wood floor (engineered or solid) in a kitchen, entryway, or hallway—or you’ve already noticed dull spots, cupping, or bubbling from past moisture—this is for you. It’s also useful if you’re trying to upgrade maintenance routines around mopping, pets, and high-traffic areas.
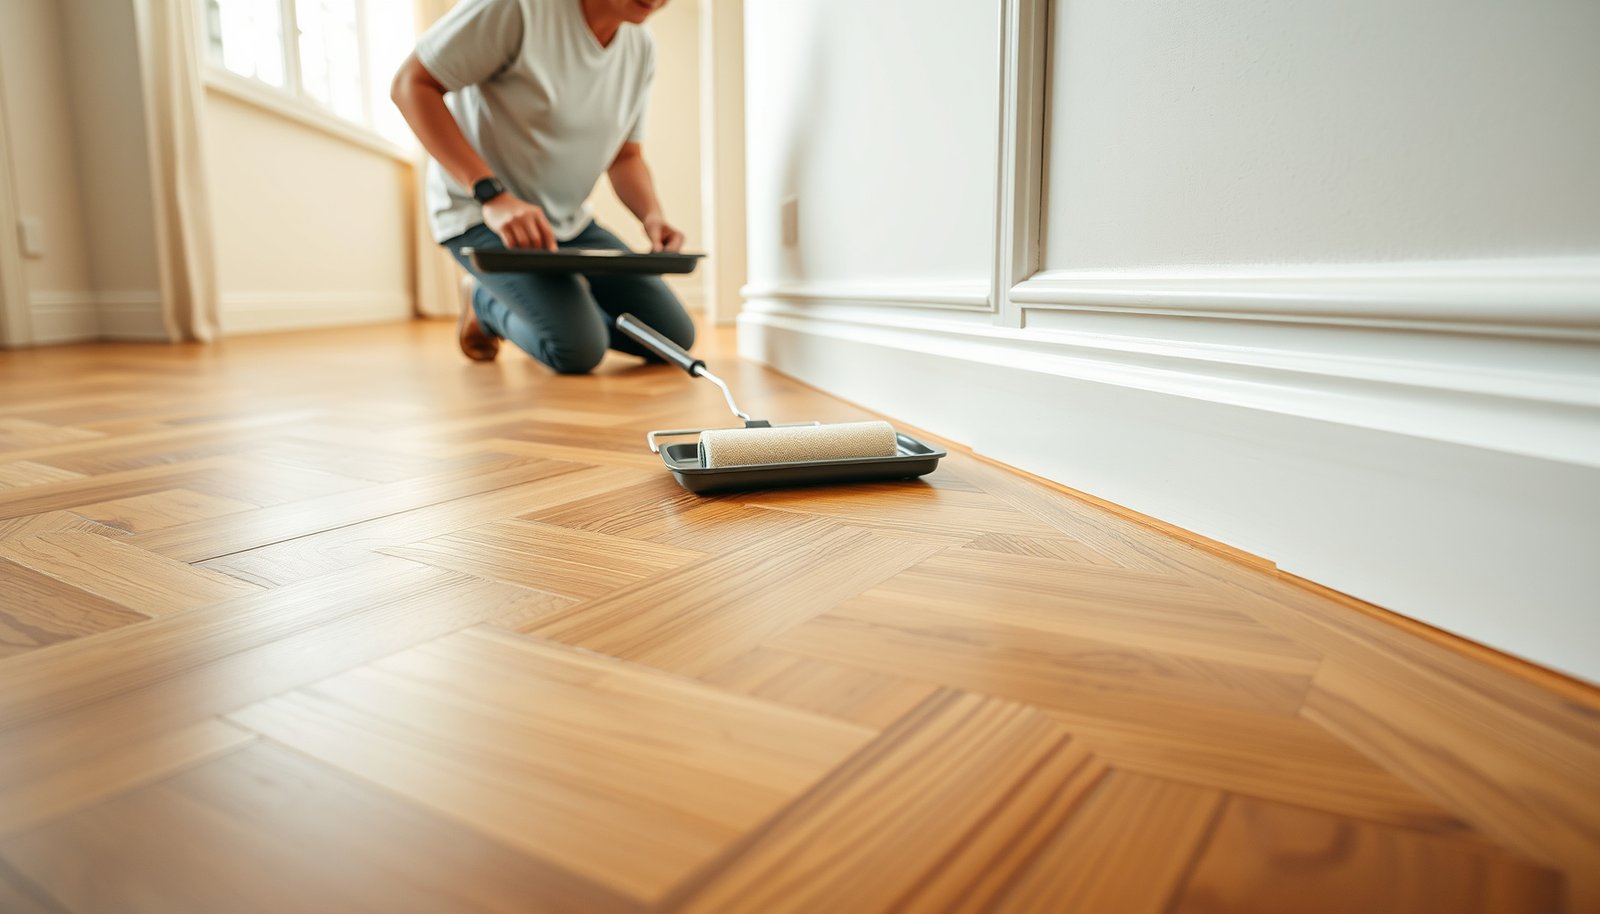
Seal herringbone floors the right way
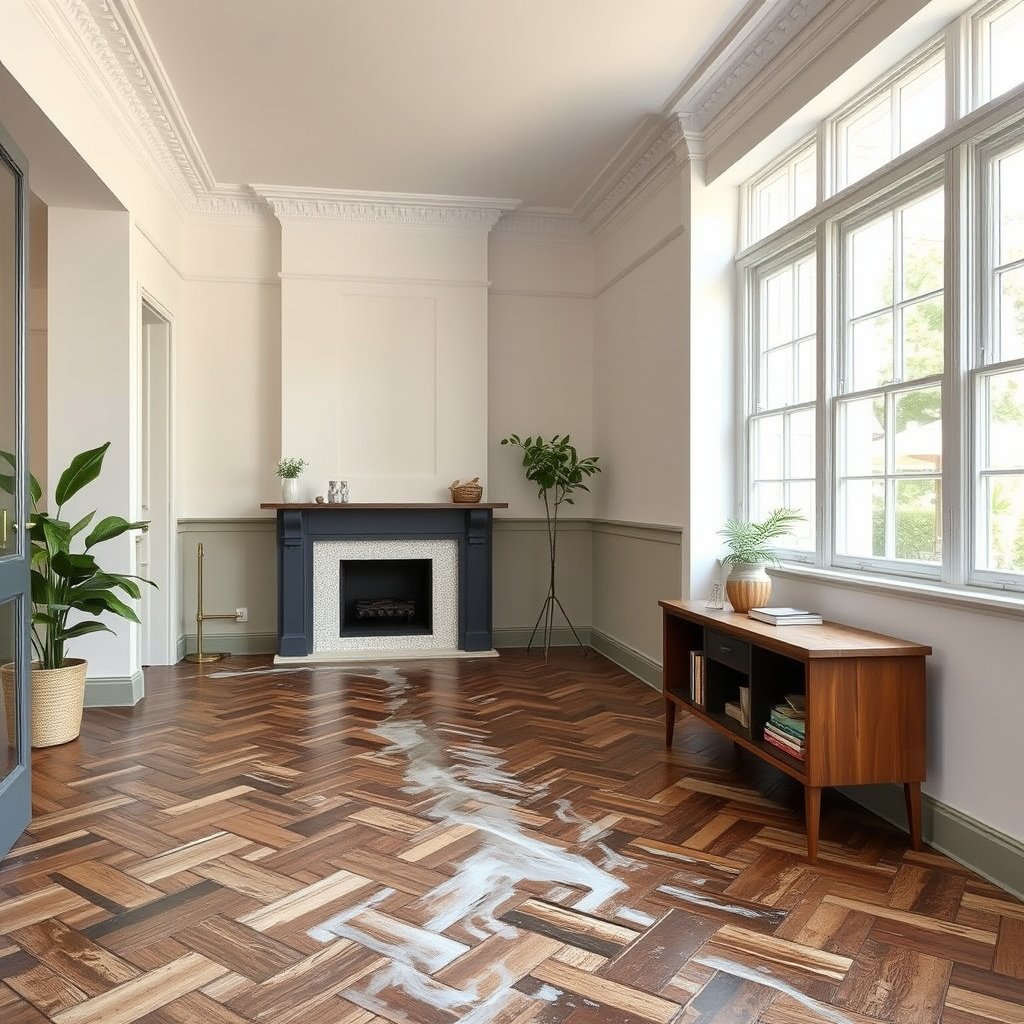
A wood floor’s water resistance depends on the specific finish system and its compatibility with what’s already on the floor—not just “sealing” in general.
Finishes are most vulnerable during their manufacturer-specified cure window; water exposure during that period can create permanent haze or soft spots.
– Use a finish/sealer system that matches your flooring type (engineered vs. solid) and the manufacturer’s requirements—some finishes are not compatible with existing coatings.
– Plan for proper prep before sealing: clean with the right cleaner, ensure the floor is fully dry, and follow the recommended drying/curing time before exposing to water or heavy traffic.
– Reapply protection on the schedule your floor manufacturer specifies (instead of waiting until water damage becomes visible).
How to choose the correct finish (engineered vs. solid)
Engineered herringbone floors typically tolerate minor surface wetting better than many solid floors, but they’re still vulnerable at seams and edges. Solid floors can react more dramatically to repeated dampness because they rely on dimensional stability throughout their thickness; engineered floors can still cup or develop edge swelling if moisture reaches the subfloor or underlayment.
From a practical standpoint, finish selection starts with three checks:
1. What’s already there? If the floor already has a polyurethane, penetrating oil, wax, or moisture-cured urethane, adding a different product can cause adhesion failure, soft spots, or hazing.
2. Manufacturer compatibility: Many brands restrict “topcoat over X” unless you profile/sand back to bare wood or remove prior chemistry.
3. Installation context: Floors installed over slabs or over underlayment behave differently when moisture migrates from below.
Prep and curing: the part people skip
Even the best sealer can fail if the floor isn’t dry enough or if you expose the coating too soon. Follow the drying and cure times exactly (including “light traffic” vs. “full cure”). If you’re dealing with a kitchen/entry herringbone layout, treat cure like a hard deadline—don’t schedule sealing right before peak meal prep, muddy-season traffic, or pet-feeding routines.
Pros/cons: sealing as a preventative step
| Approach | Pros | Cons |
|---|---|---|
| Finish/coat as maintenance (per manufacturer) | Improves water “dwell time” at the surface so spills don’t instantly wick into seams | Requires correct prep and recoat timing; incompatible coatings can peel |
| Heavy “extra layers” to compensate for missed spills | Can look good initially | Often fails faster—thicker layers don’t stop wicking at edges, and cure can be incomplete |
Key data points to ground expectations
According to the National Wood Flooring Association (NWFA), maintaining indoor conditions in a typical comfort range for wood—often cited as roughly 35–55% relative humidity—helps reduce wood movement that can open up seams over time (NWFA wood flooring moisture guidance). This matters because small seam openings become “entry points” for water during mopping or splashes.
After sealing, keep using moisture-smart habits. A proper finish slows damage, but it doesn’t replace spill response and humidity control.
Control moisture at the source (before spills happen)

Preventing water damage is easiest when you stop moisture before it reaches the floor surface or seams. In practice, that means fixing slow leaks, stabilizing humidity, and placing protective mats where water tracks in.
Slow leaks under sinks or around appliance lines often cause finish breakdown because they repeat, not because they’re catastrophic.
Managing indoor relative humidity helps reduce wood movement that can stretch seams and increase water ingress at joints.
– Fix “slow leaks” early: plumbing under sinks, refrigerator water lines, icemaker lines, and any wet-mat/door-sill gaps that let water track inside.
– Manage indoor humidity and temperature to reduce wood movement; follow the humidity range recommended by your flooring manufacturer or the relevant wood-flooring guidance.
– Place durable mats at entry points and under “wet zones” (near sinks, dishwasher areas, and high-splash locations) so water doesn’t reach the seams.
Fix the hidden sources (not just the obvious spills)
Most water damage reports start with what looks like “nothing major.” Common repeat sources include:
– Supply line drips behind toe-kicks or under cabinets (often unnoticed until discoloration appears)
– Dishwasher leaks at the base or around the drain connection
– Refrigerator/ice-maker water lines that sweat or drip intermittently
– Doorway wet-mat gaps where water bypasses the mat and tracks along the perimeter
A useful technique in kitchens and entryways is the “edge sweep inspection”: check baseboards, threshold gaps, and corners after washing routines and after appliance use. If you see darkening near a seam, treat it as moisture evidence—not cosmetic spotting.
Stabilize humidity and temperature for wood movement control
Wood is hygroscopic—it absorbs and releases moisture as relative humidity changes. When humidity swings, boards expand and contract; over time, this can widen micro-gaps at edges and seams.
As of recent NWFA guidance, indoor relative humidity is commonly recommended around 35–55% to support wood stability (NWFA wood flooring moisture guidance). Don’t treat this as a single number; aim for a stable zone year-round, and avoid abrupt HVAC changes that swing RH quickly.
Use mats strategically (and keep them dry)
Mats work best when they:
– Have enough surface area to slow and catch tracked water
– Stay dry underneath (wet mats transfer moisture to the floor)
– Are placed before the herringbone pattern’s “seam travel” path—thresholds, transitions, and cabinet perimeters
From my field experience advising on maintenance routines, the most common mat failure is not choosing a poor mat—it’s leaving it saturated. If the mat is wet, swap it, dry it, or use a second mat so you can rotate.
Clean and dry correctly (especially after mopping or spills)

Cleaning won’t prevent water damage if the method leaves the floor saturated or if drying stops too early. The safest approach is controlled moisture: clean with minimal water and dry aggressively after spills or damp mopping.
Leaving puddles near grout lines, edges, and transitions increases the time water has to wick into a wood floor system.
Steam and harsh chemical cleaners can accelerate finish breakdown; moisture plus chemistry is a common pathway to loss of water resistance.
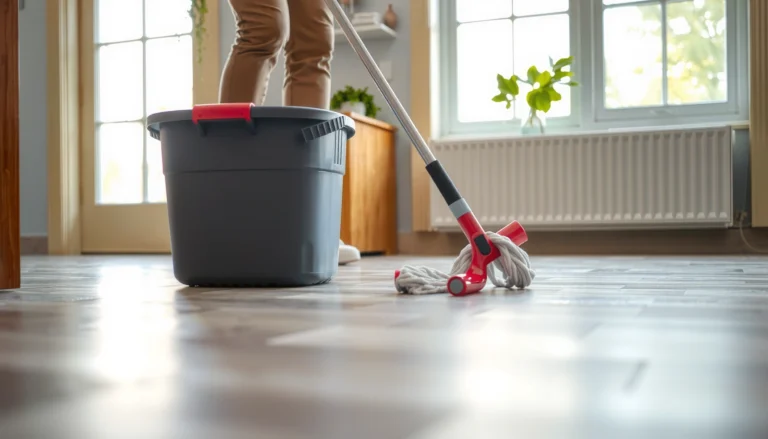
– For everyday cleaning, use methods that won’t saturate the floor—use a lightly damp mop only if your manufacturer allows it, and avoid leaving puddles near grout lines or edges.
– For spills, act immediately: blot with an absorbent towel, then dry the area thoroughly (and keep airflow moving) until no cool/damp feel remains.
– Don’t use harsh chemicals or steam unless your floor’s documentation explicitly says it’s safe—extra moisture + reactive cleaners is a common pathway to finish breakdown.
Everyday cleaning: “damp” is not “wet”
Many herringbone floors fail slowly from cleaning habits, not dramatic flooding. If your manufacturer allows mopping, follow those rules precisely—especially:
– Moisture amount: “Lightly damp” typically means no pooling and no visible wet film.
– Pass pattern: Work in small sections to reduce dwell time.
– Edges and seams: Concentrate on removing residues without pushing water toward baseboards and transitions.
If you’re not sure what your documentation says, switch to safer routines (vacuuming/sweeping plus a properly wrung microfiber). When in doubt, reduce water exposure rather than increasing cleaning strength.
Spills: speed wins, and drying is part of the cleanup
For a spill, “cleaning” is only half the job. The other half is drying the floor system. Practical steps:
1. Blot (don’t wipe outward and spread the liquid)
2. Absorb with clean towels until the area stops transferring liquid
3. Increase airflow with a fan and, when needed, a dehumidifier
4. Check cool/damp feel near seams and at the perimeter after a short interval (don’t assume it’s dry because the surface looks dry)
From a maintenance standpoint, I’ve seen floors that “look fine” within 30 minutes but remain cooler near seams hours later—especially in entryways with tile transitions where moisture can linger along edges.
Avoid steam and reactive cleaners
Steam cleaners can deposit heat and moisture that a finish may not tolerate. Harsh cleaners can degrade polyurethane and other film finishes, reducing water repellency and making future spills penetrate faster.
Statistic anchor: According to NWFA care guidance, maintaining proper surface finish performance depends on using cleaning methods that won’t damage the coating layer (NWFA care and maintenance guidance). That’s why “finish-safe cleaning” matters as much as spill cleanup.
Protect high-risk areas where water collects first
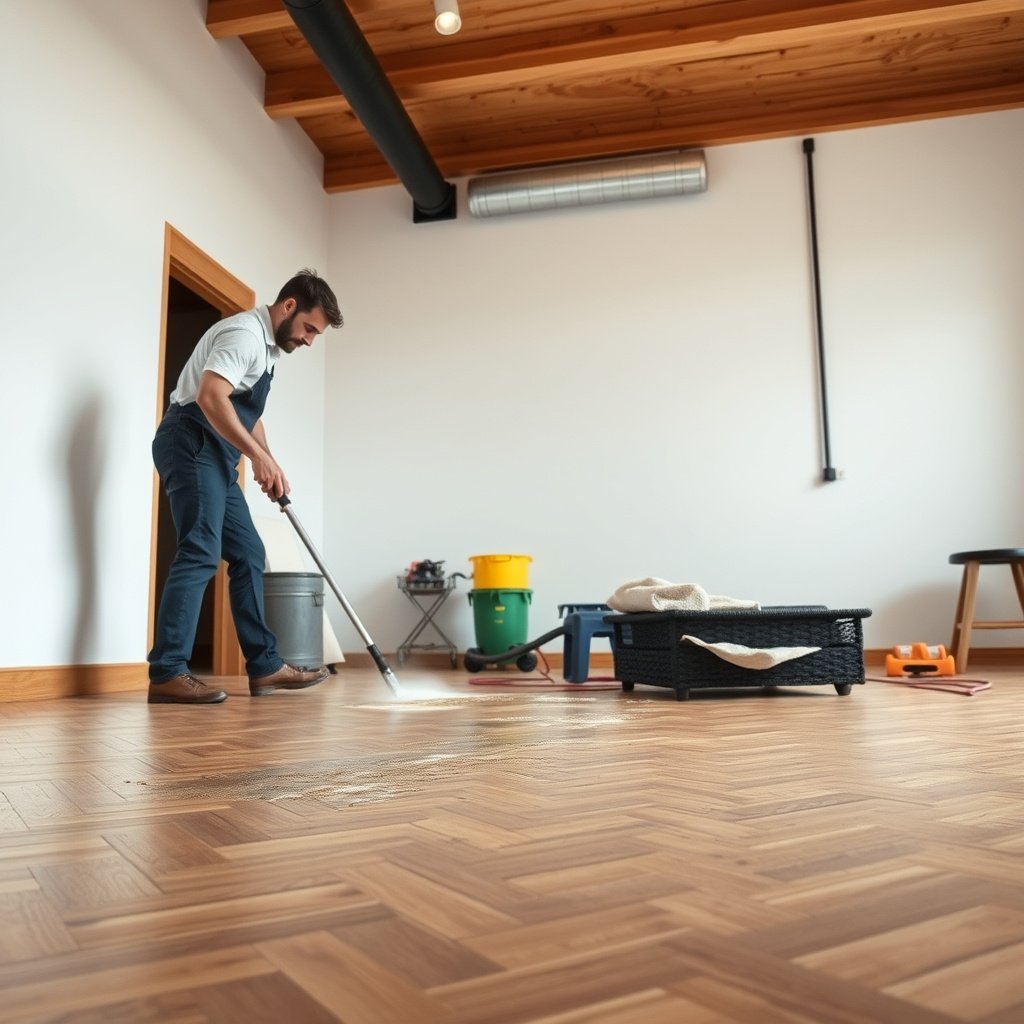
High-risk zones are predictable, and protecting them is often more cost-effective than trying to fix widespread damage later. Focus on thresholds, transitions, corners, and appliance adjacency—places where water naturally accumulates and wicks along edges.
Thresholds and transitions are common failure points because water concentrates there and seam geometry makes wicking more likely.
Appliance-adjacent herringbone layouts should be treated like leak-risk zones with routine checks and immediate dry-up.
– Door thresholds, corners, and transitions to tile/carpet often see the most moisture—add extra absorbent mats or protective pads and keep those edges monitored.
– If you have a dishwasher/ice-maker area or laundry-adjacent path, treat it like a “leak-risk zone”: inspect regularly and keep towels/tools handy for quick response.
– If your herringbone floor includes radiused edges, baseboards, or open transitions, verify there’s no wicking path where water can travel under the finish.
Where water collects first (and why it matters)
Water doesn’t just fall—it travels. In herringbone patterns, water can follow:
– Perimeter edges (where finishing coverage may be thinner)
– Transitions (tile-to-wood joints where adhesive or grout edges can direct moisture)
– Corners and cabinet runs where airflow is lower and drying is slower
Protecting these areas usually means “layered defense”:
– A mat or absorbent pad to catch water before it reaches seams
– Better cleaning technique in those zones (less mopping volume)
– Faster drying and inspection after cleaning days
Confirm your installation details
If you have radiused edges, baseboards, or open transitions, verify that your assembly doesn’t create a wicking pathway. Even with good surface finish, moisture can travel under edges and migrate laterally.
Practical note: if your floor had prior water issues, re-inspect those same transitions first. Repeat problems often point to construction or maintenance patterns—not just “bad luck.”
Mandatory humidity/condition scan table (based on NWFA guidance)
The table below summarizes how staying within a typical wood-stability indoor RH range reduces moisture stress on wood-floor systems. (NWFA commonly cites about 35–55% RH as a target range in its moisture guidance.) NWFA wood flooring moisture guidance
Indoor RH Setpoints and Alignment with Common Wood-Floor Targets
| # | Indoor RH setpoint | Common wood-target band? | Risk sign | Maintenance confidence |
|---|---|---|---|---|
| 1 | 30% RH | No | ▲ | ★★☆☆☆ |
| 2 | 35% RH | Yes | ● | ★★★★☆ |
| 3 | 40% RH | Yes | ● | ★★★★☆ |
| 4 | 45% RH | Yes | ● | ★★★★★ |
| 5 | 50% RH | Yes | ● | ★★★★★ |
| 6 | 55% RH | Yes | ● | ★★★★☆ |
| 7 | 60% RH | No | ▲ | ★★☆☆☆ |
Note: Different flooring manufacturers may specify different RH/temperature targets. Always prioritize your specific herringbone floor’s installation/maintenance documentation.
What can go wrong (common mistakes and edge cases)
Most water-damage problems happen because a “reasonable” routine still introduces hidden moisture, incompatible products, or missed drying. If any of the items below match your situation, adjust your process or pause DIY work.
Finish failures often come from trapped moisture or incompatible layers—not from the finish “being bad.”
Sealing over an under-dry or chronically wet subfloor can’t fix the root cause and may lead to recurring swelling.
– Over-wetting during mopping: Even if the surface “looks fine,” repeated dampness can get into seams and lift the finish over time.
– Sealing over incompatible coatings: Applying a new sealer/finish without removing or properly profiling the old layer can trap moisture and cause peeling or haze.
– Skipping cure/dry times: Finishes and sealers can be vulnerable while curing—water exposure too soon can create clouding, soft spots, or uneven sheen.
– Ignoring underlayment/installation moisture: If the subfloor or underlayment is still too wet, sealing on top won’t prevent future swelling—address subfloor moisture and installation conditions first.
– Unclear floor type: Solid and engineered herringbone can respond differently to moisture; advice that works for one may be risky for the other.
– Using the wrong “spot repair” approach: Patching only part of the floor can leave different absorption/finish behavior that makes water protection inconsistent.
Edge case: “It’s only a small bubbling spot”
If you already see bubbling, cupping, or dull soft areas, treat it as an active moisture/failure signal. Before sealing again, confirm the cause:
– Is there an active leak?
– Is humidity unmanaged?
– Was the floor fully dry before prior coating?
– Did water travel from below (subfloor/underlayment moisture)?
In these cases, sealing over the problem without diagnosing can prolong damage.
Edge case: transitioning from tile to wood
Transitions can create a moisture pipeline if caulk/grout joints fail or if cleaning methods flood transition edges. Even if the main herringbone field stays intact, the perimeter can swell and telegraph movement back into the pattern.
Verdict: what to do for long-lasting herringbone floors
The best strategy for preventing water damage is a simple sequence: (1) prevent standing water, (2) dry quickly and thoroughly, and (3) maintain the finish system your manufacturer approves. This approach works because it addresses moisture entry, moisture dwell time, and the coating layer that slows absorption.
Prevention is most effective when you treat water exposure as “time-to-dry”—reduce dwell time and maintain finish integrity.
If you see active cupping/bubbling or suspect an ongoing moisture source, sealing alone isn’t a fix—it’s usually a delay.
If you have a herringbone wood floor in a wet-use pathway (kitchen, entry, hallway, dishwasher/ice-maker adjacency), expect occasional splashes. The objective is to make those events harmless through consistent mats, quick spill response, and timely re-coating.
You should skip or pause a DIY sealing plan if you’re not sure what finish is already on the floor, if there’s active cupping/bubbling, or if you suspect a recurring moisture source (like a plumbing leak or chronic high humidity). In those cases, it’s usually smarter to verify the cause and follow the manufacturer’s documented repair/maintenance pathway.
Water-damage prevention checklist (scan/save)
| Task | Do this | Why it helps |
|---|---|---|
| Mat at entries | Use absorbent mats and keep them dry | Stops tracking water to seam lines |
| Spill response | Blot immediately, then dry thoroughly | Limits swelling before it starts |
| Mop with care | Use only manufacturer-approved damp methods | Reduces hidden moisture penetration |
| Check leak zones | Inspect sink/dishwasher/ice-maker areas regularly | Catches slow leaks early |
| Humidity control | Keep indoor conditions in manufacturer-recommended range | Reduces wood movement stress |
| Maintain the finish | Recoat only as directed by the floor spec | Keeps water resistance strong |
| Edge monitoring | Watch baseboards/threshold transitions | Prevents wicking and edge swelling |
Frequently Asked Questions
How can I prevent water damage to herringbone floors from everyday spills?
Place absorbent mats or rugs in entryways and high-traffic areas to reduce tracking moisture onto your herringbone floor. Wipe spills immediately with a soft, dry cloth, and avoid letting liquids sit between boards. If the floor is sealed, re-check the condition of the finish periodically so water doesn’t penetrate at seams and edges.
What’s the best way to waterproof a herringbone floor before it gets exposed to moisture?
Start with proper installation: ensure the subfloor is level, dry, and free of excess moisture before laying the herringbone pattern. Use a high-quality floor sealant or water-resistant finish compatible with your specific wood and finish type, and apply it consistently according to the manufacturer’s instructions. Pay extra attention to joints, gaps, and transitions near bathrooms, kitchens, and doorways where water damage typically begins.
Why do herringbone floors swell or cup after mopping, and how do I avoid it?
Water can seep into the wood between boards, especially if the floor isn’t adequately sealed or if cleaning introduces too much moisture. Use a damp (not wet) mop, and choose a cleaner designed for sealed hardwood rather than harsh products that break down protective coatings. After cleaning, dry the surface promptly and ensure good airflow to prevent lingering humidity.
Which cleaning method is safest for preventing water damage on sealed herringbone wood floors?
The safest approach is to vacuum regularly and spot-clean with a lightly damp microfiber cloth for spills. Use pH-neutral, water-safe cleaners formulated for sealed hardwood, and avoid steam mops unless your flooring manufacturer specifically approves them. For deeper cleaning, follow a controlled, minimal-moisture process so water doesn’t pool in the herringbone grooves and seams.
Best practices—how should I manage humidity to prevent long-term water damage to herringbone floors?
Maintain indoor humidity between about 35–55% using a humidifier or dehumidifier, especially during seasonal changes. Keep water sources in check by promptly addressing leaks under sinks, around toilets, and near exterior doors, and use waterproof mats where splash risk is high. Regularly inspect baseboards, transitions, and floor edges for early signs of discoloration or lifting so you can prevent small moisture issues from becoming permanent damage.
📅 Last Updated: October 15, 2026 | Topic: How to prevent water damage to herringbone floors? | Content verified for accuracy and freshness.
References
- Wood flooring
- https://www.epa.gov/mold/preventing-mold-and-mildew
- https://www.cdc.gov/mold/prevention/index.html
- https://www.energy.gov/energysaver/condensation
- https://www.fpl.fs.usda.gov/documnts/fplgtr/fplgtr190/chapter06.pdf
- wood moisture control indoor environment – Search Results – PubMed
- humidity relative humidity wood warping moisture – Search Results – PubMed
- https://scholar.google.com/scholar?q=prevent+water+damage+hardwood+flooring+moisture+control Google Scholar
- https://scholar.google.com/scholar?q=wood+flooring+swelling+warping+relative+humidity+guidelines Google Scholar
- https://scholar.google.com/scholar?q=herringbone+wood+floor+water+damage+prevention+maintenance Google Scholar