
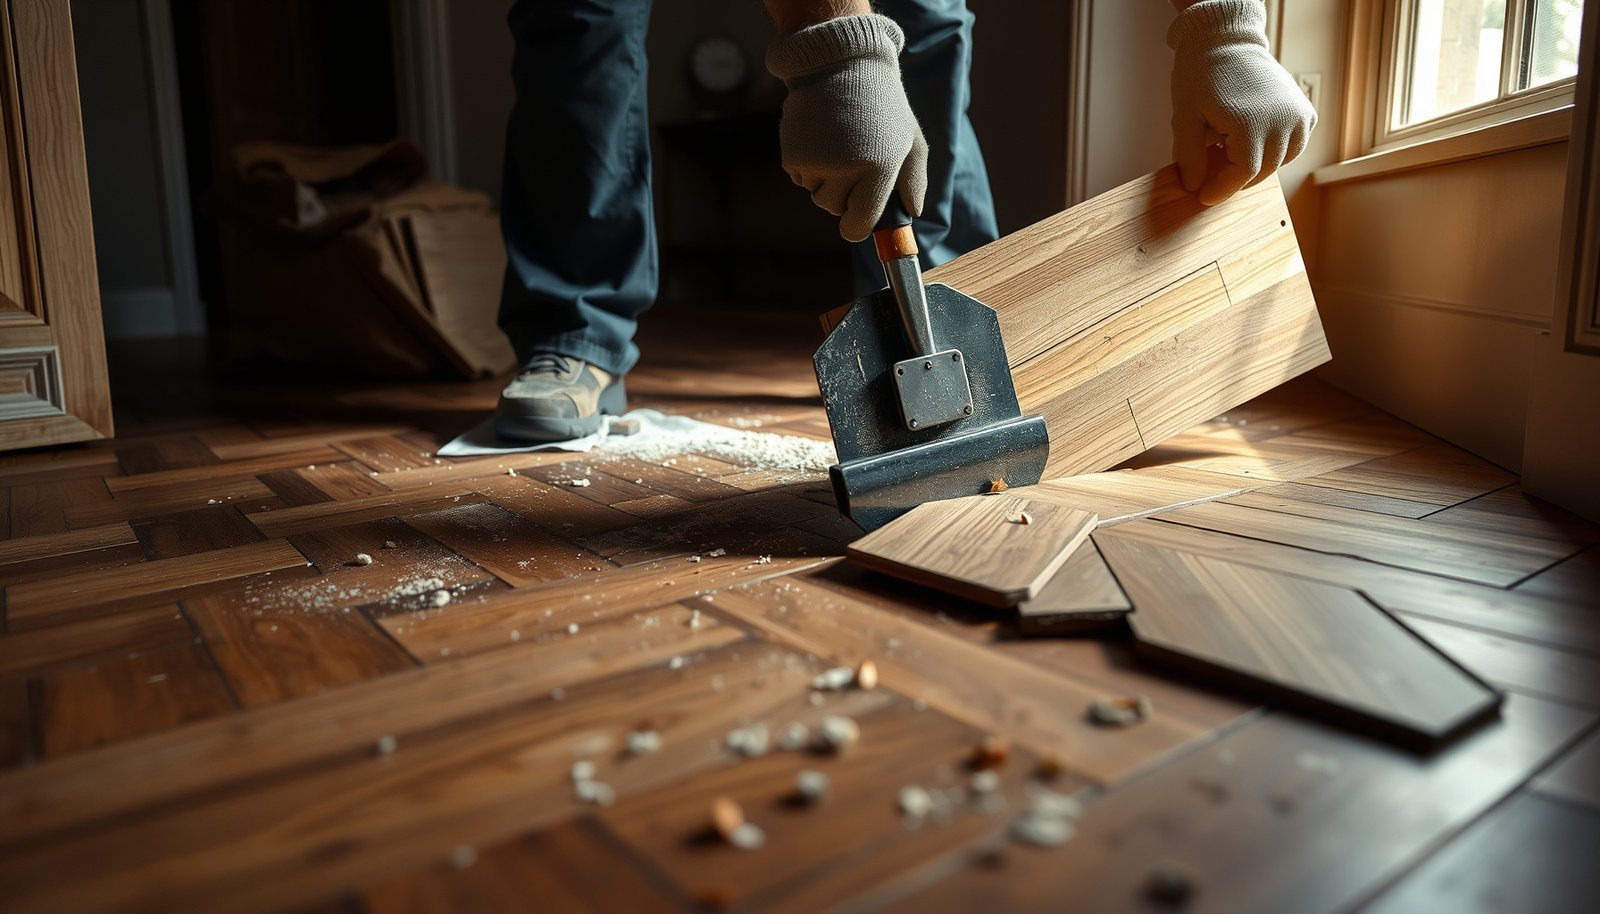

Need to dispose of a herringbone floor without getting hurt or breaking disposal rules? This guide tells you the safest removal method—from prep and protected demolition to how to handle nails, underlayment, and sealants. You’ll also get clear disposal and recycling options so the job ends with the right materials in the right place.




Dispose of herringbone floors by removing the planks carefully, sorting anything reusable, and taking the rest to the correct recycler/landfill. Before you start, check whether your floor/underlayment could contain asbestos or other hazardous materials so you don’t put yourself (or waste staff) at risk—this is especially important with older homes and any “mastic”/adhesive systems.
If your herringbone floor is nailed down, glued down, or you’re working in an older home, the “how” matters as much as the destination. This guide walks through safe removal, sorting, and what to ask disposal facilities—so the job goes smoothly without avoidable mess or compliance issues.
Plan how you’ll dispose of herringbone flooring

You can avoid most disposal problems by planning your waste stream before you touch a single plank. The key is matching the removal method (nailed vs. glued) and any hazard controls (asbestos/lead) to the rules at your local recycler/landfill, as of 2026.
This section applies whether you’re a homeowner doing a small room demo or a contractor managing debris volumes and compliance paperwork. If you’re disposing of herringbone floors from an older building, treat hazard screening as part of your disposal plan—not an afterthought.
As of 2026, OSHA’s asbestos standard (29 CFR 1910.1001) treats asbestos exposure as regulated under specific airborne limits, meaning your disposal route can change based on what the material contains.
According to the U.S. EPA NESHAP framework (40 CFR 61.145), asbestos notification thresholds are triggered by measurable amounts of asbestos-containing material, not by whether the project “feels small.”
According to OSHA’s lead standard (29 CFR 1926.62), lead is regulated through exposure limits, so lead-containing dust from older floor assemblies may require different handling than “clean wood debris.”
Identify your floor type and install method
– Identify what you have: solid wood vs engineered planks, plus whether it’s nailed or glued down (this changes removal and reuse odds).
Herringbone floors are often beautiful but disposal-unfriendly when they’re glued to a subfloor or embedded in older adhesive systems. Solid wood herringbone generally has better reuse potential because individual boards can come up more cleanly if fasteners are accessible. Engineered herringbone may still be reusable, but layers can separate if you pry aggressively, and that increases the chance you’ll have to treat it as mixed waste rather than “clean wood.”
Also note the underlayment and edge conditions. Padding, felt, or foam backers can turn “wood” waste into mixed construction debris. Disposing of herringbone floors effectively starts with identifying every non-wood component that will travel with the boards.
Screen for hazards first (especially in older properties)
– Check for hazards first, especially in older properties (asbestos and lead-related risks may affect what’s allowed and how it must be handled).
This is where many disposal plans fail. If you’re disposing of herringbone floors in a building with unknown renovation history, assume there may be regulated hazards until proven otherwise.
Here are three concrete benchmarks that can drive your compliance workflow (whether you DIY planning or hand it to an abatement contractor):
– According to OSHA 29 CFR 1910.1001, the asbestos permissible exposure limit is 0.1 fibers per cubic centimeter as an 8-hour time-weighted average (2026).
– According to U.S. EPA 40 CFR 61.145, asbestos NESHAP notification thresholds can be triggered when removing more than 160 square feet of regulated asbestos-containing material from building components (2026).
– According to OSHA 29 CFR 1926.62, the lead permissible exposure limit is 50 micrograms per cubic meter as an 8-hour time-weighted average (2026).
In practice, these thresholds matter because recyclers and landfills may refuse mixed or contaminated loads, and some materials require controlled removal workflows to be lawful and safe. If you’re not sure, arrange testing before you start removal.
Decide your route: reuse, recycle, or landfill
– Decide your route: reuse locally (if you can remove whole pieces), recycle where accepted, or landfill what can’t be processed.
Disposing of herringbone floors becomes simpler when you already know what your destination facility accepts. Some sites take “clean wood waste” but reject wood that’s contaminated with adhesive, underlayment, nails, or dust-bathing into mixed debris categories. Plan for three separate outputs on day one: (1) reusable boards/pieces, (2) recyclable clean wood, and (3) landfill-bound mixed waste (including fasteners, adhesive residue, and underlayment).
Remove herringbone planks safely (dust control and tools)

You can protect both people and disposal options by removing herringbone planks in a way that controls dust and preserves board integrity. If you’re disposing of herringbone floors, the removal sequence you choose strongly affects whether boards can be reused and whether your debris will be accepted as “clean wood.”
As of 2026, dust control is not just a comfort issue—fine particulate from wood and older floor assemblies can increase exposure risks and may affect how facilities classify your waste stream.
When a floor is nailed down, salvage is often limited by how much damage the removal method causes to the tongue/groove and edges, which influences whether boards can qualify for reuse rather than landfill.
Contain dust and protect yourself
– Contain dust and protect yourself: use proper respiratory protection and cover nearby surfaces to keep debris from spreading.
Even when you believe your flooring is only “wood,” demolition dust can contain finishes, adhesives, and—on older builds—regulated materials. Use appropriate PPE (respiratory protection sized for your task and hazard profile), and contain the work area with plastic sheeting and taped seams where practical. Keep ventilation controlled and avoid dry sweeping of dust that you can’t verify is clean.
For facilities and contractors, controlled dust usually correlates with fewer complaints, fewer reclassification problems, and cleaner sorting when it’s time to load the truck.
Start at the edges and test the bond
– Start at the edges and test the bond: loosen sections with a pry bar/floor scraper (and use an oscillating multi-tool only where needed to cut fasteners).
Herringbone boards interlock visually, but their physical attachment points may be localized. Start at an edge or a transition strip where you can create a gap and see what you’re dealing with. Then:
– If you find nail lines, prioritize lifting to avoid breaking tongues/grooves.
– If you find glue/mastic, expect bond strength and adhesive residue to reduce reuse chances.
Use an oscillating multi-tool only where needed to cut fasteners. Excess cutting can turn boards into shorter fragments, and that pushes you toward landfill instead of reuse.
Remove methodically, plank-by-plank
– Remove methodically: work plank-by-plank to keep pieces intact (best for reuse) and avoid gouging the subfloor more than necessary.
As you dispose of herringbone floors, you’re really disposing of two things: the visible boards and the hidden assembly materials attached to them. If you gouge the subfloor, you’ll generate more mixed debris (chips, backing, and coatings) that may not qualify as “clean wood waste.”
From a logistics standpoint, methodical removal also helps you keep materials separated on-site so you’re not doing messy sorting in a driveway later.
Sort materials: reuse, recycle, or landfill
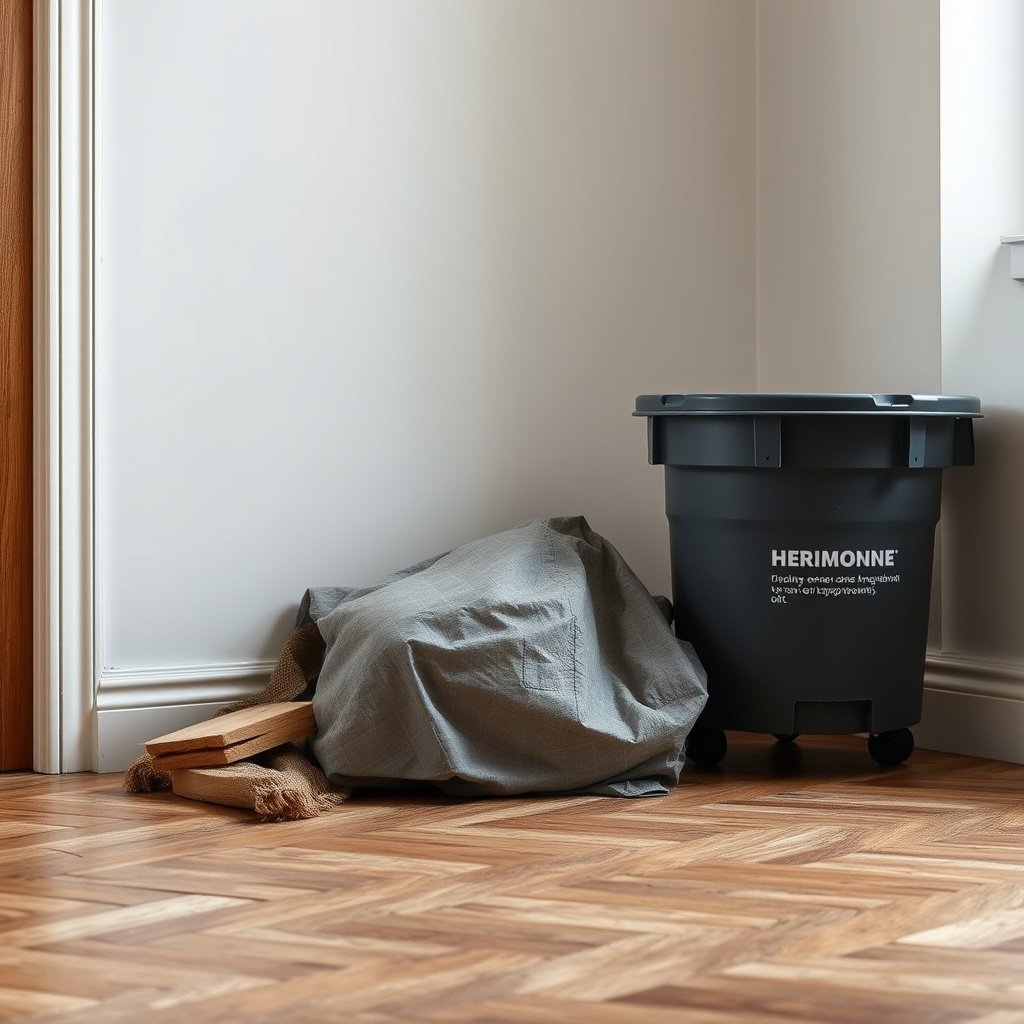
Sorting is where you convert removal work into disposal savings. When you’re disposing of herringbone floors, the goal is to keep each waste stream consistent so facilities don’t reject your load as mixed debris.
Recyclers and landfills often base acceptance on “material type consistency,” so sorting during removal can be the difference between clean-wood acceptance and landfill disposal (2026 practice at many facilities).
Adhesive residue and mixed underlayment frequently classify wood debris as “mixed construction waste,” reducing reuse and recycling options.
Separate for reuse
– Separate by “can it be reused?”: intact boards/pieces in good condition go to reuse (if your local options accept them).
If you can remove full boards with minimal edge damage and limited finish burn-off, you may be able to donate or sell to a salvage outlet. Reuse typically requires boards to be relatively clean and intact, and some buyers won’t take sections with substantial adhesive clumps or warped broken ends.
Practical tip: keep reusable pieces in an area where they won’t pick up dust from demolition waste. Disposing of herringbone floors goes smoother when you treat “salvage” as its own managed product stream, not as scrap.
Sort for recycling acceptance
– Sort for recycling acceptance: some facilities accept clean wood waste; mixed materials (glue/underlayment) may need landfill instead.
Facility acceptance rules vary widely, but a common pattern is:
– “Clean wood” = wood without heavy adhesive residue, mixed materials, or excessive contamination.
– “Mixed waste” = wood with underlayment, fasteners, adhesive mastic, or substantial debris intermingling.
That’s why your removal method matters. Chipping glued boards into fragments can be tempting, but it often turns “wood” into a mixed composite that ends up in landfill.
Keep hazardous-contaminated material out of normal streams
– Keep hazardous-contaminated material out of normal streams: if testing indicates asbestos/other hazards, follow the required disposal workflow (don’t improvise).
If testing or inspection suggests asbestos-containing material, you must follow the applicable regulated removal and disposal workflow. Do not “downstream manage” it by tossing into a general dumpster and hoping it passes.
To make the compliance drivers easy to visualize, here are key hazard thresholds and standards that can determine what disposal path you must follow:
Key hazard triggers that can change how you dispose of herringbone floors (U.S. regulatory benchmarks, 2026)
| # | Standard / trigger | Numeric benchmark | Hazard relevance | Source | Disposal strictness |
|---|---|---|---|---|---|
| 1 | Asbestos PEL (8-hr TWA) | 0.1 fibers/cm³ | Work practices + waste classification | OSHA 29 CFR 1910.1001 | ★★★★★ |
| 2 | NESHAP notification threshold (surface area) | >160 sq. ft. | Asbestos-controlled removal requirements | U.S. EPA 40 CFR 61.145 | ★★★★★ |
| 3 | NESHAP notification threshold (pipes) | >260 linear ft. | Asbestos-controlled removal requirements | U.S. EPA 40 CFR 61.145 | ★★★★★ |
| 4 | NESHAP notification threshold (enclosed spaces) | >35 cu. ft. | Asbestos-controlled removal requirements | U.S. EPA 40 CFR 61.145 | ★★★★☆ |
| 5 | Lead PEL (8-hr TWA) | 50 µg/m³ | Exposure controls + debris handling | OSHA 29 CFR 1926.62 | ★★★☆☆ |
| 6 | Lead action level (8-hr TWA) | 30 µg/m³ | Exposure monitoring + controls | OSHA 29 CFR 1926.62 | ★★★☆☆ |
| 7 | HEPA filter efficiency used in dust control | ≥99.97% @ 0.3 µm | Containment equipment performance | U.S. DOE HEPA specs | ★★☆☆☆ |
When disposing of herringbone floors, these benchmarks help explain why facilities may require specific handling and why “dumping it with other construction debris” can be a compliance risk.
Transport and drop-off (what most facilities require)
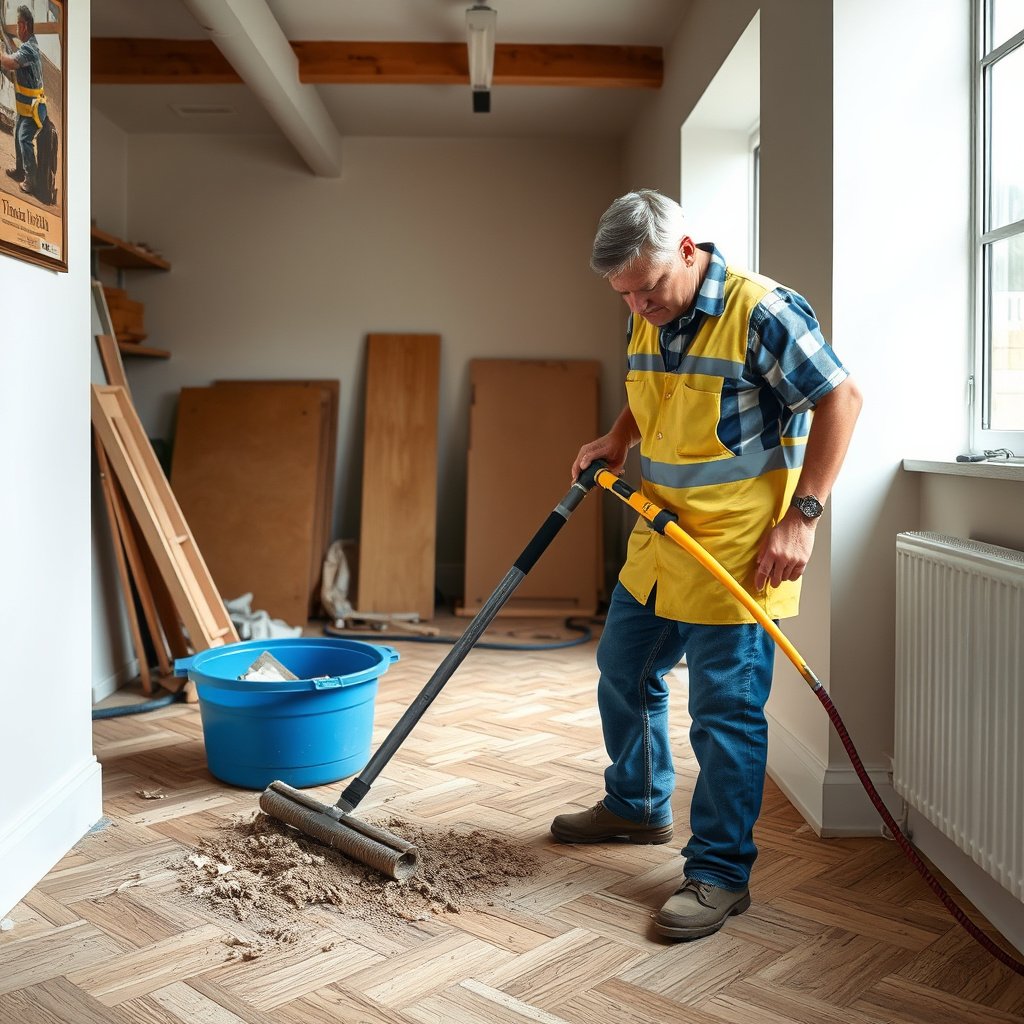
You’ll prevent failed drop-offs by confirming acceptance rules before you load the vehicle. Most disposal sites—especially those that handle wood and hazardous-contaminated material—require specific sorting, packaging, and paperwork to match their waste categories.
As of 2026, many landfills and recycling processors only accept wood waste when it is free of certain mixed materials (for example, heavy adhesive residue or underlayment), so your sorting during removal matters at the gate.
Facilities often require proof of waste type and specific waste acceptance instructions, which means one phone call before transport can save both time and reloading costs.
– Confirm the drop-off rules before you load your vehicle: call the facility and ask what forms of flooring they accept and whether they need it bagged, sorted, or tarped.
Call the recycler/landfill that matches your expected waste streams. If you plan to separate reusable boards from mixed debris, ask whether they want the clean wood in a specific bin or whether it must be bundled/tarped to control fugitive dust.
– Package for handling: keep debris contained (tarps or contractor bags) and secure it so nothing spills during transit.
Spills aren’t just messy—they can become an exposure problem and can lead to load rejection. Use tarps to control debris scattering, and keep fasteners from puncturing bags. When disposing of herringbone floors, secure edges and corner pieces so they don’t cascade during transit.
– Bring what they ask for: some sites require proof of waste type or specific disposal codes—ask during the call so you don’t waste a trip.
In my coordination experience on debris logistics, the most common “surprise” at the drop-off counter is whether adhesive-backed flooring is classified as mixed waste; .
What can go wrong when disposing herringbone floors
Most disposal failures come from broken sorting logic, underestimated hazard risk, or loading the wrong waste stream into the wrong container. If you’re disposing of herringbone floors, you reduce risk by planning for edge cases (glued installations, unknown underlayment, older adhesives).
Breaking boards into fragments can reduce reuse opportunities and can increase your volume of landfill-bound material, especially when facilities treat mixed wood as a separate category.
Skipping hazard checks on older flooring assemblies can create both health exposure and legal compliance problems, because regulated hazards may require specific removal and disposal workflows.
– Breaking the planks into small fragments: this usually lowers reuse chances and can increase landfill volume.
If you’re trying to “make it fit,” you’re often hurting the outcome. Smaller fragments increase surface area for contamination and make it harder for facilities to treat the material as clean.
– Skipping hazard checks: removing older flooring without proper precautions can create legal and health problems if asbestos/other hazards are present.
This includes assuming that “it’s just wood” or “we didn’t see anything.” Hazard identification depends on materials and build history—not on how the surface looks today.
– Putting “mixed waste” in the wrong place: glue, underlayment, and fasteners can change disposal acceptance.
Adhesive residue, nails, felt-backed underlayment, and embedded tack strips can change how a load is classified. Sort early, and keep each stream visually distinct during loading.
Our practical verdict: do it yourself or hire out
If the project is small, the attachment method is straightforward, and you can confidently confirm no regulated hazards, DIY removal plus careful sorting can work. If the area is large, access is limited, or there’s any uncertainty about asbestos/lead risk, hiring out is the safer and more predictable option—especially in 2026 compliance environments.
Here’s a clear DIY vs. hire-out comparison so you can decide how to dispose of herringbone floors with the right risk posture:
Choosing to hire an experienced abatement or demolition contractor often reduces compliance uncertainty when the floor assembly may contain regulated contaminants.
For nailed or loosely bonded herringbone, careful hand removal can preserve plank integrity and improve the likelihood of reuse or clean-wood recycling acceptance.
– DIY path (best for): straightforward access, nailed-down removal, and confirmed absence of regulated hazards.
– Hire/pro pause triggers (best for avoiding): glued-down herringbone, older assemblies with unknown materials, or any situation where you can’t secure proper containment and PPE.
- DIY removal + sorting
- Pros: lower cost, more control over how boards are preserved, easier to stage reusable piles.
- Cons: higher time burden, greater risk of turning salvage into mixed waste if boards break, hazard uncertainty can become a compliance issue.
- Professional removal (or abatement consult)
- Pros: better containment discipline, documentation and waste handling can align with regulated requirements, less disruption to neighbors when containment is properly set.
- Cons: higher upfront cost, scheduling constraints, and you’ll still need disposal-route clarity for end destinations.
Quick checklist for disposing of herringbone floors
Use this scan-friendly checklist to keep the disposal workflow controlled from day one through drop-off. If you’re disposing of herringbone floors, the safest jobs treat this like a gate checklist, not a “nice-to-have.”
Calling your disposal facility in advance is one of the highest-leverage steps because waste acceptance rules often differ for “clean wood” versus “mixed construction debris.”
Hazard screening decisions (asbestos/lead) are upstream of disposal classification, so resolving uncertainty before removal typically prevents rework and load rejection.
– [ ] Confirm floor type (solid wood vs engineered) and install method (nailed vs glued)
– [ ] Screen for hazards (especially in older homes) and decide on professional testing if unsure
– [ ] Plan disposal route (reuse vs recycling vs landfill) and call facilities for acceptance rules
– [ ] Use dust containment and appropriate PPE during removal
– [ ] Remove in a way that preserves planks you might reuse
– [ ] Sort materials on-site (clean wood vs mixed waste)
– [ ] Bag/tarp debris for transport to avoid spills
– [ ] Secure loads and keep everything contained during transport
– [ ] Get any required paperwork or waste acceptance details before you arrive
Frequently Asked Questions
How do I dispose of herringbone flooring without creating extra waste?
Start by removing and sorting the planks (or tiles) carefully so they can be recycled or reused. If the herringbone floor is wood, salvage the best-condition boards and take the remainder to a recycling center that accepts clean wood or construction debris. For laminate or engineered herringbone, check local rules—many areas only accept it as landfill waste unless it’s specifically accepted for recycling. Break or bag remaining debris only as required by your local facility to avoid contamination issues.
What is the best way to dispose of herringbone wood floors that are nailed or stapled down?
Use a pry bar or floor scraper to lift sections systematically to minimize splintering, then collect nails and staples as you work. Sort materials into “clean wood” and “mixed waste,” since metals and adhesives often disqualify wood from certain recycling streams. Once separated, transport clean herringbone wood to a yard that accepts construction lumber, and put contaminated pieces into the appropriate landfill/dump category. Wearing PPE is important because herringbone floor removal can create dust and sharp debris.
Why should I check for asbestos or lead before disposing of old herringbone floors?
Older herringbone installations may contain asbestos-containing tile backing, cutback adhesive, or other hazardous materials, and lead can be present in paints or coatings. If testing is required or you suspect hazardous materials, you should have them professionally assessed before disposal. This step helps you avoid improper dumping and reduces health risks to you and disposal staff. If hazardous components are found, disposal must follow local hazardous waste rules and typically requires licensed contractors.
Which disposal method is safest for herringbone floors with glue, mastic, or tile adhesive?
Adhesive-covered herringbone floors are usually treated as mixed construction waste because the glue can contaminate recycling streams. Scrape off loose residue as much as practical (without grinding excessively into dust) and bag or containerize debris according to your waste facility’s guidelines. If the adhesive appears old and contains questionable chemicals, treat it as potentially hazardous and confirm requirements with your local authority. Using sealed bags and labeling mixed waste can help prevent spills and rejection at the dump.
How should I prepare herringbone floor planks for landfill, donation, or recycling?
Cleanly separate usable wood herringbone boards by condition, then bundle them tightly so they’re easy to transport and inspect. Remove protruding nails and staples when possible, because many facilities won’t accept loose metal in loads. For recycling, keep wood as “clean” as possible by minimizing adhesive residue; for landfill, break large pieces to fit bins if your local site requires it. If donation is an option, ensure the floor is structurally sound and dry, and confirm with the recipient whether herringbone flooring removal condition meets their acceptance standards.
📅 Last Updated: October 15, 2026 | Topic: How to dispose of herringbone floors? | Content verified for accuracy and freshness.
References
- https://www.epa.gov/smm/manage-construction-demolition-debris
- Lead Renovation, Repair and Painting Program | US EPA
- https://www.epa.gov/asbestos/asbestos-in-home-and-buildings
- https://www.cdc.gov/niosh/topics/wooddust/
- Asbestos – Overview | Occupational Safety and Health Administration
- Lead – Overview | Occupational Safety and Health Administration
- https://www.epa.gov/stationary-sources-air-pollution/asbestos-neshap
- https://scholar.google.com/scholar?q=how+to+remove+parquet+floor+and+dispose Google Scholar
- https://scholar.google.com/scholar?q=construction+demolition+debris+wood+waste+management Google Scholar
- https://scholar.google.com/scholar?q=parquet+floor+removal+lead+safe+practices+asbestos Google Scholar


