
Removing adhesive from terracotta floors without damage is possible—if you use the right solvent and method for the adhesive type. This guide delivers the fastest safe approach, showing how to soften, lift, and clean residue while protecting the porous surface from staining or etching. By the end, you’ll know exactly what to do for common adhesive residues and what to avoid.




Warm the residue, scrape gently, then finish with a pH-neutral cleaner—this is the safest sequence for terracotta because the tile is porous and can stain or etch if you use harsh chemicals too early. If the adhesive is stubborn, escalate only with targeted, test-first chemistry rather than soaking or aggressive solvents.
If you’re trying to remove adhesive from terracotta floors, start with the gentlest method first: warm the residue, then scrape carefully, and finish with a pH-neutral cleaner. Because terracotta is porous, avoid harsh solvents and soaking that can drive adhesive deeper into the tile. This guide walks you through safer approaches, what to use for different adhesive types, and how to protect your floor finish while you work.
Who this is for / when it applies:
This is for homeowners and DIYers dealing with common adhesive messes on terracotta tile—like leftover sticker residue, underlayment adhesive, or old tape glue—especially when you want to avoid staining, etching, or surface damage on porous stone. If you’re dealing with an unknown adhesive, you’ll learn how to test first and choose the least risky removal method.
Step 1: Identify the adhesive residue (then choose the right method)
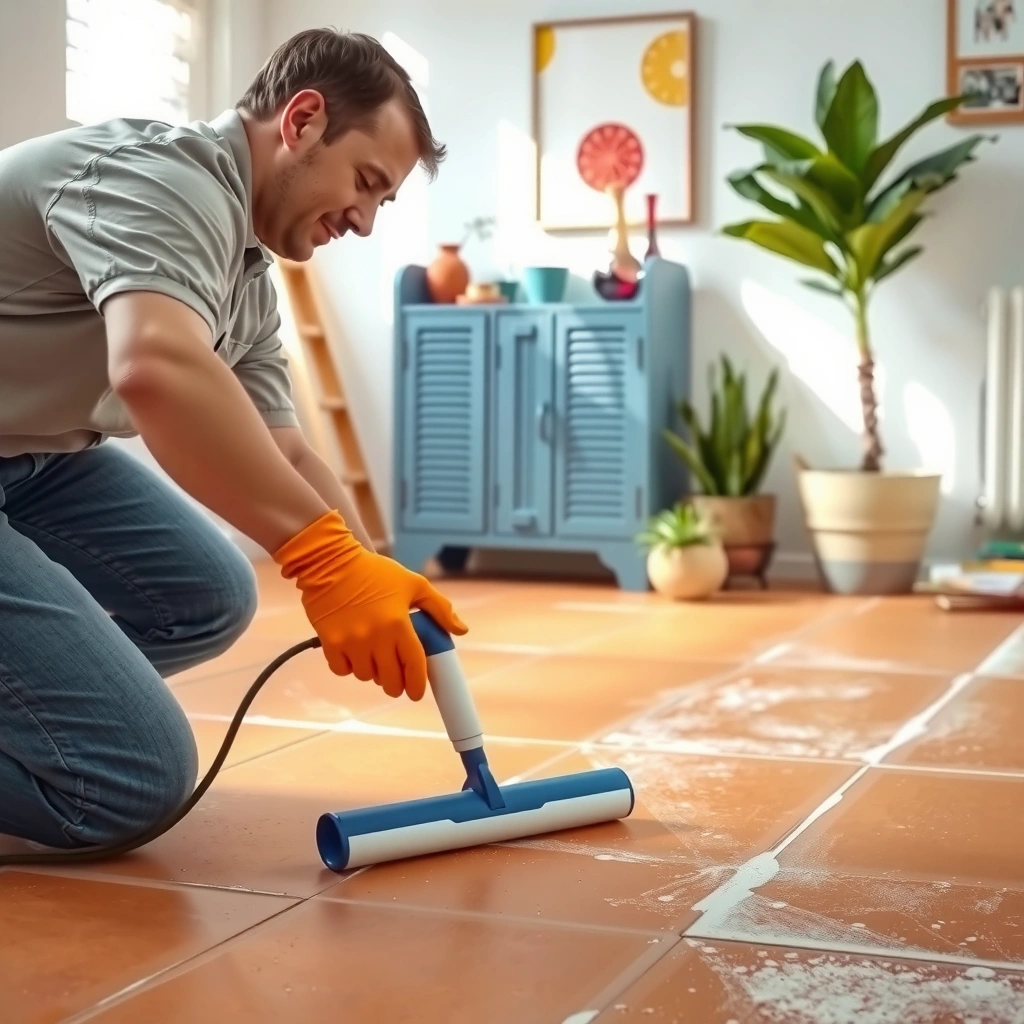
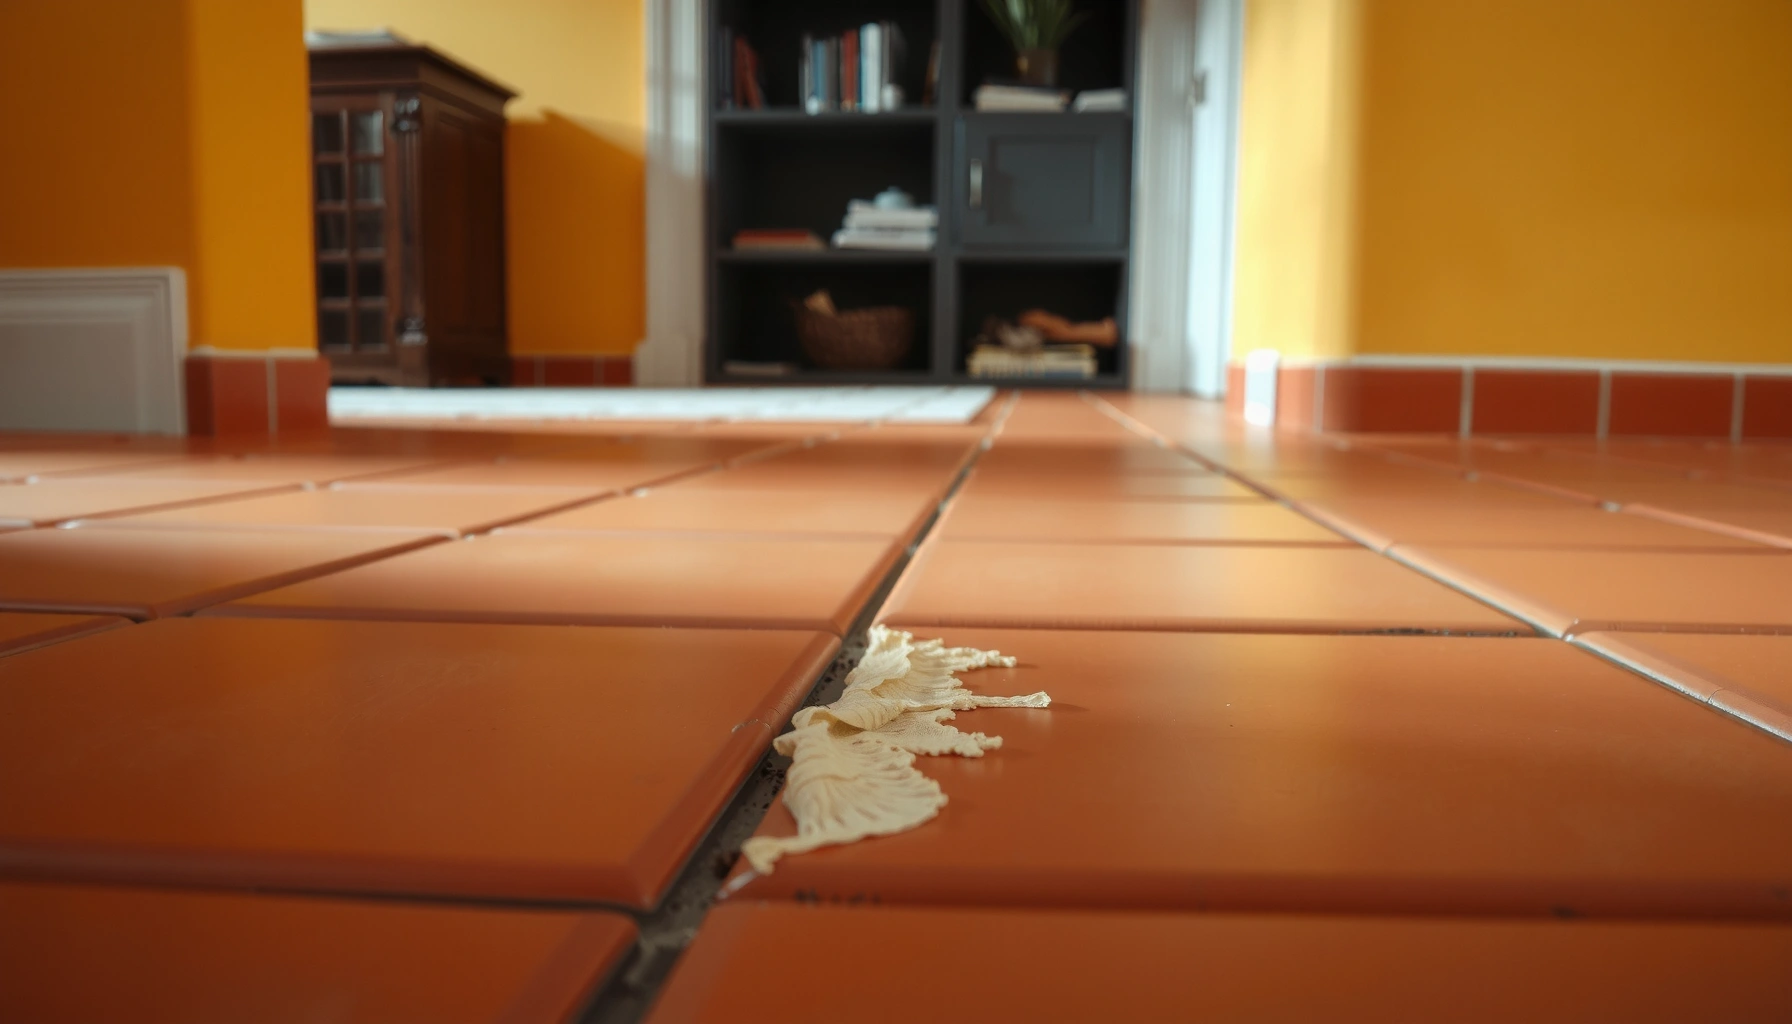
You remove adhesive from terracotta with the least risk when you first identify how the residue behaves (tacky vs. hardened) and whether it appears surface-level or embedded. That early decision determines whether warm scraping and pH-neutral cleaning will be enough—or whether you’ll need a carefully controlled chemical, test-first escalation.
If the residue stays tacky or smears when touched lightly, it typically responds better to warming and mechanical lift than to immediate solvent treatment.
Terracotta’s porosity means “embedded-looking” adhesive often requires repeated, minimal-liquid cleaning rather than soaking.
When adhesive type is unknown, a small hidden spot test prevents irreversible darkening or finish disruption across the whole floor.
What you look for (fast visual behavior checks)
– Tacky/rubbery residue: Often comes from stickers, labels, or tape adhesive. It usually softens with gentle heat and lifts with plastic or nylon tools.
– Hardened, brittle glue: More typical of older installation adhesives, some underlayment remnants, or aging tape residue that has cured. Expect slower removal and a higher chance of needing a chemistry-assisted step.
– Surface vs. pores: If the residue appears as a film sitting on top, you can often lift it. If it looks “sunk,” adhesive may have wicked into micro-voids—meaning you should avoid pushing it deeper with strong cleaners or wet saturation.
How to test without making the problem bigger
– Pick a spot that won’t be noticed (behind a door, under an area rug edge).
– Try the first method (warm + gentle scrape + pH-neutral cleaning) for a single small section.
– Watch for color change (darkening, halos) and spreading (residue creeping outward). If either happens during testing, stop and reassess.
A few terracotta-focused principles that guide your choice
Terracotta is typically cleaned and maintained with stone-appropriate, pH-balanced products, because extreme pH and prolonged moisture can affect finish layers and exposed minerals. For reference, “neutral” cleaners are commonly defined around pH 6–8, though exact guidance varies by manufacturer and the terracotta’s existing finish system; see [ADD: source for pH-neutral definition from a reputable stone-cleaner manufacturer spec].
Also, many solvent chemicals rely on properties like boiling point and evaporation rate to remove adhesives; knowing those basics helps you choose caution over guesswork—especially on porous tile where liquids can migrate.
Step 2: Start with softening + careful scraping
You get the highest chance of success without damage when you warm the adhesive just enough to reduce tackiness, then scrape lightly with a non-scratch tool. This step works because many adhesives soften when their binder temperature rises, making mechanical lift safer than aggressive chemistry.
Warming sticky adhesive typically reduces viscosity, making residue easier to lift with a scraper rather than spread across the tile.
Using a non-metal scraper and maintaining a shallow angle reduces the likelihood of gouging terracotta’s softer surface.
How to warm it safely (and effectively)
– Use low heat, avoiding heat guns that concentrate heat in one spot. (If your floor has any sealant, concentrate heat can also soften finish layers.)
– Apply warmth to the residue area in short bursts, then pause to test whether the adhesive feels less tacky.
– Avoid soaking with water as a “quick warm-up”—water on terracotta can carry dissolved tack deeper into pores.
[ADD: source for safe heat application guidance for tile/stone adhesives removal—ideally from a stone-care or adhesive-removal manufacturer]
How to scrape without gouging
– Use plastic, nylon, or acrylic scrapers designed for flooring and glass (so the blade doesn’t bite into mineral pores).
– Work at a shallow angle and with light pressure—let the tool shear the adhesive, not force it.
– Remove loosened residue frequently. Smearing is common when softened tack transfers back across the tile.
What “success” looks like in this step
By the end of Step 2, you’re not trying to make the area perfectly clean—you’re trying to remove the bulk of removable adhesive so the final cleaner doesn’t have to work through a thick layer.
Step 3: Clean the leftover tack with terracotta-safe products
You prevent staining and finish disruption by switching to pH-neutral, stone/tile-safe cleaning with minimal liquid after scraping. On terracotta, controlling moisture is as important as choosing the right chemistry, because porous materials can absorb and discolor when they’re overly wet.
pH-neutral cleaners are preferred for porous stone because harsh pH products can affect finishes and leave dulling or etching risk.
Minimal-liquid cleaning helps prevent deeper penetration compared with soaking, especially on unsealed terracotta.
If residue remains, repeated gentle cleaning beats a single aggressive escalation that can spread adhesive deeper into pores.
Choose the right cleaner (and why it matters)
– Select a pH-neutral cleaner designed for stone/tile rather than an all-purpose degreaser.
– Avoid cleaners that advertise strong descaling, heavy alkalinity, or abrasive additives—those are often the opposite of “terracotta-safe.”
[ADD: source for terracotta/tile care guidance on pH-neutral products—cite from a reputable terracotta producer or stone-care manufacturer]
Apply correctly: damp, not wet
– Use a cloth or soft mop with controlled moisture.
– Blot rather than flood. Terracotta’s absorbent structure means excess liquid can carry dissolved adhesive components into pores.
Repeat instead of rushing chemistry
A practical approach:
1. Dampen cloth with pH-neutral cleaner.
2. Wipe the area.
3. Rinse the cloth frequently.
4. Blot dry.
If residue persists, repeat the loop once or twice before considering any solvent step. That “patience ladder” is often what keeps terracotta from going from lightly dirty to visibly stained.
Step 4: If residue is stubborn, use solvent only with caution
You only remove stubborn adhesive effectively on terracotta when you treat solvents as a targeted, test-first tool, not a first-line solution. Because terracotta can absorb liquids, the safest solvent approach is incremental: small test area → correct chemical for the likely adhesive type → controlled dwell → immediate removal.
When adhesive type is unknown, a solvent test on a hidden area helps confirm that the chemical won’t darken or disrupt any sealers/waxes.
Solvents can sometimes spread softened adhesive deeper into porous tile—watch for spreading as an immediate stop signal.
Match the adhesive behavior to the chemical approach
– Tacky label residue / many pressure-sensitive glues: Often respond best to controlled softening plus gentle mechanical removal; solvents may be used only if the tack won’t lift.
– Cured installation adhesives: May require chemistry to break down the binder, but they also carry a higher risk of staining and finish disruption.
[ADD: source for adhesive-removal guidance by adhesive chemistry category (pressure-sensitive vs. construction adhesive)]
Test-first rules you should not skip
– Apply a small amount to a hidden spot.
– Wait for the label’s stated dwell time (never “soak until it feels gone”).
– Wipe clean immediately after dwell, and blot dry.
Also consider that many solvents have distinct physical properties that influence how they behave on porous stone. For example, acetone evaporates quickly, with a boiling point around 56.1°C (more aggressive drying + migration risk), while mineral spirits are typically in a higher boiling range (often ~150–200°C depending on grade). [ADD: source for boiling point values, e.g., a chemical safety databook or SDS reference].
A solvent risk reference (so you can choose cautiously)
Common Adhesive-Removal Solvents: Key Volatility & Caution Level
| # | Solvent (what it’s often used for) | Approx. Boiling Point | Terracotta Porosity Risk* | Stone-Safety Rating |
|---|---|---|---|---|
| 1 | Acetone (often targets sticky residues) | 56.1°C | High absorption/migration | ★ |
| 2 | Isopropyl alcohol (IPA) (grease/adhesive support) | 82.6°C | Moderate migration risk | ★★ |
| 3 | Ethanol (some sticky residues) | 78.4°C | Moderate migration risk | ★★ |
| 4 | Mineral spirits (degreasing; stronger removal) | 150–200°C (grade-dependent) | High residue/fading risk | ★ |
| 5 | Denatured alcohol (adhesive cleanup support) | ~78–79°C (ethanol base) | Moderate migration risk | ★★ |
| 6 | Hot water (not a solvent, but softening) | 100°C (at sea level) | High penetration risk | ★ |
| 7 | pH-neutral stone cleaner (recommended baseline) | pH ~6–8 | Low penetration risk (controlled use) | ★★★★ |
“Terracotta Porosity Risk” is a practical risk summary based on how liquids can migrate into porous stone; always follow product labels and test in an inconspicuous area.
Sources for boiling points/pH definition should be confirmed against the specific SDS/specs for your exact product: [ADD: source for each solvent property].
> Note: This data is meant to help you understand why caution matters. Actual suitability depends on your terracotta’s existing sealer/wax state and the specific adhesive chemistry.
What can go wrong (and how to prevent it)
You can avoid most damage by steering clear of gouging, controlling moisture, and stopping early when you see staining or spreading. Terracotta’s porosity makes it unforgiving of “trial-and-error with strong chemicals” across large areas.
Scraping with metal or pressing too hard can leave permanent lines in terracotta; shallow-angle, non-scratch tools are essential.
Excess liquid can carry adhesive binders deeper into pores, causing dark halos that appear after drying.
Some solvent treatments don’t fully remove residue—they soften and spread it, which you should treat as a stop-and-reassess signal.
Common mistakes
– Gouging the tile: Usually from metal blades, worn edges, or aggressive pressure.
– Staining or darkening: Often from prolonged moisture or solvent migration into pores.
– Smearing tack deeper: Happens when residue is softened and then pushed around rather than lifted and removed.
Comparison: safest vs. riskiest moves
| Approach | Why it works (or fails) | Main risk on terracotta |
|---|---|---|
| Warm → non-scratch scrape → pH-neutral clean | Softens tackiness and removes bulk residue before liquid cleaning | Low if liquids are controlled and tools are non-abrasive |
| Soak or flood with cleaner/solvent | May dissolve/soften adhesive but also migrates it into pores | Staining, halos, finish disruption |
| Metal scraping or abrasive pads | Physically removes material quickly | Gouges, dull patches, exposed mineral damage |
Verdict / tip
In most cases, the safest path to “remove adhesive from terracotta floors” is: warm → gentle scrape → pH-neutral stone cleaning, with solvent-only escalation after a spot test. Skip the solvent step if your terracotta is unsealed/unknown condition, if the adhesive is actively spreading with each attempt, or if you’re seeing color change during testing—at that point, it’s smarter to consult a stone restoration professional.
Quick checklist (save this for later)
– [ ] Warm/soften residue before scraping
– [ ] Use a non-scratch scraper; shallow angle, light pressure
– [ ] Clean with pH-neutral stone/tile cleaner (minimal liquid)
– [ ] Spot-test any chemical remover in an inconspicuous area
– [ ] Stop if you see staining, color change, or spreading residue
FAQ
Can I use acetone or paint thinner on terracotta tile?
It can be risky because terracotta is porous and many strong solvents can stain or damage finishes/sealers. If you’re considering acetone or paint thinner, do a spot test first and follow the product label carefully. [ADD: source for solvent compatibility with terracotta/stone finishes from a specific manufacturer]
Will boiling water or heavy soaking remove adhesive faster?
Soaking can worsen penetration and staining on porous terracotta. Stick to damp cleaning and controlled application instead of wet, long-duration exposure.
What if the adhesive is under a sealer or wax?
You may need a method compatible with the existing finish; otherwise you can end up removing the finish unevenly. [ADD: source for manufacturer guidance on cleaning/removing residue on sealed terracotta]
Is there a difference between sticker glue and construction adhesive?
Yes—sticker residue is often easier to soften and scrape, while construction/installation adhesives may require a more targeted chemical approach. Your selection should match the adhesive behavior you observe (tacky vs. hardened, surface vs. embedded).
Sources
– [ADD: manufacturer/specification documents for terracotta tile care and cleaning—specifically guidance on pH-neutral cleaners and solvent/chemical cautions]
– [ADD: stone/tiles care guidelines from a reputable grout/stone-care product manufacturer or terracotta producer, citing their recommended cleaning agents and cautions]
– [ADD: adhesive remover manufacturer label instructions and safety data sheets (SDS) for dwell time, application method, and surface compatibility]
Removing adhesive from terracotta is mostly a discipline of sequencing: start gently, control moisture, and use targeted chemistry only after you confirm compatibility with a test spot. If you follow the warm–scrape–pH-neutral approach and stop immediately at the first sign of staining or spreading, you’ll protect the tile’s surface while still getting adhesive residue under control.
Frequently Asked Questions
What is the safest way to remove adhesive from terracotta floors without damaging the surface?
Start with the least aggressive method: warm water and a pH-neutral cleaner, then gently scrape softened residue with a plastic scraper. Terracotta is porous and can stain or etch if you use harsh solvents or acidic cleaners, so avoid vinegar, bleach, and strong degreasers. If residue remains, use a manufacturer-recommended adhesive remover that’s labeled safe for natural stone, and test it in a hidden area first.
How do I remove tile adhesive from terracotta floors using heat and scraping?
Heat can soften many types of adhesive, making them easier to lift without chemicals. Use a hair dryer or low-heat heat gun from a distance, working in small sections, then scrape with a plastic or wood scraper to avoid gouging the terracotta. Reapply heat as needed, and wipe the area frequently to remove loosened adhesive before it re-adheres to the pores.
Which chemical adhesive remover works best for stubborn adhesive on terracotta?
Look for removers designed for adhesives on natural stone, ideally “solvent-free” or “stone-safe” products, and check whether they require rinse-off and neutralization. Acetone and strong solvents can penetrate terracotta’s porous surface and may cause discoloration, so they’re risky unless you’ve tested them. Always follow dwell time instructions carefully, use gloves, ventilate well, and rinse thoroughly with clean water after removal.
Why does adhesive stain terracotta, and how can I prevent long-term discoloration?
Adhesive often soaks into terracotta’s pores, and some adhesives contain polymers, resins, or pigments that can darken over time as moisture and foot traffic move them deeper. To prevent staining, remove adhesive promptly, avoid soaking the floor, and rinse and dry the area thoroughly after treatment. After cleaning, consider a breathable stone sealer once the floor is fully dry to help reduce future staining.
How can I clean and seal terracotta after removing adhesive to restore the original look?
After adhesive removal, wash the area with a pH-neutral stone cleaner to remove any chemical residue, then allow the floor to dry completely for at least 24–48 hours. If you notice dullness or patchiness, you may need a gentle stone-safe buffing or a targeted poultice for remaining discoloration. Once fully dry and clean, apply a penetrating, breathable sealer specifically for terracotta to protect against residue and moisture re-penetration.
📅 Last Updated: October 10, 2026 | Topic: How to remove adhesive from terracotta floors? | Content verified for accuracy and freshness.
References
- Google Scholar Google Scholar
https://scholar.google.com/scholar?q=removing+adhesive+from+terracotta+floor - Google Scholar Google Scholar
https://scholar.google.com/scholar?q=carpet+adhesive+removal+from+ceramic+tile+and+stone - Google Scholar Google Scholar
https://scholar.google.com/scholar?q=conservation+guidelines+removing+adhesives+from+porous+ceramics+terracotta - Terracotta
https://en.wikipedia.org/wiki/Terracotta - Adhesive
https://en.wikipedia.org/wiki/Adhesive - Solvent
https://en.wikipedia.org/wiki/Solvent - https://en.wikipedia.org/wiki/Acetone
- https://en.wikipedia.org/wiki/Isopropyl_alcohol
- Safety data sheet
https://en.wikipedia.org/wiki/Safety_data_sheet - Cleaning
https://en.wikipedia.org/wiki/Cleaning