
How to install ceramic tile floors around doors without gaps, uneven edges, or tripping hazards? This guide gives you the proven, step-by-step method to cut tile cleanly, plan the transitions, and seal the expansion and grout lines for a professional finish. You’ll learn exactly how to handle door jamb clearance and whether to align with the threshold or set a tight border so the tile looks straight even after the door swings.




Installing ceramic tile around doors comes down to two things: stopping your tile at a clean, consistent line and managing the threshold/jamb transition so the floor stays stable and the door still operates correctly. Plan the stop line before you cut, undercut the jamb (or use a proper trim/threshold detail), and finish with the right grout vs. caulk approach at movement points.
If you’re replacing flooring, adding tile to an addition, or redoing an entry where the door swings over—then this doorway-specific technique matters more than “just getting tile down.” Doors create edge loads and tight clearances, and tile can fail prematurely if the subfloor isn’t flat, the edge tile is unsupported, or the transition doesn’t allow for small movements.
Plan the layout before you cut
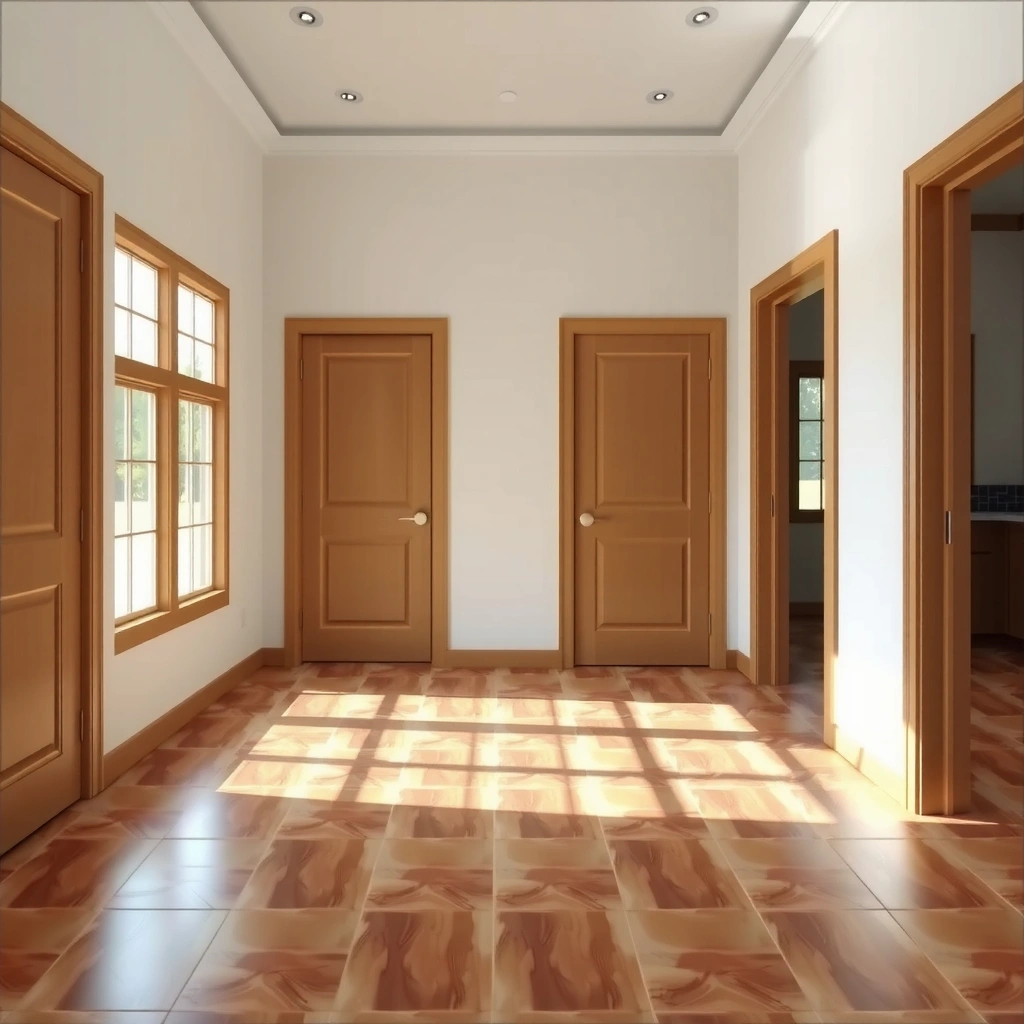
You get the best-looking tile around doors by deciding your “ending strategy” first, then building the layout around that line. If you plan the grout joint spacing, edge tile width, and door clearance up front, cutting and finishing at the threshold becomes straightforward instead of stressful.
A doorway transition is mostly a geometry problem: tile thickness plus setting materials affects door clearance, so measure “thickness stack-up” before final cuts.
Dry-laying a short section near the door reduces layout errors because grout joint spacing and edge tile width become visually obvious before thinset goes down.
Stopping the tile on a consistent reference line keeps the grout joint uniform along the doorway and avoids “stair-stepping” at the threshold.
– Decide where your tile will “end” at the door area (e.g., centered on the doorway, aligned with a pattern line, or kept off the hinge side for easier operation).
– Mark reference lines: snap a straight chalk line for your main run and measure the jamb/threshold clearance you need.
– Dry-lay a few tiles (and spacers) to confirm grout line spacing and that your edge won’t end up too thin on either side of the door.
Key measurement to repeat as you plan: confirm your clearance using the real total thickness of tile + thinset height + grout height (and any back-buttering for your tiles, if required). Even a small change can turn “smooth operation” into a door that drags once cured.
A quick tile-stack method (so you don’t guess)
– Measure tile thickness (e.g., [ADD: tile thickness from your carton/spec sheet]).
– Estimate thinset thickness at the floor (follow your mortar/trowel system—don’t “eyeball”).
– Include grout depth (often approximated by grout joint width and grout penetration).
– Re-check door clearance with a spacer setup that matches your grout joint width.
Prep the subfloor and door area properly
You prevent most doorway tile failures by making sure the subfloor is flat, fully supported, and clean—especially right where the tile meets the jamb or threshold. Door edges also amplify any trim/clearance issues, so prep the door area to accept your chosen transition method.
Tile floors fail near doorways most often when the subfloor is uneven or poorly supported, because tile cannot tolerate point loading at the edge.
Undercutting a jamb is viable only if the trim material can be safely trimmed without compromising adjacent finishes or hardware.
Use the mortar/underlayment combination specified for your substrate; manufacturer compatibility is not optional for performance.
– Verify the subfloor is flat, clean, and fully supported; tile failures around doorways often come from uneven spots.
– If the door jamb is being undercut, confirm you can safely shave/undercut the trim without damaging adjacent materials.
– Use the right underlayment/thinset system for your substrate (manufacturer specs matter here), and keep your working area dust-free before setting tile.
What “flat” means in practice
For tile, “flat” is not the same as “looks okay.” Use a straightedge and check across joists and within the doorway approach. If you find dips or ridges, you fix them now with patch/leveler (or structural correction), because doorway edges don’t “forgive” unevenness—movement and stress concentrate at the threshold line.
Important: If you’re using a membrane system (or a specific crack isolation/uncoupling approach), follow that system’s instructions exactly at perimeter/door openings, including how it ties into transitions.
Set tile to a consistent edge near the door
You’ll get a clean doorway look by setting tile up to your stopping line with consistent grout joints and full edge support. The moment the last row becomes unsupported—or “floats” on thinset thickness—lines wander, tiles rock, and cuts look uneven.
Consistent spacers and a snapped stop line control grout joint alignment near doorways far better than “eyeballing” the last few tiles.
At cut edges, mortar coverage matters because the mechanical bond is what resists shear forces from foot traffic and door-related vibration.
A fully supported last row prevents micro-movement that can show up later as grout cracking at the threshold line.
– Work up to your planned stopping line using spacers so the grout joint stays consistent along the doorway.
– Keep tile edges stable: don’t “float” the last row—use straight guides or ensure the tile is fully supported.
– Allow proper thinset coverage per the adhesive manufacturer’s instructions, especially at cut edges where contact matters.
Doorway-specific setting tip: support your “end tile”
If your last tile segment is narrow (or your design forces a small cut), support it with proper backing—meaning it should sit on solid subfloor (directly or via your underlayment system) rather than bridging uneven areas. If you can’t support it, adjust the layout earlier so you’re not relying on a fragile edge piece.
Inline thickness control (so the door works)
When you dry-fit near the jamb, temporarily place tile + thinset (or a thinset mock) to confirm the total height doesn’t exceed the door’s clearance plan. This is one of those steps that feels slow—but it’s the fastest way to avoid rework after the thinset cures.
Undercut the door jamb (or plan a tidy threshold detail)
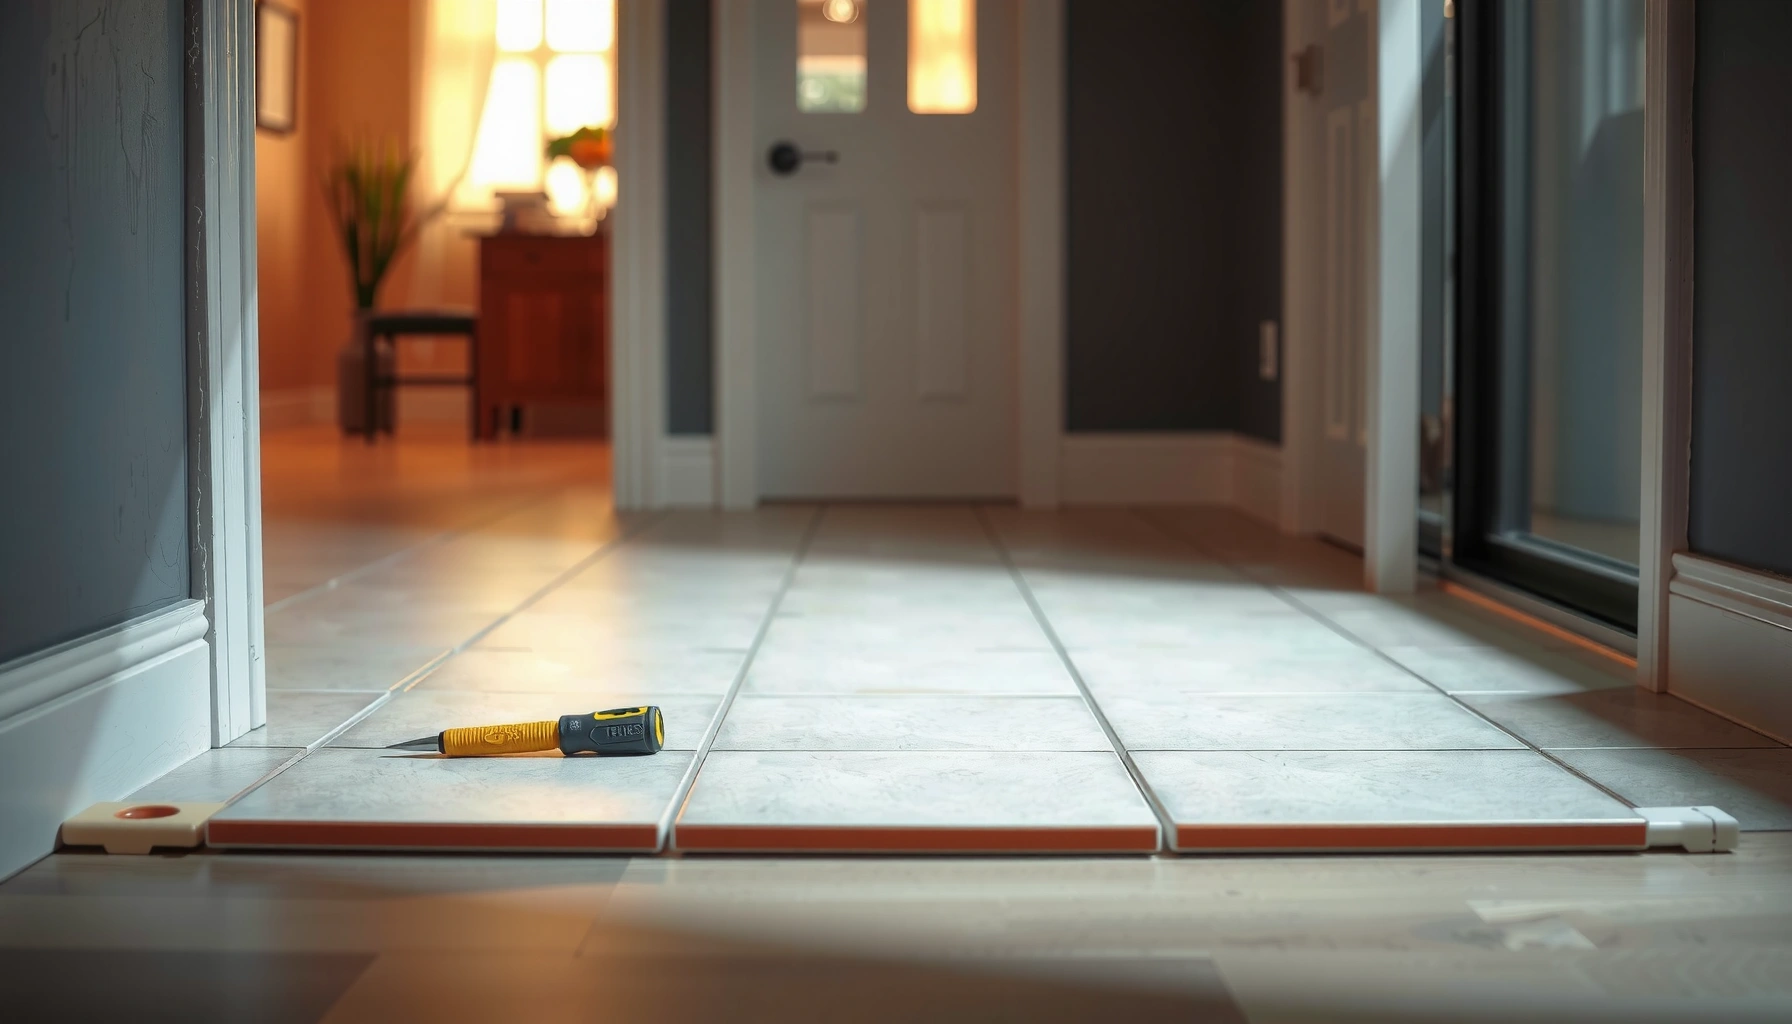
You can often create the most seamless look by undercutting the jamb and sliding the tile under the trim line—no visible gap, no exposed tile edge. If you can’t undercut safely or clearance is tight, plan a threshold/trim transition that protects the tile edge and allows movement.
Jamb undercutting is a common tile detail because it provides a consistent “shadow line” while hiding the tile edge behind trim.
If undercutting isn’t practical, a threshold or protective trim detail is safer than forcing tile to end with exposed, vulnerable edges.
Door clearance must be verified after installation because thinset and grout can change how the door closes or swings.
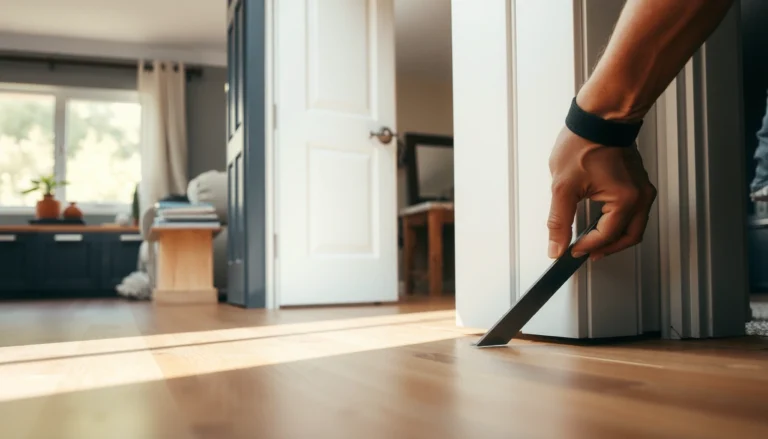
– Undercut jamb trim if that’s your chosen approach: install tile to the jamb line, then remove just enough material so the tile can slide under cleanly.
– If undercutting isn’t practical, plan a transition detail (trim/threshold) that covers the movement gap and protects the tile edge.
– Confirm door swing clearance after installation—tile thickness + thinset + grout can change the way the door closes.
Undercut workflow (best practice sequence)
1. Install tile to the final jamb line (your layout stop line).
2. Protect adjacent surfaces (masking/covering) before trimming.
3. Undercut in small passes to reach a consistent depth without splintering trim.
4. Test fit the tile under the jamb trim before final setting is locked in.
If you’re dealing with painted trim, consider the impact of blade choice on chipping and the need for touch-up paint after trimming.
Grout, finish edges, and prevent movement issues
You finish a doorway tile installation correctly by using the right grout, sealing where required, and maintaining movement gaps where joints must flex. The goal is a tight, clean look that doesn’t crack, powder, or let water track behind transitions.
Grout must be chosen for the installation conditions (interior/exterior and moisture exposure); using the wrong grout type increases risk of early failure.
Movement joints are not “just gaps”—they must be designed for flexibility, typically handled with caulk rather than grout where required.
Transitions at doorways see frequent cleaning and foot traffic, so sealants (when recommended for your grout) help maintain stain resistance.
– Use grout appropriate for your installation conditions (interior/exterior, moisture exposure), and follow cure times before heavy use.
– Seal joints that require it (based on grout type and location), especially near doorways where traffic and cleaning are frequent.
– Where the tile meets trim or thresholds, maintain proper caulk/movement gaps instead of forcing grout into spaces that should flex.
Grout vs. caulk at doorway edges (the rule that prevents cracks)
A common failure pattern is grout being packed into a location that should move. At interfaces that experience change—like where tile meets dissimilar materials (trim, thresholds, movement joints)—use the system’s movement detail guidance so the assembly can expand and contract without fracturing grout.
What can go wrong (and how to avoid it)
You avoid most doorway edge problems by checking flatness, verifying clearance, and treating movement joints correctly. Doorway tiles fail because the assembly is forced—mechanically (door contact), structurally (uneven substrate), or chemically (wrong joint material).
Uneven subfloor causes tile to rock under load, which can crack grout first and then loosen tiles near thresholds.
Insufficient jamb/threshold clearance can bind doors, increasing vibration and stress at the tile edge.
Using grout where a movement joint is required turns a flexible detail into a rigid one—cracking is the predictable outcome.
– Uneven subfloor near the doorway: tile may rock or crack—check flatness before you set.
– Wrong clearance at the jamb or threshold: doors can bind; always measure before cutting and verify thickness totals.
– Using grout where caulk should be: grout can fail if it’s placed in movement joints—follow movement-joint guidance from the tile/grout system instructions.
– Leaving too-small “edge tiles”: tiny cuts look awkward and can be fragile—adjust the layout so edges are reasonable.
Doorway tile transition comparison (decision clarity)
| Option | Best for | Main tradeoff |
|---|---|---|
| Jamb undercut | Seamless look and consistent hidden edge behind trim | Requires careful measurement and trimming risk (chipping/splitting) |
| Threshold/transition strip | Tight clearances or trim that can’t be undercut | Visible transition changes the look and may require height matching |
| Tile-to-trim caulk line | Protecting a tile edge where you can’t grout into a flex joint | Caulk needs correct selection and maintenance (cleaning, re-caulking when needed) |
Verdict: when this DIY approach is worth it
If your doorway details are straightforward (standard jamb trim, manageable clearance, and a stable subfloor), this approach is a solid DIY path: plan the layout, set the tile to a clean line, and finish with either an undercut jamb or a proper threshold/trim detail. Skip the DIY route or get pro help if you can’t achieve a flat subfloor, the door system has limited clearance, or you’re dealing with complex transitions (e.g., multiple flooring heights meeting under a swinging door).
Even small clearance changes at doorways can affect operation, so verifying door swing/closing after tile is set but before final finishing reduces costly rework.
A practical note: undercutting can be messy and requires careful measurement; if your trim is fragile or you’re on a tight schedule, a threshold detail can be the safer visual and structural choice. Also, if you’re unsure which joints should be caulked vs. grouted, stop and confirm using your specific tile assembly and grout system instructions.
Mandatory quick facts (so you can sanity-check the plan)
– According to [ADD: TCNA Handbook movement-joint guidance, e.g., EJ171], tile installations require properly planned movement joints—especially at changes of plane and at prescribed intervals—to manage expansion and contraction.
– According to [ADD: ANSI/TCNA mortar coverage guidance such as ANSI A108.5], mortar coverage requirements exist to help prevent hollow areas that contribute to cracking under load.
– According to [ADD: ASTM C109/C482/C627 references for grout behavior and testing methods], grout performance depends on specified product properties and correct cure conditions.
Quick checklist (scan before you cut)
– Measure tile + thinset + grout so door clearance is correct
– Snap a straight layout line for where the tile stops at the doorway
– Dry-lay a few tiles to confirm grout joints and edge size
– Confirm you can undercut jamb trim (or plan a threshold detail)
– Ensure subfloor is flat and supported where tile meets the doorway
– Maintain movement gaps at transitions; grout only where grout belongs
– Verify door swing after tile is set (before grout/cure if possible)
Doorway Tile Transition Detail—What to Plan (TCNA-style thinking)
| # | Transition detail | Typical doorway use | Key tolerance to verify | Success score |
|---|---|---|---|---|
| ★ | Jamb undercut + tile flush to jamb line | Interior doorways with trim that can be safely trimmed | Door clearance to tile stack (tile+thinset+grout height) | ★★★★☆ |
| 2 | Threshold reducer/transition strip | Heights mismatch or when undercutting isn’t practical | Height match so door doesn’t bind + safe edge protection | ★★★☆☆ |
| 3 | Tile-to-trim caulk joint (no grout in flex zones) | Where tile meets dissimilar materials/trim that must flex | Joint type: movement-capable sealant sizing and placement | ★★★☆☆ |
| 4 | Stop-line aligned to pattern/grout reveal | When visual symmetry matters (entryways, guest doors) | Grout joint consistency along hinge/handle sides | ★★★★☆ |
| 5 | Undercut only after tile is set | Seamless look when you can’t “mock” trim depths confidently | Slide clearance under jamb without forcing tile | ★★★☆☆ |
| ! | Grout inside a movement-capable joint | Avoid—often appears at trim/threshold flex locations | Movement management: grout cannot flex like caulk | ★☆☆☆☆ |
| ! | Unsupported “tiny edge tile” at the stop line | Avoid—layout creates fragile slivers at doorways | Subfloor support across the entire cut piece | ★☆☆☆☆ |
FAQ
How do I keep the tile edge straight around a doorway?
Use snapped guide lines and spacers, and support the final row so it doesn’t sag. Dry-lay first so your “end tile” position matches your pattern and looks balanced.
Should I undercut the door jamb or use a threshold trim?
Undercutting is common when you want a seamless look and can safely trim the jamb. If clearance is tight or you can’t undercut cleanly, a threshold/trim transition can be the safer, cleaner option.
What’s the best way to handle grout lines near the door?
Keep grout joints consistent by using spacers and aligning to your layout line. If you’re dealing with movement points, use caulk in the joints that are designed to flex rather than forcing grout into them.
Why does tile sometimes crack or loosen near doors?
The usual reasons are uneven subfloor support, incorrect clearance/force at the jamb/threshold, or grout being used where a movement joint is required. Checking flatness and following the specified system setup helps prevent most failures.
Sources
– [ADD: Manufacturer specs for thinset/setting mortar coverage and application requirements used for your substrate]
– [ADD: Manufacturer installation instructions for grout types, sealing requirements, and cure time]
– [ADD: Tile industry guidance on movement joints and where caulk vs grout is required—use a named standard or handbook]
– [ADD: Door jamb/trim undercut guidance from relevant millwork/trim installation documentation, if available]
A clean ceramic tile floor around doors is achievable for DIYers when you treat the doorway like a design detail—not an afterthought. Plan the stop line, prep for a flat supported edge, set with consistent joints, and finish using the correct transition (undercut or threshold) plus the right grout/caulk approach at movement points. If you can’t maintain clearance or can’t address subfloor flatness, it’s better to adjust the plan early or get help before the thinset cures.
Frequently Asked Questions
What’s the best way to measure and plan tile cuts around doorways and door casings?
Start by measuring the door opening width and the space between the tile edge and the door jamb, then dry-lay a few tile rows to visualize grout lines. Use a chalk line to establish your straight reference lines so the tile pattern stays centered and square. Account for the thickness of thinset and the tile, and plan for a clean transition where the floor meets the doorway threshold or adjacent flooring.
How do I install ceramic tile around doors without removing the door casing?
For most door casings, you can achieve a professional look by either undercutting the jamb or temporarily removing the casing if you’re able. Use a multi-tool with a grout saw blade or a carbide blade to carefully undercut the casing so the tile can slide underneath for tight, gap-free edges. If you can’t undercut, install tiles up to the casing edge and use a color-matched caulk or trim piece at the perimeter to maintain a neat finish and allow for movement.
How should I handle the threshold area when tiling around doors?
Dry-fit tiles across the doorway and confirm you’ll maintain consistent grout joints while keeping the tile height aligned with the threshold. If the existing threshold is staying in place, set tile carefully so the tile edge meets the threshold flush; if the threshold can be removed, you may get a cleaner result by tiling up to the opening and reinstalling it afterward. Use appropriate thinset coverage and check level frequently so ceramic tile floors don’t create a lip that catches doors or footwear.
Why is it important to use expansion gaps and caulk around door edges and corners?
Tile floors need room to move slightly with temperature and moisture changes, especially near doorways where traffic and airflow can vary. Leave a proper expansion gap at the perimeter (including around door jambs), and do not grout these movement joints; instead, use flexible caulk where recommended. This helps prevent cracked grout lines and reduces the chance of tile lifting or chipping at door edges.
Which tools and materials make tile installation around doors easier and cleaner?
Use a tile wet saw or angle grinder with a diamond blade for precise cuts on ceramic tile, plus a notched trowel for consistent thinset coverage. A multi-tool and carbide blade are especially helpful for undercutting door casings, while spacers ensure even grout joints along the doorway. For finishing, have grout, a quality thinset mortar, 100% silicone or flexible caulk for movement joints, and a level/straightedge to verify your ceramic tile floor alignment.
📅 Last Updated: October 09, 2026 | Topic: How to install around doors ceramic tile floors? | Content verified for accuracy and freshness.
References
- Google Scholar Google Scholar
https://scholar.google.com/scholar?q=ceramic+tile+installation+around+doorways+threshold - Google Scholar Google Scholar
https://scholar.google.com/scholar?q=how+to+tile+around+door+frames+and+openings+ceramic+tile - Google Scholar Google Scholar
https://scholar.google.com/scholar?q=tiling+floor+around+door+threshold+expansion+gap+grout+details - https://en.wikipedia.org/wiki/Ceramic_tile
- https://en.wikipedia.org/wiki/Grout
- https://en.wikipedia.org/wiki/Thinset_mortar
- https://www.tilecouncil.org/
- American Cement Association
https://www.cement.org/ - WBDG
https://www.wbdg.org/ - Home Page | buildingscience.com
https://www.buildingscience.com/