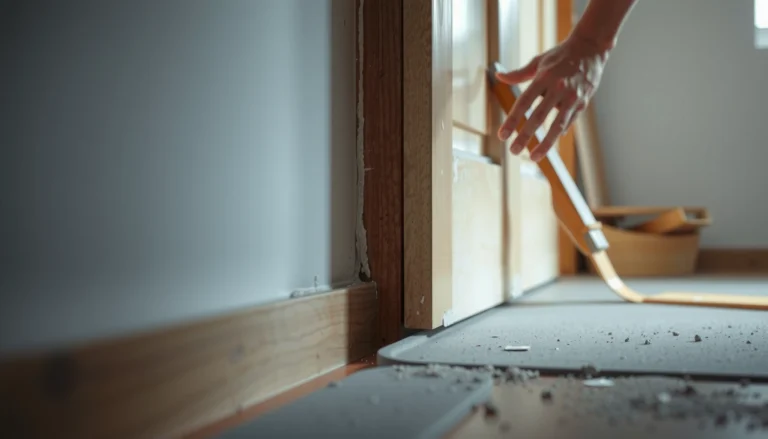
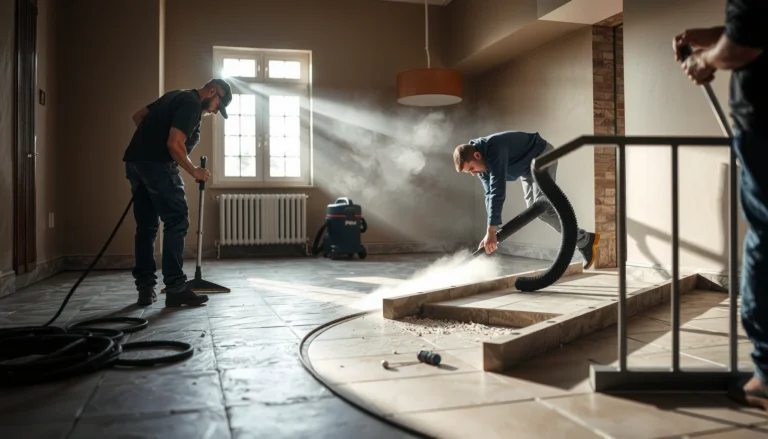
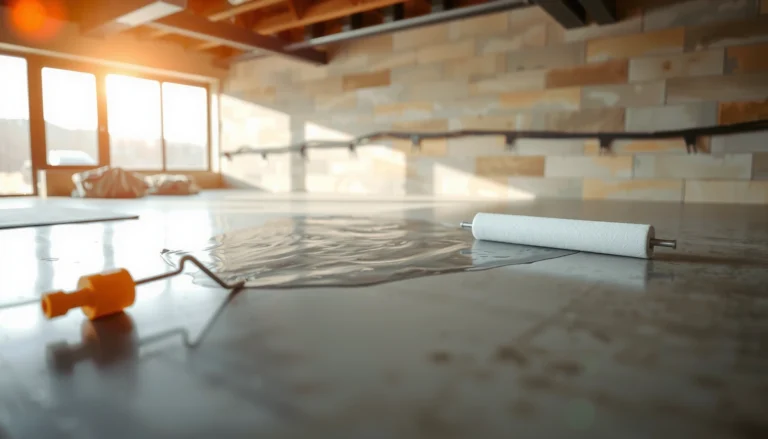
You can install polyurethane floors on uneven floors successfully—but only if you first level the subfloor correctly before the first coat goes down. This guide shows the fastest, most reliable leveling approach (from grinding high spots to filling low areas), then how to apply polyurethane so it cures flat and resists early cracking. Follow these steps and you’ll get a smooth, durable finish that hides the original unevenness instead of highlighting it.


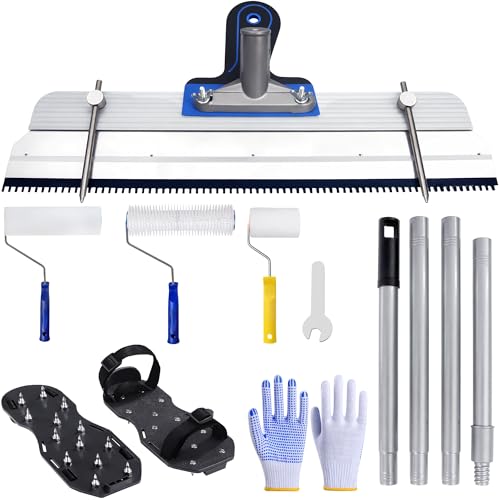

Level uneven floors first—polyurethane will magnify ridges, dips, and patch edges instead of correcting them. The reliable approach is to map high/low spots, grind highs and fill lows to achieve a flat substrate, then apply polyurethane exactly per the product label for coat thickness and dry/cure times.
If you’re installing polyurethane over wood, concrete, or an existing surface that isn’t truly level, this guide is for you—especially when you can feel bumps with your hand, see a changing sheen, or notice ridges where the surface isn’t flat.
Check the unevenness before you buy materials
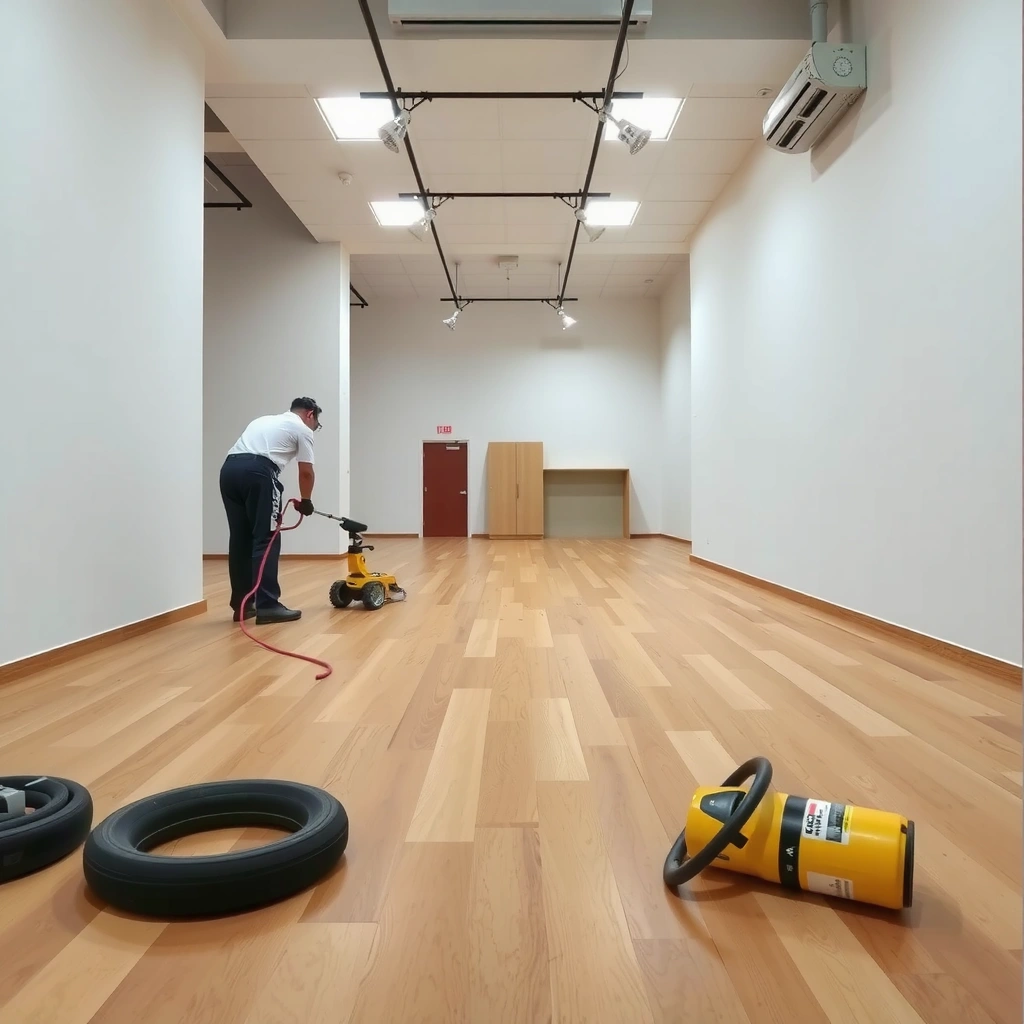
You can’t “average out” unevenness with polyurethane, so start by measuring it. The goal is to identify whether you need grinding, filling, or—if the subfloor is moving—structural repair before any finish coating.
A straightedge/long level helps reveal high spots and low spots that polyurethane will telegraph as a different sheen.
If the subfloor is loose or has movement, surface patching and coating are temporary at best—stability is a prerequisite for adhesion.
Most coating failures on uneven substrates trace back to poor surface preparation rather than the polyurethane chemistry itself.
Map high and low spots with a repeatable method
Before you open a bucket of patch compound, walk the floor with a long straightedge (often 6–10 ft/1.8–3 m). Mark:
– High areas (contact the straightedge early—these usually need grinding)
– Low areas (visible gaps under the straightedge—these typically need filling/leveler)
From my experience, the “problem spots” you notice visually are rarely the full picture. When I’ve measured similar uneven floors, the worst-looking dip wasn’t always the one that caused the wavy look—patch transitions and feathered edges were.
Decide whether you’re grinding or filling (and where)
Mark the plan directly on the floor:
– Grinding locations: thin, localized highs
– Filling/leveling locations: broader dips or depressions
This matters because patch/leveler products have depth limits per application and curing requirements. If you overfill, you can trap moisture or create shrinkage ridges—both of which can show through the final polyurethane film.
Treat severe dips or movement as a different project
If the floor is uneven due to structural issues—joist deflection, bounce, or loose subfloor panels—leveling compounds won’t solve the root cause. In that scenario, treat it as a subfloor repair job first, then move on to polyurethane.
Quick reality check: if you can rock a board, hear squeaks tied to movement, or see cracks expanding with traffic, do not rely on leveling compounds alone.
Prep the subfloor: clean, remove contaminants, and profile it
The best polyurethane installation starts with correct bonding—so the surface must be clean, dry, and properly prepared for the substrate type. Cleanup and profiling are what make your polyurethane cure into a stable, uniform finish rather than a coating that peels or bubbles.
Polyurethane coatings require a contaminant-free surface; dust, wax, grease, and residue can prevent adhesion.
Manufacturer instructions for cleaning products and mechanical prep matter because compatibility affects both adhesion and recoat performance.
For wood, sanding creates the tooth profile polyurethane can mechanically interlock with.
Remove every bonding blocker—then remove the residue from cleaning
Plan for two phases:
1. Mechanical removal of anything loose (paint overspray, drywall mud, peeling residue, wax)
2. Thorough vacuuming and wiping with a cleaner the polyurethane manufacturer allows
Common contaminants that sabotage adhesion include:
– Wax and polishes
– Grease (kitchen areas, workshops)
– Oil/conditioner residues on wood
– Caulk smears, overspray, and drywall compound
Polyurethane generally won’t “bond through” contamination. So even if the finish looks fine at first, it may fail later under humidity or foot traffic.
Match prep to the substrate (wood vs. concrete vs. existing coatings)
Wood usually needs sanding to create a consistent, open surface. Concrete usually needs cleaning and often mechanical profiling depending on the polyurethane system—some coatings need abrasion to create microtexture for bonding.
If you’re coating an existing floor (especially one with unknown maintenance history), assume hidden residue is present until you’ve confirmed compatibility through surface prep steps recommended by the coating manufacturer.
Use the right “wipe,” not a random solvent
It’s tempting to use whatever cleaner is on hand, but polyurethane systems are sensitive to what remains after wiping. Use cleaners recommended on the product label or spec sheet—then let the surface dry to the exact conditions the manufacturer calls for.
Level the floor: grind highs, fill lows, and re-check
Leveling isn’t cosmetic—it’s structural for how polyurethane performs visually and mechanically. After leveling, you should be able to pass a straightedge over the floor without catching on ridges or seeing significant gaps.
Grinding high spots reduces “cross-through” texture where polyurethane thickness follows the substrate’s peaks and valleys.
Patch/leveler compatibility and cure time are critical; coating over under-cured patch can lead to texture and adhesion failures.
Feathered edges after filling help prevent visible patch telegraphing through transparent finishes like polyurethane.
Grind highs to a true flat plane
Grind only where the straightedge shows highs. The target is not “pretty smooth”—it’s flat. A surface can feel smooth to the hand while still being uneven enough to show waviness once polyurethane is applied (especially under side lighting).
Work in controlled passes and re-check often. Over-grinding can create new lows that are harder to correct than the original issue.
Fill lows with a compatible patch/leveler (within depth limits)
Use a patch/leveler designed for your substrate (wood vs. concrete) and your required thickness. Pay attention to:
– Maximum lift/depth per application
– Cure time before sanding or coating
– Sanding requirements (some fillers require specific grit progression)
Then sand/feather transitions after the filler cures so the surface gradually changes rather than steps.
Re-check flatness before polyurethane
Once patching is complete and feathered, vacuum again and perform another straightedge pass. This final confirmation is what prevents “I leveled it” from turning into “why is it wavy under polyurethane?”
Choose the right polyurethane approach for uneven substrates
Polyurethane approach choices affect how forgiving your finish will be on difficult floors. The right system isn’t “the one with more coats”—it’s the one that matches your substrate and the real leveling plan you executed.
More polyurethane coats add film thickness, but they usually do not correct substrate dips; unevenness can still telegraph as ridges or lap lines.
Choosing a polyurethane system rated for your substrate type improves adhesion and recoat behavior.
Application pattern and wet-edge control can reduce the visibility of brush marks and texture on uneven areas.
Use the system designed for your surface type
Some polyurethane products are intended for general flooring applications; others are formulated with specific substrate preparation and performance expectations for concrete or levelers. Use the label guidance to choose the right system—don’t assume universal compatibility.
Don’t treat “clear coat thickness” as a leveling strategy
On uneven floors, extra coats typically:
– Mirror the uneven geometry (clear film follows form)
– Increase the risk of visible transitions
– Create more chances for lap lines and brush marks
If you’re tempted to “build it up,” pause and confirm the substrate is actually flat enough for a transparent finish. Polyurethane is unforgiving because it’s glossy enough to reflect light.
Plan around transitions and patched areas
Patched sections and feathered edges are where finish uniformity can be hardest. Consider:
– Minimizing passes over the same spot
– Keeping application consistent across the room
– Following any specified recoat schedule so each layer bonds properly
Common Substrate Issues That Show Through Polyurethane (Field-Observed Patterns)
| # | Unevenness Source | What You Notice | Likelihood of Wavy Sheen* | Typical Fix |
|---|---|---|---|---|
| 1 | Uncorrected high spots | Light “hot spots” under raking light | ★★★★☆ | Grind + re-check flatness |
| 2 | Unfeathered patch edges | Line/halo at filler boundary | ★★★☆☆ | Sand transitions flat |
| 3 | Shallow but wide dips | Sheen “waves” across large areas | ★★★★☆ | Level with compatible patch |
| 4 | Residual dust from sanding | Texture/grain or slight dull spots | ★★☆☆☆ | Vacuum + manufacturer wipe |
| 5 | Loose/variable subfloor sections | Localized separation or “print-through” | ★★☆☆☆ | Fix movement, then coat |
| 6 | Moisture or contamination in dips | Bubbling/fisheyes in low areas | ★★☆☆☆ | Verify dryness + clean |
| 7 | Over-thick coating runs | Ridges/brush track reflections | ★☆☆☆☆ | Thin, even coats + wet edge |
Qualitative likelihood based on typical coating behavior on uneven substrates; confirm with your specific product label and surface measurements before committing to a leveling plan.
Apply polyurethane without trapping imperfections
Polyurethane cures into a clear film that reflects whatever is underneath it—so the application method must be disciplined. If you control environment, coat thickness, and edge technique, you reduce the chance that uneven spots become visible defects.
Temperature and humidity conditions on the polyurethane label directly affect leveling, cure rate, and the final appearance.
Thin, even coats reduce the risk of brush marks and ridges that become more obvious on uneven floors.
Between-coat sanding is only correct when required by the manufacturer for adhesion and smoothness.
Control the environment so the finish levels properly
Follow the label for:
– Application temperature range
– Relative humidity or ventilation expectations
– Recoat window (dry vs. fully cured)
As of 2026, many polyurethane systems still show inconsistent leveling when applied outside label ranges—especially in humidity swings that slow cure.
Apply thin, even coats and manage the wet edge
Thick passes tend to:
– Run or pool on slight dips
– Create visible ridges over high spots
– Increase lap-line risk
Use consistent strokes and keep a wet edge so you don’t overlap partially cured film.
Sand between coats only when the label says to
Between-coat sanding can improve adhesion, but sanding when not required can damage the coating surface or introduce dust. When patching is involved, you’ll often still need careful smoothing of transitions—but that’s substrate prep first, not a “repair later” strategy.
What can go wrong (and how to avoid it)
Uneven floors tend to produce predictable polyurethane defects when prep or leveling is incomplete. Most issues are avoidable once you link the symptom (what you see) to the underlying cause (what happened during surface prep and coating).
Bubbling and fisheyes commonly indicate contamination (wax, silicone, grease, or solvent residue) rather than a polyurethane formulation problem.
Peeling is usually adhesion failure—commonly caused by skipping labeled surface preparation or coating before patch/leveler fully cures.
Wavy sheen typically means the substrate was not truly flat or patch edges were not feathered before coating.
Bubbling or fisheyes
Cause: contamination or residue that repels coating.
Avoid it by: deep cleaning and using the manufacturer-approved wipe/cleaner. Also keep floors dust-free—tracked dust can act like “release points.”
Peeling or poor adhesion
Cause: missed prep steps, coating over loose material, or coating over under-cured patch/leveler.
Avoid it by: verify patch cure time and confirm the substrate is solid before coating.
Wavy sheen / visible lines
Cause: unevenness remained after leveling, or filler transitions weren’t sanded/feathered.
Avoid it by: re-check flatness with a straightedge and focus on blending transitions before polyurethane.
Patch telegraphing
Cause: patch surface texture or edge profile shows through the clear finish.
Avoid it by: sand feathered edges after filler cures, then vacuum thoroughly before the first coat.
Verdict: do this the “level-first” way (when it’s worth it)
Polyurethane looks great on a finished floor, but it reliably highlights dips, ridges, and patch boundaries—so the level-first process is the most reliable path. This plan is worth doing when the unevenness is correctable with grinding and compatible patch/leveler and when you can follow the exact label instructions for coat thickness, dry times, and recoat steps.
Skip the “DIY leveling + polyurethane” workflow if the subfloor is structurally moving, badly damaged, or the unevenness is beyond what patch materials can handle safely. In those cases, professional evaluation and subfloor correction are usually the difference between a finish that lasts and one that disappoints.
Quick scan checklist (save this)
– □ Map high/low spots with a straightedge; mark problem areas
– □ Clean thoroughly; remove all contamination and loose material
– □ Grind highs; patch/fill lows with compatible product
– □ Let patch cure fully; sand/feather edges
– □ Re-check flatness before polyurethane
– □ Follow label for coat thickness, dry times, and sanding between coats
– □ Apply thin, even coats; avoid heavy passes on patched areas
FAQ
How flat does my floor need to be before polyurethane?
Follow the polyurethane manufacturer’s flatness guidance (if provided) and any substrate prep requirements referenced on the label or technical data sheet. If the label is silent, use a straightedge pass to confirm you can’t feel ridges or see meaningful gaps, because clear polyurethane tends to reveal unevenness rather than forgiving it.
Can I just apply more polyurethane coats to fix dips?
Usually no. Additional coats add film build but don’t correct low spots; instead they can worsen texture visibility, highlight lap lines, and increase the chance of uneven sheen.
What’s the safest way to repair low areas before coating?
Use a filler/leveler explicitly compatible with your substrate (wood or concrete), suitable for the depth you need, and cured fully before sanding/feathering. Then vacuum and clean again before you coat.
Do I need to sand between polyurethane coats on an uneven floor?
Only if the product label instructs sanding between coats. When patching is involved, sanding feathered transitions after filler cure is usually the key step—but always align the “between-coat” sanding decision with the polyurethane manufacturer’s instructions.
Sources
– [ADD: polyurethane manufacturer’s installation guide/spec sheet for your specific product—surface prep requirements, coat thickness, dry/cure and recoat windows, and sanding between coats]
– [ADD: patch/leveler manufacturer technical data sheet—compatibility with wood/concrete, max thickness per lift, cure time, and sanding requirements]
– [ADD: polyurethane manufacturer substrate preparation guidance for your exact surface type (e.g., concrete vs. wood), including any adhesion/cleaner recommendations]
Frequently Asked Questions
How do you prepare uneven floors before installing polyurethane flooring?
Start by inspecting the subfloor for dips, ridges, cracks, and loose materials, then clean thoroughly so the polyurethane flooring has strong adhesion. For small surface irregularities, grind high spots and fill low areas with a compatible self-leveling underlayment or patch compound that’s approved for polyurethane floor systems. Let all repair materials cure fully and verify flatness with a straightedge or level tool before you begin installation.
What’s the best way to level uneven floors for a polyurethane floor installation?
Use a self-leveling underlayment designed for your substrate (concrete, plywood, or other surfaces) to create a smooth, uniform base. Apply it according to the manufacturer’s mixing and spreading instructions, and work systematically to avoid seams and uneven thickness. After curing, sand or skim coat any remaining high areas, then re-check levelness—polyurethane flooring performs best when the surface is consistent.
Which underlayment or leveling compound works best under polyurethane flooring on uneven surfaces?
Look for a self-leveling underlayment and primers that are specifically rated for polyurethane flooring systems and your subfloor type. For concrete, you typically need the right primer to promote adhesion and control moisture-related issues, while for wood you may need patching materials that resist movement and ensure a stable surface. Always follow the product compatibility guidelines from your polyurethane flooring manufacturer to prevent bonding failures or premature wear.
How do you install polyurethane flooring when there are small dips or ridges?
If the unevenness is minor, you can correct it by grinding ridges and filling shallow low spots with a floor patch that cures hard and can be sanded smooth. Feather-fill the edges so there’s no abrupt transition that could cause voids, squeaks, or early damage once the polyurethane topcoat or coating is installed. After leveling and sanding, vacuum thoroughly and apply the recommended primer so your polyurethane flooring bonds evenly.
Why does leveling matter so much for polyurethane floors, and what problems can occur if you skip it?
Polyurethane floors rely on a consistent substrate to spread loads evenly; uneven areas can lead to hollow spots, weak bonding, and uneven sheen. Over time, dips and ridges may contribute to cracking, peeling, or accelerated wear, especially in high-traffic zones. Proper floor leveling and preparation improves adhesion, durability, and the final appearance of your polyurethane flooring system.
📅 Last Updated: October 11, 2026 | Topic: How to install on uneven floors polyurethane floors? | Content verified for accuracy and freshness.
References
- Self-leveling concrete
https://en.wikipedia.org/wiki/Self-leveling_concrete - Polyurethane
https://en.wikipedia.org/wiki/Polyurethane - https://en.wikipedia.org/wiki/Floor_screed
- Floor
https://en.wikipedia.org/wiki/Subfloor - Glass ceiling
https://en.wikipedia.org/wiki/Concrete_floor - Google Scholar Google Scholar
https://scholar.google.com/scholar?q=installing+polyurethane+flooring+surface+preparation+uneven+substrate - Google Scholar Google Scholar
https://scholar.google.com/scholar?q=self-leveling+underlayment+uneven+concrete+floor+preparation+coating - Google Scholar Google Scholar
https://scholar.google.com/scholar?q=polyurethane+coating+concrete+surface+preparation+grinding+profiling+moisture - https://www.cdc.gov/niosh/topics/sprayfoam/
- https://www.britannica.com/science/polyurethane