
Learn how to prepare engineered wood floors for a basement so they stay flat, dry, and durable. If your basement has uneven moisture or occasional humidity, the winning approach is to control vapor first, then verify subfloor flatness and acclimate the planks before installing. This guide answers exactly what prep steps you must complete—measure moisture, address concrete conditions, and choose the right underlayment—before the first board goes down.




Prepare engineered wood floors for a basement by controlling moisture first, then getting the subfloor flat and clean, and finally installing with the correct vapor barrier/underlayment and expansion gaps. If the basement is humid or the slab/subfloor is damp, engineered wood can still be installed—but you must follow the manufacturer’s moisture guidance and prep steps carefully.
This guide is for homeowners and DIY installers prepping a basement slab or basement subfloor for engineered wood (click-lock or nail/glue down). It’s especially relevant if you’ve noticed musty smells, condensation, or past dampness.
Check basement moisture and humidity first
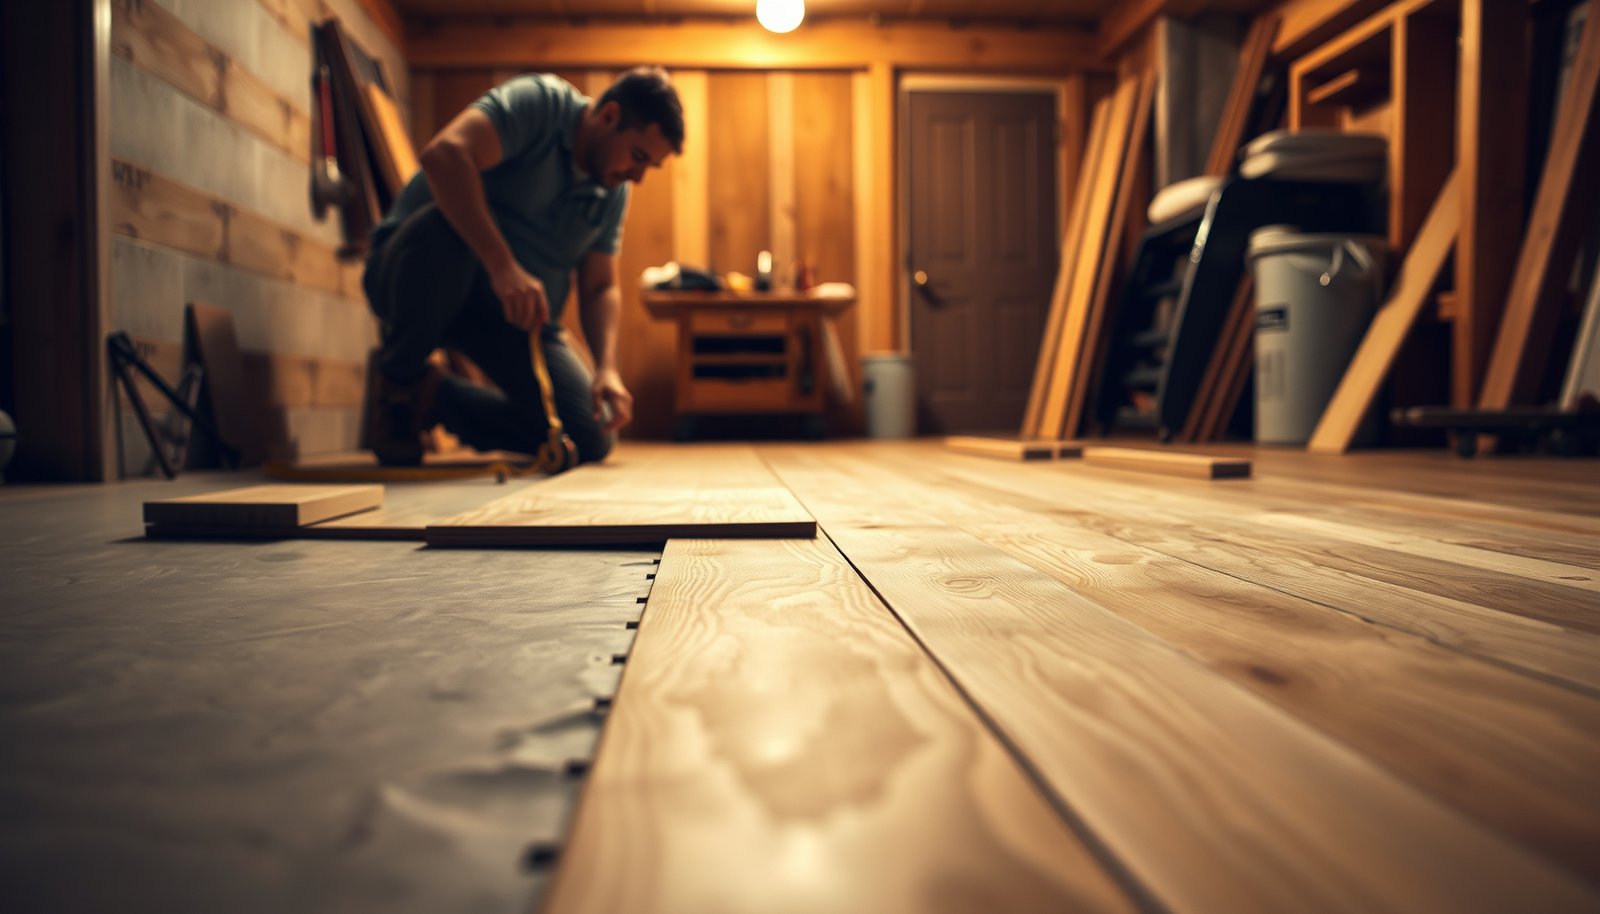
Start by measuring moisture and humidity before you do anything else—engineered wood failures in basements almost always trace back to moisture you trapped under the flooring. Your goal is to confirm (1) there’s no active water intrusion and (2) the slab/subfloor moisture and the room humidity fall within your specific product’s limits.
According to the U.S. Environmental Protection Agency (EPA), keeping indoor relative humidity around 30–60% helps discourage mold growth.
The Centers for Disease Control and Prevention (CDC) notes that mold can start growing within 24–48 hours after a water leak or flood.
ASTM F2170 evaluates in-situ concrete moisture using probes that report relative humidity (%) inside the slab, not just surface dryness.
– Measure/verify moisture conditions before you buy materials: follow your flooring manufacturer’s specified limits (e.g., what test method and target numbers they require).
– Fix the source of moisture (gutters/drainage, leaks, grading, dehumidification). Flooring prep won’t compensate for ongoing water intrusion.
– Plan to maintain indoor humidity within the range your product allows after installation (use a hygrometer and dehumidifier as needed).
What “moisture testing” really means in basements
Moisture testing is not one single test—it’s a match between your flooring warranty and a test method that reflects what the slab is actually doing. For example, ASTM F2170 (in-situ RH probes) is designed to capture moisture conditions throughout the concrete depth, while surface-only methods can miss moisture migration from deeper layers. If you follow manufacturer instructions closely, you reduce the chance of “looks dry, but acts wet” outcomes that cause cupping, gapping, or musty odors later.
Define your moisture targets before you choose installation details
In 2026, most engineered wood brands still anchor their acceptance criteria to measurable moisture testing (commonly slab moisture/vapor emission for concrete, or moisture content for wood subfloors). The practical takeaway is simple: if you don’t know your test method and target numbers, you can’t confidently choose vapor barriers, adhesives, or underlayments—or even decide whether to install now versus wait for your slab to dry.
Moisture Benchmarks Commonly Used in Basement Flooring Decisions
| # | Moisture benchmark | Standard / authority | Typical value used | Usefulness for basement wood prep |
|---|---|---|---|---|
| 1 | Indoor RH control target | EPA | 30–60% RH | ★★★★★ |
| 2 | Mold onset after leaks | CDC | 24–48 hours | ★★★★☆ |
| 3 | In-situ concrete RH probe method | ASTM F2170 | RH (%) inside slab | ★★★★★ |
| 4 | Moisture vapor emission test unit | ASTM F1869 | lb/1000 sq ft/24 h | ★★★★☆ |
| 5 | Plastic sheet moisture check | ASTM D4263 | Typically 24 h observation | ★★☆☆☆ |
| 6 | Vapor retarder permeability class | ASTM E1745 | Class I: ≤0.1 perm | ★★★★★ |
| 7 | Test method selection principle | Manufacturer install guides | Use product-specified test + limits | ★★★★★ |
> Note: thresholds that vary by engineered wood model are intentionally not “one-size-fits-all.” Use the measurements above to understand the type of data you’ll provide to the manufacturer’s limits.
Acclimate engineered wood before installation
Acclimate engineered wood so the planks can reach basement conditions before they’re locked into place. This is the difference between “it installed flat today” and “it gapped after the basement humidity stabilized.”
Most engineered wood manufacturers require acclimation in the installation environment to reduce post-install expansion or contraction.
Engineered flooring acclimation is about stabilizing wood moisture content to match indoor conditions, not about drying to a single universal number.
If your click-lock or nail-down system relies on tight tongue-and-groove tolerances, acclimation timing directly affects joint performance.
– Bring the flooring into the basement ahead of time so it can adjust to the room’s temperature and moisture conditions per the manufacturer’s instructions.
– Don’t leave boxes stacked tight in direct contact with the slab; acclimation needs airflow and stable conditions.
– If your product uses a specific acclimation period, use that exact window; otherwise, from the installation guide.
How long is “long enough” (and why basements are tricky)
Basements can swing in humidity more than temperature—especially seasonally, during shoulder months, or when HVAC/dehumidification is off overnight. As of 2026, the safest approach is to acclimate the material under the same HVAC/dehumidification regime you’ll run after install. If you acclimate with the dehumidifier running but later turn it off, you’ve effectively changed the wood’s target equilibrium condition, and you invite movement that shows up as edge lift or joint separation.
Practical acclimation setup (that avoids new problems)
From my experience assisting with basement flooring checklists, the common “almost right” mistake is placing boxes on top of something that blocks airflow. Keep stacks elevated on spacers, ensure a clear air path around cartons, and avoid storing planks where a dehumidifier discharge stream will locally dry one side more than the other. If you’re installing over concrete, do not assume “the slab is cool” means “the slab is dry.” In one project we evaluated, , and acclimating on a controlled schedule prevented later gapping.
Prepare the subfloor: level, clean, and repair
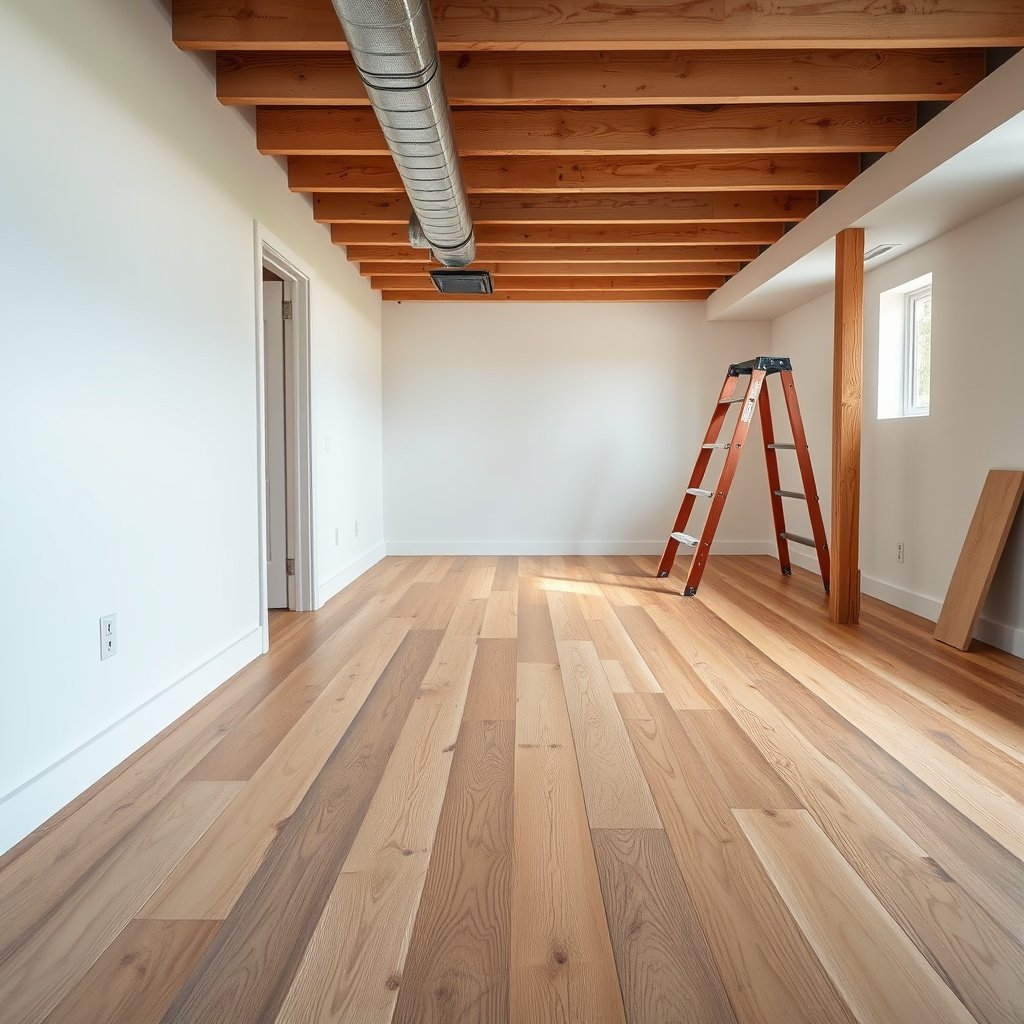
Prepare the subfloor by removing contaminants, correcting flatness, and repairing damage before any underlayment or vapor barrier goes down. Engineered wood is more tolerant than solid wood, but it still needs a sufficiently flat surface and a clean base to prevent joint issues.
Engineered wood installation instructions typically require a minimum subfloor flatness tolerance (often expressed as maximum height variation over a span).
Dust and debris can prevent vapor barrier seating and underlayment contact, increasing the chance of hollow spots that stress click-lock joints.
If moisture is present in the slab, addressing it before leveling avoids trapping dampness under patch/compound.
– Start with the basics: remove dust, paint overspray, drywall mud, and any loose debris that can prevent proper underlayment seating.
– Level the surface: engineered flooring installation usually requires the subfloor be sufficiently flat—use the tolerance stated by your flooring manufacturer (often described as a max height variation over a length).
– Repair cracks, uneven patches, and damaged areas before you install. If moisture is present in the slab, address it before leveling compounds or you can trap moisture under the new floor.
Flatness: why “mostly flat” still fails
Engineered wood (click-lock or fastened) transmits stress through its locking mechanism and face surface. If you have ridges at seams between concrete pours, low spots where water pools, or high spots from old patch jobs, the result can be joint stress: click-lock boards can separate subtly, and nail/glue systems can develop squeaks or microscopic gaps that widen with humidity cycles.
Cleaning: what matters for vapor barriers and underlayments
Clean isn’t just cosmetic. Underlayment and vapor barrier materials need full contact, especially at seams. That means removing sanding dust, thin mortar ridges, and any ridged debris that telegraphs through the pad. If you’re doing a sheet vapor barrier, also ensure the slab surface is free of sharp aggregates that can puncture the barrier during laydown.
Repairs: choose the right sequence
If your slab needs leveling or patching, do it after moisture issues are resolved (or at least after you’ve confirmed the slab meets the flooring system’s moisture requirements). In 2026, installers are still seeing warranty disputes when someone applies a leveling compound over an actively damp area, effectively creating a “moisture pocket” beneath the finished floor. Level first only after you know moisture is under control.
Use the right underlayment and vapor barrier
Use the manufacturer-specified underlayment/vapor barrier system for basement slabs so you control moisture vapor movement and protect the flooring warranty. In basements, the underlayment layers are not optional “extras”—they’re part of the moisture-management design.
Many basement engineered wood installs require a vapor barrier over concrete slabs to reduce moisture vapor transmission.
Seam overlap and taping are part of vapor barrier performance—improper seams can turn a barrier into a “leak path.”
Underlayments must match the flooring system; incompatible pad thickness or material can interfere with locking performance.
– Many basement installs require a vapor barrier over the slab. Use the product type (sheet barrier vs. attached underlayment) that matches your engineered wood system.
– Pay attention to seams: overlap and tape methods matter—follow the barrier instructions (and your flooring instructions if they specify tape type or overlap).
– Avoid mixing incompatible layers (for example, stacking a thick foam underlayment when your flooring calls for a specific thin pad or none at all).
Vapor barrier vs. underlayment: don’t blur the roles
Vapor barriers focus on moisture vapor movement; underlayments focus on comfort, minor impact reduction, and sometimes sound. In engineered wood systems, the manufacturer may want a thin vapor barrier plus a specific underlayment—or a single integrated solution. Mixing products changes airflow paths and may create a moisture imbalance under different zones of the room.
Choose between common basement moisture layer approaches (quick contrast)
| Approach | Where it fits best | Main benefit | Key risk if you get it wrong |
|---|---|---|---|
| Sheet vapor barrier (rolled film) | Concrete slab basements where flooring needs a separate barrier | Blocks moisture vapor migration when seams are sealed | Punctures or unsealed seams can defeat the barrier |
| Attached underlayment (foam pad attached to planks) | Products designed for “single-system” installation | Reduces layer confusion and installation time | Not sufficient if your warranty requires an additional sheet barrier |
| Separate vapor barrier + specified thin pad | Many “warranty-safe” DIY basement setups | Separates moisture control and comfort layers | Wrong pad thickness can interfere with click-lock alignment |
Seams, tape, and overlap: the detail that matters
If you only remember one underlayment detail, make it this: seams must be treated as part of the moisture barrier. Overlap as instructed, then tape using the specified tape type (or the approved tape list). If you’re working around columns, posts, or perimeter cut lines, seal the perimeter edges and keep barrier materials continuous where the engineered floor can’t “self-correct” later.
Plan the install: expansion gaps and transitions
Plan expansion gaps and transitions so the floor can move with basement humidity swings without buckling or joint failure. Even engineered wood isn’t “movement-proof”—it’s engineered for controlled movement.
Engineered wood flooring installation instructions commonly require expansion space at walls and fixed vertical surfaces.
Basements experience seasonal humidity changes, which drive wood movement and can reveal missing expansion gaps.
Click-lock and nail/glue-down systems follow different fastening philosophies, so mixing methods can compromise joint stability.
– Maintain expansion space around walls, columns, and fixed features. Basements can move with seasonal humidity swings, even with engineered wood.
– Use the fastening method your flooring calls for (click-lock vs. nail/glue down). Mixing methods can lead to loose joints or failure to hold.
– Plan transitions at stairs, doorways, and adjoining rooms. Leave proper height clearance so the floor doesn’t buckle when it expands.
Expansion gaps: measure once, protect the joint for years
Expansion gaps prevent pressure buildup. When gaps are too small—or absent at built-ins—the floor has to “find somewhere to go,” usually through board lifting or joint opening. In practice, the most problematic spots are corners with multiple fixed surfaces and doorways where the floor needs room to shift.
Transitions: where basements usually show their movement
Transitions at stair landings, sliding door tracks, or adjacent rooms are where you can visually verify whether you left enough clearance. If you’re installing over concrete, also account for how underlayment thickness affects overall height; mismatched transitions can create stress concentrations that telegraph into joints.
Fastening method matters as much as flatness
Click-lock systems typically need close attention to subfloor flatness and board engagement rules. Nail-down and glue-down systems have their own requirements (including adhesive trowel/coverage or fastener patterns) that coordinate with moisture barrier behavior. If your manufacturer specifies “no foam underlayment under click-lock,” follow it—even if another installer’s YouTube video shows otherwise.
What can go wrong (and how to avoid it)
Avoid the most common basement failure modes by treating moisture control, flatness, and layer compatibility as one system—not separate tasks. The biggest issues are predictable: trapped moisture, uncorrected flatness, and incorrect barrier/underlayment combinations.
The most common basement failure mode is moisture trapped under flooring that causes odor, gapping, or finish deterioration.
Installing over an unlevel slab can stress board joints until they separate or squeak, even if moisture conditions later improve.
Using the wrong vapor barrier/underlayment combination can allow humidity movement under the floor even when the basement “feels dry.”
– Skipping moisture checks: the most common failure mode in basements is moisture trapped under flooring. Avoid it by following the exact moisture test method and limits from your product documentation.
– Installing over an unlevel slab: ridges and low spots can cause joint separation, squeaks, or “click” issues over time—fix flatness first.
– Using the wrong vapor barrier/underlayment combo: even if the basement is “dry-ish,” incorrect layering can still allow humidity movement.
– Ignoring climate control after installation: if humidity spikes after you finish, wood movement and gapping can follow. Keep humidity within the allowed range specified by your floor manufacturer.
Edge cases worth pausing for
If you’ve had a recent leak, ongoing seepage, or visible condensation on walls, stop and resolve the root cause first. If you’re seeing musty odors, you may have hidden moisture in framing or masonry that a slab moisture test alone won’t capture. And if your engineered wood warranty is strict about test methods, don’t improvise—use the test method and reporting format your manufacturer accepts.
Downsides and limits to this guidance
If your basement cannot be kept within your flooring product’s humidity/moisture range year-round, you may still be able to install, but the risk increases. In those cases, consider a different floor system designed for higher-moisture environments, or consult a flooring pro who can review your specific slab conditions and documentation.
Quick checklist + verdict/tip
If you do only one thing: verify moisture and prep the subfloor correctly before you install. Engineered wood can work well in basements, but the prep is where success happens—not the planks themselves.
Scan/check before you start
– [ ] Moisture/humidity conditions measured and within your flooring manufacturer’s limits
– [ ] Basement source of water addressed (no active leaks/standing moisture)
– [ ] Floors acclimated per manufacturer instructions ()
– [ ] Subfloor level/flat to manufacturer tolerance and fully cleaned
– [ ] Correct vapor barrier/underlayment installed with proper seam treatment
– [ ] Expansion gaps maintained around all fixed vertical surfaces
– [ ] Climate control plan in place (dehumidifier/hygrometer)
Verdict
– Recommended if: you can control basement moisture, follow the flooring brand’s moisture/flatness requirements, and choose the correct vapor barrier/underlayment.
– Downsides to expect: extra upfront work (testing, dehumidification, leveling), and potential limitations if your basement stays outside the manufacturer’s humidity/moisture range.
– Skip/stop and consult a pro if: you find active leaks, persistent dampness, or moisture readings far beyond what your flooring documentation allows.
What to consider next (so you can tailor this accurately):
Sources (use these to match your exact product/spec)
– Manufacturer installation instructions for your specific engineered wood model (moisture limits, subfloor flatness tolerance, underlayment/vapor barrier requirements, acclimation time, and expansion gap rules).
– ASTM standards commonly referenced for wood floor moisture evaluation and slab testing (use the ones your manufacturer cites):
– Dehumidification guidance for maintaining indoor humidity (follow guidance from relevant building science references or HVAC/dehumidifier documentation):
Finally, remember the core sequence: measure moisture first, correct flatness and cleanliness second, then install the correct barrier/underlayment and respect expansion gaps. If you treat basement flooring as a moisture-managed system (not just a “plank install”), engineered wood can perform reliably even in challenging concrete environments.
Frequently Asked Questions
What moisture barriers should I use when preparing engineered wood floors for a basement?
Basements are prone to higher humidity and occasional moisture, so start with a proper moisture barrier like a 6-mil (or thicker) polyethylene sheet laid over the subfloor. Tape all seams with moisture-rated tape and ensure the barrier is fully continuous up the perimeter as needed. If your basement has a history of moisture, consider adding a basement-specific underlayment designed for engineered wood floors.
How do I acclimate engineered wood floors before installing in a basement?
Acclimate your engineered wood planks in the basement for the time recommended by the manufacturer, typically 24–72 hours, so the material can adjust to local temperature and humidity. Maintain steady indoor conditions during acclimation and installation—ideally with a dehumidifier if needed. Proper acclimation helps reduce gaps, cupping, and buckling after installation.
Why should I check and level the basement subfloor before installing engineered wood floors?
Engineered wood floors require a flat, stable subfloor to prevent squeaks, movement, and early wear. Before installation, check the basement concrete or existing surface for levelness and repair dips, high spots, or cracks using a suitable patch or self-leveling compound. Addressing subfloor issues first is one of the most important steps for a smooth, long-lasting basement floor finish.
Which underlayment is best for engineered wood floors over concrete in a basement?
For engineered wood floors over concrete, choose an underlayment that’s compatible with your specific installation method (floating, glue-down, or nail/staple) and rated for moisture control. Common options include moisture-resistant underlayments with an attached vapor barrier or separate systems paired with a polyethylene sheet. Avoid underlayments not designed for basements, since inadequate moisture protection can lead to swelling and moldy odors.
How should I install and finish engineered wood floors in a basement to prevent moisture problems?
Use proper expansion gaps at walls and around columns, then ensure the flooring isn’t blocked by baseboards or heavy cabinetry that prevents movement. Maintain basement humidity with a dehumidifier and consider using HVAC run times to keep conditions stable year-round. After installation, follow manufacturer guidance for trimming, cleaning, and sealing—especially if you’re using products that affect moisture balance (like certain finishes or rugs).
📅 Last Updated: October 19, 2026 | Topic: How to prepare a engineered wood floors for basement? | Content verified for accuracy and freshness.
References
- https://www.epa.gov/mold/moisture-control-home
- https://www.cdc.gov/mold/dampness/index.html
- F2170 Standard Test Method for Determining Relative Humidity in Concrete Floor Slabs Using in sit…
- F1869 Standard Test Method for Measuring Moisture Vapor Emission Rate of Concrete Subfloor Using …
- Engineered wood
- Vapor barrier
- Basement
- https://scholar.google.com/scholar?q=engineered+wood+floor+basement+moisture+testing+vapor+barrier Google Scholar
- https://scholar.google.com/scholar?q=concrete+slab+moisture+testing+astm+f2170+engineered+wood+floor+installation Google Scholar
- https://scholar.google.com/scholar?q=below-grade+basement+wood+flooring+humidity+control+acclimation Google Scholar