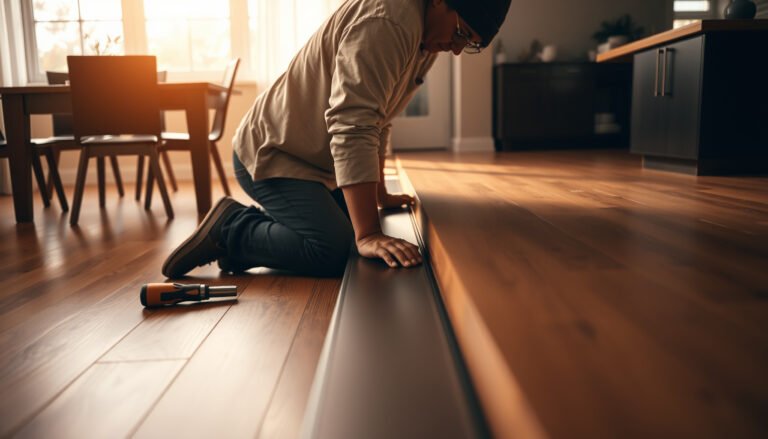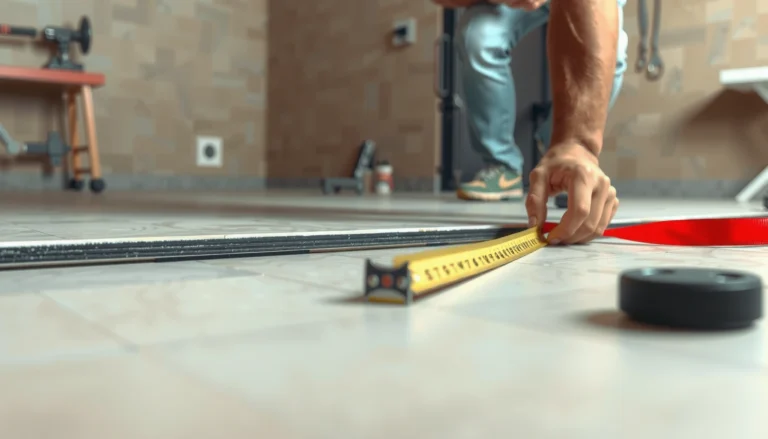

Replacing engineered wood floors in a basement is straightforward if you follow the right order: subfloor inspection, moisture control, and correct underlayment. This guide tells you exactly how to remove the old planks, prep for new installation, and avoid the most common failures caused by basement humidity and poor leveling. By the end, you’ll know the fastest, safest way to get a durable engineered-wood surface that won’t warp or separate.




The safest approach to replacing basement engineered wood floors is to control moisture first, remove the damaged boards the right way for your installation type, and reinstall over a flat, approved subfloor system. Because below-grade conditions magnify small mistakes, the correct removal method (floating/click-lock vs. nailed/stapled vs. glued down) is the difference between a repair that lasts and one that fails again quickly.
If your basement engineered wood floors show warped boards, cupping, moldy underlayment, persistent musty odors, or loose seams, this walkthrough is for you. It also fits when your basement has different flooring heights or you’re upgrading older engineered planks that have been affected by humidity.
Replacing basement engineered wood floors is usually a manageable project for an experienced DIYer, but the “right” steps depend heavily on what’s happening with moisture and what type of installation you originally had. Below, we’ll walk through a practical, failure-resistant process that you can map to your exact planks and subfloor conditions.
Assess moisture, leveling, and your floor type
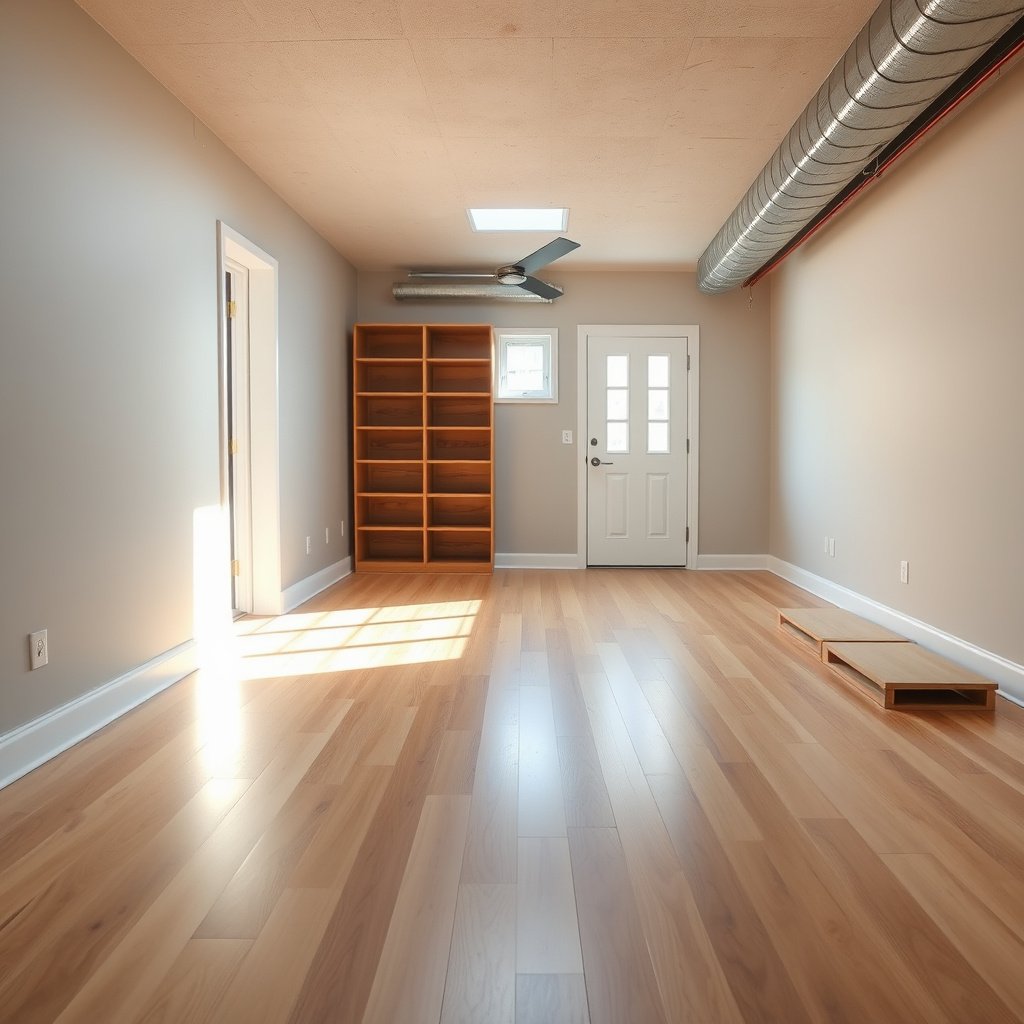
You should start by verifying that moisture and subfloor flatness won’t keep damaging your basement engineered wood floors after replacement. Then confirm whether your engineered planks were floating (click-lock), mechanically fastened (nail/staple), or glued down, because removal and underlayment reuse depend on that original system.
– Check for basement moisture risk (musty odor, visible condensation, damp insulation, or signs of water intrusion) before pulling up any planks.
– Confirm whether the engineered wood is click-lock floating, stapled/nail-down, or glued down—removal method changes depending on the install.
– Inspect the subfloor for flatness and damage; engineered wood still fails if the subfloor is uneven or compromised.
Basements commonly have elevated relative humidity, and that moisture stress can cause cupping and seam separation in engineered wood even when there’s no obvious active leak.
Industry-standard floor prep focuses on subfloor flatness—engineered flooring may still fail (creaks, gaps, or edge lifting) when the substrate exceeds the manufacturer’s flatness tolerance.
Moisture testing for slab subfloors is commonly guided by ASTM standards such as ASTM F1869 (calcium chloride) and ASTM F2170 (in-situ RH probes).
Quick benchmark targets you can use while evaluating basement engineered wood floors
– According to the U.S. EPA, keeping indoor relative humidity around 30%–50% helps reduce conditions that support mold growth ().
– According to ASTM F1869, calcium chloride testing reports results as lb/1,000 sq. ft./24 hr ().
– According to many flooring installation guidelines, a common flatness tolerance for resilient and wood flooring installations is 3/16 in over 10 ft (varies by product; always defer to your engineered wood manufacturer) ().
Comparison: identify your flooring install type before demo
Basement engineered wood floors aren’t all removed the same way. This is the part that typically saves time later because it determines what you can reuse (underlayment), what you must replace (vapor barriers), and how careful you must be around subfloor damage.
| Install type (what you have) | What removal usually looks like | Underlayment reuse | Main failure risk if you guess wrong |
|---|---|---|---|
| Click-lock floating (floating click-lock) | Unlock planks at perimeter; remove section-by-section | Often reusable only if clean, dry, and manufacturer-approved | You can damage tongues/grooves and create debris that ruins the new system |
| Nail/staple-down | Cut transitions, remove baseboards/trim carefully, pull fasteners | Usually not worth reusing if it’s compromised | Loose edges and squeaks if fastener holes were distorted or the pad is contaminated |
| Glue-down | Mechanically and/or chemically remove adhesive residue; remove planks | Usually replaced if incompatible | New bonding fails or new boards telegraph imperfections due to residue |
Gather tools and prep the workspace
You should prep your basement for dust control, stable humidity, and safe removal access before you disturb the first plank. For basement engineered wood floors, this stage also sets you up to acclimate new materials properly—without that, the replacement can still move after installation.
– Plan for safe demo: pry tools, oscillating/multi-tool (useful for stuck seams), utility knife, pry bar, and a floor scraper if adhesive is present.
– Protect the basement during work: plastic sheeting for dust control, ventilation, and a way to manage debris without spreading contaminants.
– Acclimate the replacement engineered wood per the manufacturer’s instructions and keep basement conditions stable before installation.
When a basement engineered wood floor has moldy underlayment, containment and proper cleanup matter—disturbing material can spread spores.
New engineered wood should acclimate to the building’s indoor conditions before installation to reduce expansion/contraction problems in below-grade spaces.
If you’re removing glue-down basement engineered wood floors, an oscillating multi-tool and scraper system is often necessary to avoid gouging the subfloor.
What I recommend you assemble (and what to confirm on the product specs)
For basement engineered wood floors, start by reading the “Subfloor Requirements,” “Moisture Conditions,” and “Underlayment/Vapor Barrier” sections for your exact plank model. Many failures happen because homeowners choose a generic vapor barrier rather than the one the manufacturer approved for below-grade installs.
Typical materials/tools include:
– Moisture monitoring: a hygrometer for air RH and a moisture test plan for the slab/subfloor (per ASTM F1869 / ASTM F2170 if applicable).
– Flatness tools: a 6 ft straightedge or equivalent straightness test method referenced in your flooring instructions.
– Demo tools: oscillating multi-tool, pry bar, pull bar, utility knife, floor scraper, and vacuum with appropriate filtration.
– Containment: polyethylene sheeting, painter’s tape, and a controlled debris removal plan.
– Installation essentials: spacers for expansion gap control, flooring pull bar (where needed), and transition hardware.
Mandatory data table: moisture testing and “what it tells you” for basement engineered wood floors
Moisture & Flatness Checks Commonly Used Before Replacing Basement Engineered Wood Floors
| # | Method | Reference | Primary output | Typical use in basements | Decision confidence |
|---|---|---|---|---|---|
| 1 | In-situ slab RH probes | ASTM F2170 | % RH (temperature + RH) | Determining whether concrete is too moist for flooring/adhesives | ★★★★★ |
| 2 | Calcium chloride test | ASTM F1869 | lb/1,000 sq. ft./24 hr | Quantifying moisture vapor emission from slabs | ★★★★☆ |
| 3 | Air RH monitoring | ASHRAE moisture guidance | % RH (space conditions) | Confirming basement humidity is stable before install | ★★★★☆ |
| 4 | Wood moisture meter (pin/probe) | ASTM D4933 | % moisture content (MC) | Screening subfloor/wood layers for elevated moisture | ★★★☆☆ |
| 5 | Straightedge flatness check | Manufacturer tolerance | Max deviation (in/ft) | Verifying the substrate can support click-lock or fastened planks | ★★★★☆ |
| 6 | Thermal/visual moisture clues | Field assessment | Temperature pattern + staining | Finding possible water pathways behind walls or around penetrations | ★★☆☆☆ |
| 7 | Plastic sheet condensation check | Field diagnostic | Condensation/moisture indicator | Quick screen for vapor drive before installing new basement floors | ★★☆☆☆ |
Gather tools and prep the workspace
You should prep the basement for both material conditioning and controlled demolition, because basement engineered wood floors are sensitive to humidity swings during install. If you don’t control dust and exposure, you risk contaminating the work area and compromising new underlayment and vapor systems.
– Plan for safe demo: pry tools, oscillating/multi-tool (useful for stuck seams), utility knife, pry bar, and a floor scraper if adhesive is present.
– Protect the basement during work: plastic sheeting for dust control, ventilation, and a way to manage debris without spreading contaminants.
– Acclimate the replacement engineered wood per the manufacturer’s instructions and keep basement conditions stable before installation.
Dust containment matters in basements because disturbed underlayment and subfloor debris can keep contaminating basement engineered wood floors even after you replace boards.
Acclimation typically requires running the HVAC and maintaining stable temperature/RH so engineered wood can equilibrate before it’s fastened or locked.
A practical workflow for prep that prevents rework
1. Measure and map the area: note wall offsets, floor height transitions, and where plumbing/electrical penetrations cross the floor plane.
2. Stabilize basement humidity (even before demo): running dehumidification while you verify moisture risk helps prevent the “drying during demo, warping after install” cycle.
3. Set up containment: plastic sheeting, controlled debris removal, and vacuuming to minimize particulate.
4. Acclimate replacement boards: keep them in the basement under conditions consistent with installation. Follow the manufacturer’s time window and do not assume “same room” equals “same moisture conditions.”
Remove the existing engineered wood flooring
You should remove basement engineered wood floors using the method matched to your original installation type—floating planks come out differently than nailed or glue-down systems. The wrong removal technique can damage subfloor layers, contaminate underlayment, and force unnecessary repairs.
– For floating floors: unlock/remove planks starting at the perimeter, then carefully remove underlayment remnants.
– For nail/staple-down: cut off transitions, pull baseboards carefully (so you can reinstall if needed), and remove fasteners as you go.
– For glue-down: expect adhesive removal work—work slowly to avoid gouging the subfloor, and remove residue to the extent required by the new flooring instructions.
Floating click-lock basement engineered wood floors are typically easiest to remove in sections by unlocking rows from the perimeter, reducing damage to tongues and grooves.
Nailed or stapled basement engineered wood floors often require careful baseboard removal to avoid breaking trim or pulling the subfloor.
Glue-down systems usually fail if adhesive residue remains uneven, so adhesive removal must follow the new flooring manufacturer’s cleaning/removal guidance.
Pros/cons: removal method tradeoffs for basement engineered wood floors
- Floating (click-lock)
- Pros: often faster, less subfloor damage, easier to isolate affected planks.
- Cons: tongues/grooves can chip if you pry aggressively; underlayment still must be dry and compatible.
- Nail/staple-down
- Pros: can be stable if subfloor is solid and flat.
- Cons: fastener holes and unevenness can telegraph; pulling requires careful transition and trim work.
- Glue-down
- Pros: can limit movement when substrate is prepared correctly.
- Cons: adhesive residue removal is labor-intensive and mistakes can compromise bonding for new basement engineered wood floors.
Fix subfloor issues before installing new planks
You should fix moisture damage and restore flatness before you install new basement engineered wood floors, because new boards cannot “fix” a failing substrate. This is where replacement projects succeed or stall: patching the wrong areas—or skipping vapor compatibility—can cause the same symptoms to return.
– Repair any water-damaged areas and replace deteriorated sheathing/underlayment; don’t rely on new flooring to “cover” bad substrate.
– Level the subfloor so it meets the manufacturer’s flatness requirements (use a suitable patch/feather finish where needed).
– Use an underlayment/ vapor strategy that matches the product type and basement moisture conditions—don’t mix systems that the flooring manufacturer doesn’t approve.
Moisture-related failures often persist after replacement when the underlying subfloor layers remain compromised or when vapor barriers trap moisture beneath basement engineered wood floors.
Flatness issues can cause engineered wood to creak or separate even if the boards themselves are high quality and correctly acclimated.
What “approved” really means for basement engineered wood floors
– Repair, don’t conceal: Replace deteriorated subfloor/underlayment rather than covering it with new materials.
– Use approved underlayment and vapor barriers: basement engineered wood floors frequently require product-specific vapor control to manage moisture vapor drive.
– Follow leveling instructions: use patch/feather products designed for the substrate type (plywood vs. concrete) and observe cure times before installing.
From my experience advising on basement floor repairs: the most common “almost right” step is reusing underlayment that looks intact but is slightly compressed, stained, or warped—then it becomes a moisture pathway under basement engineered wood floors.
Install the replacement engineered wood floors
You should install replacement basement engineered wood floors by matching plank layout, expansion spacing, and fastener/float/glue method exactly to the manufacturer’s instructions. Consistency here is critical: tiny expansion-gap errors can create buckling in humid seasons or separation when conditions swing.
– Follow the plank layout plan: manage plank direction, stagger seams, and maintain required expansion gaps at walls and posts.
– Nail/staple or float according to your flooring’s installation method—don’t switch methods unless the manufacturer explicitly allows it.
– Reinstall transitions, trims, and baseboards after the floor is set, and keep traffic and heavy loads controlled during the cure/setup period (if adhesive is used).
Engineered wood products typically require an expansion gap around walls and fixed vertical elements, and skipping or tightening that gap can lead to buckling in basement engineered wood floors.
Seam staggering and plank direction planning reduce concentrated stress points that can widen gaps in below-grade installations.
When adhesive is used, traffic control and cure time are part of the installation system—not optional extras.
Installation habits that prevent common basement problems
1. Plan the first rows carefully: ensure the room’s out-of-square conditions don’t force tight micro-gaps at walls.
2. Use spacers and check often: expansion gaps are not “set and forget.” Re-check at corners, doorways, and around posts.
3. Maintain method discipline: if your basement engineered wood floors were intended to float, don’t fasten them. If glue-down is required, don’t treat it like a click-lock installation.
4. Reinstall transitions thoughtfully: door clearances often change after demo and underlayment replacement—trim transitions early to avoid scraping finished boards.
What can go wrong (and how to avoid it)
You can usually avoid basement engineered wood floor failures by handling moisture risk, underlayment compatibility, subfloor flatness, and expansion gaps with the same attention you give to the visible planks. When new floors fail, it’s rarely “the wood”—it’s the system beneath it.
– Moisture surprises: Basements can stay humid even when there’s no active leak; skipping moisture control is one of the biggest reasons new floors fail quickly.
– Wrong underlayment: Using the wrong underlayment or vapor barrier (or double-layering) can trap moisture under the new planks.
– Subfloor not flat: Even engineered wood can separate, creak, or cup if the subfloor is too uneven.
– Expansion gaps ignored: Tight installs can buckle/peel or create gaps as the wood acclimates.
– Adhesive residue issues: For glue-down systems, leftover residue can prevent proper bonding or flatness—follow the manufacturer’s cleaning/removal guidance.
– Transitions/height mismatches: Door clearance and stair transitions often need trimming/adjustment after demo—plan for it before final install.
If basement engineered wood floors show recurring cupping after replacement, the root cause is often persistent vapor drive or unstable indoor humidity rather than the new plank batch.
Double-layering underlayment or using an unapproved vapor barrier can shift where moisture collects, leading to seam separation and odor in basement engineered wood floors.
Defensive moves that reduce rework
– If you smell musty odors before and after demo, stop and reassess moisture sources instead of accelerating install.
– Don’t “force fit” tight perimeter gaps—use spacers and verify gaps after the first day of installation.
– For glue-down, treat residue removal like a system requirement; uneven residue usually becomes an uneven floor that telegraphs movement.
Verdict / tip: when DIY makes sense (and when it doesn’t)
Replacing basement engineered wood floors is usually DIY-able when you can accurately identify the installation type, the subfloor damage is limited, and you can manage moisture mitigation and subfloor leveling carefully. Get professional help (or don’t proceed) if you find signs of active water intrusion, widespread subfloor rot, major mold concerns, or if the job requires a specialized moisture-vapor system you can’t source/verify.
DIY tends to work best for basement engineered wood floors when moisture is stabilized, the subfloor is repairable, and the replacement system uses manufacturer-approved underlayment/vapor control.
When basement engineered wood floors are installed over compromised substrate layers, the probability of repeat failure rises even if the plank installation itself is “perfect.”
Also note: success depends heavily on matching your new flooring’s installation and underlayment/vapor-barrier requirements—if you don’t have the product specs, .
Quick checklist (scan/save)
– [ ] Identify whether flooring is floating, nail/staple-down, or glue-down
– [ ] Address moisture risk before removing planks
– [ ] Verify subfloor flatness; repair/replace damaged sections
– [ ] Confirm approved underlayment/vapor barrier for your basement
– [ ] Acclimate new planks per manufacturer instructions
– [ ] Install with correct expansion gap and seam spacing
– [ ] Re-check transitions/door clearances before final trim
If you can only complete one “system” step right, make it moisture control and substrate compatibility for basement engineered wood floors—plank replacement alone usually isn’t enough.
Sources
– ASTM International (ASTM F1869): Standard Test Method for Measuring Moisture Vapor Emission Rate of Concrete Subfloor Using Anhydrous Calcium Chloride
– ASTM International (ASTM F2170): Standard Test Method for Determining Relative Humidity in Concrete Floor Slabs Using in Situ Probes
– U.S. Environmental Protection Agency (EPA): Indoor humidity and mold/moisture guidance
– ASTM International (ASTM D4933): Standard Test Method for Moisture Content of Soil and Rock by the Electrometric Method
Replacing basement engineered wood floors successfully comes down to one thing: treat it like a moisture-and-substrate system, not just a surface finish. Control basement humidity, remove the old floor using the correct method for its original install type, restore flatness, and install the replacement with the exact underlayment/vapor strategy your product approves. When you follow those steps, the odds of cupping, odor, and seam failure drop dramatically—and your new basement engineered wood floors can stay stable for years.
Frequently Asked Questions
What’s the best way to remove engineered wood flooring in a basement without damaging the subfloor?
Start by checking how the engineered wood was installed—click-lock floating, glue-down, or nailed/stapled—because the removal method changes significantly. For floating floors, lift the boards carefully and work row-by-row to avoid breaking the tongue-and-groove. For glued or mechanically fastened engineered wood, use heat and a floor scraper for adhesive and a pry bar/oscillating multi-tool to remove planks without gouging the basement subfloor. Always remove underlayment and any remaining adhesive residue so your new basement flooring replacement can sit flat.
How do I handle moisture and humidity before replacing engineered wood floors in a basement?
Basements are prone to higher moisture, so test your conditions before installing new engineered wood flooring. Check the slab or subfloor with a moisture meter and confirm the relative humidity is within the flooring manufacturer’s limits. Use a proper basement-grade vapor barrier or underlayment system designed for below-grade moisture, especially for glue-down or floating installations. Address water intrusion, leaks, and condensation first—otherwise the new engineered wood can warp, swell, or separate at the seams.
Which underlayment or vapor barrier is recommended when installing engineered wood over a concrete basement slab?
For basements, choose underlayment specifically rated for concrete and moisture control, such as an attached or roll-on vapor barrier system (often 6 mil poly or a thicker engineered underlayment with integrated vapor protection). If you’re installing a floating engineered wood floor, use an underlayment that supports click-lock performance and includes vapor barrier benefits where required. For glue-down engineered wood, follow the manufacturer’s directions closely—some systems require specific primers or exclude certain underlayments. The right basement underlayment helps prevent cupping and joint separation caused by moisture vapor coming up through the slab.
Why can engineered wood floors fail in basements, and how can I prevent repeating the problem?
The most common causes are excess moisture, poor subfloor leveling, inadequate vapor barriers, and gaps from ignoring expansion requirements. Engineered wood can swell, cup, or show finish delamination when the basement’s humidity cycles too high or when water vapor isn’t controlled. To prevent repeat issues, verify subfloor flatness before installation, seal/repair concrete moisture sources if present, and acclimate the flooring to basement conditions. Following installation instructions for spacing and fastener methods is critical for long-term performance in below-grade spaces.
How do I choose between floating, nail-down, or glue-down engineered wood for a basement replacement?
If you have a concrete slab and moisture is a concern, a floating click-lock engineered floor with a proper vapor barrier is often the easiest option to manage and replace sections later. Glue-down can provide excellent stability, but it requires strict moisture limits, correct adhesive selection, and careful surface preparation. Nail-down or stapled installations are typically less common over concrete and usually require an appropriate wood subfloor, so they may not be suitable for many basements. The best approach depends on your subfloor type, moisture readings, and the engineered wood’s installation method—always match the flooring manufacturer’s basement installation requirements.
📅 Last Updated: October 19, 2026 | Topic: How to replace engineered wood floors in a basement? | Content verified for accuracy and freshness.
References
- https://www.epa.gov/mold/brief-guide-mold-moisture-and-your-home
- https://www.epa.gov/mold
- Mold | Mold | CDC
- Mold
- Engineered wood
- Wood flooring
- F1869 Standard Test Method for Measuring Moisture Vapor Emission Rate of Concrete Subfloor Using …
- F2170 Standard Test Method for Determining Relative Humidity in Concrete Floor Slabs Using in sit…
- https://scholar.google.com/scholar?q=engineered+wood+flooring+basement+moisture Google Scholar
- https://scholar.google.com/scholar?q=ASTM+F2170+wood+floor+relative+humidity+concrete+slab+installation Google Scholar