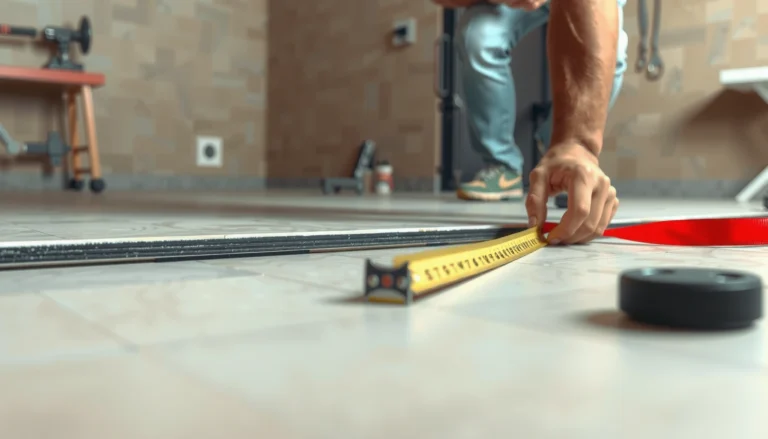

Want to install transitions around hardwood floors in a dining room without gaps, height mismatches, or tripping edges? This guide shows the cleanest method for getting a tight, pro-looking fit based on your flooring direction and subfloor condition—so you get the right overlap and spacing every time. Follow these steps and you’ll finish transitions that hold up under dining-room traffic and chair movement.



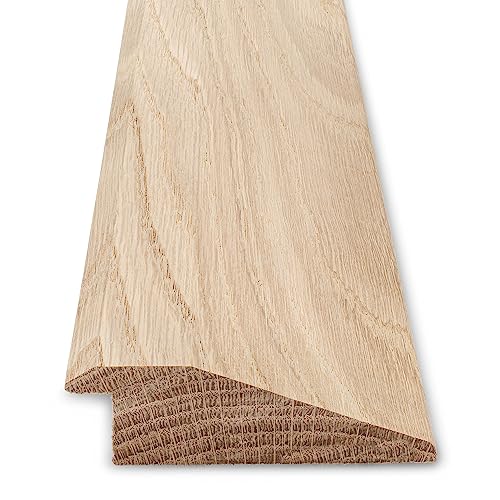
Install the right transition (T-molding, reducer, or threshold) by matching its profile to the height difference between surfaces, then fasten it correctly so the hardwood can still expand. When you measure the finished floor heights at the seam and keep the hardwood’s expansion gap free, the transition sits flush, looks intentional, and won’t snag chair legs—especially in dining rooms where rolling and pivoting traffic is constant (as of 2026). Below, we’ll walk through prep, choosing the correct piece, installing cleanly, and avoiding the most common mistakes.
If you’re updating flooring that meets hardwood—like tile, carpet, laminate, or another wood species—this guide helps you plan the transition so it looks intentional and stays solid. It’s especially useful for dining rooms, where chairs and rolling traffic make gaps and poorly aligned edges show up fast.
Plan the cut lines and measure height differences first
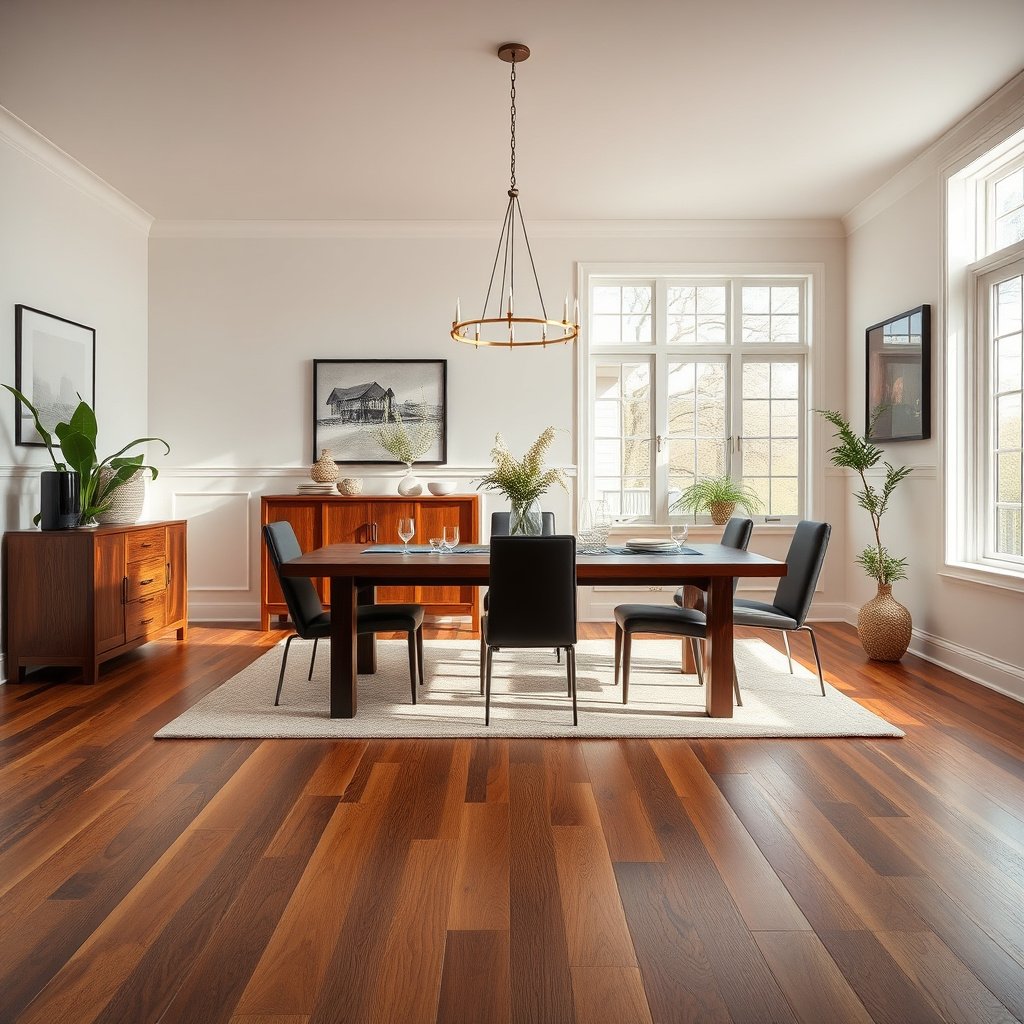
Measure the seam first, then choose the transition profile that matches the actual height change you’re bridging. In dining rooms, even a small mismatch (the difference between “flat” and “snaggy”) is usually what reveals itself after furniture moves and the first season of humidity swings.
“For solid hardwood, NWFA guidelines call for an expansion space at fixed edges—often 1/2 inch around perimeter boundaries—so the floor can move seasonally.” National Wood Flooring Association (NWFA) — installation guidelines
“Indoor relative humidity has a direct impact on wood movement; NWFA guidance commonly targets about 35%–55% RH for stable hardwood performance.” NWFA — wood flooring environmental guidance
“Acclimation is part of avoiding later gapping; NWFA installation guidance typically recommends several days of jobsite acclimation before finishing and installation.” NWFA — acclimation/installation guidance
Measure what matters: finished surfaces at the seam
– Measure the actual floor heights at the seam (hardwood surface to the adjacent finished flooring), not the subfloor height.
– Check the width of the gap you need to bridge (often dictated by expansion space and how the two floors were installed).
– Pick the transition type based on the change in height and edge shape: reducer (low-to-high), T-molding (same-plane or small differences), or threshold (doorway-style height changes).
What “finished height” means in practice
“Finished height” is the top wear surface where your chair leg will land—not the thickness of the subfloor, underlayment, or any thinset mortar below tile. For tile-to-hardwood, measure after tile is set and grouted; for carpet-to-hardwood, measure after the carpet is stretched and trimmed (or account for the carpet pad thickness if the seam will be closed before final trim).
Also measure at multiple points along the seam (front edge and back edge of the dining-room run). If the adjacent flooring dips by 1/16″ in one spot, your hardwood transition strip can sit flush in the middle but rock near one chair corner.
Prep the hardwood edge and subfloor for a tight fit
Prep determines whether the hardwood transition strip locks in neatly—or leaves a ridge that feels “catchy” under a chair leg. Before you cut anything, verify movement requirements and make sure the transition has clean, solid backing where it needs to be fastened.
“A transition should support the seam while not restraining the hardwood’s ability to move as intended by the flooring system.” NWFA — installation principles for hardwood expansion
“Wood flooring performance depends on controlled conditions; stabilizing jobsite environment (temperature/RH) helps reduce unwanted seam movement.” NWFA — environmental guidance for hardwood flooring
Confirm expansion gap and remove anything that prevents bonding
– Confirm the hardwood has the correct expansion gap around edges and fixed elements (transitions shouldn’t “pin” the wood in place).
– Clean the seam area so screws/adhesives bond to solid backing—remove old tack strip residue, thinset ridges, or debris.
– If the transition will be fastened, mark where it must land on something solid under the finish (subfloor/joist area).
Fastening “truths” that matter for dining rooms
Most dining-room complaints come down to fastening strategy: fasten the transition to the subfloor/support so it doesn’t float with the hardwood edge. This is especially important when the hardwood is installed as a nail-down solid floor, where the planks expand away from a free edge; a pinned edge can cause buckling or localized separation.
If your hardwood is engineered floating (click-lock over underlayment), the transition method still needs to respect movement. Many manufacturers instruct mechanical fastening only into the subfloor at designated points. Follow the transition’s fastening points and the hardwood installation instructions as the controlling guidance.
Choose the transition that matches your seam (and chair traffic)
Choose the transition by pairing profile shape with the height change—and then think like a chair leg. T-molding generally reads “clean and centered,” reducers solve “step-up” problems with a ramp, and thresholds create the most defined landing when there’s a bigger height jump or more impact.
“Reducers are designed to create a smoother slope when one surface is higher, improving rolling and foot traffic over the seam.”
“T-molding is intended for seams where edges align more closely, offering a centered profile over the transition line.”
“Threshold-style transitions are commonly used for more noticeable height differences and higher-traffic landing points.”
Decide based on height change and edge shape
– Use T-molding when you want a centered profile over the seam and you’re dealing with two finished edges that aren’t wildly uneven.
– Use a reducer when one surface is higher and you need a smooth slope for chairs and foot traffic.
– Use a threshold when you need a sturdier edge treatment (common at doorways or bigger height jumps), and you want a more defined “landing.”
Transition type comparison (quick selection logic)
| Feature | T-molding | Reducer | Threshold |
|---|---|---|---|
| Best height mismatch | Small | Moderate (ramp) | Noticeable (landing) |
| Chair-leg snag risk | Low if level | Lower due to slope | Low if flush |
| Visual seam treatment | Centered profile | Gradual transition | Defined edge |
| Tolerance for minor unevenness | Limited | Moderate | Moderate to high |
| Common installation fastening | Mechanical to subfloor | Mechanical to subfloor | Mechanical to subfloor |
| Rolling chair comfort | Depends on level | Usually best | Good if ramped/flush |
| Typical read in open-plan dining | Streamlined | Functional/engineered look | Boundary marker |
| Best for “tight seams” | Yes | Yes | Yes (more defined) |
| Maintenance over time | Easy cleaning | Easy cleaning | Easy cleaning; watch edges |
| Best For | Nearly level meets | Smoother slopes | Bigger step-ups |
If you want a tighter recommendation
Common Hardwood Seam Transitions and Typical Height Steps (Residential Ranges, 2026)
| # | Transition profile | Typical max step bridged | Dining traffic fit | Best use fit score |
|---|---|---|---|---|
| 1 | T-molding (flat centered cap) | 0.125 in | Chairs ok if level | ★ 2/5 |
| 2 | Low-profile reducer | 0.250 in | Best for slight steps | ★ 3/5 |
| 3 | Medium reducer | 0.375 in | Smooth chair travel | ★ 4/5 |
| 4 | High reducer ramp | 0.500 in | Good for frequent rolling | ★ 5/5 |
| 5 | Low threshold (door-style cap) | 0.625 in | Stable landing edge | ★ 5/5 |
| 6 | Standard threshold | 0.750 in | Best where steps exist | ★ 5/5 |
| 7 | Heavy threshold / ramp cap | 1.000 in | For major height changes | ★ 5/5 |
Install the transition without pinning the hardwood
Install the hardwood transition strip by dry-fitting first, then fastening it to the subfloor (or support) in the way the manufacturer specifies—never in a way that traps the hardwood edge. This is where dining rooms either feel seamless or develop a ridge you can feel on day one.
“A common best practice is to fasten transitions to the subfloor/support while leaving the hardwood edge free to expand as installed.” NWFA — installation principles for expansion gaps and transitions
“Dry-fitting before cutting helps confirm the transition profile sits flush along the walking surface and covers the seam evenly.”
Follow the profile + fastening rules
– Dry-fit first: lay the transition in place and check that it covers the seam evenly and sits flush along the walking surface.
– Fasten to the subfloor, not into the floating hardwood (rules depend on your hardwood installation method—nail-down vs. engineered floating—so follow the transition manufacturer’s instructions).
– Finish details: pre-drill where needed, align the ends so they don’t overhang, and remove any excess adhesive (if used) before it cures.
Quick installation order (typical)
– Snap/trace the seam line and transfer it to the transition piece.
– Cut to length cleanly so the ends don’t leave visible gaps.
– Position the transition, confirm alignment, then secure it per the manufacturer method (screws/nails/adhesive—varies by system).
Dining-room detail checks (where errors become visible)
After fastening, run your hand across the joint at multiple angles, then repeat with a chair leg at the same height a seat would pass. If you feel a click, you likely have one of three issues: (1) transition height mismatch, (2) debris under the profile, or (3) a cut end that’s slightly proud.
What can go wrong (and how to prevent it)
Most transition problems are avoidable because they usually come from a repeatable cause: wrong profile/height match, poor seam prep, or fastening that restricts movement. If you treat the hardwood transition like a engineered finishing system—not a decorative strip—your seam stays flat and quiet through seasonal changes.
“Restraining the hardwood edge (pinning) can create buckling or localized separation; transitions should support seams without trapping expansion.” NWFA — expansion gap installation principles
“In traffic-heavy rooms, uneven edges become snag points; selecting a reducer or threshold for meaningful steps reduces abrupt transitions.”
The common failure modes
– Gap shows or catches chair legs: usually caused by wrong measurement, an incorrectly sized transition, or ends not trimmed square.
– Transition doesn’t sit flush: often means the adjacent floor isn’t level at the seam, there’s debris under the profile, or the height difference calls for a reducer/threshold instead of T-molding.
– Hardwood can’t expand: this happens when a transition is fastened in a way that locks the hardwood edge. To avoid it, follow the installation guidance for your hardwood type and the transition’s fastening points.
A practical “don’t-do” list for dining rooms
– Don’t assume the subfloor height difference equals the finished height difference.
– Don’t rely on “close enough” when cutting ends—small overhangs are exactly what chairs snag.
– Don’t fasten through/into the hardwood edge unless the hardwood and transition instructions explicitly allow it.
– Don’t install over a loose or crumbly seam area; transitions depend on solid support.
Verdict / tip
For most dining rooms in 2026, the most reliable approach is: measure finished heights at multiple points, choose reducer vs T-molding vs threshold based on the step, and fasten the hardwood transition to the subfloor using the specified method while protecting the hardwood’s expansion gap. Skip DIY (or ask a pro) if the seam is significantly uneven over a long run, if you can’t identify what the hardwood installation method is (nail-down vs engineered floating), or if you suspect the existing adjacent flooring is unlevel.
Scan-and-save checklist before you start
Use this before you cut anything—this checklist reduces rework and prevents the two dining-room outcomes people notice immediately: visible gaps and chair-leg snagging.
| Step | Do this | Look for |
|---|---|---|
| Measure | Compare finished heights at the seam | Which side is higher (and by how much)? |
| Gap check | Verify expansion space at the hardwood edge | Wood isn’t squeezed or pinned |
| Match type | Choose reducer vs T-molding vs threshold | Correct coverage + smooth travel |
| Dry-fit | Test the transition in place | No wobble, even seam coverage |
| Cut plan | Cut slightly accurately, not “close enough” | Ends meet cleanly |
| Secure properly | Fasten per system to subfloor/support | No movement; no restriction |
| Final check | Walk it with a chair leg or foot | No snagging or sharp edges |
Frequently Asked Questions
What transition strip should I use around hardwood floors in a dining room?
The best transition strip depends on what the floor is meeting—carpet, tile, laminate, or another hardwood. For dining rooms, look for a transition that matches your hardwood height and provides a smooth, durable edge for foot traffic. Common options include T-molding for equal-height surfaces, reducer strips for height differences, and metal or wood transitions for a clean finished look. If you’re unsure, measure the exact height difference and choose a profile designed for that gap.
How do I measure and prep the subfloor before installing transitions next to hardwood?
Start by measuring the hardwood thickness, underlayment (if any), and the floor surface height of the adjoining material so the transition sits level. Remove any baseboards or molding that blocks proper placement, then clean the area to eliminate dust and debris that can affect adhesion or fastening. If the subfloor is uneven, level it before installing the transition to prevent rocking or gaps. Finally, check expansion gaps around the hardwood so the transition doesn’t restrict natural movement.
How do I install a transition strip without damaging my hardwood floor finish?
Use painter’s tape to protect the hardwood edges and test-fit the transition strip before applying adhesive or driving screws. If the transition is fastened, pre-drill holes where required and avoid overtightening to prevent dents or splitting. For adhesive-mounted transitions, use the manufacturer-recommended flooring adhesive and allow proper curing time before walking on the area. Keep the adhesive off the visible hardwood surface as much as possible to avoid residue or sheen mismatch.
Which installation method is best for transitions in a dining room—screws, nails, or adhesive?
Most transition strips can be installed with screws/nails through the base, adhesive, or both, depending on the product type and subfloor material. For high-traffic dining rooms, mechanically fastened transitions (screws or nails) often hold more securely and resist shifting under furniture movement. Adhesive can work well for stable, smooth subfloors and certain transition styles, but make sure the adhesive is rated for flooring transitions and cures fully. Always follow the transition manufacturer’s instructions for the specific profile you choose.
Why do transitions around hardwood floors sometimes lift or separate, and how can I prevent it?
Transitions often lift when the subfloor is uneven, the transition height doesn’t match the adjoining flooring, or the hardwood expansion gap is ignored. Another common cause is using the wrong adhesive or failing to clean and prep the surface before installation. To prevent issues, ensure the transition is the correct height and length, keep appropriate expansion space, and verify that the base is firmly secured along the entire run. After installation, avoid heavy furniture rolling directly over the seam until the adhesive cures or the installation has fully set.
📅 Last Updated: October 16, 2026 | Topic: How to install transitions around hardwood floors in a dining room? | Content verified for accuracy and freshness.