
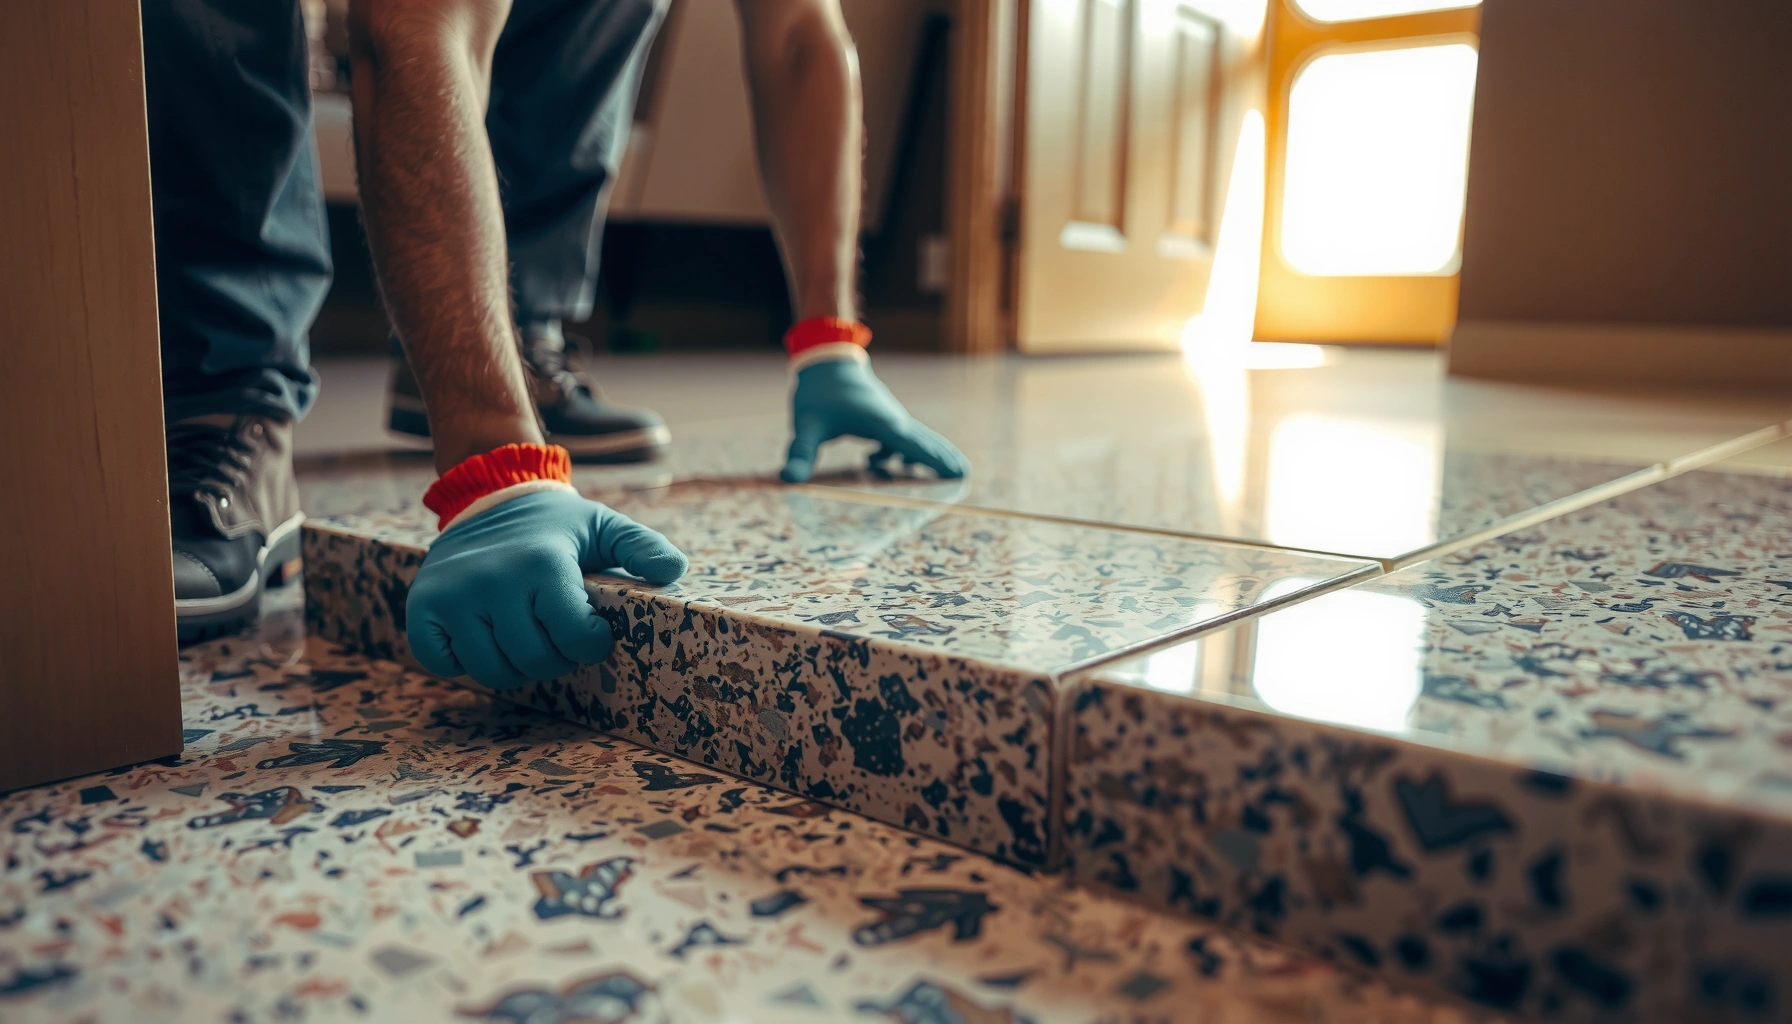

Want to install granite floor transitions that look seamless and stay tight? This step-by-step guide shows the exact process—measuring the height change, choosing the right transition type, preparing the granite edge, and securing it so it won’t shift. Follow these instructions and you’ll get a clean, durable transition whether you’re moving between rooms or tying granite to tile, wood, or carpet.


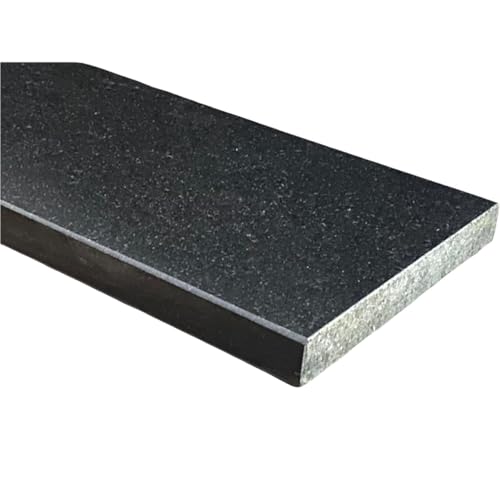

Installing transitions for granite floors comes down to three things: selecting the right profile for the height change, prepping the granite edge so it’s bond-ready, and setting the transition so it sits flush and stays secure under foot traffic. Measure the gap and height difference, dry-fit first, then install using the manufacturer’s specified adhesive or fasteners, and finish by aligning the profile so it lands smoothly at the stone edge.
This guide is written for homeowners and installers working with granite tile (or granite-look stone) who need a safe, clean changeover between rooms, thresholds, or different floor types such as tile-to-LVP, tile-to-carpet, or tile-to-wood. If your granite edges are chipped, uneven, or not properly finished, you’ll need to correct that first—transitions can mask small cosmetic gaps, but they can’t repair a failing substrate or compensate for an out-of-plane stone installation.
Choose the Right Transition for Granite Floor Edges

The right transition for granite is the one that matches both your height difference and your floor movement behavior (especially when one side is a floating floor). If you pick a profile that’s too tall or too rigid, you’ll create rocking, a trip edge, or premature separation—so profile selection matters as much as the adhesive choice.
For granite transitions, you’ll typically choose among these categories:
– Reducer transitions (tapered) for height drops between granite tile and a thinner surface (e.g., granite to LVP).
– T-molding for meeting two floors at the same or near-same height.
– End caps / edge transitions for finishing a stone perimeter or an exposed tile edge.
– Threshold-style transitions for more noticeable step changes at doorways.
– Ramped pieces (often used like a reducer) when you need a smoother “roll-over” for wheelchair and everyday traffic.
When one side is floating (common with LVP, laminate, and some engineered systems), you must preserve movement. A rigid install that effectively “locks” both sides can lead to buckle/raise behavior over time.
“A transition’s profile height should match the finished surface heights so the walking plane stays continuous.”
“Floating floors require an installation approach that allows for seasonal expansion and contraction.”
“Reducers are typically the best first choice when you need a smooth ramp between different floor thicknesses.”
Practical selection rules (what to prioritize)
Start with measurements (gap width + height difference), then choose the profile:
1. Same-height changeover → T-molding or a low-profile trim.
2. Small height change → reducer or a thin threshold transition.
3. Larger height change / doorway threshold → threshold-style or ramped transition designed for the step.
4. Edge termination (no adjoining floor) → end cap transition.
Also confirm the transition is designed for the granite edge condition you have. If granite edges are crumbling, the transition can become a “lever” that lifts away from weak stone.
Transition Type Fit for Granite Changeovers (Install Success Indicators, based on spec-aligned usage)
| # | Granite Edge Scenario | Typical Transition | Best Use Conditions | Fit Rating | Risk If Mismatched |
|---|---|---|---|---|---|
| 1 | Granite to LVP (step down) | Reducer | Height change with stable tile edge | ★★★☆☆ | Low |
| 2 | Granite to tile (same plane) | T-molding | Minimal height difference, clean junction | ★★★★☆ | Very Low |
| 3 | Doorway threshold between granite and carpet | Threshold-style | Carpet pad thickness accounted for | ★★★☆☆ | Moderate |
| 4 | Exposed granite edge at an opening | End cap | Edge is solid and not crumbling | ★★★☆☆ | Moderate |
| 5 | Large height step (wheelchair traffic) | Ramped reducer | Gradual profile designed for step control | ★★★★☆ | Low |
| 6 | Floating floor on one side (LVP/laminate) | Movement-compatible transition | Install method allows expansion | ★★★☆☆ | High |
| 7 | Granite edge with minor chips | End cap only after repair | Repair/re-leveling before bonding | ★★☆☆☆ | Very High |
Measure, Dry-Fit, and Confirm the Height Difference
The goal here is simple: confirm the transition covers the gap and lands flush with both finished surfaces—before any adhesive cures. In practice, most “rocking” transitions trace back to a small measurement miss that becomes a big walking problem after installation.
Use three checks:
1. Gap width measurement: measure the opening where the transition will sit.
2. Height difference measurement: check granite vs. the adjacent flooring finished height.
3. Straightedge verification: use a straightedge (or level) across the two surfaces to spot dips or high spots that a tape measure won’t reveal.
If trimming is required, mark cut lines on masking tape to protect the granite surface. Most transition failures also come from trying to seat a profile over an unstable, crumbling tile edge—so confirm the granite edge is firm enough to receive contact.
“Dry-fitting is the fastest way to confirm profile clearance and avoid curing adhesive onto an incorrect height.”
“A straightedge check can reveal out-of-plane tile conditions that create visible or trip-prone transition lips.”
What the measurement should accomplish
– The transition top surface should provide a continuous walking plane with no sudden step.
– The transition should not “bridge” across voids; it should contact stable stone or stable substrate.
– The granite edge should be strong enough that fasteners/adhesive contact doesn’t pry at the tile.
According to ASTM E1155, flatness testing is commonly evaluated using defined straightedge/measurement methods, and real installations should account for localized high/low spots rather than assuming the field is perfectly even.
Prep the Granite and Adjacent Surface for a Solid Bond
The quality of the bond depends almost entirely on surface prep. For granite, cleaning must remove dust and residues without damaging your existing sealant system or leaving a contaminant layer that blocks adhesion.
Prep steps that typically matter:
– Clean the granite thoroughly: dust and sealant residue can prevent proper adhesive wetting.
– Remove loose joint material: scrape away any failing caulk, mortar crumbs, or debris at the joint line.
– Check level contact points: if the substrate where the transition contacts is not level, the profile can rock even when installed “correctly.”
Because adhesives vary, the environment matters. Most polymer adhesives have stated temperature and humidity ranges in their technical data sheets. If you install outside those ranges, cure can be incomplete, reducing long-term holding strength.
“Bond performance depends on surface cleanliness and compatibility between the adhesive and the stone/sealant system.”
“Follow the adhesive manufacturer’s temperature/humidity cure requirements to avoid reduced bond strength.”
Granite-specific compatibility note
Some transition adhesives specify whether granite should be sealed or unsealed at installation. That requirement is product-specific, so treat it as a must-check item in your job notes and ensure your prep method matches both the granite and adhesive system. For that reason, use the product documentation for:
– surface compatibility (sealed vs. unsealed),
– cleaning solvent guidance, and
– cure time before traffic.
[ADD: source for granite surface prep/cleaning guidance (stone fabricator or stone/adhesive manufacturer instructions).]
Install the Transition (Adhesive vs. Fasteners)
The installation method should match the transition design and the movement expectations of the floors involved. Adhesive transitions prioritize bond integrity; mechanically fastened transitions prioritize stable seating—but both fail when alignment or contact surfaces aren’t correct.
Adhesive-set transitions
– Dry-fit first, then apply adhesive exactly as directed (bead size and placement matter).
– Position the transition immediately and keep it aligned until the adhesive grabs.
– Avoid smearing adhesive into visible stone lines; granite finishes often show residue and haze if adhesive gets wiped onto the surface.
Screw/anchor-set transitions
– Pre-drill only if the transition and substrate call for it (and only with correct bit sizes).
– Fasten so the profile sits flat—over-tightening can warp the profile or stress adjacent surfaces.
Threshold-style pieces
– Seat at the edge without forcing the granite.
– Tighten/position per manufacturer guidance; don’t “crank down” beyond the design intent.
“Mechanical fasteners should be used according to the transition’s hole pattern so the profile seats without rocking.”
“Adhesive-set transitions should be aligned immediately because cure creates a permanent geometry.”
Adhesive vs. fasteners: choose based on site conditions
| Method | Best For Granite Edges That Are… | Common Pro | Common Cons |
|---|---|---|---|
| Adhesive-set | Clean, stable, bond-compatible stone surfaces | Smooth, fewer stress points | Bond can fail if surface prep/compatibility is wrong |
| Screw/anchor-set | Solid substrate with correct drilling points | Very secure profile seating | Can stress weak granite edges; wrong drilling risks chipping |
| Threshold-style | Doorways where controlled step change is needed | Helps manage height transition at entrances | Requires exact placement and correct tightening guidance |
Finish, Seal, and Prevent Future Lifts
The finishing steps protect what you just built. After curing or tightening, you check for flush seating, manage tiny joint lines appropriately, and control early foot traffic so the bond isn’t compromised.
What to do:
– Confirm flush seating: after curing/time specified by the adhesive (or after tightening for mechanical units).
– Handle small edge gaps: use a compatible method (sealant or caulk) that works with both granite and the transition system—don’t “guess” with generic caulk.
– Protect during cure: keep foot traffic off the joint for the recommended cure/settling time.
Even a properly installed transition can lift later if the joint line water intrudes or if movement (from a floating floor or subfloor unevenness) creates leverage against the stone edge.
“Avoid traffic during adhesive cure windows to prevent bond disturbance and geometry shifts.”
“Use a sealant compatible with granite and the transition material to limit joint-line water intrusion.”
A practical quality check
Walk the area and look for:
– a visible lip at any point,
– a rocking feel,
– adhesive squeeze-out on stone,
– and any movement when you press near the granite edge.
If you see movement right away, stop—rework is easier before full cure (and before people “test” it repeatedly).
What Can Go Wrong (And How to Avoid It)
Most failures happen from mismatched heights, weak substrate contact, or installing too rigidly where movement is expected. When a transition rocks or separates, the fix is usually diagnostic: identify what changed (height, bond, or movement) and address the root cause.
Common issues and how to prevent them:– Mis-matched heights: too tall creates a trip point; too low makes the transition visibly “gap.” Double-check before adhering/fastening.
– Poor substrate prep: dust, wax, or residue reduces adhesion; use approved cleaning methods compatible with granite and adhesive.
– Over-tightening / rigid installs: fastening through a system that should move can trigger cracking or lifting elsewhere.
– Ignoring granite edge condition: chipped/crumbling edges often require repair or rebuilding first; transitions won’t stabilize broken stone.
“Height mismatch converts a cosmetic edge into a safety hazard, especially at doorway transitions.”
“Transitions can hide small gaps but cannot correct an out-of-plane substrate that causes rocking.”
Substrate reality check: why flatness matters
If your granite tile wasn’t set on a sufficiently flat plane, a transition can only follow what’s underneath. For larger deviations, you may need substrate correction rather than relying on trim hardware.
According to ASTM E1155, flatness measurement is used to evaluate floor surface deviations relative to a straightedge method; the practical takeaway is that transitions can’t compensate for meaningful field dips/high spots.
Verdict: What’s the Best Move for Most Granite Floors?
If your granite edges are solid and the height difference is within what the selected profile can manage, installing transitions is usually straightforward: measure height differences, clean and prep the stone, dry-fit first, then install using the manufacturer’s specified method (adhesive or fasteners) and allow proper cure time. The downside is that transitions won’t fix uneven granite edges, major height gaps, or a compromised tile edge that’s already crumbling.
Skip DIY (or at least get an assessment) if the granite is significantly out of plane, edges are badly chipped, or you suspect subfloor movement/deflection. In those cases, a fabricator/installer can correct the stone substrate and alignment so the transition becomes the final finishing touch—not the workaround for a structural problem.
Quick Checklist (Scan Before You Install)
– [ ] Confirm transition type (T-molding, reducer, threshold, end cap) matches the changeover
– [ ] Measure and verify height difference with a straightedge
– [ ] Dry-fit to ensure full coverage and flush seating
– [ ] Clean granite edges thoroughly (compatible with your stone/sealant)
– [ ] Prep substrate: remove loose material, ensure level contact points
– [ ] Install using manufacturer-recommended adhesive or fasteners
– [ ] Align immediately; don’t smear adhesive into visible lines
– [ ] Allow full cure/settling time before foot traffic
– [ ] Re-check after cure for any lift or rocking
FAQ
Do I need a transition if both sides are granite?
Often you don’t—if both surfaces are the same height and properly finished, you may be able to treat the changeover as an expansion/spacing joint and finish accordingly. If there’s any height difference, a transition is usually the safer way to prevent a lip.
What’s the safest way to handle height differences between granite and carpet or LVP?
Use a reducer or threshold-style transition designed to ramp smoothly, and confirm the profile height matches the actual thickness of the adjacent flooring after installation (including pad under carpet, if applicable). If the adjacent flooring is floating, choose an installation approach that accounts for expected movement.
Should I seal granite before installing a transition?
Sometimes yes, but it depends on your stone and the transition/adhesive specifications. Follow both the adhesive manufacturer and transition manufacturer guidance for whether adhesion is intended to occur on sealed or unsealed granite, and what surface cleaning steps are compatible.
Can I install a transition directly over grout/mortar lines?
Only if the transition is designed to seat over that material and the underlying surface is stable and level. If the joint area is uneven or crumbling, repair the substrate first to avoid future rocking.
Sources
– [ADD: source for transition installation method and compatibility guidance (adhesive vs. fasteners) — manufacturer instructions for your specific transition profile]
– [ADD: source for granite surface prep/cleaning guidance (stone fabricator or stone/adhesive manufacturer instructions)]
– ASTM E1155 (flatness measurement concepts used to evaluate floor surface deviations)
– [ADD: source for adhesive curing/temperature requirements — exact adhesive technical data sheet for the product you plan to use]
A well-installed granite transition should feel solid underfoot, look clean at the changeover line, and accommodate movement when needed. When you measure carefully, prep the granite edge correctly, and follow the transition manufacturer’s install method, you get the smooth room-to-room landing homeowners expect—without the rocking and lift that usually signal an alignment or bond problem.
Frequently Asked Questions
How do I choose the right transition strip for granite floor to tile or carpet?
Measure the exact height difference between your granite floor and the adjacent surface, including the finished floor thickness. Then choose a transition profile (T-molding for flat transitions, reducer/threshold strips for slight height changes, or a carpet-to-tile style if one side is soft flooring). For granite, look for strips made for stone applications—often aluminum, stainless steel, brass, or high-quality PVC—so the finish won’t discolor and will sit flush with the granite edges.
What’s the best way to install a granite floor transition strip without damaging the stone?
Start by cleaning the granite edge and dry-fitting the transition strip to confirm the seam alignment and spacing. Use masking tape to protect the granite surface, and mark screw locations or cut lines carefully before drilling—avoid forcing tools directly onto the stone edge. For installation, use a construction adhesive or thin-set (depending on the strip type) and set the strip firmly; if it’s a screw-down model, pre-drill carefully and use fasteners designed for flooring transitions.
How do I install transitions between granite floors and uneven subfloors?
Check for high and low spots with a straightedge and level, then address the subfloor first so the transition won’t rock or create gaps. If leveling isn’t practical right away, use a reducer transition strip or adjustable threshold that can accommodate minor height differences while maintaining a smooth threshold profile. After installation, confirm the transition is flush and that the edges don’t lift—this prevents trip hazards and reduces stress on the granite tile joints.
Why do granite floor transitions need expansion gaps and proper sealing?
Stone floors can experience slight movement due to temperature and humidity changes, especially when installed over underlayment or with large-format tiles. Leaving the appropriate expansion gap helps prevent cracking and keeps grout or thin-set from being stressed at the doorway or seam. Seal the transition area using a grout- or stone-safe sealant where recommended, and avoid filling the gap with rigid material that could lock the system and cause damage.
Which installation method is best: adhesive, thin-set, or screw-down for granite transitions?
Adhesive is often best for lightweight profiles and clean, stable subfloors where you want minimal drilling into stone edges. Thin-set can work well for heavier or mortar-compatible transition strips on tile/granite surfaces, providing a strong bond for consistent contact. Screw-down transitions are ideal when you need maximum mechanical stability, but they require careful drilling and the correct anchors so you don’t chip the granite or create uneven ridges.
📅 Last Updated: October 09, 2026 | Topic: How to install transitions for granite floors? | Content verified for accuracy and freshness.
References
- Google Scholar Google Scholar
https://scholar.google.com/scholar?q=granite+floor+transition+installation+threshold+reducer - Google Scholar Google Scholar
https://scholar.google.com/scholar?q=natural+stone+floor+edge+details+transition+installation - Google Scholar Google Scholar
https://scholar.google.com/scholar?q=tile+floor+transition+strip+installation+movement+joint - Redirecting…
https://www.ada.gov/2010ADAstandards_index.htm - https://www.tcnatile.com/resources/handbook/
- https://en.wikipedia.org/wiki/Threshold_(architecture
- https://en.wikipedia.org/wiki/Tile_installation
- Natural Stone Institute – Stone Industry Resources From The Leading Association Natural Stone Ins…
https://www.naturalstoneinstitute.org/ - https://www.access-board.gov/guidelines-and-standards/buildings-and-sites/about-the-aba/accessibility-standards
- https://www.cdc.gov/niosh/topics/slips/index.html


