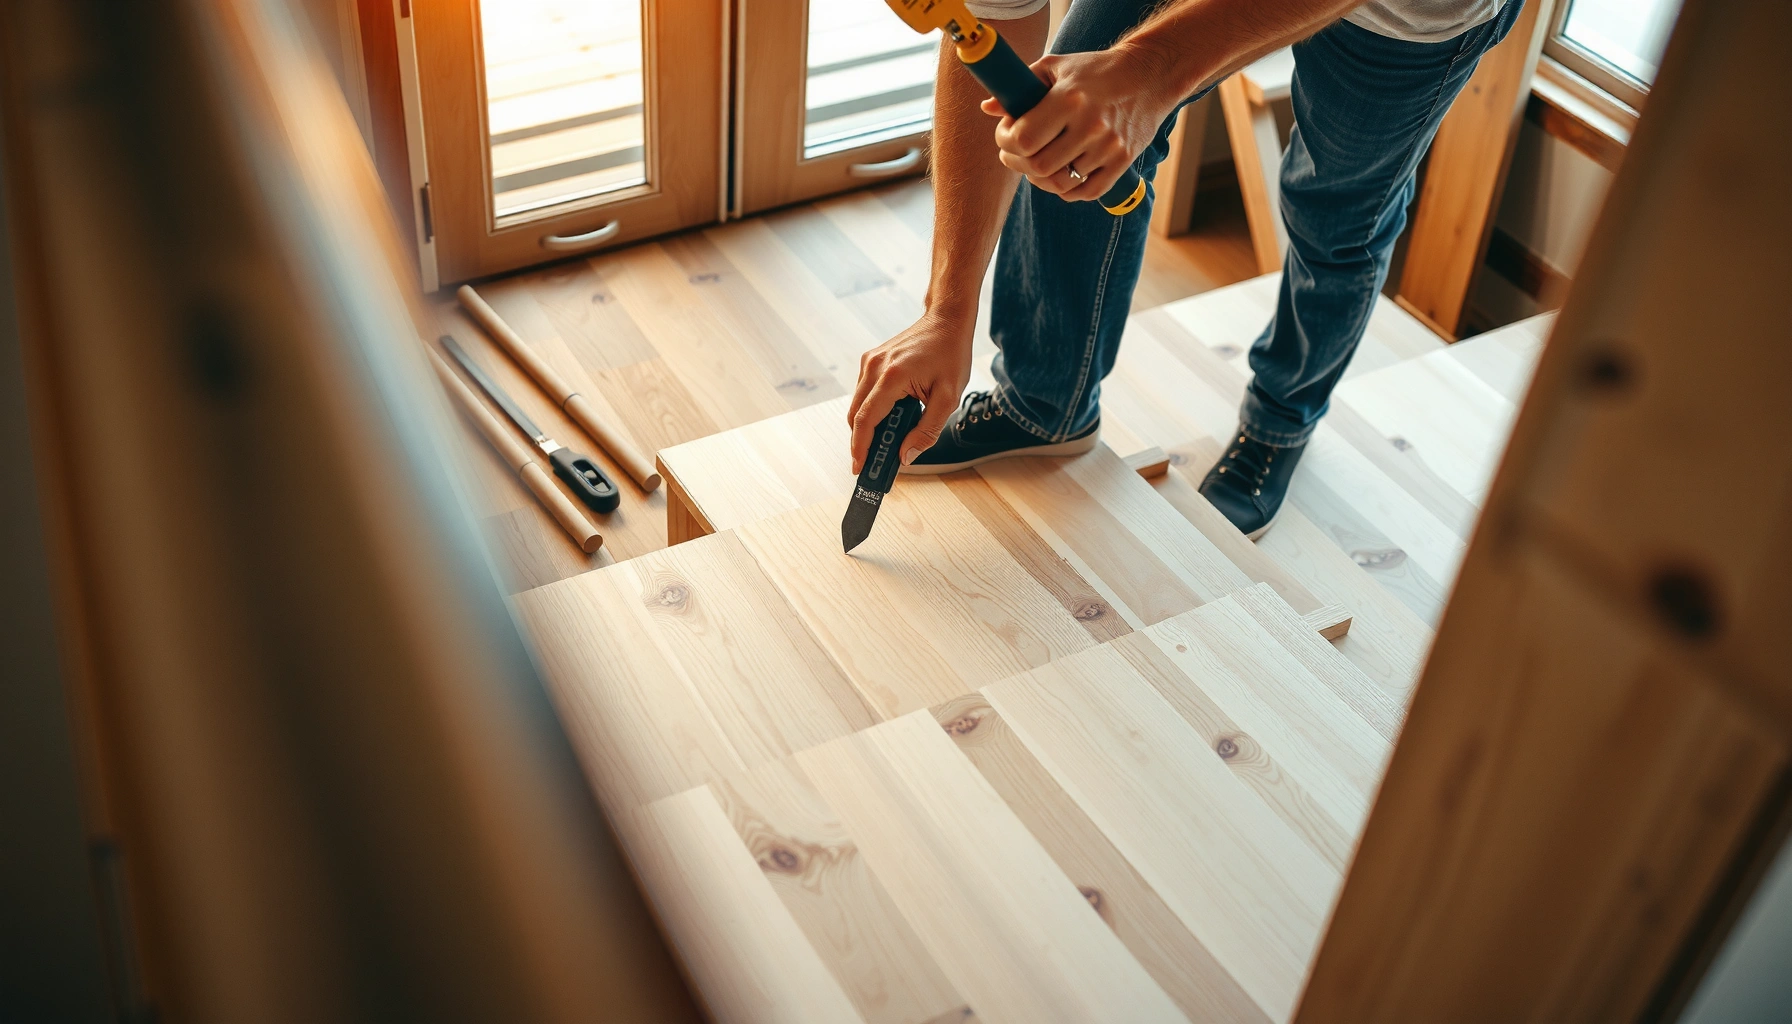
Learn how to install SPC floors on stairs with a clear, step-by-step method that prevents shifting, gapping, and water intrusion. This guide tells you exactly what to prep—subfloor flatness, stair nosing, underlayment, and layout—and how to cut, fit, and secure each plank for a tight finish. Follow these instructions and you’ll get a safer, cleaner stair installation that holds up under daily traffic.
Yes—you can install SPC (rigid core) flooring on stairs, but it requires a stair-specific method that protects the nosing/tread edges and follows your product’s approved installation system. Plan for tread/nosing coverage, prep for a flat/solid substrate, and use the right adhesive/underlayment rules (or none) based on how your specific SPC is designed to perform on stairs.
If you’re converting carpeted or wood stairs to SPC, or upgrading existing hard-surface steps, this guide is built for the real constraints of stair work: tight angles, uneven tread depth, and the need for crisp, durable transitions. Because stairs experience repeated impact loads at the leading edge, the details that are optional on floors (edge protection, substrate flatness, and transition planning) become non-negotiable on stairs—especially if you want your finish to look clean and stay secure.
Before You Start: Check Your SPC and Stair Requirements
The fastest way to avoid stair failures is to confirm—before you cut anything—that your exact SPC product is approved for stair installation and that you understand whether it’s meant for tread only or tread plus riser. Once you confirm the “approved stair use” language, the rest of the process becomes a sequence of measurable steps rather than guesswork.
“Installations must follow the specific SPC manufacturer’s instructions for stair use, including any restrictions on underlayment and the required fastening/adhesion system.”
“Stair coverage (tread only vs. tread + riser) changes trim selection, cutting strategy, and how edges are supported under load.”
“Click-lock and glue-down SPC products behave differently under movement and should not be interchanged with the wrong stair method.”
This is for you if you’re working with residential staircases where tread depth varies slightly, the stringers are tight, or your installer needs a repeatable approach to nosing transitions. It’s also relevant if you’re trying to match the finish of your upstairs/downstairs flooring while keeping a consistent look at the landing and doorway exit points.
Before you begin, verify these items against the written instructions from your SPC manufacturer:
– Stair approval: Some rigid core products explicitly allow stairs; others limit installation type (for example, “wall only” or “not approved for stairs/vertical surfaces”).
– Coverage scope: Determine whether you will install tread caps, a full tread + riser system (covering vertical faces), or a finish overlay approach.
– Method requirements: Confirm if the product requires adhesive, stapling/nailing, stair nose/trim, or underlayment (and if so, which type).
– Tools/blades: SPC cutting often requires a blade style recommended for rigid core (commonly carbide-tipped blades for clean edges). Using the wrong blade can cause edge chipping, which matters even more on stairs because the leading edge is constantly impacted.
Key building-code context (for planning the visual + functional edge geometry): Accessible stair dimensions affect how nosing and tread coverings line up with expected runs and rises. For example, the 2010 ADA Standards require a maximum riser height of 7-3/4 in (196 mm) and a minimum stair tread depth of 11 in (279 mm) measured horizontally from the nosing. According to the 2010 ADA Standards for Accessible Design (ADA 2010) These requirements don’t automatically dictate your SPC layout, but they influence what “acceptable” tread/nosing placement looks like and where trim may need to be centered.
Prep the Stairs for a Flat, Solid Substrate
SPC on stairs will only look crisp and feel solid if the base is clean, stable, and flat enough that the tread surface doesn’t flex. In practice, stair prep is the step that most often determines whether edges hold up after the first few months of foot traffic.
“Rigid core floors require a stable substrate; on stairs, uneven treads can translate into rocking, noise, and early edge wear.”
“Remove old adhesives and loose material completely—residual bond-breakers can cause localized lift under impact.”
“Measure each tread separately; stair geometry is rarely uniform across a full run.”
In my experience, stair installs fail “quietly” at first—tiny edge separations, micro-gaps at corners, and slight movement at the nosing—before they become visually obvious. That’s why prep must be treated like structural groundwork, not just cleanup.
Do this systematically:
1. Strip and clean: Remove carpet tack strips, old padding residue, loose paint, dust, and any old adhesive that can interfere with bonding (especially for glue/adhesive systems).
2. Remove high spots: Use a grinder/sander as needed to flatten old mortar ridges, paint ridges, or uneven transitions.
3. Repair dips and cracks: Fill low areas with a stair-appropriate patch or leveling material that can tolerate impact loads.
4. Check flatness at the tread face: Use a straightedge across the tread surface where the SPC tread cap will sit. Small deviations matter because stairs don’t have the long continuous panel area you get on floors.
5. Confirm rise/tread measurements per step: Measure tread depth and tread width for every step you will cover—at the front edge (where the nosing hit occurs) and deeper into the tread. If risers vary, your cutting plan must reflect that variation.
Quantified planning anchor: Stair geometry also intersects with code-based expectations. For accessible designs, ADA specifies handrail height between 34–38 in (865–965 mm). According to the 2010 ADA Standards for Accessible Design (ADA 2010) While you’re not rebuilding the entire staircase, this reinforces a practical point: stair components (rails, nosings, landings) are constrained by real-world measurements, so your SPC trim choices must align cleanly with the existing profiles.
Choose the Right Installation Method for Stairs
Pick your stair installation approach based on your SPC’s approved behavior—not based on what “worked for a friend.” The right method depends on whether your rigid core is designed to be floating (click-lock) or direct-bonded (glue-down/adhesive), and whether your system expects tread cap + stair trim or full tread/riser coverage.
“Follow the manufacturer-approved stair method; click-lock and glue-down systems are engineered for different movement and load paths.”
“Stair edges concentrate impact loads; trim and adhesive/fastener strategy at the leading edge is the difference between clean wear and rapid failure.”
“If the product allows underlayment on floors, that does not automatically mean it’s allowed on stairs.”
Installation method decision (what to choose)
– Tread cap approach (common for conversions): Often the most forgiving option visually and mechanically because you protect the leading edge with a stair nose/trim and keep the cover supported where feet strike.
– Tread + riser coverage (higher detail load): Requires careful edge/vertical adhesion planning and trim that won’t bow, peel, or separate on vertical surfaces.
– Full overlay finish layer (system-specific): Only do this if your SPC manufacturer explicitly describes the system for stairs and vertical faces.
Pros/cons comparison (so you can choose confidently)
Approach
Best for
Main watch-outs
Tread caps only
Clean leading-edge protection with simpler vertical transitions
Requires a compatible stair nosing/trim system for impact resistance
Tread + riser
Fully upgraded look and color continuity
Vertical surface adhesion/trim must be specifically compatible to prevent edge lifting
Adhesive-based overlay
When product instructions require direct bonding for stability
Surface moisture, bond-breaker residue, and cure times must be handled precisely
Install the Treads (and Nosing) for a Clean, Secure Finish
Install treads by treating each step like its own “small installation,” with precise cutlines and consistent edge protection. The goal is to keep the nosing line straight, prevent exposed cut edges, and ensure the leading edge is supported where impact happens.
“Dry-fitting before cutting reduces mismatch at bevels/angles and helps you match the stair nose profile consistently across steps.”
“Stair nosing/trim is not cosmetic on stairs—it shields the wear edge from chipping and repeated impact.”
“If instructions specify spacing or movement allowances, maintain those allowances at edges rather than forcing a tight lock.”
Step-by-step tread install
1. Dry-fit and mark: Place pieces on the tread, trace cutlines, and confirm how the tread’s front edge geometry meets the nosing.
2. Confirm square reference: Many stair treads are slightly skewed. Decide your “true square” reference (often the nosing line) and cut accordingly.
3. Account for the stair nose profile: The leading edge may require a different trim reveal than a flat floor. Use the nosing/trim manufacturer’s installation spacing/reveal guidance.
4. Cut with control: Aim for clean edges—chipping on the leading edge shows quickly on stairs due to constant foot contact.
5. Install using the approved system:
– For systems that rely on adhesive, apply adhesive as specified (be mindful of open time and coverage requirements).
– For systems that rely on fasteners or specific clips, use the exact locations and hardware guidance in the instructions.
6. Install nosing/trim: Align it consistently across the run so the wear edge and visual pattern don’t “wander” from step to step.
Mandatory data table (ADA stair dimensions used for planning stair edge geometry)
📊 DATA
ADA Stair Measurements Used When Planning Tread/Nosing Transitions (2010)
#
ADA measurement item
Requirement
Typical planning impact
Code priority
1
Maximum riser height
7-3/4 in (196 mm)
Helps determine how tread/riser coverings align without visually “stacking up”
★★★★★
2
Minimum stair tread depth (nosing to face of riser)
11 in (279 mm)
Affects how much usable tread remains once you add SPC thickness + trim
★★★★★
3
Minimum clear width of accessible stair
36 in (914 mm)
Impacts trim placement at side edges to avoid narrowing the route
★★★★☆
4
Handrail height range
34–38 in (865–965 mm)
Guides whether tread/nosing changes will interfere with rail clearances
★★★★★
5
Max height between landings
12 ft (3.66 m)
Affects how many SPC tread segments + transitions must be planned consistently
★★★☆☆
6
Landing depth
≥ 36 in (914 mm) clear
Impacts how transitions should align and avoid visual “steps” at landings
★★★★☆
7
Landing width
≥ stair width
Helps ensure your SPC trim doesn’t create side-edge obstructions
★★★☆☆
Source: 2010 ADA Standards for Accessible Design (ADA 2010)
Handle Risers, Landings, and Transitions
Treat risers, landings, and transitions as separate engineering problems rather than “just more treads.” Your trim and adhesive/fastener compatibility matters most on vertical faces, and your pattern alignment matters most at landings and doorway exits.
“If your SPC system covers risers, the manufacturer’s guidance for vertical installation and compatible adhesives/trim must be followed.”
“Landings function as transition zones—misalignment here makes the entire stair run look uneven, even if treads are perfect.”
“Use transition strips/reducers designed for rigid core to protect edges where SPC meets other floor types.”
Risers (vertical faces)
– Confirm compatibility: Not every rigid core product is approved for vertical surface installation. If your instructions limit use, switch to tread-cap-only coverage.
– Plan the edge support: Vertical installations often fail at edges first due to gravity and repeated impact near the bottom of risers.
– Choose the correct trim: Use stair trim or system components meant for the look and mechanical support you need.
Landings (pattern and continuity)
– Align patterns and trim lines: Keep the visual rhythm consistent from the last stair tread onto the landing.
– Avoid “step-out” reveals: If the landing finish is slightly higher/lower, plan trim so you don’t create an abrupt visual jump.
Transitions (doorways and different floor types)
– Use the right transition strip: Where SPC meets tile, carpet, or another LVP/LVT, the transition should protect the edge and maintain a safe, snag-resistant ramp.
– Maintain continuity at the stair exit/entry: Transitions at the top/bottom of the stairs are where chips and separation often start if edges are left exposed.
Another data point worth keeping in mind for planning: The ADA requires a minimum 36 in (914 mm) clear width for accessible stairways and a landing clear depth of at least 36 in. According to the 2010 ADA Standards for Accessible Design (ADA 2010) When you add stair nosing and trim thickness, you may unintentionally reduce effective clearances—so plan your trim thickness and reveal accordingly.
What Can Go Wrong (Common Mistakes on Stairs)
Most SPC stair problems come from a few predictable errors: unstable prep, wrong installation method, and unprotected leading edges. If you address those three areas up front, you dramatically reduce the chance of gaps, lift, or premature wear.
“Uneven substrates create rocking and noise; on stairs this translates quickly into edge separation and visible gaps.”
“Incorrect installation method (mixing click-lock expectations with glue-down requirements) can produce movement at edges even if the floor looks fine at day one.”
“Skipping nosing/trim leaves the leading edge exposed to repeated impact and can cause chipping.”
– Skipping substrate prep: Even small dips at the tread surface can cause flex and loud movement underfoot.
– Using the wrong system for your SPC: Click-lock performance is engineered for floating floors; glue-down/adhesive systems are engineered for direct bonding. Don’t swap.
– No edge protection: On stairs, the wear edge gets hit every time. Missing or incompatible stair nosing/trim is one of the fastest routes to failure.
– Assuming uniform step dimensions: Cut templates rarely match real stairs. Measure each tread/riser, then refine your cut layout.
– Underlayment assumptions: Underlayment may be approved for floors, but stair installations often restrict underlayment based on load transfer and stability requirements—always follow the manufacturer.
Verdict / Tip: When This Is Worth It (and When to Skip)
SPC stair installs can look professional and last when you follow the specific manufacturer’s approved stair method, prep the treads thoroughly, and use compatible nosing/trim to protect the leading edge. If your stair geometry is out of tolerance (uneven and not repairable), the SPC manufacturer doesn’t approve stair installation, or you can’t reliably match the nosing transitions, it’s smarter to pause and consult the manufacturer or hire a stair-savvy flooring installer.
“SPC longevity on stairs depends more on approved edge/trimming and stable tread prep than on the floor being ‘rigid core’.”
“If the manufacturer doesn’t explicitly permit stair use or vertical riser coverage, proceed only with a method that they approve.”
If you choose DIY, do it with full attention to system compatibility and edge details. If you want the most durable finish and cleanest transitions, a trained installer can manage the tricky part—alignment, cutting accuracy for nosing profiles, and ensuring edges are supported exactly as the product expects.
Quick Checklist (Scan Before You Cut)
– [ ] Verify your SPC product is approved for stairs (and for the coverage you’re planning: tread only vs. tread + riser)
– [ ] Remove old materials; repair dips, cracks, and loose areas to create a stable, solid tread surface
– [ ] Measure each tread and riser (stair geometry varies step-to-step)
– [ ] Confirm the approved method for your SPC (click-lock behavior vs. glue-down/direct bond; adhesive/fastener requirements)
– [ ] Dry-fit, mark, and cut carefully; keep reveals consistent with the stair nose/trim system
– [ ] Plan transitions at the landing and doorway exit/entry using compatible reducers/transition strips
FAQ
Can I install SPC flooring on stairs using click-lock planks?
It depends on the specific SPC product and whether the manufacturer approves the click-lock method for stair use. Check the installation instructions for stair-specific requirements before proceeding.
Do I need stair nosing/trim with SPC on stairs?
In most stair applications, yes. Stair nosing/trim protects the leading edge from impact and creates a cleaner, more durable finish. Use trims compatible with your flooring system.
Should I use underlayment on stairs for SPC?
Only if the manufacturer’s instructions explicitly allow underlayment for stair installations and for your chosen method. Many stair systems restrict or prohibit underlayment due to how load transfers across treads.
What’s the biggest cause of SPC issues on stairs?
Uneven or unstable substrates and inadequate or incompatible edge protection (nosing/trim) are common causes. These lead to lift at edges, visible separation, and faster wear.
Can I cover both tread and riser with SPC?
Sometimes, but it depends on the product instructions and compatibility for vertical surfaces. Confirm the manufacturer’s guidance and use the recommended adhesive/fastening system if required.
Sources
– [ADD: Source for your SPC flooring manufacturer’s installation instructions—specifically the sections covering stair installation approval, underlayment rules, and click-lock vs. glue-down behavior]
– [ADD: Source for stair nosing/trim manufacturer installation instructions to ensure compatibility and fastening/adhesive requirements]
– 2010 ADA Standards for Accessible Design (ADA 2010)
When installed with manufacturer-approved methods, clean substrate preparation, and properly supported stair edges, SPC can deliver a tight, modern look on stairs without sacrificing stability. If any critical approval detail is missing from your SPC documentation—or if your stairs can’t be made sufficiently stable—you’ll get better long-term results by pausing and aligning your plan with the manufacturer’s stair specifications or working with a professional installer.
Frequently Asked Questions
What’s the best way to measure and plan an SPC flooring layout on stairs?
Start by measuring each stair tread and riser precisely, including the width and depth, and note whether your steps are square or have varying dimensions. Plan the SPC plank direction to minimize cuts on visible edges and keep expansion gaps consistent around the perimeter and at stair transitions. Dry-lay a few pieces first to confirm how the click-lock seams will land across the tread width, then mark cut lines clearly so you can install on stairs with fewer mistakes.
How do I cut SPC planks for stair treads and risers without damaging the edges?
Use the right blade for your SPC flooring—typically a fine-tooth carbide blade for a cleaner edge—then support the plank fully while cutting. Label each tread and riser piece and cut riser heights and tread depths carefully to avoid gaps at the stair nosing. After cutting, test-fit every piece before locking it in place, especially around corners and curved transitions, to prevent chipping and misalignment.
How do I install SPC click-lock flooring on stairs while keeping it secure and level?
Begin with the top tread or the strategy recommended for your specific SPC system, and ensure every tread surface is flat before installing. If your SPC uses a click-lock system, lock the planks together firmly but avoid forcing seams; then secure treads using the manufacturer-approved method (often stair nosing, fasteners at the nosing, or recommended adhesive where required). Use spacers to maintain required expansion gaps and check levels frequently so your stair SPC flooring stays even from step to step.
Why do stair SPC floors need expansion gaps and what happens if I skip them?
Like all vinyl and SPC flooring, stair installations can expand and contract with temperature and humidity changes, so expansion gaps are essential. On stairs, insufficient gap allowance can cause buckling at landings, pressure on the first/last steps, or separation at click-lock seams. Follow your flooring manufacturer’s gap guidance, and don’t trap the planks rigidly against walls or fixed trim—especially near the stairwell.
Which underlayment and stair finishing options work best for SPC floors on stairs?
SPC flooring is often designed to work without traditional underlayment because it’s rigid and dimensionally stable, but you should confirm whether an underlayment is allowed for stairs on your specific product. For a clean, professional look, pair your installation with stair nosing designed for rigid vinyl/SPC, which helps protect edges and hides transition lines. Finish with proper trim at landings and edges, and use stair-appropriate accessories to create a secure, slip-resistant stair SPC flooring result.
📅 Last Updated: October 08, 2026 | Topic: How to install on stairs SPC floors? | Content verified for accuracy and freshness.