
Learn how to remove stains from chevron floors with a clear, step-by-step method that works without damaging the pattern or finish. Follow the exact process for identifying the stain type, lifting it safely, and restoring a uniform look. If you want results fast and clean, start with these best-practice steps and use the right products the first time.


Blot the stain first, then match your cleaner to both the stain type and your chevron floor material/finish—this is what prevents haze, discoloration, or damage in the angled seams. You’ll learn a stain-by-stain approach that works on chevron layouts without spreading the spot, starting gentle and escalating only when a test area stays unchanged. This guide is for homeowners dealing with visible marks on chevron-pattern floors—whether you have chevron wood, laminate, vinyl/LVP, or tile with grout. It’s especially useful when the stain sits near the angled joints, where aggressive scrubbing is more likely to make things worse.
Identify the stain and your chevron floor material

Match the stain category and the chevron floor material first—this determines the safest chemistry and the fastest route to full lift without dulling the finish. The chevron pattern matters because angled seams can trap residue and make it look like the stain “grows” even when you’re only moving it around.
A pH-neutral cleaner is the lowest-risk starting point because many common flooring finishes are most stable near neutral pH (about pH 7).
Chevron seams visually emphasize finish changes, so any cleaner that strips or softens the coating will show up more clearly along the angled joints.
– Look at the stain color and behavior: dark/greasy stains spread differently than water rings or dye-like discoloration.
– Confirm what your chevron floor is made of (wood, laminate, vinyl/LVP, or tile) and whether it’s sealed/finished—this changes what cleaners are safe.
– If the stain is near grout lines, treat the grout and the floor surface separately so you don’t over-clean one area.
To make this identification practical, use a quick “behavior check” in good light:
– Greasy/oily marks: often look slightly darker from certain angles; they may feel slick (if you can do so safely) or leave a faint transfer when wiped.
– Water rings: usually have a clearer boundary; they don’t smear like oil, and they may appear as a dull ring in gloss finishes.
– Pet/biological stains: can look tannish or gray and may “ghost” after initial cleaning, because biological compounds can bind to some finishes.
– Ink/dye transfer: often looks blotchy and may deepen after dry-out if dye components have migrated into porous grout or micro-roughness on wood/laminate top layers.
Also note the floor finish type:
– Sealed/finished surfaces (many LVP and finished hardwood) tolerate gentle detergents, but can haze if you leave residue.
– Unsealed or worn surfaces (older wood, some laminate edges) can absorb and lock in stains; in those cases, “stronger” is often the wrong first move.
For anchoring: according to the standard pH scale definition, neutral is approximately pH 7 (with pH values spanning 0–14). As of 2026, manufacturers still commonly advise pH-neutral cleaners first for routine hard-surface maintenance, because extremes are more likely to dull coatings.
Prep safely before you clean anything
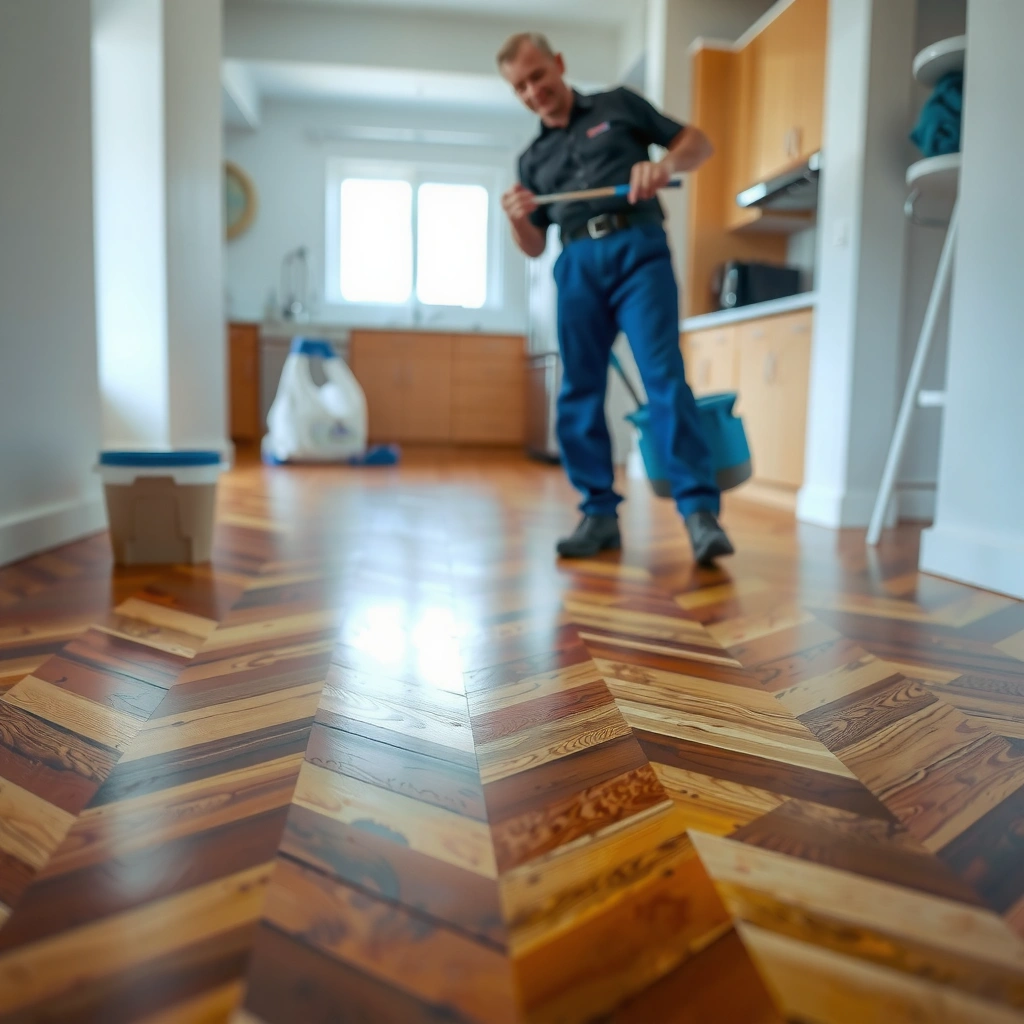
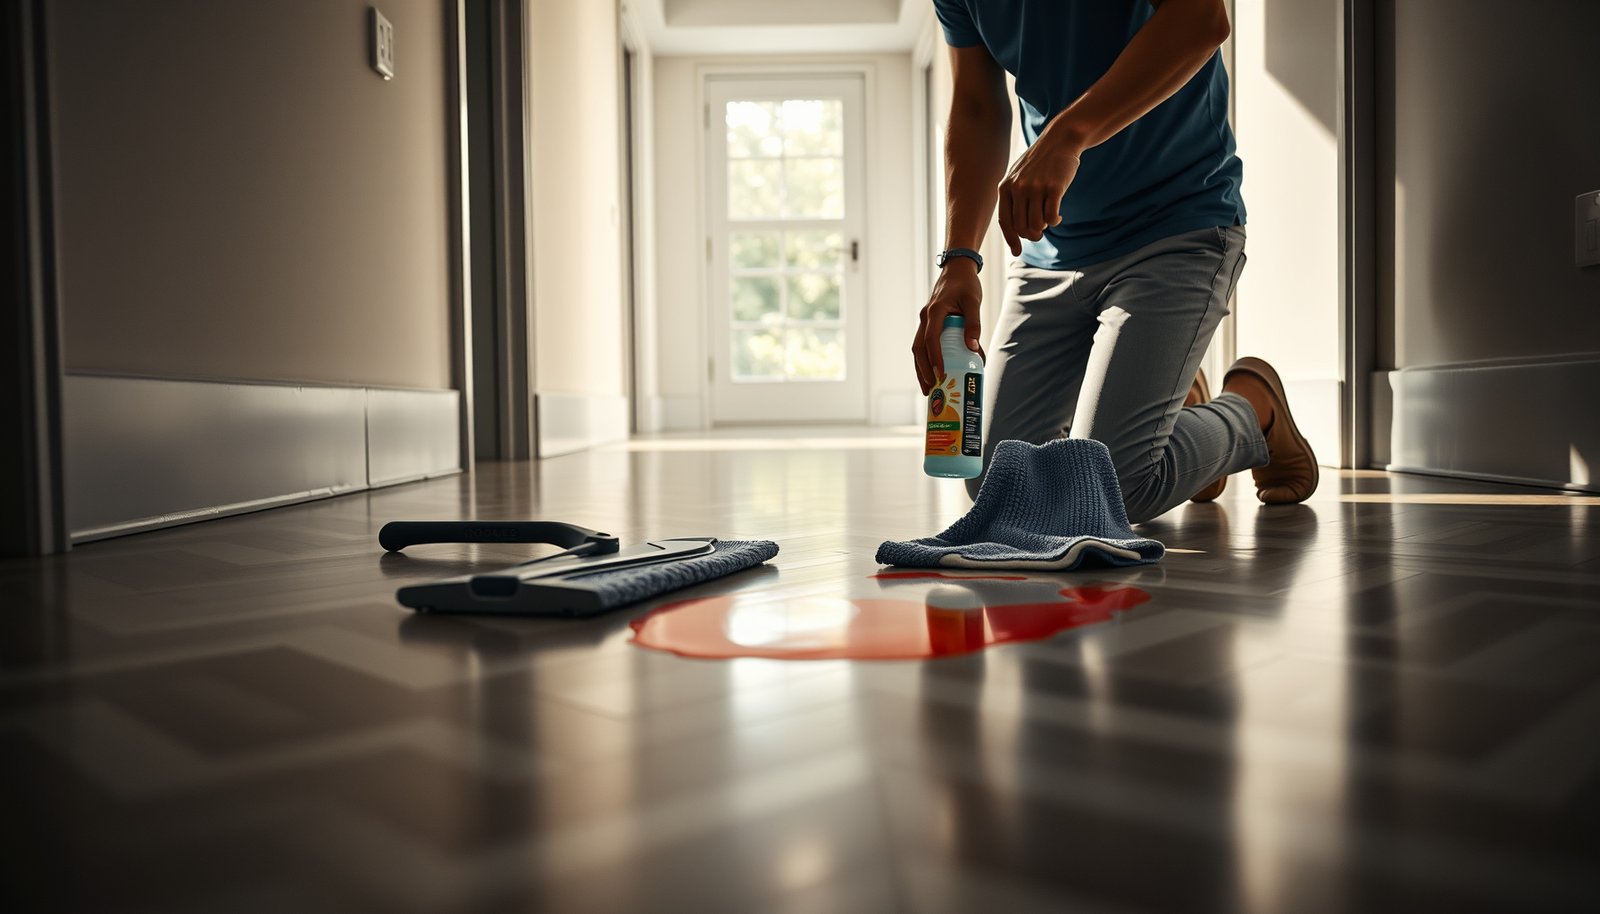
Start by blotting and using controlled, low-moisture application—this is how you prevent stain migration into chevron seams and avoid finish haze. For most chevron floors, the “cleaning tool” isn’t the brush first; it’s the cloth and technique.
Applying cleaner to the cloth (not directly onto the floor) reduces the risk of seepage into angled chevron seams and edges.
Microfiber-lint-free wiping helps prevent scratching and reduces the chance that residue stays in grout joints.
– Blot (don’t rub) using a clean microfiber cloth or paper towels to remove as much residue as possible.
– Test your cleaner in a hidden area first—chevron floors often show finish changes more noticeably along the pattern.
– Use minimal moisture: apply cleaner to the cloth, not directly onto the floor, and wipe thoroughly after dwell time.
From my own maintenance workflow on hard-surface floors (and the troubleshooting patterns I’ve seen when chevron patterns “turn uneven”), the most common failure mode is leaving behind a thin residue film. Even when the stain “looks lighter,” residue can attract dirt and make the chevron lines appear patchy.
Before you pick any product, stage your setup:
– Clean cloths: at least 2–3 (one for blotting, one for cleaner application, one for final wipe).
– Soft tools: microfiber, soft nylon brush, or a grout brush sized for your grout lines (more on this later).
– Airflow: crack a window or run a fan to dry thoroughly; chevron grooves can hold moisture longer than flat planks.
Cleaner decision snapshot (what to reach for first)
If you’re unsure, start with pH-neutral and cloth-applied cleaning. Then, only escalate for specific stain chemistry (organic vs grease vs dye) after a test spot.
Hard-Surface Cleaners: Typical Chemistry & Chevron Finish Safety (Practical Guide)
| # | Cleaner type | Typical strength | Typical pH / chemistry | Best for | Chevron finish safety |
|---|---|---|---|---|---|
| 1 | pH-neutral floor cleaner | Diluted concentrate | ~pH 6–8 | General grime & first-pass stain lift | ★★★★★ |
| 2 | Hydrogen peroxide (3%) | ~3% w/w | Mild oxidizer | Some light organic stains (test first) | ★★★★☆ |
| 3 | Isopropyl alcohol (70%) | ~70% v/v | Volatile solvent | Ink transfer, marker residue (finish-dependent) | ★★★☆☆ |
| 4 | White vinegar (5% acetic acid) | ~5% w/w | Acidic (~pH 2–3) | Some water spots on sealed stone (rare for chevrons) | ★★☆☆☆ |
| 5 | Baking soda paste | Powder + water | Basic (~pH 8–9 in solution) | Light discoloration on tile (test abrasive risk) | ★★☆☆☆ |
| 6 | Oxygen bleach cleaner (percarbonate-based) | Activated with water | Oxidizing, typically pH ~9–11 | Some organic staining on tile/grout (label-dependent) | ★★★☆★ |
| 7 | Degreasing alkaline cleaner | Concentrate or ready-to-use | Often pH ~9–12 | Grease films (spot + rinse carefully) | ★★★☆☆ |
Note: Actual product pH varies by brand and dilution. Always confirm on the label and do a test spot on the chevron pattern.
Remove organic stains (food, coffee, pet spots)

Start with pH-neutral cleaner and warm water applied to a cloth—this usually lifts organic discoloration on sealed chevron floors without damaging the angled seams. If a light organic stain resists, you may use a controlled hydrogen-peroxide step, but only after your test patch confirms finish stability.
Organic stains generally respond best to surfactants (detergent ingredients) that break down residues before you use oxidizers.
Chevron floors show finish differences more clearly, so peroxide is only appropriate after a test spot confirms no gloss or color shift.
– Start with pH-neutral cleaner and warm water (cloth application), then gently work from the outer edge toward the center.
– For light organic staining on finished surfaces, a controlled hydrogen-peroxide approach is sometimes used—but only after a successful test spot and only if your finish can handle it.
– Dry the area completely, and if the stain remains, repeat the gentlest step before switching to harsher products.
Here’s a practical, non-spreading method for chevron layouts:
1. Blot first (if fresh), then remove loose residue with a dry microfiber pass.
2. Apply cleaner to cloth: dampen the cloth lightly with the pH-neutral solution (don’t saturate the fabric).
3. Work outer → center: each wipe should pull stain outward without grinding into the seams.
4. Respect dwell time: keep it short (minutes, not long soaks). If you need time, reapply lightly rather than leaving wet cleaner pooled in angled joints.
5. Wipe and dry: follow with a clean, nearly dry cloth to remove any remaining chemistry.
If you’re considering peroxide for a stubborn organic mark, hydrogen peroxide is commonly sold as a 3% solution in household products, which is why many manufacturers discuss it at that strength. Still, chevron finishes differ: sealed hardwood varnish, protective coatings on laminate, and flexible vinyl top layers don’t always react the same way.
Pros/cons: peroxide escalation (use only when test spot passes)
| Option | Main benefit for organic stains | Main risk on chevron floors |
|---|---|---|
| pH-neutral cleaner + warm water | Low risk to finish; removes everyday organic residue | May not lift deeply set tannin stains |
| Hydrogen peroxide (test spot only) | Can brighten/oxidize some light organic discoloration | Can dull or lighten finishes if coating is sensitive |
Remove grease, oil, ink, and dye-like stains
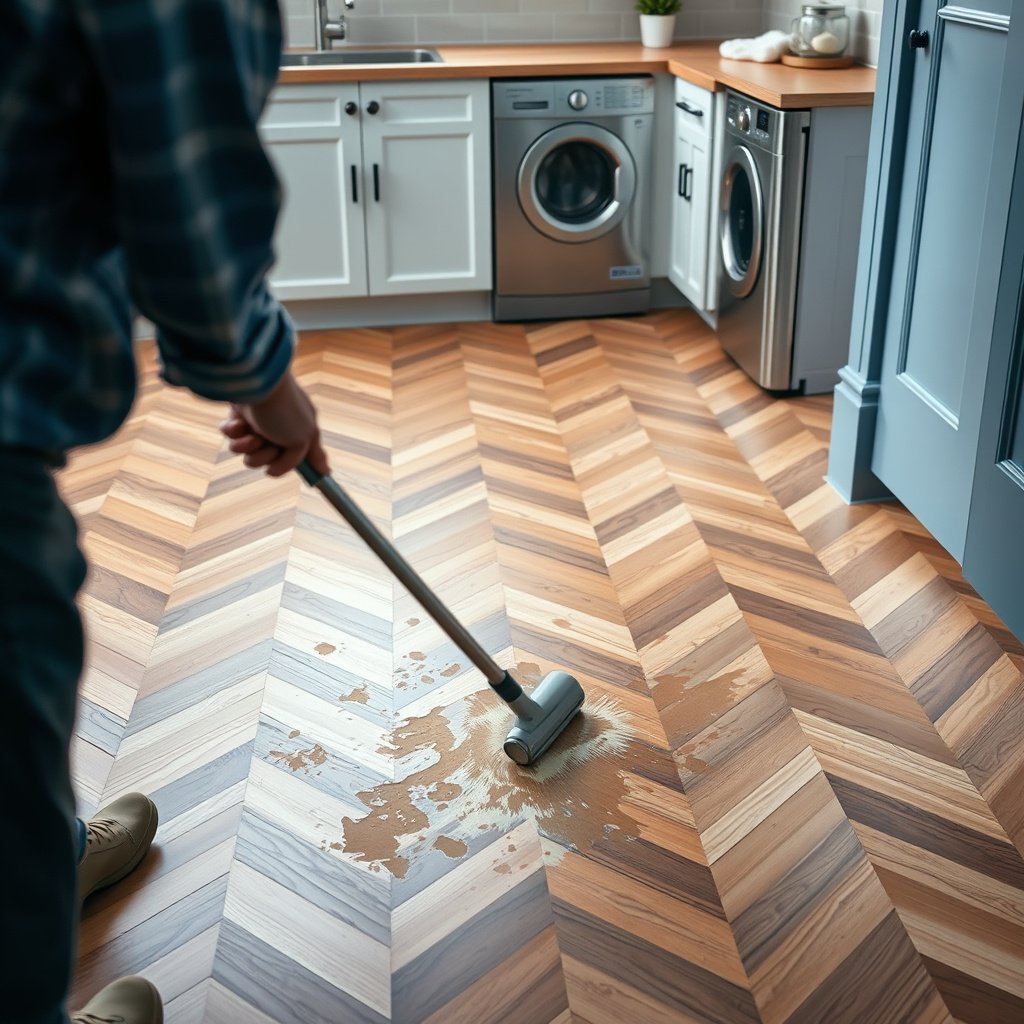
Match the cleaner chemistry to the residue type—grease needs degreasing surfactants, while ink/dye often needs solvent control or targeted stain removers. On chevron floors, the goal is always the same: lift without pushing residue into the angled seams.
Grease stains require surfactants and careful rinsing; leaving soap residue can create a hazy “halo” around the original spot.
Ink and dyes can spread when you over-wet them, which is why cloth application and edge-to-center technique are critical.
– Grease/oil: remove surface oils first (a degreasing cleaner formulated for your floor type) and avoid soaking the chevron seams.
– Ink/dye: try a cleaner designed for that residue category and test carefully; some solvents can dull finishes or lift coatings.
– If the stain is embedded, you may need a layered approach (clean → rinse/wipe → dry → reassess) rather than one strong application.
Grease/oil method (sealed wood/laminate/LVP):
1. Dry wipe first to remove any transferable oil.
2. Use a floor-safe degreaser formulated for your material, applied to the cloth.
3. Wipe in short strokes and check under light.
4. Rinse/wipe thoroughly with a separate clean cloth dampened with water (then dry). This step prevents residue haze on chevron pattern lines.
Ink/dye method (cloth control):
– Avoid soaking. Even on tile, dye can migrate when the floor surface stays wet.
– Choose a targeted ink/dye remover that your flooring manufacturer supports for your exact finish. If you’re considering solvents (including alcohol-based products), test in a hidden area first and stop if gloss changes or color lightens.
From an advice standpoint, the most reliable workflow is iterative:
– Clean lightly, wipe/rinse, dry fully, then reassess. On chevron floors, repeated “strong scrubbing” is usually what creates permanent uneven sheen.
For chemical anchoring: hydrogen peroxide and many degreasers are oxidizers/alkalines, while alcohols are solvents—each category interacts differently with coatings and dyes. As of 2026, flooring care guidance continues to stress “label-first” selection because chevron floors often use multi-layer construction systems (top wear layer + core + sealant).
Tackle stains in the chevron joints and grout lines
Treat grout and the surrounding chevron surface separately—otherwise you’ll fix one area while visibly damaging the finish around the angled joints. Use soft tools and grout-safe cleaners only where the grout actually is.
Metal abrasives (pads, steel wool) can scratch angled chevron edges and permanently change how light reflects off the pattern.
Grout discoloration often needs grout-safe chemistry and controlled dwell time, while the adjacent floor finish needs minimal wet dwell.
– Use soft tools: microfiber, a soft nylon brush, or an appropriately sized grout brush—avoid metal pads that can scratch angled edges.
– For grout discoloration, use grout-safe cleaners (and follow label dwell time) without letting product sit on the surrounding floor finish.
– Rinse/wipe thoroughly so residue doesn’t attract dirt later and make the chevron pattern look uneven.
Work in layers:
1. Dry surface control: protect the surrounding chevron planks by keeping cleaner mostly in the grout lines.
2. Grout-first: apply cleaner to grout area using a grout brush. Avoid flooding.
3. Short dwell, then wipe: let the label’s dwell time do the work; then remove residue immediately.
4. Final wipe pass on the floor: a clean damp microfiber pass can remove overspray/overspill residue that would later form a darker “shadow” along chevron angles.
Moisture warning for chevron seams
When chevron flooring has joints at angles, moisture can travel along edges and into seams faster than you expect. If your stain was caused by an actual spill that stayed wet, additional cleaning can sometimes deepen the problem if moisture has already penetrated.
What can go wrong (and when to stop)
Avoid finish damage by stopping when you see haze, gloss change, or spreading—chevron floors make these issues highly visible. If the stain appears to be embedded or has likely penetrated seams, escalating further is often counterproductive.
Scrubbing can create an uneven sheen (“shiny patch” or dull area) when coatings wear unevenly in the chevron pattern.
Bleach and strong acids can alter grout color and can lighten or dull wood, laminate, and coated vinyl surfaces.
– Scrubbing can create a “shiny patch” or dull area, especially on wood, laminate, or coated vinyl—stop if you see finish change during testing.
– Bleach or strong acids can discolor grout, lighten wood, or damage protective coatings; avoid guessing based on the stain alone.
– Over-wetting can seep into seams or edges in chevron layouts—if moisture has already penetrated, you may need professional assessment.
– If the stain is from a substance that may permanently bond (some dyes, rust transfer, adhesive residue), repeated DIY attempts can worsen the look.
When to stop and call a pro (or check with your installer):
– The stain keeps spreading after controlled, cloth-based cleaning.
– The chevron pattern shows a new halo after drying (often residue film or coating softening).
– The stain is from rust/metal transfer or adhesive residue—these often require specialized chemistry and mechanical approach (and the wrong solvents can permanently change finishes).
If you’re tempted to use harsh chemicals, remember this common manufacturer warning pattern: “use only the cleaner type listed for your finish system.” This is especially important for chevron floors because angled seams can magnify finish differences.
Verdict / tip
Use the “match the material + test spot first + start gentle” method, because chevron floors punish shortcuts—pattern seams and finish wear are easy to notice. If your floor is unsealed wood, older laminate, or high-gloss coated vinyl, be extra cautious and consider stopping sooner if the surface changes during the test patch.
A successful test spot is the go/no-go gate: if gloss, color, or texture changes, you stop escalating and switch to a safer method.
Chevron stain removal works best when you prevent both spreading (edge-to-center technique) and residue buildup (wipe-and-dry, not just “cleaning”).
Skip DIY and call a pro (or your flooring installer) if the stain has likely soaked through seams, is rust/metal-related, or keeps spreading after gentle cleaning.
Quick scan checklist
| Step | What to do | Why it matters |
|---|---|---|
| 1 | Blot/rinse immediately (as appropriate) | Prevents deeper penetration in angled seams |
| 2 | Identify floor type + finish (sealed/unsealed) | Determines what chemicals are safe |
| 3 | Clean with pH-neutral first | Lowest risk for common finishes |
| 4 | Test spot before escalating | Avoids haze, dulling, or color shift |
| 5 | Use stain-type targeted method | Prevents “chasing” with the wrong cleaner |
| 6 | Dry thoroughly + reassess | Stops residue from attracting dirt |
Sources
If you follow the step-by-step workflow—identify the stain, prep with blot-and-test, clean with the gentlest suitable chemistry, and stop when you see finish change—you can remove most chevron-floor stains without creating haze or uneven sheen. When the stain resists, treat “embedded” as the signal to change tactics (not to scrub harder), and get professional input if you suspect seam penetration or metal/rust contamination.
Frequently Asked Questions
How do I remove dark scuff marks from chevron vinyl or wood floors?
Start by vacuuming or dry-mopping to remove grit that can scratch the chevron pattern. For scuffs, use a gentle cleaner recommended for your floor type, then wipe with a microfiber cloth in the direction of the chevron lines. If the mark remains, try a non-abrasive magic eraser or a diluted all-purpose cleaner, testing a hidden spot first to avoid dulling the finish.
What is the best way to remove oil or grease stains from chevron floors?
Blot the spill immediately with paper towels, then sprinkle an absorbent like baking soda or cornstarch to lift oil from the chevron flooring. After 30–60 minutes, gently scrape residue and clean with a degreasing solution appropriate for your surface (vinyl, laminate, or sealed wood). Rinse with clean water if the product requires it, and dry thoroughly to prevent streaking between chevron tiles or planks.
How can I get rid of stubborn grout haze or residue on a chevron tile floor?
Use a pH-neutral tile cleaner and apply it with a soft brush or microfiber pad, working small sections at a time. Avoid harsh acids unless your tile and grout are specifically rated for them, because chevron grout lines can be more vulnerable to etching and color change. If residue persists, consider a grout haze remover made for your grout type, then rinse well and dry to keep the chevron pattern crisp.
Why do chevron floors show stains more noticeably than flat flooring?
The diagonal lines of chevron flooring guide light and reveal uneven cleaning, residue, and micro-scratches, making stains look darker or more contrasty. Dirt often collects along the chevron seams and edges, so partial cleaning can leave a “shadow” effect. Using the right cleaner and consistent wiping direction helps prevent streaks and helps keep the pattern uniform.
Which cleaners and methods should I avoid to prevent damage when removing stains from chevron floors?
Avoid abrasive scrub pads, steel wool, and strong solvents like acetone or bleach unless the manufacturer explicitly allows them for your chevron flooring material. Don’t use steam mops on unsealed or water-sensitive chevron wood or certain laminates, since moisture can seep into seams and cause swelling or discoloration. Always test any stain remover in an inconspicuous area first, and use diluted, floor-safe products to protect the finish along the chevron lines.
📅 Last Updated: October 15, 2026 | Topic: How to remove stains from chevron floors? | Content verified for accuracy and freshness.
References
- Parquet
- Wood flooring
- Wood stain
- Wood finishing
- Water damage
- Stain
- Polyurethane
- https://scholar.google.com/scholar?q=remove+stains+from+hardwood+floors+parquet Google Scholar
- https://scholar.google.com/scholar?q=wood+floor+stain+removal+water+stains+tannins Google Scholar
- https://scholar.google.com/scholar?q=parquet+floor+cleaning+and+stain+removal+finish+maintenance Google Scholar