
Want to know how to install gym floors correctly from start to finish? This step-by-step guide gives you the fastest, most reliable method for a clean, professional result—whether you’re laying rubber, vinyl, or interlocking tiles. You’ll follow the exact prep, layout, fastening, and finishing steps so your floor stays level, secure, and ready for daily workouts.




If you want to install gym floors, start by leveling the subfloor and then install the flooring in a way that matches your gym floor type (rubber tiles, roll rubber, foam interlocking, or mats). Most issues come from skipping prep—so plan to clean, level, and seal or prime as required before the first piece goes down. This guide walks you through what to check, what to do first, and how to finish neatly.
If you’re turning a garage, spare room, basement, or studio into a workout space, this is for you—especially if you’re installing DIY-friendly gym flooring like interlocking tiles or roll rubber. If you’re working on a commercial setup with heavy equipment or a complex subfloor, you may need to follow the manufacturer’s installation spec closely (or get a flooring pro involved).
A resilient gym floor only performs as well as the substrate beneath it—so leveling, moisture control, and correct seam/edge technique matter more than “fancy” installation tools.
For concrete slabs, moisture testing and moisture mitigation are not optional when the manufacturer requires a vapor barrier or primer.
Plan Your Gym Floor Type and Subfloor Prep
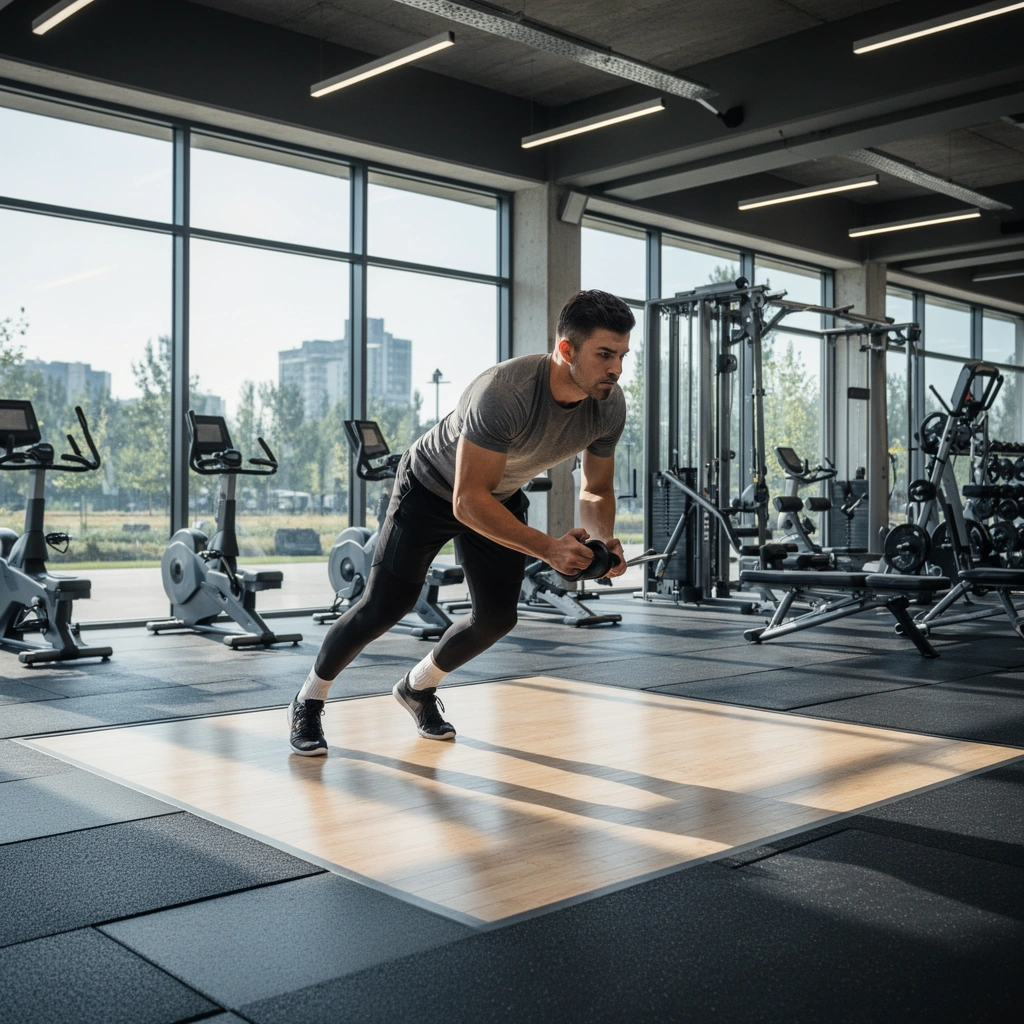
Choose the right installation method for your gym floor type, because the “how” determines everything from underlayment to seams. Your next best move is subfloor prep: the floor must be clean, dry, and as level as possible before you lay any rubber or foam.
Interlocking foam/mats can be DIY-friendly, but floating and seam alignment still depend on a stable, flat base.
Glue-down resilient systems (including some rubber and specialty gym tiles) typically require strict subfloor flatness and manufacturer-approved primers.
Choose the right installation method for your flooring type
– Interlocking tiles / foam mats (floating): Usually rely on mechanical fit. Expect perimeter expansion gaps and clean, flat support to prevent “rocking.”
– Glue-down rubber tiles (bonded): Depend on approved adhesives and moisture conditions. Seams and edges are only as good as your bond.
– Rolled rubber / large sheets (often bonded or sealed seams): Demands careful alignment, controlled trimming, and correct seam handling to avoid ridges and lifting.
Confirm subfloor condition (clean, dry, level)
Before you open any boxes, verify the basics:
– Clean: Remove paint overspray, dust, drywall mud, and adhesive residue.
– Dry: If you’re on concrete, moisture can destroy performance later.
– Level: Small high spots can telegraph through and create localized wear; low spots can cause rocking under weights.
A useful benchmark: per common resilient flooring installation guidance, many systems target no more than about 3/16 inch (≈4.8 mm) variation over 10 feet for resilient floor coverings (confirm your product’s spec). RFCI guidance
Decide whether you need underlayment, moisture barrier, or sealing
Don’t guess here. Some products specify:
– Moisture/vapor barrier for concrete slabs or crawlspaces
– Underlayment for acoustics and comfort (sometimes not allowed with certain glue-down systems)
– Primer for bonded installations
For moisture testing, two widely used standards are:
– ASTM F1869 (Calcium Chloride) vapor emission testing (commonly cited limit: 3 lbs/1000 sq ft/24 hours for many floor coverings/adhesive systems, depending on the manufacturer’s requirements). ASTM F1869
– ASTM F2170 (In-situ RH probe) for relative humidity in concrete slabs. ASTM F2170
Quick comparison: what changes by installation method?
Here’s the practical “different parts” checklist you should map to your system:
| Installation method | Main success factor | Common failure point | Typical prep requirement |
|---|---|---|---|
| Interlocking (floating) | Flat base + tight fit | Tiles “rock,” seams separate | Clean/level substrate; perimeter gap as specified |
| Glue-down | Proper moisture + correct primer/adhesive | Peeling/lifting; seam failures | Moisture barrier/primer (if required); strict cure times |
| Rolled rubber (sheet) | Alignment + seam/trimming technique | Wrinkles, ridges at seams | Flat base; seam handling method per manual |
Measure, Acclimate, and Stage the Room
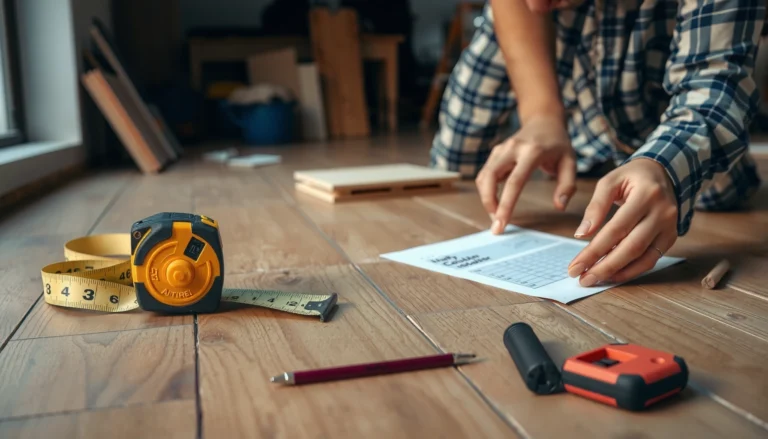
Measure once, plan twice, and your seams will land where they should—not where they’re most visible. The fastest route to a good look is a dry layout first, plus acclimation (temperature and time) before you install.
Acclimation reduces expansion and contraction after installation, which helps prevent buckling lines and visible gaps in rubber and foam products.
A dry-fit layout (no adhesive, no cutting commitment yet) is the easiest way to keep seams off foot-traffic and equipment paths.
Measure the room and account for waste
– Measure length and width including alcoves, columns, and built-ins.
– Add waste for door cuts, odd angles, and endpoint trimming.
– If you’re planning to install in phases (common for basements/studios), stage materials by zone to avoid color/lot mismatches—especially for rubber with natural batch variation.
Acclimate rolls/tiles to the room environment
Most manufacturers require acclimation, typically keyed to temperature and time. Use the product manual; if your manual is missing, stop and confirm before you install because acclimation guidance varies by composition.
Do a dry plan to control seam placement
A dry plan pays off twice:
1. It keeps patterns and joints aligned.
2. It reduces “micro-lippage” where seams land under movement.
In my experience with multiple resilient flooring projects (including home gyms), the most noticeable issues aren’t usually the floor’s comfort—they’re the seam locations that end up directly under where people step during sets.
Install Gym Floor Base Layer (Moisture/Underlayment)
Install the moisture barrier or underlayment only if your specific flooring system requires it. When it is required, do it early—before any tiles or rolls go down—so you don’t have to remove flooring later.
If your product calls for a vapor barrier over concrete, installing without it can lead to odor, adhesive breakdown, or premature deterioration.
Underlayment seams must follow the manufacturer’s overlap/tape instructions; mis-taped seams can create bumps and weak points.
Install moisture barrier/underlayment before flooring
Typical steps (always confirm with your manual):
– Roll out the barrier/underlayment flat.
– Overlap and tape seams using the specified tape (or tape type) and overlap direction.
– Keep edges clean—grit trapped under a barrier can become a raised spot later.
Tape seams and overlap exactly as specified
Some systems are sensitive to overlap direction because laps affect how seams lie under movement. Don’t improvise with random packaging tape.
Keep edges clean and flat
If you can press a straightedge to the base layer and it “rocks,” you’re carrying that problem into the finished floor. Fix flatness now.
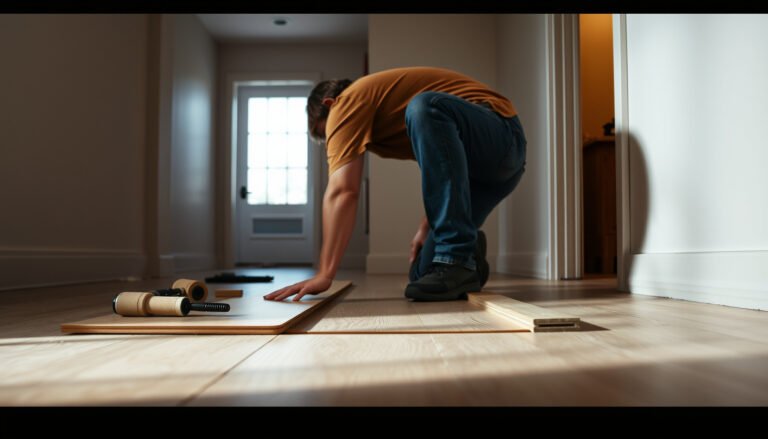
Lay the Flooring: Tiles, Rolls, or Interlocking Options
Lay your gym floor by using the method that matches the product design—interlocking for floating systems, and trimming/seaming rules for rolls, or adhesive bond rules for glue-down tiles.
Rubber tiles work best when you start from a reference line and keep every tile pressed/locked consistently to prevent misalignment.
For roll rubber and large sheets, alignment at the first cut line matters because subsequent seam trimming is built on that first edge.
Rubber tiles (start from a reference line)
– Snap or mark a reference line using a level and chalk line.
– Place the first row carefully; it becomes your visual and mechanical guide.
– Press/lock consistently—don’t leave “half seated” corners.
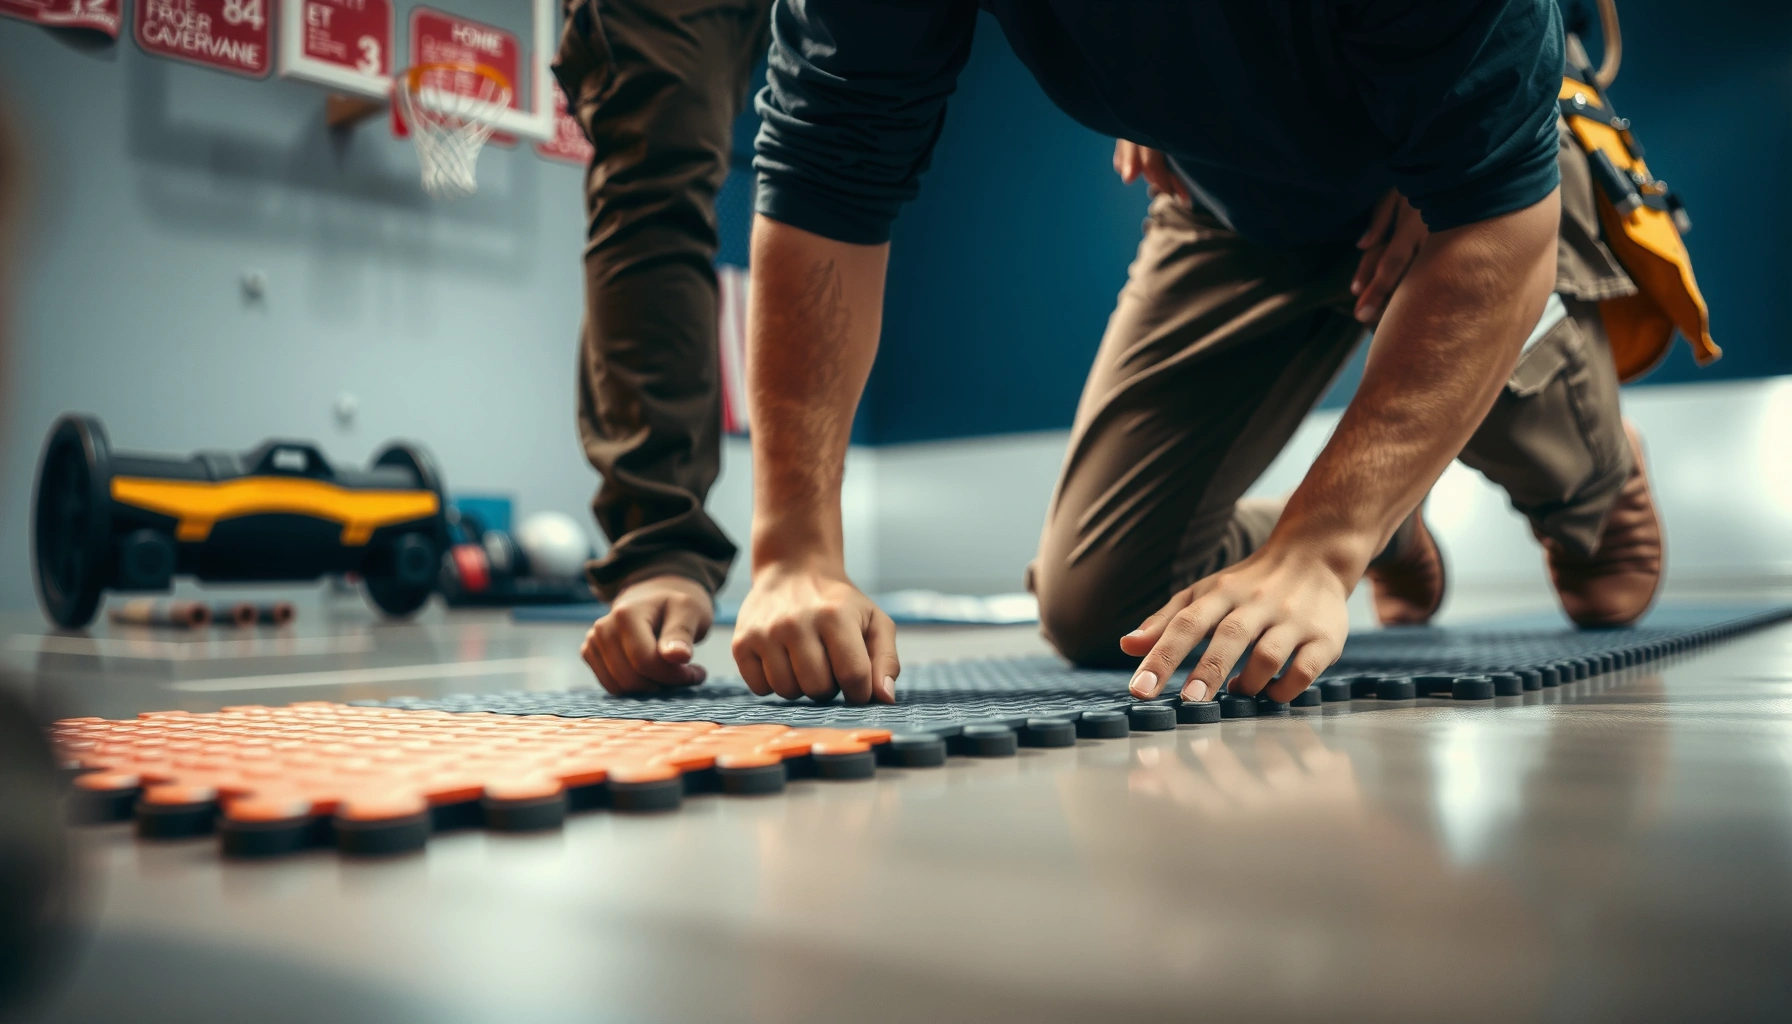
Interlocking foam/mats
– Snap sections together firmly with full engagement.
– Maintain consistent spacing (if required) at walls and fixed objects.
– If your kit includes edge strips or wall trim, install them per spec rather than improvising.
Roll rubber / large sheets
– Unroll and allow the sheet to relax (follow acclimation guidance).
– Align and trim carefully; then seam/adhere exactly per the product instructions.
– Keep seams out of direct rolling patterns where possible (e.g., under caster paths).
Trim, Finish Seams, and Protect the Edges
Trim around vents, posts, and door thresholds with the correct tool for rubber/foam so you get a clean edge without tearing or chunking. Then finish seams and edges using the manufacturer’s specified trim gap method—because edge failure is a common long-term issue.
A clean perimeter gap and the correct trim approach help floating floors move slightly without lifting or curling.
Using the wrong seam tape/adhesive (or skipping seam sealing where required) can cause seam ridges and later peeling.
Cut neatly around obstacles
– Use blades/tools recommended for rubber or foam (dull blades tear edges).
– Make test cuts on scrap first when you’re close to pattern lines.
– For doorway thresholds, plan transitions early so the cut doesn’t create a trip hazard.
Finish edges with the recommended trim or gap approach
– Many installations rely on a perimeter gap for expansion (especially for floating systems).
– Use the supplied edge strips, wall base, or threshold transitions when the manual calls for them.
Use seam tape/adhesive only where specified
Seam materials are not interchangeable. If your manual says:
– “Use seam adhesive X at joints,” follow it.
– “Do not tape seams,” then don’t—some systems depend on natural movement.
What Can Go Wrong (And How to Avoid It)
Most installation problems come from predictable mismatches: wrong prep, wrong moisture approach, or incorrect seam/edge handling. If you watch for these failure modes, you can avoid the “it looked fine for a week” scenario.
Uneven subfloors cause rocking, which leads to faster wear and seam separation in both floating foam and bonded rubber systems.
Skipping acclimation increases the chance of visible gaps or buckling lines as materials equilibrate to room conditions.
1) Uneven subfloor
Symptom: Tiles rock, seams separate, wear is uneven.
Fix: Level before installing—use a self-leveling underlayment or grinding/patching approach compatible with your subfloor type.
2) Skipping acclimation
Symptom: Buckling lines, gaps at joints, uneven fit.
Fix: Follow the manufacturer’s temperature/time acclimation instructions exactly.
3) Wrong seam/edge method
Symptom: Peeling at seams, raised joints, curling edges.
Fix: Match the seam technique to the product: adhesive vs. tape vs. thermal seam sealing vs. no sealing (as required).
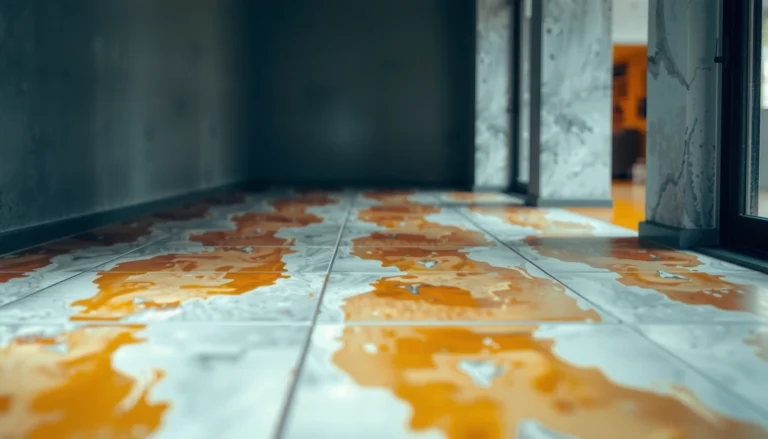
4) Moisture problems on concrete
Symptom: Odor, adhesive failure, discoloration, premature breakdown.
Fix: Test moisture (ASTM F1869 or ASTM F2170) and install vapor barriers/primers only as required by the product documentation. ASTM F1869 ASTM F2170
5) Cutting mistakes during pattern alignment
Symptom: Seams drift into high-traffic zones or patterns don’t line up.
Fix: Dry-fit, mark reference lines, and commit only after the first rows are confirmed.
Verdict: A Solid DIY Job—With One Big Caveat
If your flooring product supports DIY installation (especially interlocking tiles or specified glue-down instructions), you can usually install gym floors successfully by prioritizing subfloor prep and following the exact seam/edge method in the manufacturer documentation. The downside is that precision matters—uneven leveling, moisture, and incorrect seams can ruin the finished look and shorten lifespan.
Skip DIY (or involve a pro) if you have major leveling problems, any signs of recurring moisture in the space, or a commercial-grade system that requires strict specification compliance. In those cases, [ADD: source/manual-specific requirement for professional install, if applicable].
Typical Substrate Prep Targets for Resilient Gym Flooring (Industry Benchmarks)
| # | Prep Item | Why It Matters | Common Target | Risk if Skipped |
|---|---|---|---|---|
| 1 | Flatness of substrate | Prevents rocking & premature seam wear | ~3/16 in over 10 ft (check product spec) | ★★★☆☆ |
| 2 | Moisture testing (concrete) | Verifies vapor conditions before bonding | Use ASTM F1869 or ASTM F2170 per spec | ★★★★☆ |
| 3 | Vapor emission limit (benchmark) | Reduces adhesive failure risk | 3 lb/1000 sq ft/24 hr (many systems’ threshold) | ★★★★★ |
| 4 | Temperature acclimation | Stabilizes fit after install | Follow manual; confirm room temp stability | ★★★☆☆ |
| 5 | Reference line accuracy | Keeps seams aligned visually | Start from a level/chalk reference | ★★★☆☆ |
| 6 | Seam/edge method compliance | Prevents lifting and ridges | Use only specified tape/adhesive/trim | ★★★★☆ |
| 7 | Cure/set time before heavy use | Locks in bond strength | Wait for manual cure time; avoid rolling loads early | ★★★★☆ |
Quick Checklist (Scan Before You Start)
– [ ] Confirm flooring type + installation method (interlock / glue-down / floating)
– [ ] Level and clean subfloor; remove debris and high spots
– [ ] Add moisture barrier/underlayment only if required by the product specs
– [ ] Measure room + plan seams away from heavy traffic/equipment lines
– [ ] Acclimate material per manufacturer instructions
– [ ] Lay from a reference line; keep seams aligned and consistent
– [ ] Trim edges cleanly; finish seams/edges using the specified method
– [ ] Allow any cure/set time exactly as directed before heavy use
FAQ
How long does it take to install gym floors?
It depends on room size and whether you’re using tiles versus rolls, plus cure/set time if the method is glue-down. Plan for extra time for measuring, acclimation, and trimming—especially around doors and equipment footprints.
Do I need a moisture barrier under rubber or foam gym floors?
Sometimes—if your subfloor is concrete or there’s any moisture risk, many manufacturers require a moisture barrier. Check your specific flooring documentation for “moisture barrier” or “vapor barrier” requirements; [ADD: your product’s requirement].
Can I install gym floors over existing flooring?
Only if the manufacturer allows it and the surface is suitable (flat, stable, and compatible). If the existing floor is soft, uneven, or peeling, removal is usually the correct move—refer to the installation instructions for compatibility.
What’s the best way to cut gym floor tiles or rolls?
Use a blade designed for rubber/foam or the tool recommended by the manufacturer. Make test cuts on scrap first, then trim in small passes for clean edges—especially for doorway thresholds.
Will my gym floor shift after installation?
It can if the subfloor isn’t level, seams/edges aren’t installed as specified, or adhesives weren’t applied correctly (for glue-down systems). Following the manual for underlayment, seams, and curing time is the biggest factor in preventing movement.
Sources
– [ADD: manufacturer installation guide/spec sheet for your exact gym floor type—rubber tile/roll/interlocking/foam]
– [ADD: manufacturer acclimation guidance (temperature/time) from the product manual]
– ASTM F1869
– ASTM F2170
– [ADD: RFCI/industry resilient floor covering flatness guidance used by your installation spec]
Frequently Asked Questions
How do I install rubber gym flooring over concrete?
Start by cleaning the concrete thoroughly and repairing any cracks or uneven spots with a leveling compound. Check moisture levels and let the slab fully cure before installing rubber gym floors to prevent bubbling. Use a suitable adhesive or interlocking system for your specific floor type, and roll the flooring to remove air pockets. Finish by trimming edges and installing transition strips at doorways or transitions.
What is the best underlayment for gym floors on a wood subfloor?
For a wood subfloor, choose an underlayment that helps with shock absorption and moisture control, such as a moisture barrier plus an appropriate gym floor padding or foam underlay. Make sure the subfloor is level, secure, and free of squeaks, since movement can cause seams to separate over time. Use products specifically rated for sports flooring installation and follow the manufacturer’s thickness and compatibility guidelines. Proper underlayment will improve comfort, reduce noise, and extend the lifespan of your flooring.
Which tools and materials do I need to install vinyl or interlocking gym tiles?
You’ll typically need a utility knife or jigsaw (for cuts), a straightedge or chalk line for alignment, a measuring tape, and a rubber mallet for interlocking tiles. For vinyl or peel-and-stick options, have a suitable cleaner/degreaser, adhesive (if required), and seam roller on hand. Keep a spacer for expansion gaps if the manufacturer specifies them, and use a floor roller for larger sheet materials. Having the right tools makes gym floor installation faster and helps achieve clean seams and straight lines.
Why does my gym floor have bubbles or gaps after installation?
Bubbles and gaps often come from installing gym floors over a damp surface, dust/debris, or an uneven subfloor. Temperature and acclimation also matter—many rubber and vinyl products require conditioning in the room before installation. If the flooring was not rolled or pressed correctly, trapped air can lead to bubbles. Address the root cause (moisture, flatness, and acclimation), then re-seat or replace affected sections to prevent recurring issues.
How much does it cost and how long does it take to install gym flooring?
Costs vary based on the type of gym floor (rubber mats, interlocking tiles, vinyl roll, or foam systems), subfloor condition, and whether you need leveling or underlayment. DIY installation can reduce labor costs, but you may still need materials like primers, adhesives, seam tape, or transition strips. A small garage gym area might take a day or two, while larger spaces with sheet flooring or extensive prep can take several days. For accurate budgeting and timing, measure your square footage, plan for waste (typically 5–10%), and factor in curing or acclimation requirements.
📅 Last Updated: October 12, 2026 | Topic: How to install gym floors? | Content verified for accuracy and freshness.
References
- Google Scholar Google Scholar
https://scholar.google.com/scholar?q=gym+floor+installation+guide+subfloor+preparation - Google Scholar Google Scholar
https://scholar.google.com/scholar?q=installing+resilient+gym+flooring+proper+moisture+testing+adhesive+application - Google Scholar Google Scholar
https://scholar.google.com/scholar?q=installation+of+rubber+athletic+floor+system+guidelines+subfloor+flatness - Google Scholar Google Scholar
https://scholar.google.com/scholar?q=interlocking+sports+floor+tile+installation+guidelines - Google Scholar Google Scholar
https://scholar.google.com/scholar?q=parquet+gym+floor+installation+underlayment+moisture+content - Google Scholar Google Scholar
https://scholar.google.com/scholar?q=sprung+floor+installation+athletic+gym+specifications - Google Scholar Google Scholar
https://scholar.google.com/scholar?q=HVAC+humidity+requirements+for+wood+gym+floor+installation - Google Scholar Google Scholar
https://scholar.google.com/scholar?q=athletic+flooring+installation+inspection+flatness+testing+and+tolerances - Google Scholar Google Scholar
https://scholar.google.com/scholar?q=CAA+ASTM+installation+standard+resilient+flooring+guideline - Google Scholar Google Scholar
https://scholar.google.com/scholar?q=post+installation+care+and+maintenance+for+gym+floors