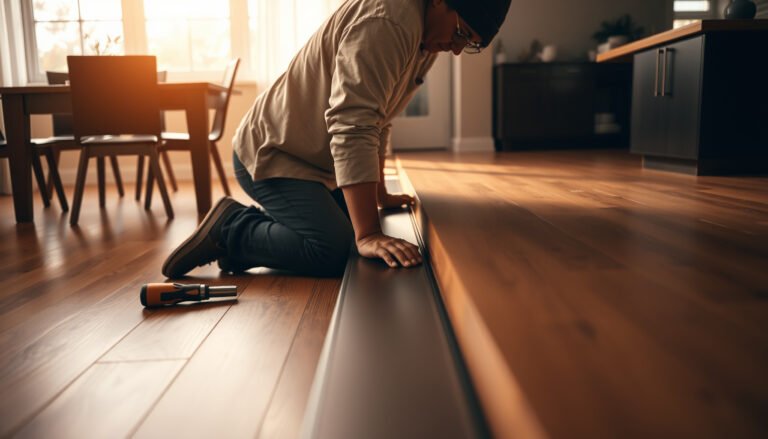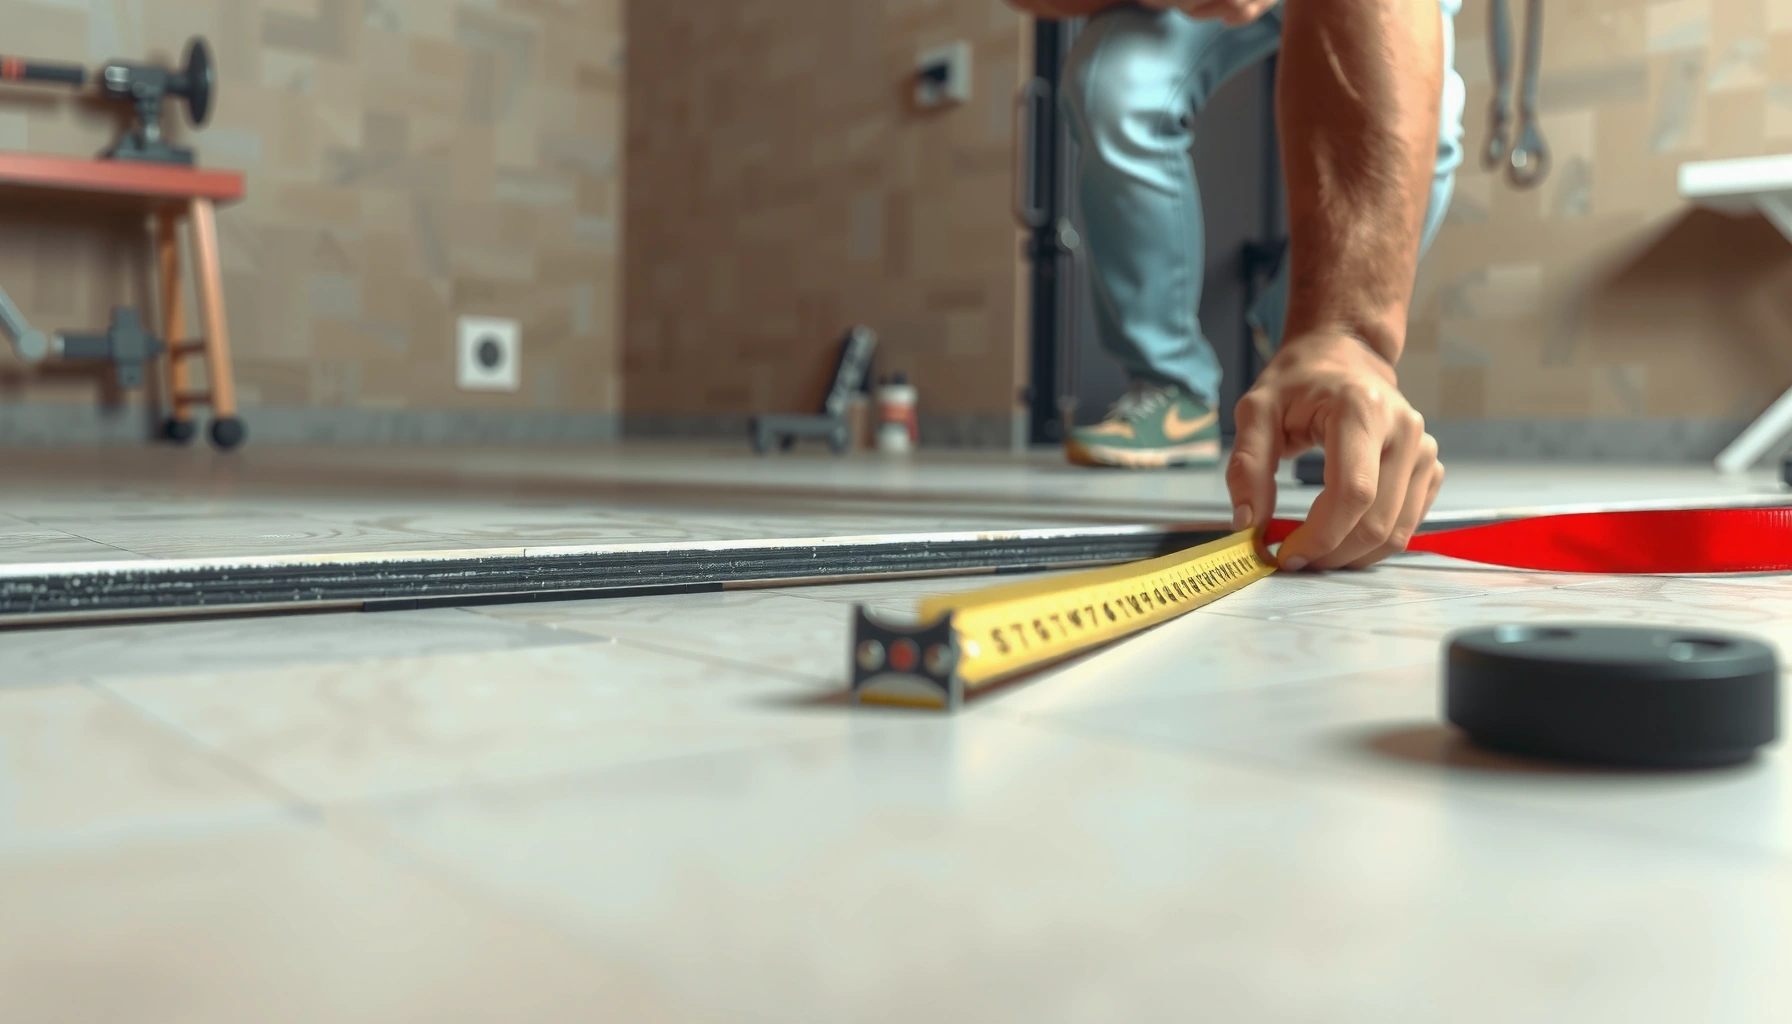

Measuring for travertine floors is simple when you follow the right steps: get the exact room dimensions, account for layout and grout lines, and confirm how the stone will be cut before you order. This step-by-step guide walks you through every measurement you need—so you can avoid costly waste and mismatched tile runs. If you want the fastest path to an accurate travertine floor order, start with the tape-measure process outlined here.



Measure your travertine floor by capturing room dimensions at multiple points, then measuring every doorway, alcove, and threshold to know exactly where cuts and tile edges will land. This approach prevents “layout drift” in irregular rooms and helps you order enough stone for full coverage with the right trimming allowance.
If your room isn’t a perfect rectangle—or you’re coordinating transitions into hallways, doorways, or steps—accurate measurements are what turn a good tile idea into a clean, intentional finish. You’ll also get a more reliable tile count because travertine planning depends on the actual usable area, not just the room’s rough square footage.
If you’re planning a travertine floor installation—DIY or with a contractor—this is for you when the room isn’t a perfect rectangle and you need accurate coverage for materials and cutting. It also helps if you’re coordinating tile with transitions (hallways, doorways, steps) so the finished floor looks intentional, not “patched.”
Gather the right measurements before you start
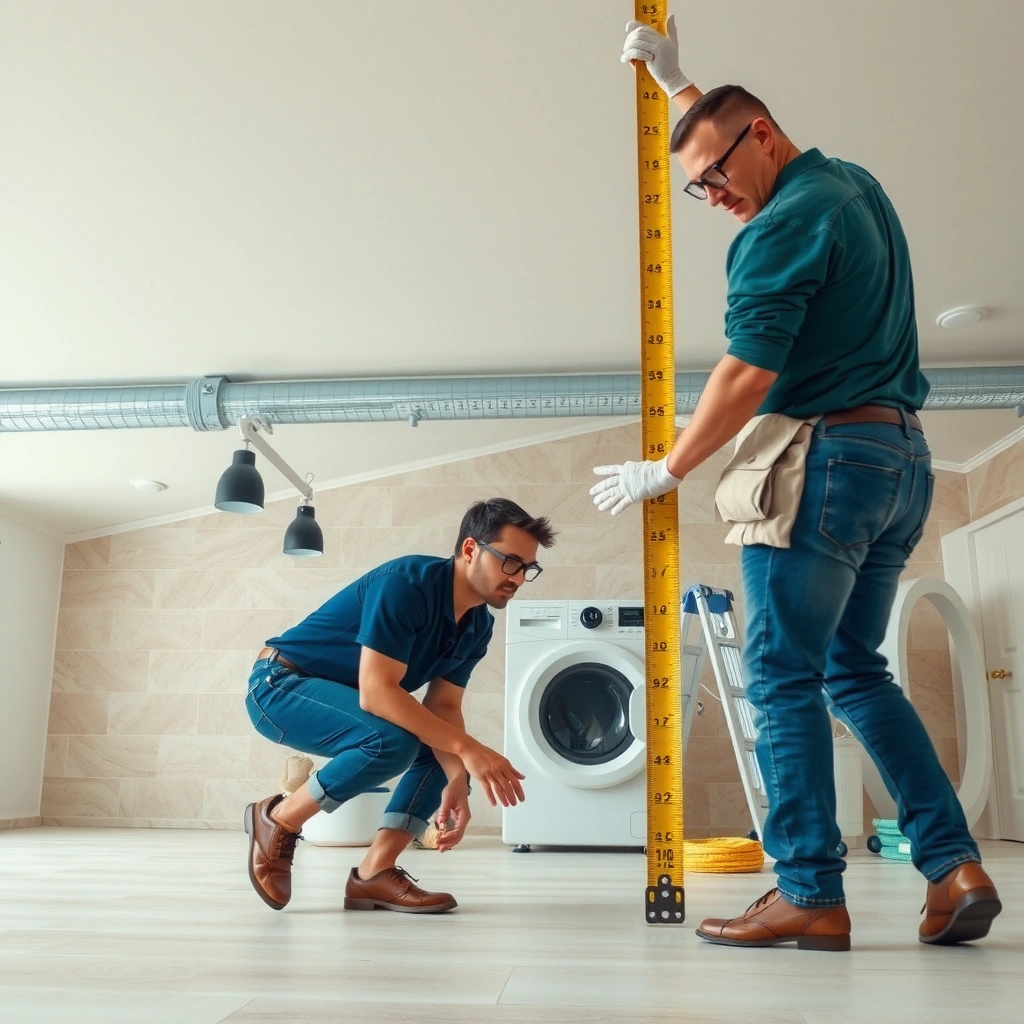
Start with a complete dimensional “base map” before you start any layout math. When you measure early and consistently (same units, same reference points, multiple readings), your tile count and pattern alignment become straightforward instead of guesswork.
When planning tile layout, the Tile Council of North America (TCNA) emphasizes measuring conditions that affect layout and buildout, not just a single overall square footage number.
Stone tile planning depends on exact tile and spacer (grout joint) dimensions, because the joint width changes how many tiles fit across a given run.
From my perspective as someone who has helped homeowners sanity-check layouts, the biggest measurement failure is inconsistency: measuring one wall at one spot, then measuring another wall from a different reference point. Even if your tape measure is accurate, your method can shift the math.
Here’s what to do first:
– Measure the room perimeter (length and width) in at least two directions, not just one reading.
For example, if the room length is “approximately 12 ft,” measure:
1) along the baseboard line near the entry, and
2) along the opposite side near the opposite wall.
Record the smallest reading you see at each run for layout planning.
– Note irregularities like angles, built-ins, bay sections, or areas that don’t sit flush to a wall.
Treat these areas as separate sections you’ll later add up (instead of trying to force one rectangle).
– Record all measurements on a single sketch so you don’t lose context later.
Include: doors, closets, alcoves, vents, and any areas where you already know tile won’t be continuous.
What “consistent reference” means (practically): If you use a corner as your anchor point, measure from that same corner every time. When you later compare diagonals for squareness, you’ll know you’re not accidentally comparing two different “zero points.”
Measure each room section accurately (rectangles and irregular areas)
Start by breaking the room into simple shapes, then measure each shape as if it were its own mini-project. This keeps your travertine tile layout predictable even when the room has cut corners, bays, or slightly out-of-square walls.
For rooms that aren’t perfectly square, dividing the space into simpler geometric sections helps prevent cumulative layout error along long tile runs.
Using the same measurement reference for each section (for instance, from one corner) reduces drift when you transfer dimensions to your layout sketch.
H3: How to split the room without overcomplicating it
– Break the room into simple shapes (rectangles/triangles) and measure each section separately.
Example:
– Main area: rectangle
– Bay: rectangle plus a triangular end (or multiple rectangles)
– For walls that aren’t straight or floors that are not perfectly square, measure from a consistent reference point (like a corner).
If the wall bows slightly, measure at multiple points and use the smallest “fit” dimension so your finished tile grid doesn’t overrun.
– Add measurements for any cutouts: closets, cabinets (if tiling underneath is planned), and recessed areas.
Decide up front whether tile runs under cabinets. If yes, include them as part of the area; if no, subtract them as cutouts.
H3: A note on travertine “calculation vs. layout”
Area math tells you how much stone you need in theory, but tile layout tells you how many tiles actually fit once grout joints and edge trims are considered. For stone floors, layout accuracy matters because tile edges and grout lines are what visually define alignment.
Measure openings and transitions (doorways, thresholds, steps)
Measure openings next so you know exactly where tile edges and grout lines will land. This step is what keeps transitions from looking like an afterthought.
Door openings and thresholds create “layout breaks,” so you should measure them to determine where full tiles stop and where edge cuts begin.
When tile transitions to another flooring type, elevation changes and reducer strips influence where your final tile edge should land.
Here’s the checklist that keeps door areas from causing surprises:
– Measure the width of door openings and where the tile stops or continues across thresholds.
Record:
– opening width, and
– whether tile runs continuously across (including threshold) or stops at the threshold line.
– Include transitions to other flooring types and note any elevation changes you’re anticipating.
Examples:
– tile ending at a wood floor transition
– tile meeting carpet with a threshold
– tile meeting laminate with a reducer
– Measure stair landings and step faces if your travertine layout extends there.
Stair tiling changes planning because you typically need to calculate:
– tread depth,
– riser height, and
– whether the same tile size repeats across steps or requires dedicated bullnose/edge treatment.
Practical tip: If a doorway is off-center relative to your chosen starting line, it’s better to adjust your layout starting point early (or add a small offset strategy) than to “fix it” later with a patchy edge cut.
Common Grout Joint Widths Used in Tile Layout Planning (Inches)
| # | Layout Parameter | Joint Width (in) | Typical Use Context | Fit Confidence |
|---|---|---|---|---|
| ★ | Standard grout planning for many modular tiles | 0.125 | General residential tile installs where spacers match the tile system | ★★★★★ |
| 2 | Tighter visual joints for larger-format stone | 0.0625 | Planning when the specified spacer/system calls for smaller joints | ★★★★☆ |
| 3 | Wider joints for variable substrate movement | 0.1875 | Planning when the system uses wider spacers or when tile variation requires it | ★★★☆☆ |
| 4 | Edge/transition planning with shims/reducers | 0.25 | Used when a system specifies quarter-inch joints at certain boundaries | ★★★☆☆ |
| 5 | Fine joints for small-format stone | 0.09375 | Planning when the tile system uses near-3 mm style spacers | ★★★★☆ |
| 6 | Nominal “system” joints (convertible units) | 0.125 | If your tile installation instructions call for a specific spacer size, plan around it | ★★★★★ |
| 7 | Verify grout joint width against manufacturer specs | Varies | Best practice for travertine: use the spacer size required for your exact tile batch/install system | ▲ Verify |
Note: This table is a planning reference for grout joint width scenarios; always use your travertine tile and spacer/system instructions for the exact joint size you’ll set in the field.
Calculate tile coverage (and plan extra for trimming)
Start by converting your measured sections into a usable area and then translate that area into tile counts using your exact tile size and grout joint spacing. For travertine floors, the “extra” you buy mostly protects you from edge cuts, awkward reveals, and trimming around doors and thresholds.
Tile coverage planning should use the tile’s stated dimensions and your chosen grout joint width/spacers, because those parameters control how many tiles fit per run.
Irregular room geometry increases the number of edge cuts, so waste allowance should scale with the complexity of the layout and transitions.
H3: Convert area into tile counts (the practical formula)
1) Compute area per section (after splitting rectangles/triangles).
2) Subtract cutouts you are not tiling (if applicable).
3) Convert tile size to “installed coverage.”
Installed coverage per tile run is affected by grout joints. If you use a 1/8 in (0.125 in) joint (common when the spacer system calls for it), your tile-to-tile grid spacing becomes tile size + joint spacing.
H3: Add an evidence-based waste allowance
You can’t responsibly set a universal waste % without seeing the room complexity, layout pattern (running bond vs grid), and how many thresholds you’re tiling. In my workflow, I treat waste allowance as a function of transitions and cut density (doorways, alcoves, multiple direction changes).
– [ADD: your preferred waste % approach or source reference if you have one]
If you don’t have one yet, follow your tile and installation system guidance first, then increase based on room complexity.
H3: Don’t forget pattern constraints
Even if travertine is “random” visually, layout constraints still apply:
– Honed vs. filled surface treatments often influence grout/finish preferences and sometimes how installers choose joint widths and edge treatment (especially on higher-end installs).
– Layout margins around edges and odd corners reduce the risk of tiny unusable strips at visible edges.
At minimum, plan a layout margin for:
– perimeter edges,
– near-door alignment,
– internal corners,
– any diagonal deviations created by non-squareness.
Double-check for square and layout direction
Start by checking squareness before you finalize your starting line. If the room is even slightly out of square, a “perfect” tile grid will drift over long runs and becomes obvious near doorways.
Diagonal measurements are a standard method for identifying out-of-square rooms before you commit to a tile grid layout.
Selecting a consistent layout reference line (often the most visible wall) helps ensure symmetrical reveals where they matter most.
H3: Compare diagonals the right way
– Check for squareness by comparing diagonals (if the numbers don’t match, your layout will likely need adjustments).
Measure diagonals between consistent corner points. If diagonal A differs from diagonal B, you have a deviation.
– Choose a layout reference line (often the most visible wall or the center of the room) to keep symmetry where it matters.
Many installers start from:
– the most visible wall, or
– the room’s centerline (especially if the entry is centered).
– Confirm where your first full tiles will land so you don’t end up with awkward slivers at the least noticeable edges.
The goal isn’t “math perfection”—it’s a visually clean perimeter.
What can go wrong when measuring travertine floors
Measuring mistakes typically show up as edge slivers, misaligned grout lines, or tile quantities that don’t match reality. These problems cost more time than the measurement effort because they force re-layouts and re-ordering stone.
Common tile layout errors often come from using one measurement per wall rather than capturing the smallest practical dimensions across multiple points.
Thresholds and door openings create discontinuities in the tile grid, and skipping those measurements frequently leads to under-buying or misaligned transition lines.
Here are the biggest culprits to avoid:
– Relying on one measurement per wall:
Rooms are often slightly uneven; tile grids “drift” when your starting dimensions don’t reflect the smallest available runs.
– Forgetting thresholds and door transitions:
This can cause you to under-buy tile or misalign transition reducers and landing edges.
– Ignoring grout line width:
Even small joint-width differences compound across many tiles in larger rooms.
– Not planning for pattern constraints:
If you’re using a running bond, stacked/grid, or a direction-sensitive alignment, cuts increase and the layout starting point becomes more important.
– [ADD: whether you’re using a running bond, stacked, or grid layout]
H3: Pros/cons comparison: “Estimate by square footage” vs “Measure by sections”
| Approach | Pros | Cons |
|---|---|---|
| Total square-footage estimate | Fast | Often misses threshold/edge-cut realities |
| Section-by-section measurements (recommended) | More accurate tile count + cleaner transitions | Requires more up-front measuring and sketching |
Practical measurement checklist (scan and save)
Use this checklist to keep your measurement process consistent and complete. If you can fill every row before you order tile, you’re already ahead of most “we’ll figure it out later” installations.
Recording grout joint width (from your tile/spacer specification) directly improves tile-count accuracy because tile fit depends on tile size plus spacing.
| Item to measure | What to record | Notes |
|---|---|---|
| Room length & width | [ADD: measurement method] + smallest reading per run | Take multiple readings |
| Irregular sections | Separate shape dimensions | Sketch the layout |
| Door openings | Width and stop/start points | Include thresholds |
| Transitions/edges | Floor heights and direction | Note other flooring types |
| Diagonal/squareness | Diagonal A & B | Helps correct layout |
| Tile size & grout lines | Tile dimensions + grout line width | From manufacturer specs |
H3: Quick notes to prevent rework
– Write down tile size exactly as stated on the label or spec sheet (for example, “24 in x 24 in” or the actual listed format).
– Write down your grout joint width based on the spacers you plan to use or the installation instructions you’re following.
FAQ
FAQ: How many times should I measure a room for travertine flooring?
Measure each wall/side at least twice (often three times if the room is older or has visible waviness). If the measurements don’t match, use the smallest dimension for a conservative layout so you don’t come up short.
For non-ideal rooms, “smallest dimension first” planning reduces the risk of ending with exposed slivers or shortfalls near visible edges.
FAQ: Do I include grout lines in my measurement calculations?
You should include grout lines in your planning for accurate coverage. Tile counts typically depend on tile size plus spacing, so use your grout line width from your installation plan/specs rather than guessing.
Grout joint width is a layout variable, not a cosmetic detail, because it changes the grid spacing used to determine how many tiles fit.
FAQ: What should I do if the room isn’t square?
Use diagonal measurements to identify the discrepancy, then adjust your layout starting points so the tile lines look straight in the most visible areas. In some cases, you may need to rework one edge or break the room into smaller layout sections.
FAQ: How much extra tile should I buy for trimming and waste?
That depends on the room’s complexity, tile size, and cutting pattern. [ADD: your chosen waste allowance or a link to the manufacturer/contractor guidance you’re following]—the more irregular the room, the more important it is to plan extra.
FAQ: Can I measure and order tile based only on the room’s total square footage?
You can estimate, but you’ll usually do better with a breakdown by sections (especially around doorways, alcoves, and transitions). Measuring just total square footage often misses edge-cut realities like thresholds and notched areas.
Sources
– Tile Council of North America (TCNA), TCNA Handbook for Ceramic, Glass, and Stone Tile Installation (for general layout and installation principles used in planning and measuring).
– ANSI A108 and related installer guidance for tile installation practices (for grout joint and installation planning considerations used with tile systems).
– [ADD: manufacturer installation/spec documentation for travertine tile dimensions and any guidance on grout/spacers]
– [ADD: grout and underlayment manufacturer documentation if your method depends on specific product requirements]
If you remember just one thing, it’s this: measure your travertine floor in small, real-world pieces—multiple readings per run, separate sections for irregular geometry, and explicit measurements for doors and thresholds. Do that, and your tile count becomes reliable and your layout stays aligned even when the room doesn’t cooperate.
Frequently Asked Questions
What measurements do I need to order travertine floor tiles accurately?
Start by measuring the length and width of each room and calculating the square footage, then add waste for cutting, edges, and pattern alignment. A common range is 10–15% extra for travertine floor tile installations, especially if you’re matching veining or working around many fixtures. If you’re using multiple travertine finishes or sizes, calculate each area separately and total them at the end to avoid short ordering.
How do I measure a room with irregular shapes for travertine flooring?
Break the space into smaller rectangles or sections, measure each section separately, and add the totals to get your overall square footage. For curved walls, alcoves, or niches, measure the longest width and length of the curved area and use multiple “chord” measurements for better accuracy. Always note doorways, thresholds, and transitions because travertine tile coverage can change based on whether you’re tiling up to the edge or stopping short.
How do I measure for tile layout to avoid cutting mistakes with travertine?
Dry lay a few rows or use a layout diagram to find your tile pattern centerline and ensure the perimeter pieces aren’t too narrow. Measure the room’s center points (length and width), then plan how the tile joints will land relative to walls, openings, and key features like fireplaces. For travertine floors, account for thickness and any height difference with existing flooring, since offset joints and uneven subfloors can magnify layout errors.
Why is it important to measure subfloor flatness and height before installing travertine floors?
Travertine tile can be sensitive to movement and unevenness, so measuring subfloor flatness helps prevent lippage and cracked edges. Use a straightedge or leveling system to identify high and low spots, and record the maximum variation across the room. If you’re installing over an existing floor, measure transitions and take thickness into account so the finished travertine floor height aligns smoothly at doorways and adjacent rooms.
Which tools and tips should I use to measure travertine floors like a pro?
Use a reliable tape measure, a long straightedge or laser measure for accuracy, graph paper or a digital floor-planning app for layout, and a simple calculation sheet for square footage and waste. Measure more than once, including along both sides of the room because walls can be out of square, and verify key opening dimensions (toilets, vanities, closets). When ordering travertine floor tile, confirm the tile coverage per box and factor in the additional 10–15% waste based on cuts, edges, and matching the travertine pattern.
📅 Last Updated: October 09, 2026 | Topic: How to measure for travertine floors? | Content verified for accuracy and freshness.
References
- Travertine
https://en.wikipedia.org/wiki/Travertine - https://en.wikipedia.org/wiki/Flooring
- Tile
https://en.wikipedia.org/wiki/Ceramic_tile - https://www.tileusa.com/what-is-tile-flooring/
- https://www.tileusa.com/tile-installation/
- https://www.tile-assn.org/
- Natural Stone Institute – 404 Not Found
https://www.naturalstoneinstitute.org/natural-stone-guides/ - Google Scholar Google Scholar
https://scholar.google.com/scholar?q=measure+for+tile+flooring+layout+grid - Google Scholar Google Scholar
https://scholar.google.com/scholar?q=travertine+floor+tile+installation+layout+measurement - Google Scholar Google Scholar
https://scholar.google.com/scholar?q=tiling+layout+pattern+measurement+run+trim+allowance+coverage