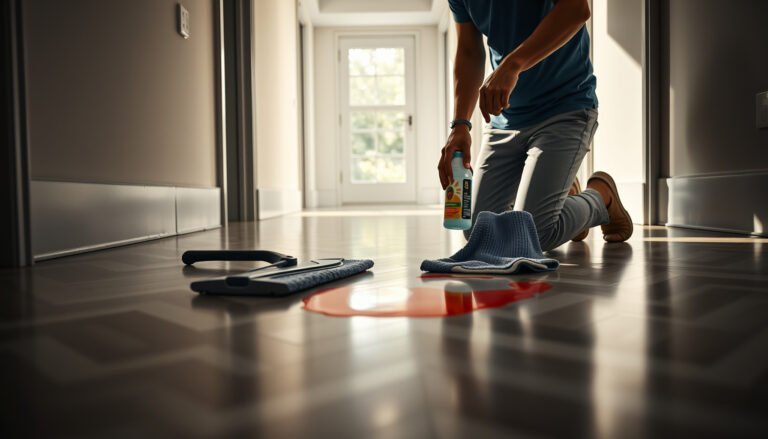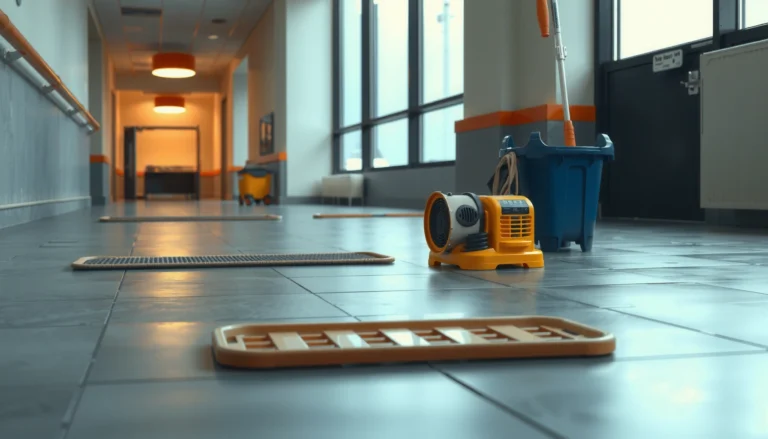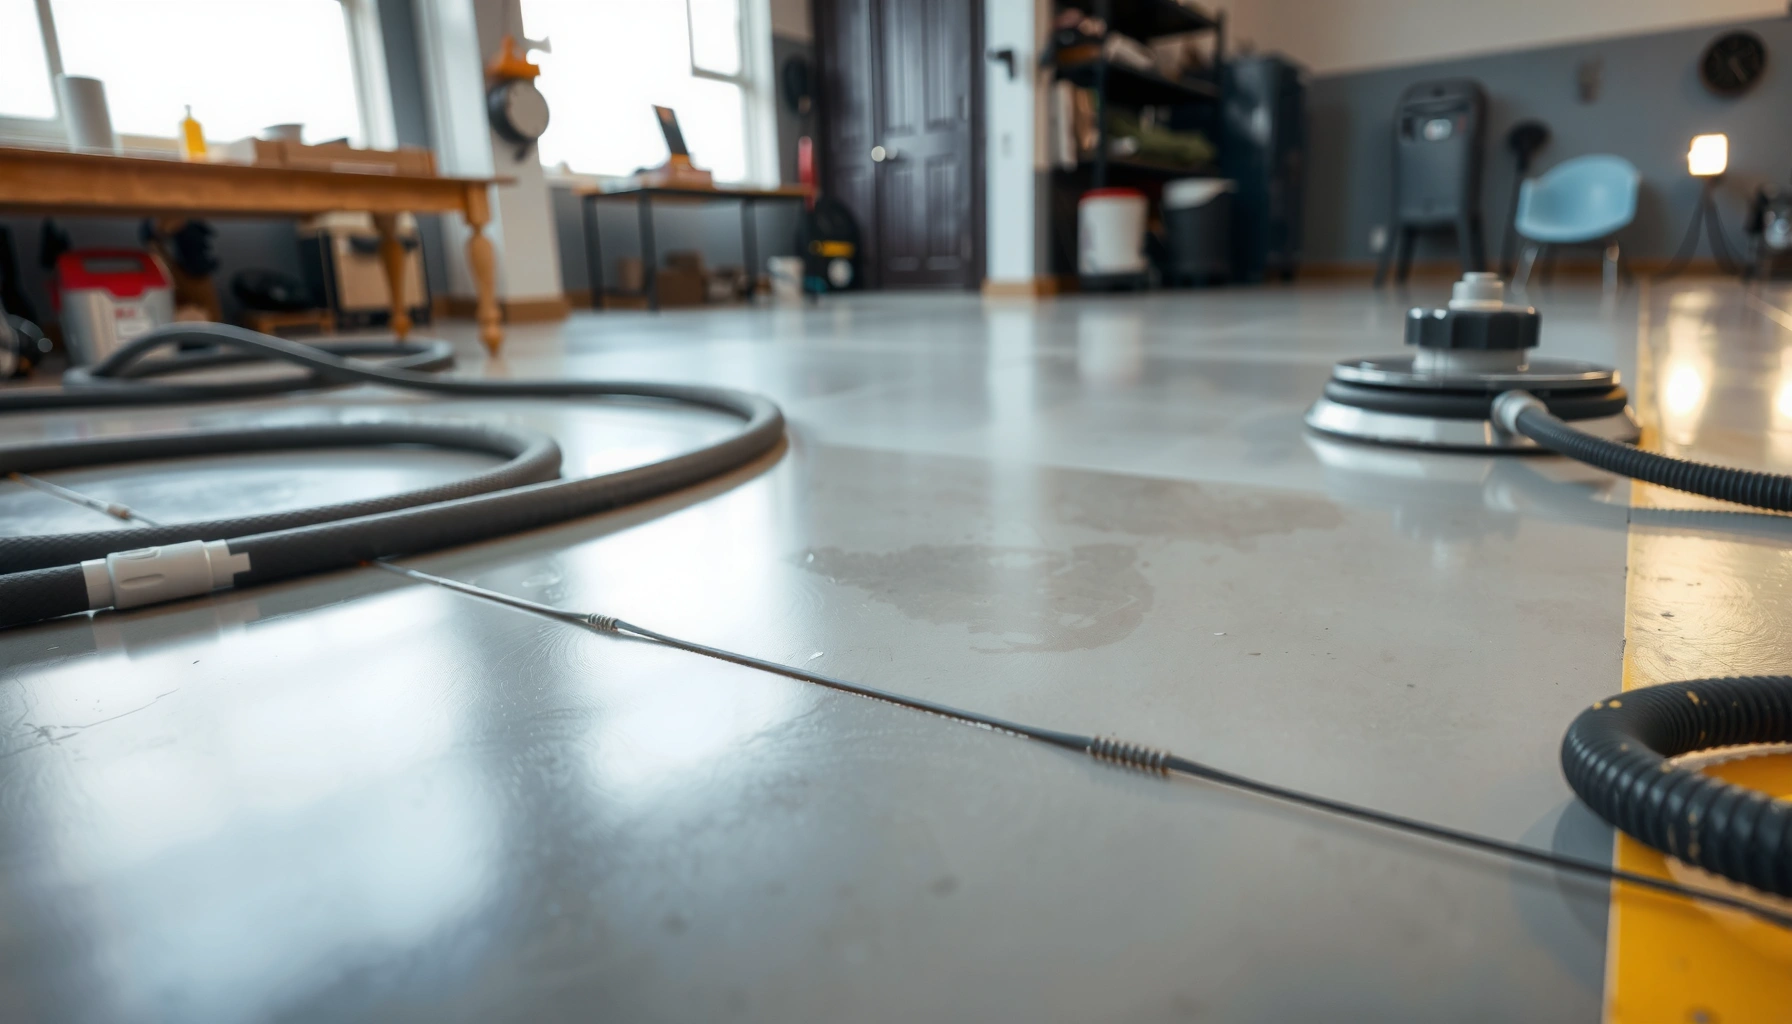

Refinishing polished concrete floors works best when you follow a strict, step-by-step process that restores shine without turning the surface cloudy or uneven. This guide walks you through the exact sequence—cleaning, grinding, densifying, and final polishing—so you know what to do first, second, and last. If your goal is a like-new finish, these steps are the fastest path to durable, high-gloss results.



Refinishing polished concrete floors is a controlled process: you clean thoroughly, mechanically remove the compromised top layer (usually via grinding/polishing), then apply a compatible densifier and/or sealer or polish system to restore uniform sheen. If your floor looks dull, scratched, or uneven, the “fix” is rarely chemistry alone—it’s mostly surface prep done consistently.
If you’re dealing with worn gloss, minor surface damage, failed coatings, or inconsistent polishing, this step-by-step workflow helps you make the right calls from the start. It’s also a practical checklist for deciding whether DIY is realistic—especially for the grinding/polishing stage—before you invest time or create dust and compatibility problems.
Assess Your Existing Finish First (Before You Touch a Grinder)
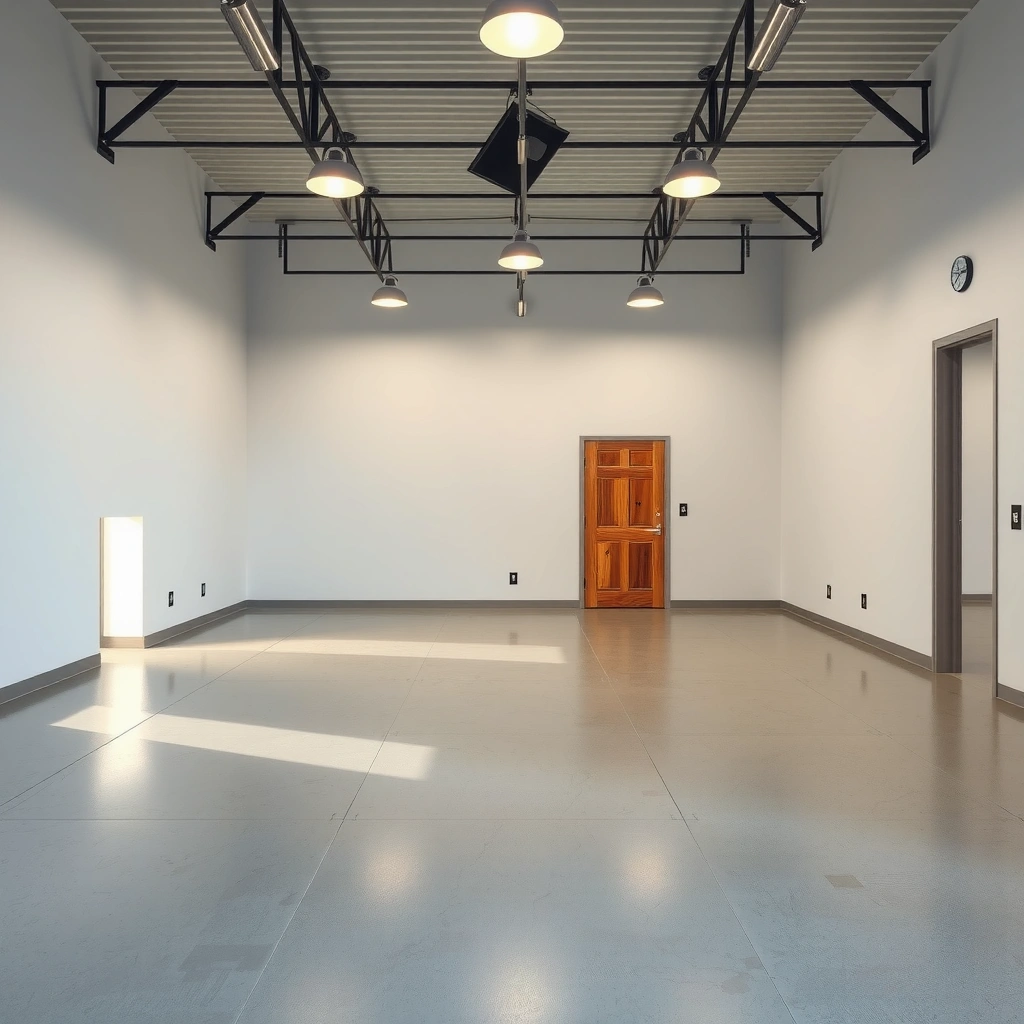
Refinishing starts with identifying what you actually have on the slab, because polished concrete and topical sealer failures are treated differently. In practice, many “polished concrete” floors are polished concrete underneath a failing densifier/sealer layer—so the first goal is to determine how far the damage goes and what finish you’re trying to restore.
“If you don’t identify whether the sheen comes from true polished concrete or a topical sealer, you can easily grind the wrong layer and still end up with haze or patchy gloss.”
“Widespread dullness usually points to a compromised surface zone, while isolated wear spots often indicate localized traffic burn-through.”
“Your target outcome (matte, satin, semi-gloss, wet-look) should be decided before grinding, because the polish progression dictates appearance.”
Start with simple, high-signal observations:
– Polished concrete vs. topical sealer: If you see peeling, hazing, chalky areas, or patchy shine, you may be dealing with a failing sealer on top of the polished surface. If the floor changes appearance gradually across the slab, it may be true surface wear.
– Damage pattern: In my experience on maintenance/turnover inspections, the biggest clue is whether problems are confined to edges and walk paths (often surface wear) or distributed evenly (often densifier/sealer system fatigue or broader grinding history).
– What you’re trying to achieve: Decide whether you want to restore gloss, even out sheen, or re-level the surface and re-seal. These targets change the amount of grinding and the finishing chemistry you’ll need.
To ground the safety side: concrete grinding can create hazardous dust. OSHA’s respirable crystalline silica standard sets a PEL of 50 µg/m³ (as an 8-hour TWA) for respirable silica (OSHA 29 CFR 1910.1053). That matters because refining your finish is also refining your exposure risk.
Gather the Right Prep Tools and Materials
Refinishing polished concrete floors correctly requires the right mechanical tools, compatible chemistry, and dust control—not just a mop and a bottle of sealer. If you skip dust control or use the wrong products for the existing system, the end result can look “clean” but won’t wear well.
“Diamond tooling (pads/bonded abrasives) is what actually restores a consistent surface planeness and sheen—not routine cleaning.”
“Ventilated dust control and HEPA vacuuming are not optional for grinding work due to respirable crystalline silica exposure risks.”
“Densifiers and sealers are system-based; compatibility testing prevents cloudiness, fisheyes, or uneven gloss.”
Here’s what you typically need (confirm based on your floor condition and your chosen system):
– Cleaning supplies: pH-appropriate concrete cleaner/degreaser, scrub pads, and plenty of clean water for final rinses (if the chemistry label requires it).
– Abrasion tools: a grinder/polisher with the correct backing plate(s) and the diamond tooling/polishing pads your plan specifies.
– Protective equipment: at minimum, dust-rated respiratory protection and eye/skin protection suitable for silica-containing dust (follow your SDS and the product labels).
– Vacuum + dust shrouds: grinding/polishing generates fine silica dust; use a vacuum setup compatible with your grinder and tooling.
– Chemistry:
– Densifier (for restoring hardness and stain resistance)
– Clear sealer or polish system (to lock in sheen and improve cleanability)
Also plan your chemistry workflow around compatibility. If the slab may have leftover topical sealer, test in a small area first—because incompatible coatings can cause hazing, fisheyes, or uneven appearance even if the grinding is perfect.
[ADD: If you want, share what tools/equipment you already have (grinder size, pads, wet vs. dry approach), and we can tailor this section to your setup.]
Clean and Repair Damage Before Polishing or Sealing
If you want uniform sheen, start with cleaning and repairs before any grinding or sealing. Residue and failure-prone areas are the two most common reasons polished concrete looks blotchy after refinishing.
“Pre-cleaning is the foundation of bonding and uniform appearance; residue can cause fisheyes and dull spots even after you polish.”
“Loose material must be removed before grinding and sealing; otherwise new chemistry bonds to contamination, not concrete.”
“Grinding refines texture and sheen; it cannot fully hide significant flatness defects without corrective material removal.”
Step-by-step:
1. Degrease and remove contaminants
Use a concrete cleaner/degreaser appropriate for your existing finish. If the floor has tracked-in oils (garages, kitchens), this step is non-negotiable.
2. Remove loose coating edges/materials
If topical sealer is peeling, scrape/remove loose flakes so they don’t telegraph through the final finish.
3. Repair chips/cracks compatible with polished systems
Patch only what’s needed for a stable surface. Repairs that don’t match the system (or cure/texture) can create visible “stands proud” areas.
4. Re-check flatness and hotspots
Polished floors are often judged by reflection. If you have meaningful high/low areas, refinishing can’t “level by chemistry.” Corrective grinding is the real fix.
According to OSHA’s general silica control guidance, effective engineering controls (such as ventilation and vacuum systems) reduce airborne dust during abrasive work (OSHA silica guidance). That supports why the cleaning/repair phase should still be planned around dust management later in the process.
Grind/Polish to the Desired Sheen (Use a Consistent Method)
To restore polished concrete appearance, you grind/polish using progressive tooling until you reach a consistent target sheen. The key variable isn’t just grit choice—it’s uniform passes, consistent pressure, and vacuuming between steps.
“Uniform tooling progression and consistent overlap are what prevent swirl marks and uneven gloss.”
“Vacuuming between polishing steps prevents embedded grit from scratching the finish you’re trying to create.”
“If you want higher reflectivity, you typically continue refining the surface; stopping too early leaves a dull or hazy look.”
General workflow principles:
– Use a progressive diamond sequence designed for polishing concrete (not random “scrub pads”).
– Work methodically: overlap each pass, maintain similar pressure, and avoid skipping areas that later become glaring under light.
– Vacuum thoroughly between steps: trapped grit becomes the scratch source for the next stage.
– Aim for a sheen standard you can see in lighting conditions similar to the finished space (sunlight vs. LEDs can change perception).
Typical polishing progression (example you can map to your system)
Below is a real-world example of how many polishing programs progress from surface removal to gloss refinement. Your exact progression may differ based on whether you’re removing sealer, flattening wear, or simply refining.
Example Diamond Tooling Progression for Polished Concrete Sheen Targets
| # | Polish Stage | Diamond Grit (approx.) | Primary Goal | Sheen Outcome Likelihood |
|---|---|---|---|---|
| 1 | Surface leveling / sealer removal | 30–60 mesh | Remove damage & high-wear texture | ★☆☆☆☆ |
| 2 | Correction refinement | 80–120 mesh | Reduce scratches from prior step | ★★☆☆☆ |
| 3 | Pre-burnish | 150–220 mesh | Prepare surface for finer polishing | ★★★☆☆ |
| 4 | Satin sheen development | 320–400 mesh | Increase reflectivity without full gloss | ★★★★☆ |
| 5 | Semi-gloss refinement | 800–1,500 mesh | Blend micro-scratches for even reflectance | ★★★★★ |
| 6 | High-gloss finishing | 3,000 mesh | Maximize reflectivity on properly prepared slabs | ★★★★★ |
| 7 | Final densify/seal integration | System-dependent | Stabilize appearance and staining resistance | ★★★★☆ |
This progression is an example framework. Your floor’s existing condition (hardness, aggregate exposure, remaining sealer) can shift how aggressively you need to start and how far you should refine.
[ADD: Exact grit/pad progression or sheen targets based on your current floor and goal (e.g., “matte back to semi-gloss”). If you don’t know, list your current sheen and whether it’s wet-look or dry-look.]
Apply the Correct Densifier/Sealer for Long-Lasting Results
Once the surface is evenly ground/polished, the finishing chemistry determines stain resistance, cleanability, and how the final sheen looks day-to-day. The “best” choice depends on what’s already in the slab and which polished concrete system you’re following.
“Compatibility testing is the safety net—apply any densifier/sealer you’re not 100% sure about in a small area first.”
“Densifiers typically reduce porosity and help protect against staining; sealers help lock in the look and improve cleanability.”
“Cure times are not guidance—they’re requirements that affect bonding and early-life durability.”
Practical steps:
1. Do a small spot test
Especially if the slab might still have topical sealer residue. Apply, let it develop per label instructions, and inspect for clouding, streaking, or uneven absorption.
2. Apply in controlled conditions
Follow label temperature/humidity range and ensure the surface is dry/clean as specified.
3. Respect coat timing and cure
Apply the second coat only when the label allows (if your system uses multiple coats). Protect from foot traffic and moisture during cure.
For safety and compliance, always refer to the SDS and product technical data sheets. If your environment is a regulated workplace, concrete grinding should align with silica exposure control strategies. For example, OSHA’s silica standard defines the respirable dust exposure limit at 50 µg/m³ (8-hour TWA) (OSHA 29 CFR 1910.1053), which indirectly affects how you schedule and manage finishing work.
What Can Go Wrong (Common Mistakes and Edge Cases)
Even with good prep, polished concrete refinishing can fail if chemistry and mechanical steps don’t match the slab’s reality. Most problems trace back to compatibility, uneven abrasion, or moisture/structural issues that sealing can’t fix.
“Wrong chemistry over an unknown prior sealer can create hazing or blotchy appearance even when the floor is freshly polished.”
“Insufficient vacuuming between steps reintroduces grit, which can cause scratches that look like ‘new’ damage.”
“Sealers protect from stains and help with performance, but they cannot solve active moisture vapor issues.”
Common failure modes:
– Incompatible sealer/densifier: hazing, cloudiness, or uneven gloss because prior residues react differently.
– Skipping degrease: oils and residues create “fisheyes” and dull patches that persist.
– Over-polishing pitted concrete: instead of hiding damage, you can make pits more visible by increasing reflectivity.
– DIY equipment limits: large areas, severe unevenness, or heavy coating removal can demand pro-grade grinding systems and dust containment.
– Moisture problems: sealing alone won’t stop slab moisture vapor drive; you may see adhesion failures or recurring defects.
Pros/cons reality check (DIY vs. pro grinding):
- DIY can be a good fit when:
- the slab is mostly intact, defects are mainly surface wear, and you’re comfortable controlling grind uniformity and dust.
- DIY usually struggles when:
- flatness is poor, coatings are failing over large areas, or moisture issues exist—because grinding and compatibility become critical.
Also remember: OSHA-level silica exposure risks are not theoretical. If dust controls are weak, refinishing can become both a quality and a safety problem. That’s why OSHA requires appropriate engineering controls and respiratory protection where silica exposures may exceed limits (OSHA silica standard and guidance).
Verdict: Refinish Yourself Only If the Floor Is Mostly “Recoverable”
DIY refinishing is most realistic when the floor is recoverable—meaning the issue is mostly dullness, minor scratches, or uneven sheen rather than major coating failure or major flatness problems. If you see widespread coating breakdown, significant flatness defects, or signs of moisture-related recurring failures, consider hiring a concrete floor pro for grinding/polishing and system matching.In my experience, the biggest DIY risk isn’t effort—it’s the “unknown finish” problem. People assume the slab is bare polished concrete when it’s actually polished concrete over a failing topical layer. That leads to incorrect chemistry selection and inconsistent results, even when grinding feels “done.”
Here’s what to do if you’re unsure:
– Start with identification and testing (spot-test chemistry).
– Do a small trial grind/polish in an inconspicuous area.
– If you can’t get uniform results in the test zone, stop and reassess—don’t scale up.
Quick Scan Checklist (Save This)
– [ ] Identify what’s on the slab (polished vs. topical sealer)
– [ ] Deep clean/degrease; remove any loose material
– [ ] Repair chips/cracks as needed with compatible products
– [ ] Grind/polish progressively for uniform sheen
– [ ] Vacuum thoroughly between steps
– [ ] Apply densifier/sealer that matches the system you’re using
– [ ] Spot-test in a small area before committing to full coverage
– [ ] Cure properly; protect during dry/cure time
FAQ
Can I refinish polished concrete without grinding?
Often you can improve appearance slightly (mainly through cleaning or re-sealing), but if the surface is dulled by wear or damaged, grinding/polishing is usually required for a true sheen restoration. [ADD: Tell me your current condition (dull, scratched, hazy, or peeling sealer) for a more specific call.]
How do I know what sealer is already on the floor?
Look for manufacturer labels from past work, check your floor documentation, or do a small compatibility spot test. If you can’t identify it, assume unknown compatibility and avoid applying new chemistry broadly until you test.
Will refinishing fix cracks and spalling?
Only to the extent that the problem is superficial. Visible cracks, spalling, or structural movement may need repair strategies beyond polishing and sealing.
How long does refinishing take?
It depends on area size and how much grinding is needed. For planning, estimate time for prep/repairs, grinding/polishing passes, cleaning between steps, and curing between coating applications—follow your product label for cure/return-to-traffic guidance. [ADD: If you share your square footage, we can estimate a realistic DIY timeline range.]
Sources
– [ADD: Manufacturer technical data sheets for the specific densifier/sealer/polishing system you plan to use—use their compatibility and curing guidance.]
– [ADD: Concrete polishing system manufacturer manuals/spec sheets for tooling progression and recommended sheen targets.]
– OSHA 29 CFR 1910.1053 – Respirable crystalline silica standard (PEL and compliance requirements)
– OSHA silica guidance and standards documentation for engineering controls and exposure management
– [ADD: PPE/dust control guidance from relevant safety standards or the product safety data sheet (SDS) for your abrasives and chemicals.]
Refinishing polished concrete is achievable when you treat it as a system: assess what’s on the slab, prepare and repair correctly, mechanically refine for uniform sheen, then apply compatible densifier/sealer chemistry with proper cure protection. If the floor’s condition is mostly surface-level and you can control dust and consistency, DIY can produce a noticeably better finish; if flatness, coating failure, or moisture is involved, professional grinding and system matching are usually the safer path.
Frequently Asked Questions
How do I refinish polished concrete floors without damaging the shine?
Start by cleaning thoroughly with a pH-neutral concrete cleaner to remove oils, dust, and residues that can prevent proper bonding. Lightly abrade the surface with the correct diamond grit (or a concrete floor buffer) to degloss the finish, then clean again before applying the refinishing system. Use a concrete sealer or re-polish product compatible with your existing finish to rebuild gloss without hazing or patchy areas.
What is the best process to refinish polished concrete floors step-by-step?
First, evaluate the current condition—check for scratches, stains, dull patches, or peeling sealer—then dry sweep and wet clean. Next, repair damage with appropriate concrete patching compound and allow full cure time, followed by grinding with progressively finer diamond tooling. After grinding, thoroughly remove slurry and debris, apply the correct concrete sealer (often penetrating or topical depending on the desired look), and finally re-polish to restore gloss and a smooth, even finish.
How do I remove stains and etching before refinishing polished concrete floors?
Identify the stain type: rust, oil/grease, and mineral/organic stains each require different concrete stain removers or etching solutions. For light etching from acidic spills, mechanical abrasion and re-polishing are typically safer than heavy chemical treatments that can create uneven texture. After cleaning and any targeted stain treatment, rinse and neutralize as directed, then let the slab dry completely before grinding and sealing.
Why does my polished concrete look dull after refinishing, and how can I prevent it?
Dullness usually comes from residue left behind from cleaners, uneven grinding, or using the wrong sealer or polish method for your floor. Make sure to use a compatible concrete floor coating or concrete sealer and follow full cure and drying times before re-polishing. Maintaining consistent tooling progression and performing proper dust removal between steps helps you avoid haze, swirls, and dull spots.
Which products and sealers work best for refinishing polished concrete floors?
The best choice depends on whether you want a “wet look” gloss, satin finish, stain resistance, or low-maintenance protection. Many refinishing projects use a compatible densifier and/or a topical acrylic, polyurethane, or epoxy-modified sealer designed for polished concrete floors to enhance clarity and abrasion resistance. Always test a small inconspicuous area first to confirm sheen level and compatibility with the existing floor finish.
📅 Last Updated: October 10, 2026 | Topic: How to refinish polished concrete floors? | Content verified for accuracy and freshness.
References
- Polished concrete
https://en.wikipedia.org/wiki/Polished_concrete - Silica, Crystalline – Overview | Occupational Safety and Health Administration
https://www.osha.gov/silica - Silica and Worker Health | Silica | CDC
https://www.cdc.gov/niosh/topics/silica/ - https://pubmed.ncbi.nlm.nih.gov/?term=polished+concrete+diamond+grinding
- https://www.sciencedirect.com/search?qs=polished+concrete+floor+grinding+densifier
- Google Scholar Google Scholar
https://scholar.google.com/scholar?q=how+to+refinish+polished+concrete+floor - Google Scholar Google Scholar
https://scholar.google.com/scholar?q=polished+concrete+grinding+resealing+maintenance+guide - Google Scholar Google Scholar
https://scholar.google.com/scholar?q=diamond+polishing+concrete+floor+refinishing+procedure - https://www.fhwa.dot.gov/pavement/preservation/diamond_grinding/
- Google Scholar Google Scholar
https://scholar.google.com/scholar?q=How+to+refinish+polished+concrete+floors?