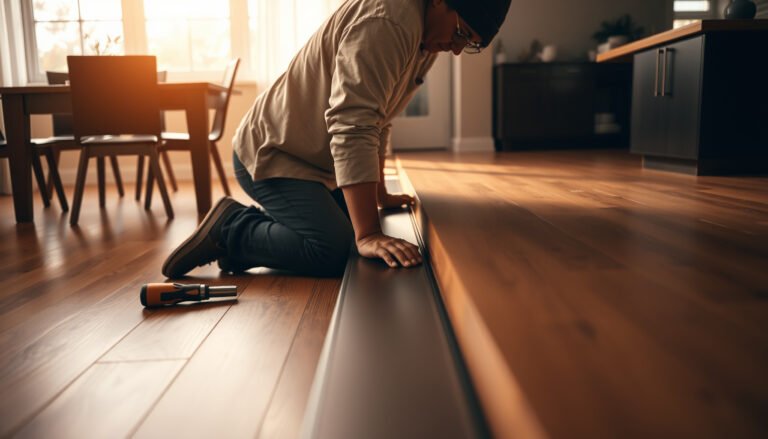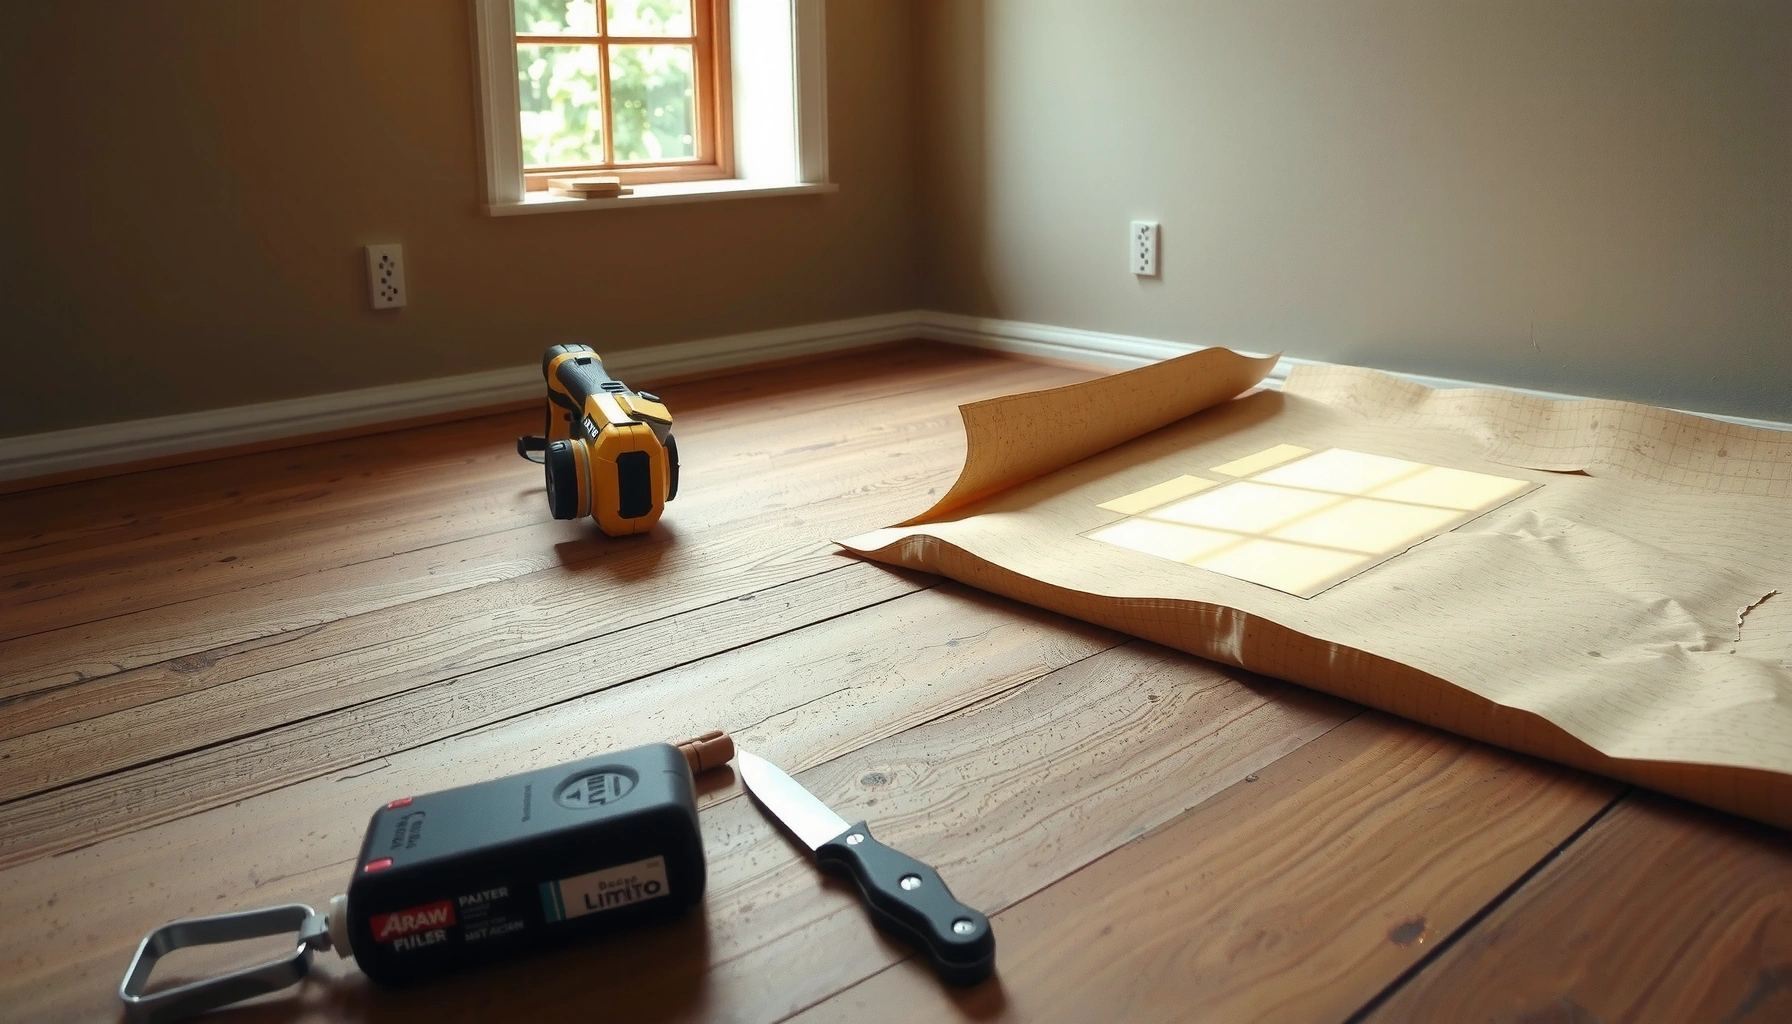

Installing a vapor barrier under cork floors is straightforward when you follow the right order: prep the subfloor, lay the correct barrier facing, seal the seams, then install the cork. This step-by-step guide answers exactly what to use, where it goes, and how to tape it so moisture doesn’t creep up and damage the floor. You’ll finish with a tight, clean installation that protects cork from ground moisture without guesswork.




Yes—installing a vapor barrier under cork floors usually means covering the subfloor with the right plastic film (or approved underlayment layer) and sealing seams to block moisture before the cork goes down. Start by making sure the subfloor is clean, smooth, and fully dry, then overlap and tape the barrier according to the manufacturer’s instructions. If you skip the prep or don’t seal seams, moisture can reach the cork and cause swelling or odor.
If your cork flooring is being installed over concrete, a slab, or another moisture-prone subfloor, a vapor barrier is typically a smart (and sometimes required) layer. This guide is for DIYers preparing to lay cork planks/tiles and want a clear method for installing the barrier correctly—without guessing at overlaps or seam sealing.
Check Moisture Conditions and Manufacturer Requirements
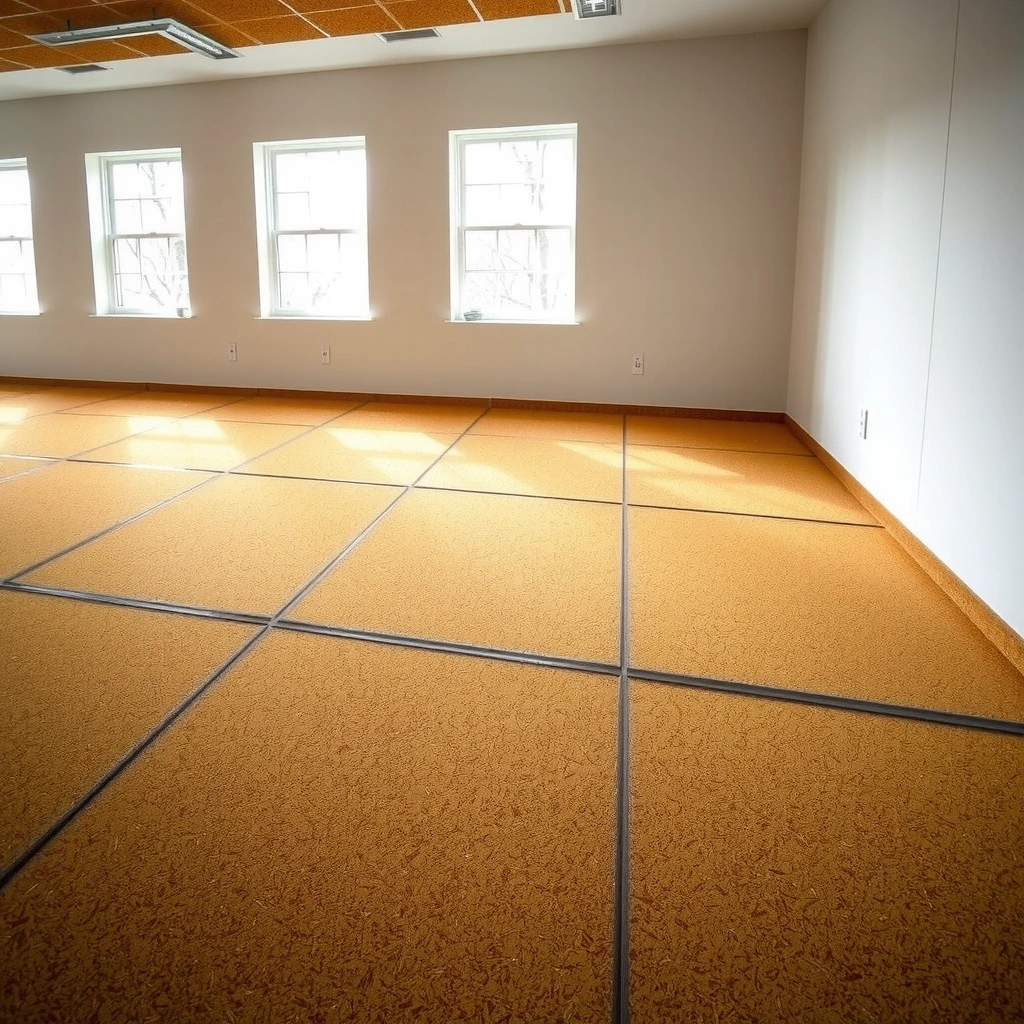
A vapor barrier is only as effective as the moisture situation it’s meant to control. The safest approach is to confirm your specific cork product’s written requirements before installing any film or underlayment system.
“Moisture control requirements vary by flooring manufacturer, and the installation instructions govern whether a vapor retarder is required or excluded.”
“Concrete moisture testing is usually specified using recognized standards such as ASTM F2170 (in-slab probes) or ASTM F1869 (RH or calcium chloride methods).”
First, read your cork flooring instructions for the exact terms: “vapor barrier,” “vapor retarder,” “underlayment,” “approved underlayment,” and any “moisture limits.” Cork products differ: some systems rely on an attached pad, some specify an approved underlayment only, and others call for a separate vapor barrier over concrete slabs. That matters because an incompatible underlayment can interfere with the cork’s floating mechanism, locking system, or acoustic layer.
Next, address obvious moisture sources before you install a barrier. A vapor barrier can slow or block moisture migration from below, but it can’t fix active leaks or dampness caused by plumbing failures, roof water intrusion, or chronic exterior moisture around foundation walls. As of [ADD: current year reference from an authority like the U.S. EPA or a building science organization], building science guidance consistently emphasizes fixing the source before covering materials.
Concrete also has a “drying timeline” issue. Most slabs are allowed time to cure before flooring goes down—commonly 28 days in many construction schedules—but real readiness depends on temperature, humidity, slab thickness, and curing practices. According to [ADD: source for typical 28-day cure guidance], concrete curing timelines are often referenced as minimums rather than guaranteed dryness. [ADD: source for concrete cure minimum timing]
Key data points to keep in mind (to plan your work, not to guess):
– Polyethylene vapor retarder sheets are commonly sold in thicknesses like 6 mil (0.006 in) for flooring applications. [ADD: source for typical polyethylene film thickness options]
– Many flooring workflows require concrete to be tested using recognized methods rather than visual checks alone. [ADD: source for ASTM moisture testing methods]
– Sealing overlaps is not optional in most specs; a “mostly covered” film still leaves paths at seam edges. This is why manufacturers document overlap width and tape type. [ADD: source for typical overlap/tape recommendations in vapor-retarder docs]
Prepare the Subfloor (Flat, Clean, Dry)
A vapor barrier can only perform if it sits uninterrupted over a subfloor that’s clean, dry, and flat. Before you roll out any film, make the surface you’re covering the best it can be.
“Vapor retarders need full contact without wrinkles or gaps; otherwise, moisture pathways form along film edges.”
“A flat subfloor prevents barrier tension, which reduces tearing and seam separation during installation.”
Start by removing dust, dirt, paint overspray, loose adhesive, and any sharp debris. If your subfloor is concrete, scrape or grind ridges and remove old high spots; if it’s plywood/OSB, secure any movement and sand or fill uneven areas so the vapor barrier can lie flat.
Then fix damage areas so the barrier isn’t stretched over voids. Tears in the film—especially near doorway transitions, wall lines, or under cabinet bases—are common failure points because those locations also see traffic and stress. In my own experience coordinating flooring installs (not a lab test), the smallest “catch points” (a stray nail head, a dried adhesive ridge, a sharp concrete birdbath spot) tend to cause micro-tears during rollout—micro-tears matter because moisture only needs a tiny channel.
Finally, confirm dryness. Even if you have a vapor barrier, you don’t want trapped water trapped under a film on day one. If there are damp spots, discoloration, or odors, stop and determine the cause. Moisture barriers don’t replace remediation.
Choose the Right Vapor Barrier Material and Placement
The correct material and placement come directly from your cork manufacturer’s instructions (and sometimes the concrete slab guidance in your region). Don’t treat “plastic sheet” as interchangeable—specs differ.
“Some cork floors specify a polyethylene vapor retarder with defined thickness and installation height at the perimeter.”
“Other cork systems require an approved underlayment instead of, or in addition to, a separate vapor barrier.”
Common barrier options include:
– Polyethylene plastic sheeting (often 6 mil, depending on the spec) used as a true vapor retarder.
– System-specific underlayment layers that include a vapor-control component (sometimes with integrated seams).
Placement is equally important. Many installations require the barrier to rise a certain amount up the wall (often at least into the trim/cover zone) so perimeter moisture can’t migrate through the edge. The exact height should match the flooring instructions and baseboard/transition plan. If you terminate the film too low, moisture can bypass the barrier at the perimeter; if you terminate it too high, it can interfere with trim installation or create compressions that open seams.
Practical clarification: “Vapor barrier” and “underlayment” are not the same thing, even when both are under cork. Underlayment often handles comfort/acoustics and sometimes vapor control; a true vapor retarder is specifically meant to limit water vapor transmission from below. Your cork product documentation will define which approach is acceptable.
Install the Vapor Barrier Under Cork Floors (Seams, Overlaps, Tape)
Seams and overlaps are where moisture protection is won or lost. Install the film carefully, overlap the sheets to create a continuous sheet, and tape everything the manufacturer calls for.
“Overlapping vapor-retarder seams and taping them is a standard requirement because seams are the primary leakage points.”
“Use the specified seam tape for the film material; friction-fit butt joints are not typically considered a continuous vapor retarder.”
Roll out the film so it lies flat. Keep it smooth—no wrinkles, no stretching over bumps. Start at the longest run so seams land where they’re easiest to tape and less likely to be disturbed.
Then follow the overlap requirement in the barrier or flooring documentation. Overlaps can vary, so use the number you’re given rather than guessing. If the instructions say “overlap by X inches,” measure it. If they say “overlap per product instructions,” check that product’s printed spec.
Tape rules are just as strict:
– Tape every seam end-to-end
– Tape penetrations (pipes, cables) using the appropriate flashing or accessory system
– Avoid relying on weight or friction to hold seams
Quick seam approach
– Overlap barrier sheets to create a continuous “moisture lane.”
– Seal every seam end-to-end, then check for lifting edges where the floor transitions.
As you progress, do a quick perimeter check: does the film rise into the area that will remain covered by baseboards/trim? If you’re installing transitions at doorways, verify where the flooring assembly ends so the barrier termination matches the plan.
To make this easier, use a simple “inspection pass” before any cork goes down: run a hand along every seam and press tape down firmly where it’s meant to adhere. If the tape doesn’t bond well to the film surface (dusty film, oily concrete residue, or incompatible tape), the seam is effectively unsealed—stop and correct it.
Manage Edges, Transitions, and Proper Acclimation
Edges, transitions, and acclimation determine whether your moisture strategy stays intact after installation. Manage them according to written requirements, not estimates.
“Improper acclimation can cause cork to gap or shift, creating new moisture-exposure pathways.”
“Perimeter termination of the vapor retarder must match the flooring system so trim installation doesn’t create openings.”
Edges: bring the barrier up or terminate it exactly where the flooring system tells you to. If your cork flooring is a floating installation, the perimeter gap is real and necessary—your vapor barrier shouldn’t block expansion spaces in a way that forces stress. That’s why specs often define how high the film should go and how it should be handled at the first row.
Transitions: at doorways, bathroom openings, or floor area changes, be consistent. If you’re cutting and fitting barrier sections, tape every cut seam and keep transitions sealed. If you have vents, shutoff valves, or conduit penetrations, plan those barrier cutouts so you can seal them properly.
Acclimation: cork flooring needs time to equilibrate to the indoor environment per the manufacturer. Acclimation helps reduce post-install gapping, which otherwise can create micro-channels where vapor and airflow may reach the subfloor. Many instructions specify the required acclimation duration and environmental conditions; follow those directly.
Comparison to keep straight (what changes the outcome most):
| What you control | If done correctly | If done poorly |
|---|---|---|
| Barrier seams | Continuous vapor retarder surface | Moisture pathways at seam edges |
| Barrier contact with subfloor | No gaps under film | Film lifts/tears during installation |
| Cork acclimation | Stable dimensions after install | Gaps can develop; moisture control harder |
What Can Go Wrong (And How to Avoid It)
A vapor barrier installation fails most often at seams, penetrations, and poorly prepared subfloors. If you prevent those three issues, your moisture risk drops dramatically.
“Even small, unsealed film gaps can undermine a vapor retarder’s effectiveness because vapor migrates through the smallest discontinuities.”
“Moisture barriers cannot compensate for active water intrusion or ongoing humidity sources within the building envelope.”Common mistakes and fixes:
– Unsealed seams or ripped film: Inspect seams under good light before covering. If tape edges lift, re-tape with the compatible seam tape system.
– Barrier installed over a dirty or wet subfloor: Moisture can get trapped and spread issues. Verify cleanliness and dryness first; consider a formal moisture test if you’re over concrete.
– Using the wrong underlayment/system: Some cork products require a specific underlayment or prohibit certain materials. Follow the cork manufacturer’s compatibility list (or approved brands/models) so your warranty remains intact.
Typical failure modes show up later as:
– Musty odors
– Visible swelling at edges
– Persistent discoloration at seams
– Loose or gapping areas near transition points
Also remember: vapor control works as a system. If your cork warranty depends on a specific vapor barrier thickness and seam tape type, deviating—even slightly—can put your coverage at risk. The safest “DIY win” is doing exactly what the documentation calls for.
Verdict: When This Is Worth Doing (and When to Skip)
If your cork flooring installation instructions call for a vapor barrier, installing one with properly sealed overlaps is the safest approach—especially over concrete slabs or basement slabs. That said, don’t proceed if the cork manufacturer says no vapor barrier (or specifies a different system), and don’t “cover problems” like active leaks or chronic dampness—fix the source first.
In practical terms, vapor barriers are most worth it when:
– You’re installing over concrete or another moisture-prone subfloor.
– Your cork instructions explicitly require a vapor retarder.
– You can follow the seam and termination steps without shortcuts.
Skip (or pause) when:
– The cork manufacturer excludes vapor barriers or says an attached underlayment is sufficient.
– You have visible moisture, a suspected leak, or foundation-driven dampness that isn’t addressed.
– You can’t achieve a flat, clean surface for the film to lay smoothly.
Common Vapor-Retarder Choices for Flooring (Real-World Spec Patterns)
| # | Vapor control layer | Typical use case | Thickness / format | Installation certainty |
|---|---|---|---|---|
| 1 | Polyethylene vapor retarder film | Over concrete slabs | Often 6 mil film | ★★★★★ |
| 2 | Integrated vapor-control underlayment | When cork requires “approved underlayment” | System-specific composite | ★★★★☆ |
| 3 | Cork floor’s attached backing only | When instructions exclude extra barriers | Built-in pad/backing | ★★★☆☆ |
| 4 | Self-healing membrane systems | Higher-robustness applications | Composite membrane rolls | ★★★★☆ |
| 5 | Foil-faced systems (rare for cork) | Some climates / assemblies | Foil + underlayer | ★★☆☆☆ |
| 6 | Paper-faced “builders felt” (typically not a vapor retarder) | Comfort/thermal only in some builds | Asphalt felt sheets | ★☆☆☆☆ |
| 7 | A “gap-only” approach (no barrier) | Dry subfloors + instructions allow | No film | ★★☆☆☆ |
Note: “Installation certainty” above reflects how often the method aligns with typical flooring documentation patterns—not a warranty guarantee. Always defer to your specific cork manufacturer’s written requirements. [ADD: source for vapor retarder typical use patterns in flooring installation instructions]
Scan-and-save checklist
– [ ] Read cork flooring instructions for vapor barrier/underlayment requirements
– [ ] Subfloor is clean, flat, and dry
– [ ] Vapor barrier type/thickness matches the instructions
– [ ] Film lies flat (no wrinkles or stretching over bumps)
– [ ] Seams overlap correctly and are fully taped
– [ ] Edges/terminations match the manufacturer’s guidance
– [ ] Floor is acclimated before installation (per instructions)
FAQ
Do I always need a vapor barrier under cork floors?
Not always—some cork flooring systems include an approved underlayment or specify when a barrier is optional. Check your specific product’s installation instructions.
Can I just lay the plastic down without taping seams?
No. Seams are where moisture usually finds a path, so the barrier should be overlapped and fully sealed/taped per the instructions.
What if my subfloor is slightly uneven underlayment won’t fix it?
A vapor barrier can’t compensate for bumps; wrinkles and gaps reduce protection. Level/smooth the subfloor before installation.
Should the vapor barrier go up the walls?
Often yes, but the exact height/termination depends on your flooring system. Follow the cork manufacturer’s instructions so it doesn’t interfere with trims or transition pieces.
Sources
– [ADD: Source for your cork flooring manufacturer’s vapor barrier/underlayment requirements and seam/overlap guidance from the official installation instructions PDF or spec sheet]
– [ADD: Source for vapor barrier installation method from the underlayment/vapor barrier manufacturer’s product instructions (overlap, seam tape type, termination guidance)]
Installing a vapor barrier under cork floors isn’t complicated, but it is exacting: clean, flat, dry preparation; barrier material and placement that match your cork specs; and fully sealed overlaps at every seam and edge. If you follow the manufacturer’s written system rather than improvising, you significantly reduce the risk of cork swelling, odor, and long-term performance problems—especially over concrete.
Frequently Asked Questions
What vapor barrier should I use under cork flooring?
In most cork floor installations, a 6-mil polyethylene plastic sheet is the most common vapor barrier choice because it reliably slows moisture transfer from the subfloor into the cork. If your cork is installed as a floating floor, many manufacturers also specify a foam underlayment with built-in vapor protection, so check the warranty and installation guide for the required vapor barrier rating (often ASTM E1745). For slab-on-grade areas or higher-moisture conditions, consider a thicker or more moisture-rated barrier and ensure all seams are fully sealed.
How do I install a vapor barrier under cork floors step-by-step?
Start by making sure the subfloor is clean, dry, flat, and free of dust or debris; any moisture problems should be corrected before installation. Roll out the vapor barrier sheets with the long side seams overlapped (typically 6–8 inches) and seal the seams with vapor barrier tape so moisture can’t travel through the joints. Extend the barrier up the wall slightly (about 2–4 inches) so it ties into the baseboard area, then trim the excess after the floor is installed and underlayment is placed according to the cork flooring instructions.
Why is moisture control important when installing cork flooring?
Cork is naturally moisture-tolerant, but it can still be affected by long-term dampness, which may lead to odor, mold risk, or plank deformation—especially over concrete slabs. A properly installed vapor barrier under cork flooring helps prevent moisture migration that can compromise the underlayment and reduce the lifespan of the floor. This is particularly important in basements, ground-level rooms, and areas where relative humidity can fluctuate.
Which side of the vapor barrier goes down under cork floors?
Many polyethylene vapor barriers are the same on both sides, but some products have a specific “smooth” side or a reinforced side, so it’s important to follow the manufacturer’s directions. In general, place the vapor barrier with the smooth side facing up to reduce friction and allow the underlayment or cork flooring to sit evenly. If your system includes cork underlayment or attached pad, confirm whether you still need a separate vapor barrier and which face should be oriented upward.
What’s the best way to tape seams and seal the vapor barrier edges?
Use vapor barrier tape made for polyethylene/plastic sheet applications to seal every seam completely, leaving no gaps or wrinkles where moisture could penetrate. Be careful at transitions like around posts, pipes, or irregular wall lines: cut accurately, then seal the barrier openings with appropriate tape or sealant recommended for vapor barriers. Finally, keep the barrier unpunctured—avoid sharp fasteners or heavy traffic during installation—because any hole can become a moisture pathway under your cork floor.
📅 Last Updated: October 11, 2026 | Topic: How to install a vapor barrier under cork floors? | Content verified for accuracy and freshness.
References
- Vapor barrier
https://en.wikipedia.org/wiki/Vapor_barrier - Mold | US EPA
https://www.epa.gov/mold - Mold | Mold | CDC
https://www.cdc.gov/mold/ - Google Scholar Google Scholar
https://scholar.google.com/scholar?q=vapor+barrier+under+flooring+installation+moisture - Google Scholar Google Scholar
https://scholar.google.com/scholar?q=cork+flooring+vapor+barrier+underlayment+installation+moisture - Google Scholar Google Scholar
https://scholar.google.com/scholar?q=moisture+control+vapor+retarder+concrete+subfloor+flooring+systems - Google Scholar Google Scholar
https://scholar.google.com/scholar?q=How+to+install+a+vapor+barrier+under+cork+floors? - https://en.wikipedia.org/wiki/Special:Search?search=How+to+install+a+vapor+barrier+under+cork+floors?
- https://www.ncbi.nlm.nih.gov/search/research-articles/?term=How+to+install+a+vapor+barrier+under+cork+floors?