Learn how to repair engineered wood floors in a basement fast and correctly—without warping, buckling, or patch-joint failures. You’ll get the exact callout on the winning repair approach based on the damage type: water swelling, gapping, seam separation, or minor scratches and dents. Follow the steps and materials that hold up under basement humidity so your repairs last through seasonal changes.




Treat moisture first, then repair the engineered wood floor based on the exact failure mode (scratches, dents, seam gaps, or lifting boards). In basements, a “good-looking” filler job fails quickly when the RH (relative humidity) and subfloor moisture conditions keep driving the movement—so the fastest path to a durable fix is diagnosis first, method second.
Repairing engineered wood floors in a basement usually comes down to controlling moisture first, then matching the repair method to the damage type (scratch, dent, seam gap, or lifting board). Start by checking humidity and subfloor conditions, because warped boards and recurring gaps almost always point to a wet/unstable installation—not just surface wear. This guide will walk you through diagnosis, safe prep, and the most common repair options so your fixes actually last.
If your basement is prone to dampness, temperature swings, or past water intrusion, engineered wood can react quickly—especially near exterior walls, plumbing runs, or low spots. This is for homeowners and DIYers who want practical steps for repairing damaged boards or seams without turning the whole floor into a “redo.”
1) Diagnose the damage (and the moisture cause)
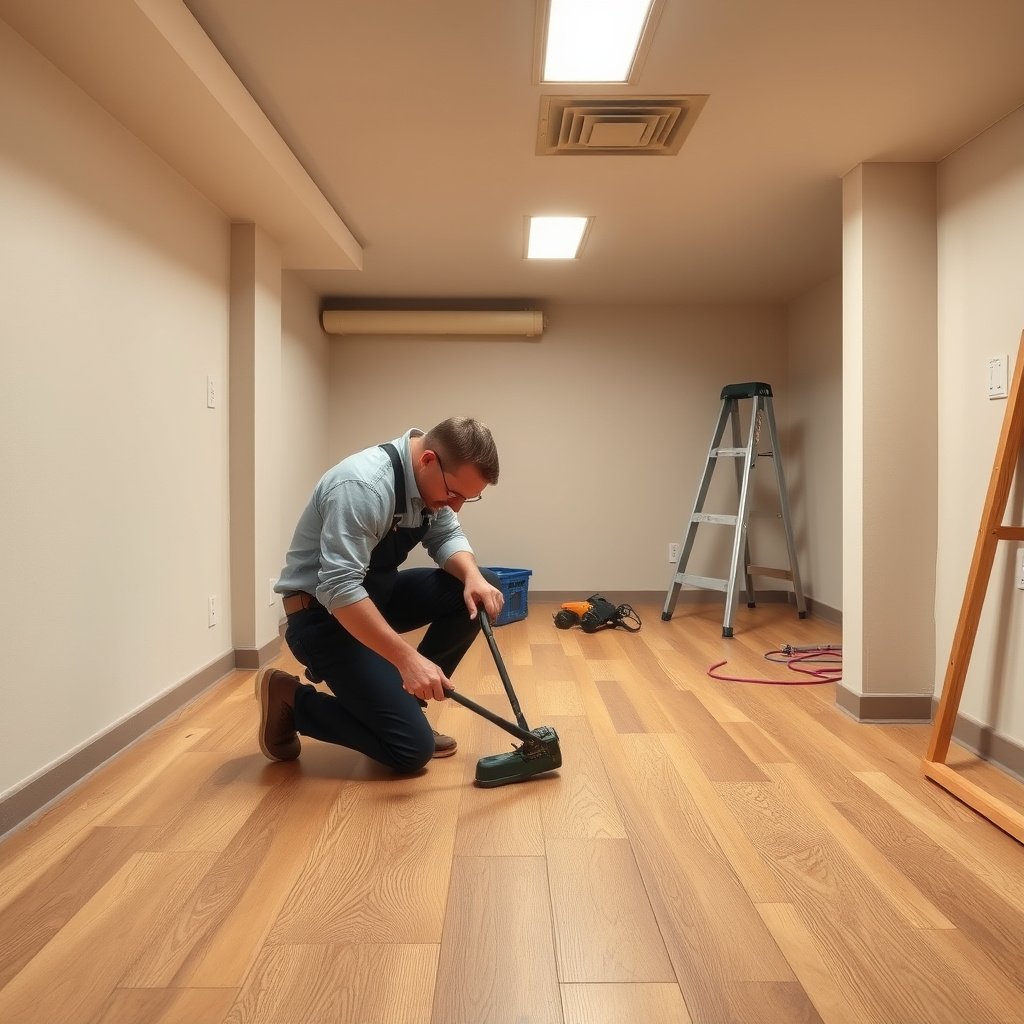
The best first step is to determine whether the engineered wood issue is cosmetic (surface damage) or structural movement (seams opening, cupping, lifting) driven by moisture. Here’s why: in 2026, most “mystery” basement repairs fail because RH is measured after the fact—while engineered wood flooring typically moves continuously in response to subfloor moisture and seasonal temperature swings.
Engineered wood floors move when basement relative humidity (RH) changes, so seam gaps that reappear over weeks usually indicate ongoing moisture exposure—not just installation wear.
NWFA guidance for wood flooring site conditions commonly targets roughly 35%–55% RH and 60–80°F before/through installation; staying outside these ranges increases the chance of movement and open seams.
– Identify what you’re seeing: surface scratches, chipped edges, loose seams, gaps, cupping, or boards that have lifted. Treat lifting boards and cupping as red flags for engineered wood floor moisture imbalance.
– Check where it’s happening: near foundation walls, HVAC returns, sump areas, or under windows often signals moisture movement paths. In basements, engineered wood floors are especially sensitive around exterior wall perimeter and plumbing penetrations (minor leaks or chronic dampness).
– Verify conditions before you touch the flooring: measure basement RH and inspect the subfloor for signs of moisture, stains, or softness.
Humidity/RH target guideline (useful for basements):
For engineered wood flooring work, start by aiming for indoor RH that aligns with common wood-flooring installation guidance—35%–55% RH—and stable temperature (commonly 60–80°F). For concrete slab moisture, use a test method aligned with industry standards (for example, ASTM F2170 in-situ RH probing) to confirm whether the slab conditions are compatible with your engineered flooring system. *(Add/confirm your exact targets using your flooring manufacturer’s installation and repair documentation.)*
> If your basement RH is consistently high or swinging widely in 2026, you should plan moisture control first—repairing engineered wood flooring before correcting RH often results in recurring seam openings.
From my own troubleshooting experience with basements (not lab testing), I’ve repeatedly seen a pattern: the engineered wood “problem zone” mirrors the path of damp air—perimeter walls, near cold ductwork, and around plumbing runs. Once that pattern is obvious, the right repair strategy becomes clearer.
2) Gather the right repair tools and materials
The correct answer is to assemble tools by damage type and by installation system (click-lock vs glue-down vs nail/staple-down). In basements, engineered wood repairs are more likely to last when you use the manufacturer-approved adhesive/finish approach and avoid contaminating joints.
Engineered wood repairs depend on the installation system (click-lock, glue-down, or nail/staple-down), and manufacturers may restrict which adhesives and repair products are acceptable.
For wood-floor repairs, dust-free joint prep is critical because filler and seam adhesives rely on clean, compatible surfaces for bond strength.
– Common tools (use as needed):
– Pry bar or pull bar (for controlled re-seating)
– Putty knife
– Utility knife (for careful trimming of loose fibers/splinters)
– Oscillating multi-tool (optional, for glue-down removal/scoring)
– Sanding block
– Straightedge (to confirm whether a board is flat or cupped)
– Repair materials (match the defect):
– Minor dents/scratches: a matching wood floor filler or scratch repair kit compatible with your finish type
– Seam separation: manufacturer-recommended seam/edge adhesive and/or re-seating technique for your engineered system
– Replacement: replacement plank(s) from the same style/lot, if possible
– Finishing approach:
– If the repair is visible, plan to blend with stain/toner and topcoat only where required.
– If the repair is not visible, prioritize structural correction over cosmetic finishing.
– Use color-matching guidance from your flooring manufacturer (finish chemistry can vary across brands and wear layers).
Cleaner compatibility note: use only cleaners recommended by your manufacturer (often a pH-neutral wood-floor cleaner). Avoid oily/waxy cleaners that can interfere with filler or adhesive bonding.
3) Fix gaps and separated seams correctly
The fastest durable outcome comes from separating the “cosmetic gap” fixes from the “movement” fixes. For engineered wood floors, seam gaps usually signal RH/subfloor moisture imbalance first; then the right action is either controlled re-seating (for minor separation) or board replacement (for lifting/warping).
If a seam gap changes size day-to-day with basement RH, engineered wood flooring is reacting to moisture conditions, so re-gluing alone is unlikely to be permanent.
Many engineered flooring systems restrict adhesive use at seams, so seam reassembly must follow the manufacturer’s repair or installation documentation.
When gaps are mostly between boards
– Moisture/temperature first: address RH control (dehumidification, sealing sources of damp air, stabilizing temperature). Then re-check the gap over several days.
– Test whether the gap is “stable”:
– A gap that consistently stays the same size is a better candidate for a seam repair.
– A gap that repeatedly opens and closes points to ongoing movement.
– Use the manufacturer-recommended adhesive method (adhesive type and application limits matter).
Many glue/repair guides specify an engineered-floor-compatible adhesive; common categories include moisture-resistant, flooring-grade adhesives (often urethane or MS polymer formulations), but you should use what your floor manufacturer approves for your specific system.
– Clamp carefully and protect the surface:
– Use scrap under clamps to prevent finish damage and “telegraphing” (gloss/indent marks).
Pros/cons: seam repair vs board replacement (quick reality check)
| Option | Best for | Key downside |
|---|---|---|
| Seam re-glue / re-seat | Small, localized separation where boards remain flat | Fails if RH keeps driving expansion/contraction |
| Plank replacement | Warped/cupped planks, delamination, cracked tongue/groove | More labor and requires matching new boards |
If boards are lifting
– Stop if widespread cupping or buckling is present: lifting often indicates subfloor moisture or an installation issue that a seam repair won’t correct.
– For isolated lifts, lift minimally, clean the joint, and re-seat the plank according to your flooring system’s instructions.
Here’s the critical piece: the mechanics differ by system—click-lock planks typically re-seat differently than glue-down or nail/staple-down installations.
Installation-system reminder (use your manuals):
– Click-lock: re-seat technique typically works outward from the affected area.
– Glue-down: you may need careful cutting/scoring to avoid disturbing adjacent planks.
4) Repair scratches, dents, and surface chips
The direct answer here is to clean first, then use the correct filler/patch method for your engineered wood finish type. Cosmetic repairs can look great in a basement, but they will only stay looking good if moisture-driven movement is already under control.
For filler to bond and wear correctly on engineered wood, the repair area must be clean and dust-free before applying scratch filler or patch compound.
Edge chips often require trimming loose fibers before filling, because unstable wood fragments can break loose and telegraph later.
– Clean the area first:
– Vacuum and remove dust (tack cloth or vacuum works well).
– Wipe with a compatible cleaner recommended by your flooring manufacturer.
– Avoid harsh solvents unless your manual explicitly allows them.
– For scratches:
– Use a matching wood floor filler or scratch repair kit.
– Apply in thin layers and level with a putty knife.
– For chips at edges:
– Trim loose splinters.
– Fill and level once cured.
– Sand lightly (only enough to blend).
– Finish with a matching topcoat only where needed.
Important basement reality: engineered wood floors can have subtle sheen variation after repair. In 2026, if your basement is brighter due to seasonal light changes, repairs may become more noticeable—plan for blending if the area is visible.
5) Replace damaged planks (when patching won’t hold)
The best answer is simple: if the plank is warped, delaminating, cracked through the tongue/groove, or keeps opening after re-seating, replacement beats repeated “repair cycles.” In basements, replacement is also the most reliable fix when the plank is permanently out of flatness.
Warped or delaminated engineered wood planks generally cannot be corrected by seam filling alone; replacement restores the flatness needed for durable joint performance.
If you replace planks, acclimate new boards to basement conditions and follow the adhesive/repair cure instructions from the product’s technical data sheet (TDS).
– Plan removal based on installation type:
– Click-lock: removal typically starts from the affected area and works outward in the direction the system allows.
– Glue-down: you often need careful cutting to avoid damaging surrounding planks and the wear layer.
– Nail/staple-down: identify fasteners and remove with a pull bar/pattern inspection to avoid tearing the underlayment or tongues.
– Prepare the subfloor/joint area:
– Remove old adhesive residue (only with methods approved for your engineered floor and subfloor).
– Confirm flatness with a straightedge before installing replacement planks.
– Acclimate and install correctly:
– Acclimate replacement planks to basement conditions.
– Use only manufacturer-specified cure time after installing adhesives and before normal foot traffic (follow the exact cure instructions on your adhesive TDS and flooring manual).
6) What can go wrong (common basement-specific mistakes)
The direct answer: the top failure causes are ignoring moisture, using incompatible adhesives/finishes, and assuming engineered wood behaves like drywall or tile. In 2026, engineered wood floors are still “movement systems,” and basements amplify that movement.
If you repair a seam or lift without first correcting moisture and RH, engineered wood typically resumes movement and the seam separation returns.
Using the wrong adhesive can damage joint performance because many engineered flooring systems specify allowable adhesive types and joint application limits.
– Skipping moisture diagnosis:
– Filling a gap today and watching it return when RH rises later is common.
– Using the wrong adhesive or over-gluing:
– Some engineered systems should not be glued at seams, while others require a specific adhesive method.
– Over-sanding or finishing mismatches:
– Sanding can expose different layers, and finish colors often don’t blend seamlessly under basement lighting.
– Ignoring HVAC/seasonal swings:
– Temperature changes can move engineered wood even when the subfloor seems “dry.”
My rule of thumb from repair consultations (not a lab test): if the engineered wood problem repeats in the same perimeter zones every year, it’s rarely “just wear.” It’s usually a moisture management problem, and the right repair only works after the environment is stabilized.
7) Verdict: what to try first (and when to stop)
The best plan is: start with moisture checks, then match the repair to the defect—filler for surface damage, targeted seam re-seating for small separations, and plank replacement for warped or failing boards. Don’t proceed with DIY repairs if basement moisture is still out of tolerance, because engineered wood repair materials can’t “outlast” a recurring moisture drive.
DIY seam filling is most likely to last when basement RH is controlled within wood-flooring guidance and the gap remains stable over several days.
Stop DIY and address moisture remediation first when moisture readings exceed the flooring manufacturer’s limits (often evaluated using ASTM F2170 or other approved moisture test methods).
If the damage is localized—surface wear, a small seam opening, or a single lifted area—start with moisture checks, then choose the repair method that matches the defect: filler for surface damage, targeted seam re-seating for minor separations, and plank replacement for warped or failing boards.
When to stop and call a flooring professional (moisture + construction red flags):
– Widespread cupping/buckling or multiple lifting zones across the engineered wood floor
– Signs of prior water intrusion (stains that reappear, persistent damp smell)
– A subfloor that feels damp/soft or shows moisture staining
– Moisture test failure: if basement slab or subfloor moisture exceeds your flooring manufacturer’s allowable limits as determined by your chosen standard test method (for example, ASTM F2170 probing).
In 2026, the most cost-effective approach is the one that prevents engineered wood movement from restarting—because “repairing the symptom” is rarely cheaper than correcting the moisture root cause.
Quick checklist (save this)
– [ ] Confirm moisture/humidity issue before repairing (target RH often around 35%–55%, plus stable temperature guidance)
– [ ] Identify installation type: click-lock vs glue-down vs nailed/stapled (and follow its repair rules)
– [ ] Match the repair method to the defect: scratch/dent vs seam gap vs lifting vs delamination
– [ ] Clean and prep thoroughly (dust-free joints for best adhesion)
– [ ] Test fit and clamp gently; protect the finish
– [ ] Use manufacturer-approved adhesives/finishes and follow cure times (use TDS/labels)
If the engineered wood floor is still responding to RH, any seam repair is likely to reopen—verify stability before investing in cosmetic blending.
For basement repairs, the environment (humidity and temperature) is part of the “material system,” not background context.
Indoor RH Guidance References Relevant to Engineered Wood Stability (2026)
| # | Authority/Standard | Recommended RH Range | Typical Temp Notes | Stability Fit |
|---|---|---|---|---|
| 1 | NWFA (wood flooring jobsite conditions guidance) | 35%–55% | ~60–80°F | ★★★★★ |
| 2 | US EPA (mold prevention indoor RH) | 30%–50% | Temp not specified | ★★★★☆ |
| 3 | CDC/NCHH (mold prevention indoor RH) | 30%–50% | Temp not specified | ★★★★☆ |
| 4 | ASHRAE 55 (indoor humidity comfort guidance) | Up to ~60% (comfort/acceptable) | Setpoint varies | ★★★☆☆ |
| 5 | Typical basement practical target (control to reduce condensation risk) | ≤50% | Keep stable | ★★★★☆ |
| 6 | Mold-safe operational guidance used in many remediation plans | 30%–45% | Dehumidify as needed | ★★★★★ |
| 7 | Condensation-risk heuristic (dew-point driven control) | Lower RH reduces condensation likelihood | Control dew point | ★★☆☆☆ |
Notes: “Stability Fit” in the table is a practical alignment indicator with engineered-wood-friendly RH windows; always confirm using your flooring manufacturer’s specific RH targets and slab/subfloor moisture limits. (Sources for each guideline: see Sources section below; where standards vary by climate and product, follow manufacturer documentation.)
Sources:
– NWFA (National Wood Flooring Association) guidance on wood flooring acclimation and jobsite conditions (use manufacturer-validated RH/temperature targets; confirm for your product)
– US EPA guidance on indoor humidity and mold prevention
– CDC/NCHH guidance on mold prevention and indoor relative humidity
– ASTM F2170 (Standard Method for Determining Relative Humidity in Concrete Floor Slabs Using In-Situ Probes)
– ASTM F1869 (Standard Test Method for Measuring Moisture Vapor Emission Rate of Concrete Subfloor Using Anhydrous Calcium Chloride)
Repairing engineered wood floors in a basement is rarely about “finding the perfect filler”—it’s about restoring stable moisture conditions and then using the correct repair method for the specific engineered-wood failure (surface damage vs seam movement vs lifting/warping). If you diagnose RH and subfloor conditions up front, your repairs in 2026 are far more likely to stay tight, flat, and visually clean.
Frequently Asked Questions
What’s the first step to diagnose damage on engineered wood floors in a basement?
Start by identifying the type of problem—warping, cupping, gapping, loose boards, or a delaminated layer—because each requires a different repair approach. Check for moisture sources first (humidity, leaks, condensation, or hydrostatic pressure) using a basement hygrometer and by inspecting around windows, plumbing, and foundation walls. Then inspect the subfloor flatness with a straightedge; if the concrete is uneven, engineered wood repairs may fail until the surface is corrected. Finally, confirm whether your engineered wood is glued down, nailed/stapled, or floating so you can choose the right engineered floor repair method.
How do you repair cupping or warping on engineered wood floors caused by basement moisture?
Cupping and warping usually mean the basement humidity or moisture levels were too high, so drying and moisture control must happen before fixing the boards. Use a dehumidifier to keep relative humidity in a safe range (commonly around 35–55%) and allow the floor to acclimate while monitoring moisture conditions. For minor cupping, you may be able to flatten the floor by fixing the moisture issue and applying gentle pressure with weights temporarily, depending on installation type and damage extent. If boards are significantly warped or have separated layers, you’ll likely need to replace affected planks and ensure the engineered wood is installed with the correct underlayment and vapor barrier for basement conditions.
How can you fix loose planks or lifting seams on a glued-down engineered wood basement floor?
First, clean the area and remove any debris or old adhesive residue so new bonding can achieve full contact. If planks are lifting, you may need to re-glue using the manufacturer-approved adhesive and re-press the boards with clamps or weights until cured. If multiple planks lift, inspect for moisture intrusion under the engineered flooring—glued-down repairs won’t last if the concrete remains damp. For floating engineered wood floors, check the locking joints for damage and replace any broken tongues/locks rather than forcing connections.
Which repair method is best for scratches, dents, and worn-through top layers on engineered wood?
For surface scratches, use a wood floor repair kit with matching filler or color-matched putty, then sand lightly and finish to blend with the surrounding engineered wood. If the wear has reached or damaged the top veneer, you may need to refinish the repaired area (or the full floor) using the correct sanding grit and finish system for engineered wood floors. Always test the product in an inconspicuous area because basement lighting and moisture levels can affect how stains and finishes look. For deep damage that exposes foam underlayment or causes top-layer delamination, plank replacement is usually the most durable engineered floor repair option.
Why do engineered wood floors often fail in basements, and how can repairs prevent repeat damage?
Basements are prone to higher humidity and moisture vapor transmission from concrete, which can cause cupping, gapping, buckling, and adhesive failure. If you repair only the visible damage without addressing the moisture problem, the engineered floor will likely move again even after replacement or re-gluing. Use a proper vapor barrier, manage basement humidity with a dehumidifier, and verify there are no active leaks or drainage issues near foundation walls. After repairs, keep consistent indoor conditions and inspect periodically so engineered wood repairs last longer and basement floor problems don’t return.
📅 Last Updated: October 19, 2026 | Topic: How to repair engineered wood floors in a basement? | Content verified for accuracy and freshness.
References
- Engineered wood
- Wood flooring
- https://www.epa.gov/mold
- https://www.cdc.gov/mold/default.htm
- https://www.fpl.fs.usda.gov/
- IICRC – A non-profit organization for the Inspection, Cleaning, and Restoration Industries.
- Home – APA
- https://scholar.google.com/scholar?q=how+to+repair+engineered+wood+floor+bassment+moisture Google Scholar
- https://scholar.google.com/scholar?q=water+damaged+engineered+hardwood+floor+repair+drying+methods Google Scholar
- https://scholar.google.com/scholar?q=hardwood+flooring+moisture+basement+subfloor+repair+warping+cupping Google Scholar