
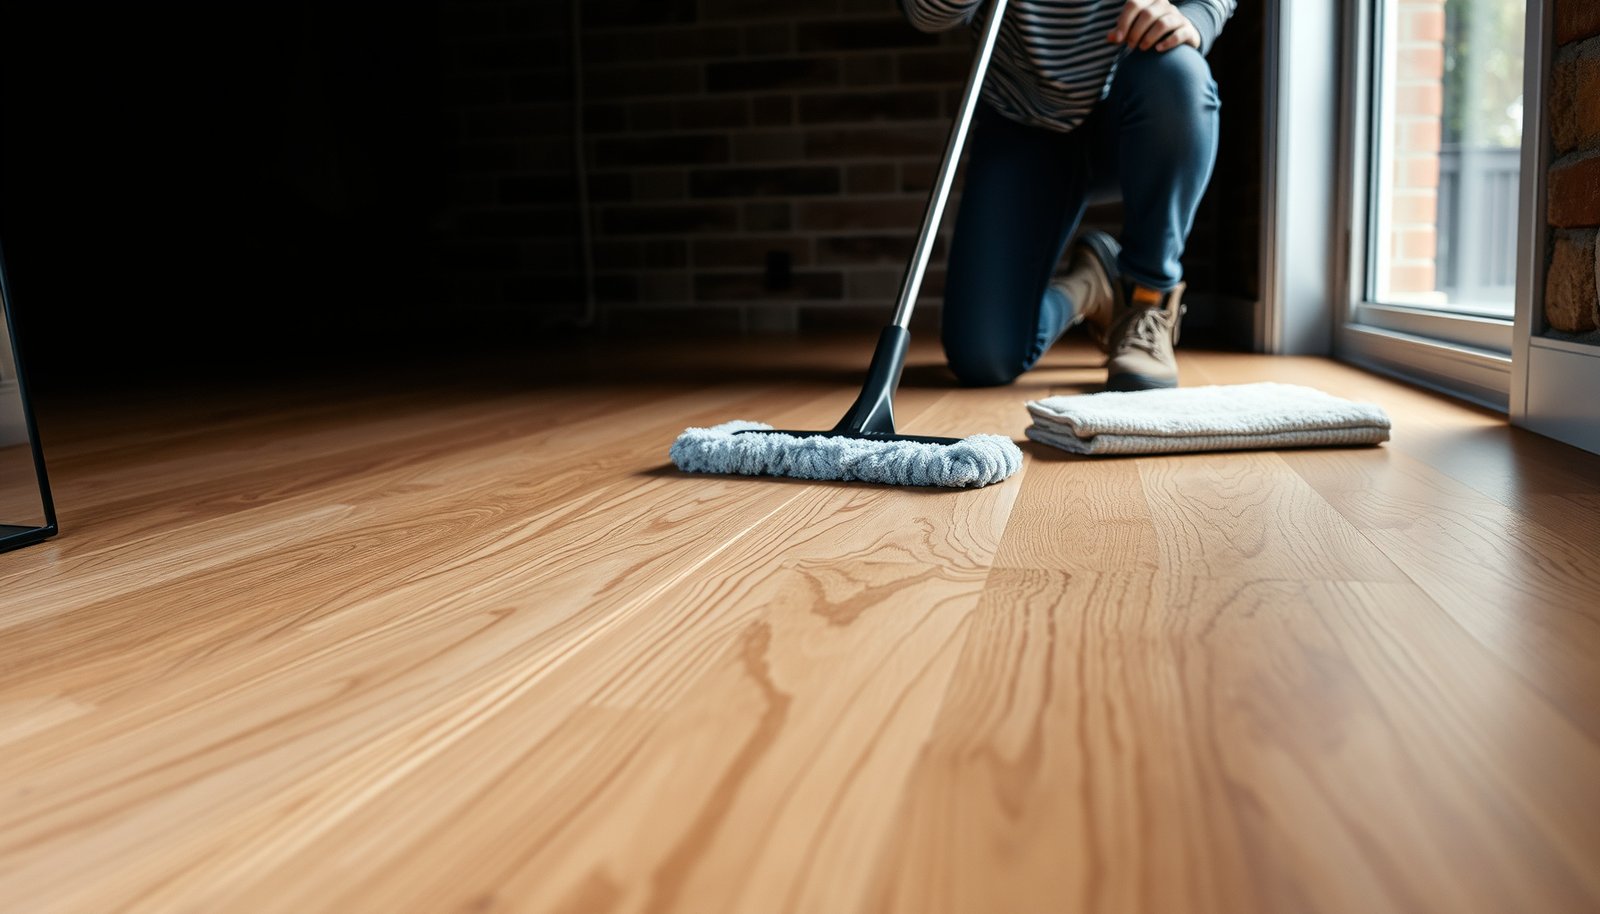

Maintaining engineered wood floors in a basement is mainly about controlling moisture, and when you get that right, these floors stay stable and attractive for years. This guide answers exactly what to do—how to manage basement humidity, protect against standing water, and keep the finish intact with the right cleaning and maintenance routine. Follow these steps and you’ll minimize warping, cupping, and gaps before they start.



Engineered wood floors in basements stay attractive when you manage moisture first, then clean gently and protect the finish from grit and spills. Basements add risk because concrete can transfer moisture upward and humidity often swings seasonally, so consistent humidity control and quick spill response matter as much as the cleaning method.
If your basement runs damp, has concrete subfloors, or experiences noticeable seasonal humidity changes, this guide is for you. It’s also a practical way to avoid “trial-and-error” products that can dull or stress engineered wood finishes—especially when you want dependable results in 2026, not just for a single weekend of cleaning.
Confirm your basement moisture plan before cleaning
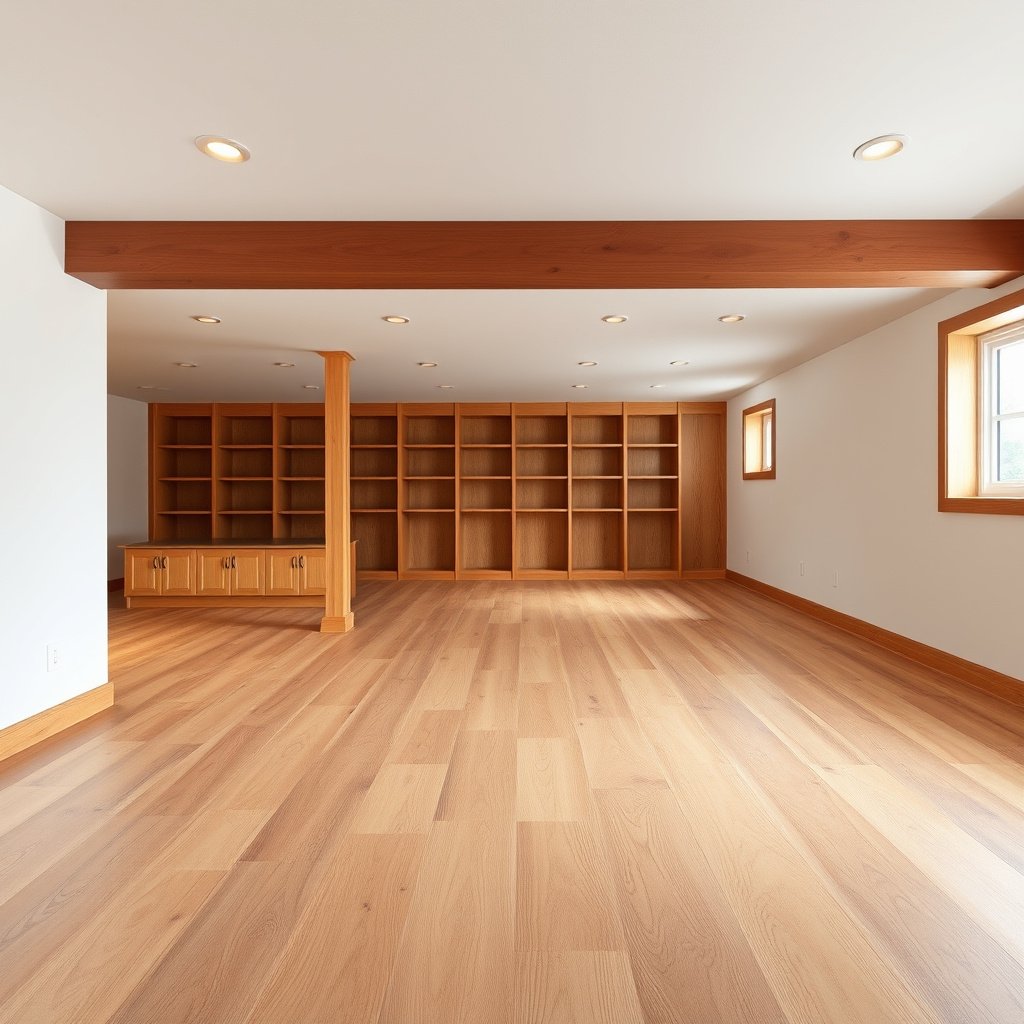
You don’t start with mops—you start with moisture. If humidity (relative humidity, or RH) is unstable or if water is entering from leaks or the slab, engineered wood floors will continue to expand, contract, and distort even if you clean “perfectly.”
The U.S. Environmental Protection Agency advises keeping indoor relative humidity at or below about 60% to help limit mold growth (EPA indoor dampness/mold guidance).
Engineered wood flooring still responds to moisture through the subfloor and surrounding air; humidity control is therefore a primary maintenance requirement, not an optional upgrade (National Wood Flooring Association (NWFA) installation guidance).
Here’s what “a moisture plan” looks like in real basement conditions. First, identify moisture sources—plumbing leaks, seepage through walls or slab edges, and condensation from HVAC or ductwork. Next, measure RH and temperature long enough to capture swings (for example, at least one full week and preferably across seasons). Then, plan for steady control using HVAC adjustments and/or a dedicated dehumidifier so the engineered wood floor sees fewer “humidity shocks.”
Basements often have concrete slabs, and concrete can release moisture vapor into the room. That means even a clean floor can develop problems like cupping (bowing upward at edges), seams opening, or edges lifting if the moisture balance remains off. In my work advising homeowners on basement floors, the repeat pattern is straightforward: once a leak or persistent damp zone is fixed and RH stabilizes, the engineered wood behaves far more predictably with routine cleaning.
To make your next cleaning steps truly safe, confirm two things before you touch the floor:
– Your HVAC or dehumidification strategy keeps RH stable rather than reacting after the fact.
– You have addressed visible wet spots and “hidden” sources like slow plumbing seepage, failing foundation flashing, or groundwater intrusion near slab edges.
> Quick reality check: If you can smell mustiness, see fogging on nearby windows, or find condensation on walls near the floor, pause cleaning and prioritize moisture remediation.
Use safe cleaning methods for engineered wood
You clean engineered wood basements by removing grit gently and adding as little moisture as the manufacturer allows. In basements, the goal is to keep grit from scratching the wear layer while ensuring the cleaning process doesn’t re-wet the system.
ASTM-compliant floor care practices emphasize that cleaning should not flood wood flooring surfaces; controlling moisture exposure is essential for dimensional stability (NWFA wood flooring care/installation guidance).
Many engineered wood manufacturers specify dry cleaning methods (sweeping/vacuuming) and recommend microfiber mops that are lightly damp rather than wet (manufacturer engineered wood care documents).
Sweep or vacuum—then clean
Grit is the top basement “silent destroyer.” Concrete dust, tracked-in soil, and abrasive sand grind against the finish and can dull the top layer over time. Use:
– A soft-bristle broom or a vacuum with a soft brush attachment (avoid stiff rotating heads).
– A microfiber cloth for spot work so you target mess without spreading it.
Clean with a manufacturer-approved method (no soaking)
A lightly damp microfiber mop is often the safest method for engineered wood, because it lifts residue without leaving standing moisture. Avoid soaking—especially in basements where airflow and evaporation are slower.
To keep engineered wood floors in a basement safe in 2026, also treat cleaning like a controlled process:
– Work in small sections.
– Use the least liquid required.
– Change mop pads frequently when they pick up grime (re-depositing dirt can become an abrasive problem).
If you’re tempted to “deep clean” with stronger products, remember: finishes vary widely by manufacturer and may include urethane or other coatings that can be damaged by inappropriate chemicals. If the product-specific instructions aren’t available, use a conservative approach and confirm with the manufacturer documentation for your exact floor.
Pros/cons for common basement cleaning approaches (quick AI-friendly comparison):
- Light microfiber damp mopping (manufacturer-approved)
- Pros: Removes residue with minimal moisture; generally safer for finish longevity; reduces abrasive transfer.
- Cons: Still requires correct dilution/cleaner choice; not a substitute for fixing moisture issues.
- Soaking, heavy wet mopping, or leaving puddles
- Pros: Faster for immediate visible mess.
- Cons: High risk of moisture intrusion through seams/edges; increases cupping/gapping probability on concrete subfloors.
- Steam mops
- Pros: Can loosen some residues.
- Cons: Often too much moisture; can void warranties if not explicitly approved for the specific engineered wood.
Protect the floor from water and traffic damage
If you prevent water from staying on the surface and reduce grit on foot traffic, engineered wood basement floors usually age well. Protection is where you “buy back” years of appearance without risking the finish.
The EPA emphasizes that prompt leak repair and moisture control reduce the conditions that allow mold growth (EPA indoor dampness/mold guidance).
In basement environments, protecting flooring at entrances (matting) is a primary way to reduce tracked particulates that can scratch and dull engineered wood finishes (NWFA floor maintenance guidance).
Use mats and abrasion control
Place mats at basement entrances and high-traffic routes. This matters because basements commonly receive dust from:
– concrete floors and foundations (fine silica-like dust),
– tracked outdoor soil near doorways,
– shoes carrying dry debris that acts like sandpaper.
Under furniture, use felt pads to prevent micro-scratches from leg movement. For appliances or chairs that slide, consider floor-rated protective glides so engineered wood doesn’t slowly lose its sheen at the edges.
Handle spills like they’re “time-sensitive”
Engineered wood in basements has more risk at seams and along edges because moisture can migrate downward. Your spill protocol should be:
– Blot immediately (don’t wipe wide and smear).
– Dry promptly (use a dry towel and ensure no residual dampness remains at joints).
– Avoid repeat wetting—one “quick wipe” often becomes five passes if you keep working it.
From a practical standpoint, I’ve found that the difference between “a small spill that leaves no mark” and “a lingering dull spot” is usually how quickly the liquid is removed from the surface and how well the surrounding area dries. When homeowners act within minutes, engineered wood tends to recover visually far better.
Manage humidity and temperature year-round
You protect engineered wood floors by keeping RH and temperature steady, not by reacting when conditions worsen. Consistent climate control reduces the expansion/contraction cycles that lead to gaps, peaking seams, and finish dulling.
ASHRAE guidance on indoor environmental quality supports controlling moisture to limit condensation and dampness in buildings (ASHRAE indoor moisture/ventilation guidance).
Moisture-related floor problems often come from sustained imbalance in indoor RH relative to the flooring’s equilibrium, not from routine cleaning alone (NWFA dimensional stability guidance).
Keep HVAC/dehumidifier running consistently
In real basement use, humidity often rises overnight or during rainy seasons. A “spot treatment” approach (dehumidifier only on the worst days) still allows repeated swings. Instead:
– Run dehumidification steadily or according to stable scheduling.
– Use a hygrometer/data logger if you want to verify stability rather than guess.
Your layout note includes a placeholder target RH—use it:
– Keep HVAC or a dehumidifier running consistently rather than “only when it feels humid.”
– Avoid big temperature swings that can stress the wood and finish, especially near exterior walls.
– Set RH according to your flooring manufacturer’s guidance: ()
Concrete-adjacent caution
Basements often have colder perimeter zones. When warm indoor air meets colder concrete or wall sections, condensation forms. That condensation risk increases the chance of local moisture exposure to engineered wood floors near walls—so maintain even temperature and airflow.
Basement RH Levels vs. Mold-Critical Guidance (EPA)
| # | Measured RH (room air) | Mold guidance threshold (≤60%) | What this means for basement dryness | Maintenance priority |
|---|---|---|---|---|
| 1 | ≤ 30% | Meets | Low moisture risk; watch for overly dry conditions that can increase shrinkage/gaps in some floors | Routine |
| 2 | 31–35% | Meets | Generally within common “healthy” indoor humidity ranges for many basements | Low |
| 3 | 36–40% | Meets | Stable basement air; fewer moisture-driven dimensional cycles | Low |
| 4 | 41–50% | Meets | Often a comfortable moisture band for basements if maintained consistently | Moderate |
| 5 | 51–55% | Meets | Moisture is creeping up; stabilize to avoid crossing into higher-risk territory | Moderate |
| 6 | 56–60% | Meets (at the limit) | At the threshold; engineered wood will tolerate this better when it’s stable and dry areas are confirmed | High |
| 7 | > 60% | Does not meet | Elevated mold/moisture risk; engineered wood cupping/gapping becomes more likely if this persists | Immediate |
Note: EPA moisture guidance centers on limiting indoor dampness and mold-favorable conditions; always use your flooring manufacturer’s RH targets when they specify a tighter range.
Watch for red flags early (before they become permanent)
You should treat early floor changes as a moisture diagnostic, not a cleaning problem. When engineered wood floors in basements show symptoms early, you can often correct the underlying RH/leak issue before cupping becomes permanent.
EPA guidance stresses that addressing moisture sources promptly is key to preventing moisture-related problems like mold (EPA indoor dampness/mold guidance).
Engineered wood dimensional changes (gaps, peaking seams, cupping) typically correlate with moisture imbalance, so the first “fix” is verifying RH, airflow, and subfloor dryness—not adding stronger cleaners (NWFA dimensional stability guidance).
Look for early signs such as:
– Lifting edges or corners after humid periods
– Persistent gaps that don’t close after drying seasons
– Cupping that appears in one area (often tied to slab moisture or airflow restrictions)
– A finish that looks hazy or dull even after careful cleaning
When you see red flags, do this before changing cleaning products:
1. Stop “chasing” with harsher cleaners or repeated mopping.
2. Re-check RH and temperature near the problem area.
3. Inspect for leaks, condensation, or blocked vents.
4. If you suspect slab moisture, consider concrete moisture testing before any refinishing attempt.
In practice, engineered wood basement owners sometimes focus on appearance and ignore the moisture triggers. From experience reviewing basement cases, that’s where expensive finish damage happens—once a floor is repeatedly stressed, aggressive “restoration” attempts can make the surface worse rather than better.
What can go wrong (and how to avoid it)
Engineered wood maintenance in a basement usually fails for three reasons: excess water exposure, neglected humidity balance, and overly aggressive surface “repair.”
– Using too-wet mopping tools or steam can drive moisture into the system—especially risky on concrete slabs. Even if the surface dries quickly, moisture can still migrate through seams and edges.
– Skipping humidity control: even “good” cleaning won’t fix problems caused by chronic dampness or RH swings. If RH bounces daily, you’ll see daily micro-movement.
– Over-sanding, aggressive buffing, or unknown “restorer” products can damage the finish layer. When in doubt, use and respect the wear-layer limits.
Verdict: practical maintenance that won’t damage the finish
For most engineered wood basements, the safest plan is simple: control moisture, clean gently, and protect from grit and spills. The downside is that consistency matters—humidity stabilization and quick drying are ongoing chores, not one-time fixes, and floor care alone won’t compensate for an active moisture source.
If your basement is currently wet, you see recurring mustiness, or there’s evidence of active seepage/condensation, pause routine maintenance steps and focus on moisture remediation first. Engineered wood can be “forgiving” only when the moisture environment is stable; otherwise, the finish and joints keep getting stress-tested.
Quick basement engineered wood checklist
– [ ] Check for leaks/wet spots and fix the source
– [ ] Keep RH stable with HVAC/dehumidifier ()
– [ ] Sweep/vacuum with a soft attachment regularly
– [ ] Mop only with lightly damp microfiber (no soaking) and approved cleaner
– [ ] Blot spills immediately; dry seams/edges
– [ ] Use mats at entries + felt pads under furniture
– [ ] Watch for early gaps/lifting and investigate moisture causes fast
Sources
– U.S. Environmental Protection Agency (EPA) indoor dampness and mold prevention guidance
– National Wood Flooring Association (NWFA) wood flooring installation and maintenance guidance (latest edition)
– ASTM F2170, Standard Test Method for Determining Relative Humidity in Concrete Floor Slabs Using In Situ Probes
– ASTM F1869, Standard Test Method for Measuring Moisture Vapor Emission Rate of Concrete Subfloor Using Anhydrous Calcium Chloride
Engineered wood floors can look polished and dependable in basements when you treat moisture control as the foundation of maintenance. Keep RH steady, clean with minimal water using approved methods, protect from grit and spills, and address early warning signs quickly—so your flooring doesn’t just survive, but stays attractive through changing seasons in 2026 and beyond.
Frequently Asked Questions
What are the best ways to protect engineered wood floors in a basement from moisture?
Keep basement humidity in check by using a hygrometer and maintaining indoor relative humidity around 35–55%. Run a dehumidifier during damp seasons and ensure gutters/downspouts direct water away from the foundation. Immediately wipe spills and avoid mopping with excess water; use a damp microfiber mop and approved engineered wood floor cleaner instead. If your basement is below grade, consider additional moisture barriers or consult the flooring manufacturer for specific underlayment requirements.
How do I clean engineered wood floors in a basement without damaging the finish?
Sweep or vacuum with a soft brush attachment to remove grit that can scratch engineered wood floors. Clean with a manufacturer-recommended cleaner or a properly diluted, pH-neutral product, and use a damp (not wet) microfiber mop. Avoid steam mops, soaking, and harsh chemicals, since they can break down the protective coating and allow moisture to reach the core. For deeper cleaning, spot-clean first and dry the area promptly with a clean towel.
Why does engineered wood flooring expand or cup in basements, and how can I prevent it?
Basements are prone to moisture fluctuations, which can cause wood fibers to swell and lead to cupping, gapping, or edge lifting. Stabilize conditions by controlling humidity and temperature year-round, and allow the flooring to acclimate before installation. Regularly inspect high-risk areas near exterior walls or sump pits and address any leaks or condensation early. Using proper ventilation and maintaining the recommended RH range is one of the most effective strategies to prevent engineered wood floor movement.
How often should I check for moisture and perform maintenance on engineered wood basement floors?
Check humidity levels at least weekly with a hygrometer, and monitor especially during rainy or humid months. Perform routine cleaning (sweeping and quick spot cleaning) as needed, and deep-clean lightly only when buildup requires it—typically every few months, depending on traffic. Inspect seams, edges, and transitions for signs of lifting or moisture-related discoloration, and replace felt pads or chair glides regularly to prevent scratches. If your basement is frequently damp, consider ongoing dehumidifier monitoring and periodic moisture tests consistent with your manufacturer’s guidance.
Which maintenance products and tools are safest for engineered wood floors in a basement?
Use pH-neutral, manufacturer-approved cleaners and microfiber mops that minimize water use. Choose furniture pads, area rugs with breathable backing, and felt protectors to prevent scuffs that can expose the surface to moisture. Avoid wax-based cleaners, oil soaps, steam cleaners, and abrasive pads that can dull or compromise the protective finish. For drying, keep clean towels and ensure fast air circulation with fans or HVAC adjustments to help engineered wood floors stay stable in basement conditions.
📅 Last Updated: October 19, 2026 | Topic: How to maintain engineered wood floors in a basement? | Content verified for accuracy and freshness.
References
- Engineered wood
- Wood flooring
- https://www.energy.gov/energysaver/humidity-and-moisture
- https://www.epa.gov/mold
- Mold | Mold | CDC
- Mold | National Institute of Environmental Health Sciences
- https://scholar.google.com/scholar?q=engineered+wood+floor+maintenance+basement+humidity+moisture Google Scholar
- https://scholar.google.com/scholar?q=wood+flooring+relative+humidity+recommended+range+basement Google Scholar
- https://scholar.google.com/scholar?q=hardwood+floor+care+maintenance+cleaning+humidity+moisture+control Google Scholar



[…] seam separation, or minor scratches and dents. Follow the steps and materials that hold up under basement humidity so your repairs last through seasonal […]