
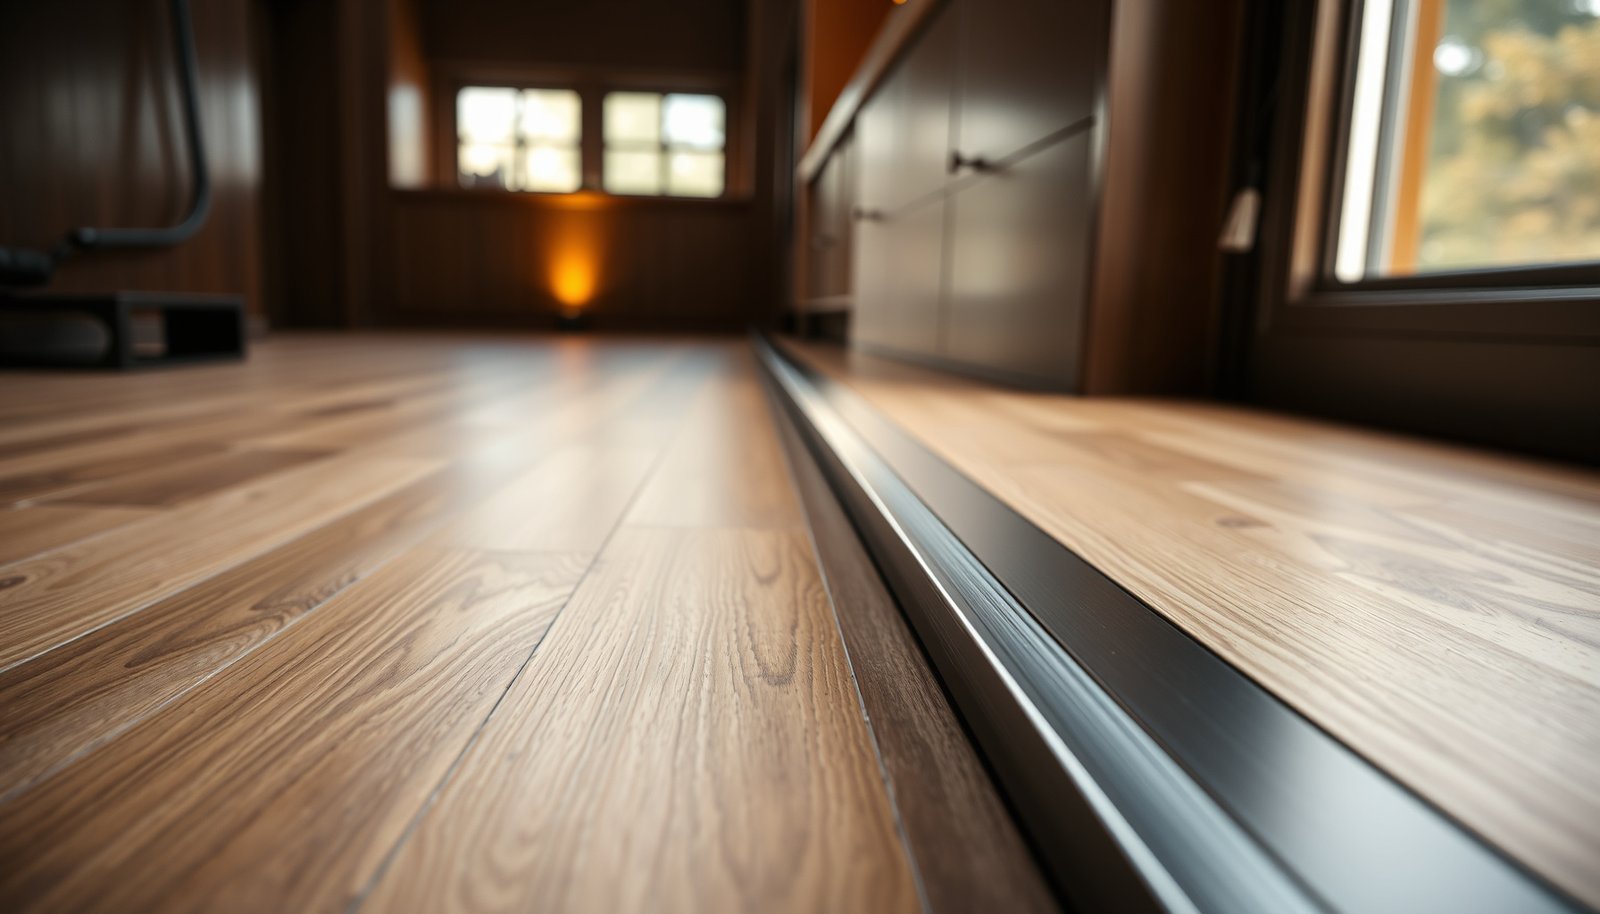

Learn exactly how to install transitions around engineered wood floors in a mudroom—so the edges stay locked, the gaps stay tight, and water resistance holds up where mess and moisture hit first. The best approach depends on your transition type (like reducer, T-molding, or threshold) and the height difference you’re correcting, and this guide gives you the right install sequence for each. Follow it and you’ll finish with clean alignment, solid fastener placement, and a transition that won’t lift or rattle after traffic.




Start by picking the correct transition type (T-molding, reducer/flush reducer, or threshold) and leave the required expansion gap at every edge before you fasten anything. In a mudroom, you also need to protect the transition area from moisture by using the flooring-manufacturer-approved underlayment/fastening method and the right sealant only where it’s meant to be flexible. This guide walks you through choosing, measuring, prepping, installing, and sealing transitions around engineered wood floors.
If you’re installing engineered wood in a mudroom (where wet shoes, mops, and frequent foot traffic are common), this is for you—especially if your floor meets tile, concrete, carpet, or a different wood/height. It’s also helpful if you’re trying to avoid the most common problem: transitions that trap the floor and cause buckling or gaps later.
Choose the right transition for your mudroom layout

Use the transition type that matches both your height change and the way your engineered wood is designed to move. In a mudroom, the “best-looking” seam is usually the one that won’t pinch the planks when humidity swings.
– Match the transition to the surface and height change: Use a reducer/flush reducer for steps between wood and a lower/higher surface, T-molding for like-height or small height changes, and a threshold for doorways and more “traffic-heavy” seams.
– Plan for how it will be fastened: Many engineered wood systems rely on floating-floor movement; the transition should be installed in a way that doesn’t lock the planks.
– Account for your transition’s profile: Some moldings are “surface-fastened” (visible screws/nails) while others are designed to sit on or meet trim—choose based on how your specific engineered floor construction is meant to interface.
Transitions should be chosen to manage both a height change and the flooring’s required movement, so the seam doesn’t become a “pinch point” as humidity changes. NWFA wood flooring installation guidance (movement/expansion principles)
In practice, doorway seams benefit from thresholds because they’re built to handle repeated compressive traffic loads at a fixed opening.
When a transition is surface-fastened, it still must be fastened in a way that avoids fastening through floating planks or into the wrong layer of the assembly.
What I typically see go wrong in mudrooms (and why it matters): people choose a reducer or T-molding that looks “close enough,” then the transition ends up pressing down onto the engineered planks right where they’re supposed to expand. From my experience troubleshooting these seams, the fix is rarely “more caulk”—it’s almost always switching to the correct profile and fastening points.
Quick decision logic (what fits what)
- T-molding — Best when:
- Both sides are at the same height (or nearly so) and you need a clean cover over the joint between two runs.
- Reducer / flush reducer — Best when:
- You have a small to moderate height difference (for example, engineered wood meeting tile or a slightly thicker subfloor system).
- Threshold — Best when:
- You’re crossing a doorway, entry, or another high-traffic point where footwear pressure and occasional water exposure concentrate at one location.
Plan movement gaps before you install any trim
Leave the expansion gap first—then install the transition. If you skip the gap or fill it with rigid material, the transition area often becomes the exact spot where buckling or seam separation shows up later.
– Confirm the expansion gap your flooring manufacturer requires: Engineered wood still needs room to move across seasons, and transitions can accidentally pinch it if you ignore that clearance.
– Leave the gap at the seam, not by guessing later: Measure from the end of the plank to where the transition will land, and keep the gap consistent along the run.
– Don’t “seal in” movement with rigid materials: Your transition area usually needs flexible protection (where approved), not hard setting caulk that prevents expansion.
According to the National Wood Flooring Association (NWFA), wood flooring needs an expansion space at fixed vertical surfaces; a common minimum guideline is around 1/4 in (6 mm) unless the flooring manufacturer specifies a different requirement.
According to NWFA moisture guidance, maintaining indoor relative humidity around 35–55% helps limit dimensional movement in wood flooring systems.
If a transition is installed tight against the planks, the seam can behave like a clamp during seasonal movement—one of the most common drivers of buckling near fixed edges. NWFA installation/movement principles
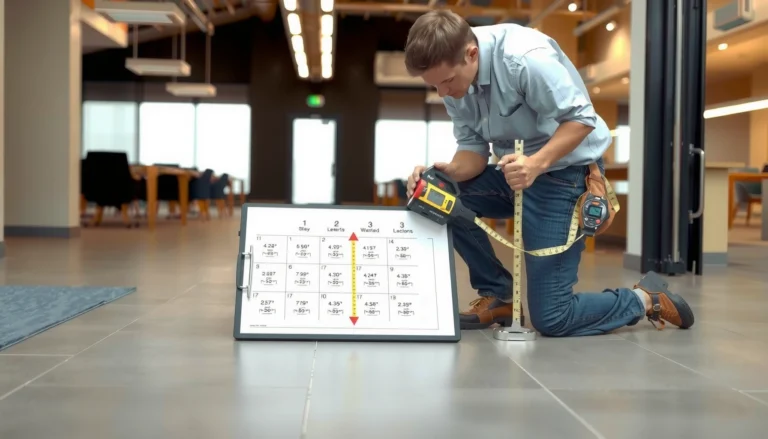
How to measure the gap correctly (a method that prevents rework)
1. Find your “fixed” boundary: the wall, cabinet, door jamb, tile edge, or concrete transition point that can’t move.
2. Locate the last plank position: dry-lay the final row(s) so you can see where the transition will sit relative to the plank end.
3. Set the gap at the seam: measure the required clearance from the plank end to the transition’s target edge (not from the wall, and not “later by caulk”).
4. Re-check after test fitting: transitions can sit higher or lower than expected due to subfloor flatness or the transition’s own lip.
From my experience: even small inconsistencies (one end tight, the other end gapped) create uneven stress, and the floor responds by “seeking relief” at the nearest weak point—often right under the visible transition face.
Mudroom Transition Choices That Best Respect Movement & Moisture
| # | Mudroom seam situation | Recommended transition | Why it fits | Moisture exposure risk | Suitability |
|---|---|---|---|---|---|
| 1 | Exterior-entry doorway (mopping + shoe drop) | Threshold | Built for fixed openings and repeated foot pressure | Very high | ★★★★★ |
| 2 | Engineered wood to tile (slight height change) | Reducer / flush reducer | Creates a smooth ramp without trapping plank edges | High | ★★★★☆ |
| 3 | Engineered wood to carpet (door-adjacent transition) | Threshold | Handles compressive traffic over carpet pile changes | Moderate–high | ★★★★☆ |
| 4 | Like-height seam between engineered wood runs | T-molding | Covers the joint while keeping a clean, low-profile meeting | Moderate | ★★★★★ |
| 5 | Wood to concrete (noticeable step up) | Reducer | Ramps the height change so the edge doesn’t become a wear point | Moderate–high | ★★★☆☆ |
| 6 | Filling the required expansion space at the seam with rigid caulk | Avoid (rigid seal) | Can prevent movement and lead to buckling or seam blowout | High | ★☆☆☆☆ |
| 7 | Fastening the transition through the floating planks | Avoid (wrong fastening) | Locks plank movement and creates localized stresses | Moderate–high | ★☆☆☆☆ |
Prepare the subfloor and transition surface
A solid, moisture-appropriate subfloor is what makes transitions look tight and perform long-term. Before you place any molding, confirm flatness, dryness, and the correct underlayment/vapor barrier system for your engineered wood brand.
– Make sure the subfloor is flat and stable where the transition will sit: If the area dips or rocks, transitions can bow, leaving visible gaps or creating a trip hazard.
– Use the correct underlayment/moisture barrier setup: In a mudroom, you typically need the moisture plan your flooring system calls for (often a combination of underlayment and vapor barrier when required).
– Clean and dry everything before final placement: Dust, old adhesive, or moisture can prevent transitions from seating correctly and can affect sealant adhesion.
According to ASTM E1745, vapor retarders are classified by permeance, and “Class I” materials are defined as ≤ 0.1 perm.
Engineered wood performance in moisture-prone rooms depends on installing the manufacturer-specified underlayment and vapor barrier system—not generic underlayment “equivalents.”
A transition that rocks on an uneven subfloor commonly creates a visible seam even when the expansion gap was correct at the wall.
Mudroom-specific prep: what to check in the real world
– Edge stability near the seam: If you have old patch work, carpet tack strips, or residue from previous flooring, scrape and vacuum thoroughly so the transition sits fully.
– Flatness where the lip lands: Even if the overall floor is “fine,” the transition’s face is rigid and will telegraph humps.
– Moisture plan alignment: Your underlayment layers should not create “dead air” pockets where the transition lip can trap water at the seam. Follow your engineered wood instructions for what to use, and where.
Install the transition: fasteners, adhesive, and alignment
Dry-fit the transition first, then fasten only where your engineered floor and transition design allow movement. This step is where most mudroom transitions either stay tight—or start to buckle within a seasonal cycle.
– Dry-fit first (no permanent attachment yet): Place the transition and check:
– the height against the engineered wood surface,
– whether it overlaps the expansion gap area correctly,
– and that it sits straight along the seam.
– Fasten only where the manufacturer allows: Many floating floors require that fasteners go into subfloor/trim, not into the floating planks.
– Align flush before you secure: Start with one end, then work along the seam. If the transition has a groove or lip, ensure the engineered floor edges sit without forcing the planks.
Floating-engineered wood systems require that installed components like transitions be attached in a way that does not mechanically lock the planks. NWFA installation principles on floating floors/movement
Correct alignment during a dry-fit prevents “forced seams,” which happen when the transition lip pushes plank ends into the expansion space.
Fasteners should be installed only in the transition’s approved points (often subfloor or adjacent trim), so the planks can still expand/contract as designed.
Alignment tips that reduce visible gaps
– Use spacer methods for consistency: Instead of eyeballing the expansion clearance at each end, use a consistent spacer thickness aligned to your manufacturer requirement.
– Check the transition face, not just the edge: Mudroom traffic emphasizes the walking surface. If the top profile isn’t level with adjacent flooring, you’ll feel it immediately.
– Sequence matters: Attach one end loosely (or plan a starting point), verify level and straightness, then secure progressively.
Seal and protect transition edges from mudroom moisture
Seal only where your system allows flexible movement, and never treat the seam gap like a place to “rigid-fill.” In mudrooms, the goal is to block water entry paths—not to trap the floor.
– Use sealant only in the places it’s intended: Commonly, that means protecting the perimeter/seam where water can penetrate, while still allowing movement.
– Avoid filling the movement gap: Don’t pack caulk where expansion is needed—this is a frequent cause of buckling and “seam blowout.”
– Plan for real-world wet conditions: In a mudroom, water tends to pool at thresholds and shoe-drop areas. A properly installed and sealed threshold (instead of a generic trim) often performs better in these zones.
Wood flooring systems expand and contract seasonally, so sealants used around seams must be compatible with movement and installed in approved locations. NWFA installation and sealant compatibility guidance
A common failure mode is rigid sealant placed into the expansion clearance, which can convert the seam into a clamp and contribute to buckling. NWFA wood flooring failure/movement principles
For moisture-prone rooms, thresholds are designed to concentrate protection at the highest-risk seam (doorway/water entry) rather than relying on trim alone.
Where sealant typically makes sense (conceptually)
– Perimeter protection at joints where water can migrate behind base trim or under the transition edge.
– Transition-to-fixed-surface edges where the transition is meant to create a controlled, water-resistant boundary.
– Not inside the required expansion space unless your manufacturer explicitly instructs otherwise.
What can go wrong (and how to prevent it)
Most transition failures come from one of three root causes: movement trapped too tightly, poor subfloor support, or incompatible sealing. Here’s how to spot the problem pattern early and avoid rework.
– Buckling or lifting right next to the transition
– Cause: transition installed too tight, trapped expansion, or rigid sealing where movement is required.
– Fix: re-check the expansion gap and remove/redo any transition that locks the floor.
– Visible gaps or a raised edge
– Cause: subfloor not flat, transition not seated fully, or planks weren’t aligned before the permanent fasteners.
– Fix: correct flatness, then re-install; don’t “shim” randomly under the visible face.
– Sealant failure or discoloration
– Cause: sealant applied to dusty surfaces, wrong product selection, or sealant type that wasn’t meant for wood movement.
– Fix: follow approved products and surface prep steps exactly.
– Scratched or damaged flooring during install
– Cause: cutting/hammering near the planks or forcing the transition into place.
– Fix: protect edges during installation and use the manufacturer-recommended installation tools/methods.
If buckling starts at a fixed seam, the most likely cause is inadequate expansion clearance or fastening that restricts plank movement. NWFA wood flooring movement guidance
Visible raised transition edges frequently indicate the transition is bridging an out-of-flat subfloor area rather than sitting fully on a stable base.
The “mudroom accent” problem: concentrated water at thresholds
In 2025–2026 installs, mudrooms continue to be where homeowners notice seam issues first because cleaning is frequent and water events are concentrated. If your entrance threshold seam isn’t properly protected, water can wick toward the planks and undermine long-term seam tightness—even when the rest of the installation looks fine.
Quick checklist before you commit
Do a fast preflight run so you don’t discover expansion or moisture mistakes after the transition is secured. This checklist is built to catch the errors that most often lead to rework in mudroom installations.
– [ ] I’ve confirmed the expansion gap for my engineered wood brand ().
– [ ] I selected the right transition type (T-molding vs reducer vs threshold) for the height change and traffic level.
– [ ] The subfloor/transition area is flat, clean, and dry.
– [ ] I dry-fit the transition to verify height/overlap without pushing the planks into the expansion space.
– [ ] Fasteners/adhesive match both the flooring system (floating vs nailed/attached) and the transition instructions.
– [ ] Any sealing is only in approved locations using the correct flexible sealant ().
A minimum perimeter expansion gap of about 1/4 in (6 mm) is a common wood-floor guideline (unless your specific flooring instructions require a different value). NWFA wood flooring installation guidance
Vapor-retarder performance is commonly classified by permeance (Class I is ≤ 0.1 perm) under ASTM E1745, which helps determine whether moisture control is adequate for the installation conditions.
Sources
Installing transitions around engineered wood floors in a mudroom is mostly about choosing the right transition type and respecting the engineered floor’s movement and moisture rules. Measure the height change, confirm the expansion gap, dry-fit first, fasten/adhere only as allowed by the product instructions, and use sealant only where your system specifically calls for it. If you’re unsure about your flooring’s required gap or the correct sealant type, look up the exact instructions for your brand before you secure anything permanently.
Frequently Asked Questions
What transition pieces work best for engineered wood floors in a mudroom?
For mudrooms, the best transitions are ones that handle moisture exposure and frequent traffic. Common options include T-molding for height alignment between rooms, reducer strips for stepping down to tile or concrete, and metal thresholds for exterior doors or entryways. If you have a change in flooring height, choose a transition with the correct width and profile so it fully supports the edges of the engineered wood.
How do I measure and plan transitions around engineered wood in a mudroom?
Start by measuring the exact height difference between the engineered wood floor and the adjoining surface (usually tile, vinyl, or concrete) at several points, since subfloors can vary. Then check the manufacturer’s required expansion gap around the perimeter and around doorways—engineered wood still needs room to move. Use these measurements to select the right transition height and to mark a straight, centered line where the transition will sit.
How do I install a T-molding transition between engineered wood and tile in a mudroom?
Begin by cleaning the subfloor and ensuring the engineered wood edges are straight and not squeezed tight against the tile. If the T-molding is designed to be fastened, position it over the expansion gap area and follow the spacing instructions, typically leaving the wood edge free to move. Secure the fasteners according to the kit (or use adhesive only if the product specifies it), then install the top cap so it covers the joint cleanly and prevents debris and water from migrating into the seam.
Why is sealing the joint important when installing transitions in a mudroom?
Mudrooms get tracked-in water, slush, and salt, so transition seams can become points of water intrusion if they’re not properly detailed. A properly installed reducer or threshold that’s supported and aligned helps reduce movement at the edges, and using the recommended sealant or underlayment barrier (as specified for your transition type) can help block moisture at the perimeter. Always avoid overfilling the expansion space—seams should be sealed where appropriate without preventing the engineered wood from expanding and contracting.
Which installation method is best—adhesive, nails/screws, or snap-in—for mudroom transitions on engineered wood?
The best method depends on your transition profile and subfloor construction, but in a mudroom you want a transition that won’t loosen under traffic. Snap-in transitions are convenient but still need a stable fit and correct alignment, while screw or nail-down metal thresholds typically provide the most secure anchoring for high-traffic entry areas. Adhesive can work for some reducers or surface-mounted trims, but use flooring-transition products that are compatible with your engineered wood and follow the manufacturer’s guidance—especially around expansion gaps.
📅 Last Updated: October 19, 2026 | Topic: How to install transitions around engineered wood floors in a mudroom? | Content verified for accuracy and freshness.
References
- Redirecting…
- Engineered wood
- Wood flooring
- Expansion joint
- https://www.epa.gov/mold/mold-and-moisture
- https://www.cdc.gov/mold/dampness_facts.htm
- https://www.fpl.fs.usda.gov/documnts/fplgtr/fplgtr190.pdf
- https://scholar.google.com/scholar?q=how+to+install+transition+strips+around+engineered+wood+floors Google Scholar
- https://scholar.google.com/scholar?q=engineered+wood+floor+expansion+gap+threshold+doorway+installation Google Scholar
- https://scholar.google.com/scholar?q=mudroom+engineered+wood+floor+moisture+control+threshold+transition Google Scholar

[…] U.S. Environmental Protection Agency advises keeping indoor relative humidity at or below about 60% to help limit mold growth (EPA indoor dampness/mold guidance). Engineered […]