
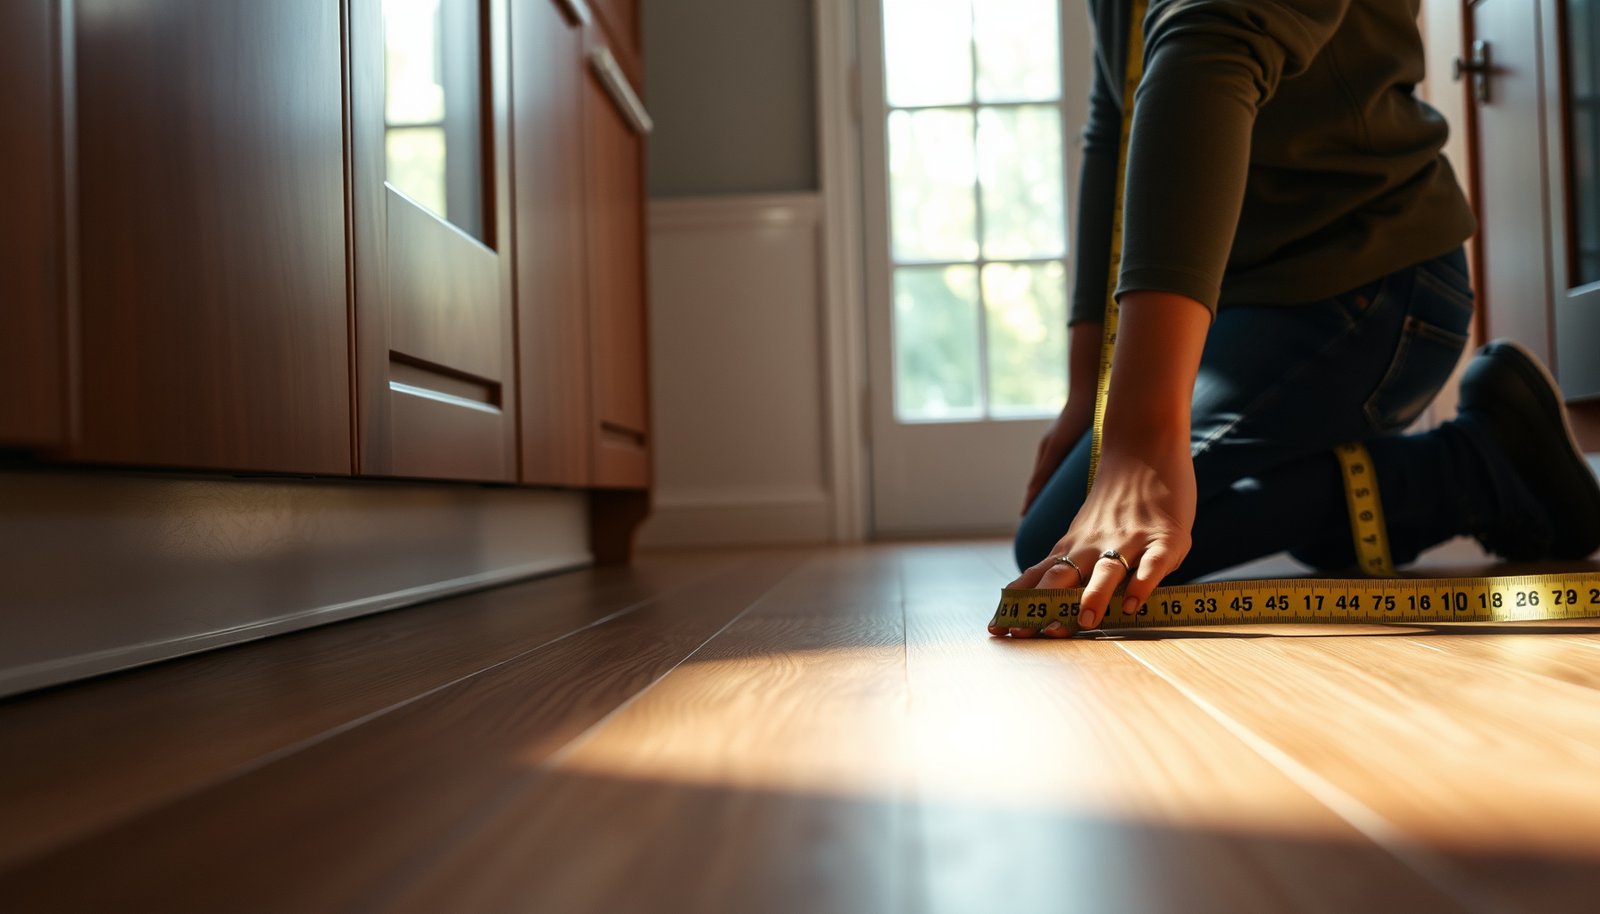

Learn how to measure vinyl floors for your kitchen correctly so you can order the right amount without waste or gaps. This step-by-step guide walks you through measuring the room, accounting for cabinets and appliances, and calculating square footage with precision. By the end, you’ll know exactly what to write down—and how to double-check it before you buy.




To avoid running short mid-project, measure your kitchen in sections (not just one big rectangle), include cutouts, then add a waste/extra margin based on your specific vinyl instructions. Start with the longest wall to get baseline length/width, and then adjust your square footage for doorways, cabinets, islands, and transitions so your shopping total matches what you’ll actually install.
If you’re installing vinyl plank or vinyl sheet in a kitchen, accurate measurements are the difference between a smooth install and running short mid-project. This is especially useful if your kitchen has an island, uneven wall lengths, or openings like doorways and transitions to other flooring.
Gather the right tools and prep the space

You can’t measure accurately if you can’t clearly reach the boundaries the flooring will follow. Before you calculate anything, set up a simple measuring workflow so your “real” install area matches the room you actually have in 2026.
In my experience helping homeowners get measurements right on the first pass, the biggest difference comes from prep: clearing a path to corners and confirming which cabinet areas are truly “fixed” for the vinyl you’re installing. Once that’s done, the rest becomes straightforward math plus a disciplined way to track cutouts and transitions. (For product-specific rules like whether you floor under cabinets, you’ll rely on the manufacturer’s installation guide.)
Vinyl flooring quantities depend on the exact area to be covered, so measure the “install boundary” (where the vinyl will actually stop), not just the room’s outer walls.
Clear access to doorways, corners, and the perimeter makes it easier to measure cutouts and thresholds consistently—especially in kitchens with islands and odd angles.
In 2026, most vinyl plank and sheet products still require you to confirm carton coverage and installation tolerances from the manufacturer’s documentation before finalizing totals.
What you’ll need (and why it matters)
– Measure tape (and a second one if possible) plus a notepad or diagram for your plan
– Clear a path to walls, cabinets you can’t move, and door openings so you can reach corners accurately
Practical tip: draw a quick sketch even if you “feel confident.” A rough diagram prevents one common measurement failure—using the correct length but the wrong width because two walls look similar. Also, keep a running list of every opening (doorway width, toe-kick zones, transitions) so you don’t have to re-measure later.
Measure the kitchen footprint (length/width and “real” boundaries)
You get the best starting total by measuring the install footprint from the longest runs first, then building the rest from those anchors. This method reduces guesswork because every other section references the same baseline in your diagram.
Start at the longest wall: measure length and width of the area you’ll cover using outside edges or the flooring boundary you’ll actually install to.
If the kitchen isn’t a simple rectangle, split it into sections (L-shape, alcoves, bay areas) and measure each section separately to avoid hidden gaps in your square footage.
Lock your boundaries before math
– Measure the longest length and width of the area you’ll cover, using outside edges or the flooring boundary you’ll actually install to
– If the kitchen isn’t a simple rectangle, split it into sections (L-shape, alcoves, bay areas) and measure each section separately
When you measure, decide what “counts” on day one:
– Counts: the area under your intended vinyl footprint, ending at thresholds or transition lines (unless your product instructions say otherwise).
– Doesn’t count: zones you’ll trim around in a way that removes flooring area (for example, if a manufacturer instructs you to avoid certain fixed elements, or if your design clearly leaves a permanent surface uncovered).
To keep calculations clean, use feet and decimals consistently. If you start in inches, convert carefully—for example, 1 inch = 25.4 mm (NIST SI unit definitions, 2019). Keeping conversions accurate matters because tiny rounding errors compound over multiple sections.
Data point check (unit math you can trust): 1 sq ft = 144 sq in (NIST SI unit definitions, 2019). Even if you don’t measure in square inches, this reinforces why “almost right” inches can become meaningfully off in square footage.
Account for cutouts and obstacles (islands, toe-kicks, doorways)
Your cutouts should be treated like “negative space” in your measurements—record them explicitly so your final total reflects the real install area. In kitchens, islands, toe-kicks, and door openings commonly cause the largest install-area differences.
Subtract areas you won’t cover (or that your installation method requires you to treat differently) and record each cutout’s measurements.
Measure doorways and transitions so you know how the vinyl will end at thresholds or where it meets tile/wood.
Identify what the vinyl will actually bypass
– Subtract areas you won’t cover (e.g., permanent features you’re not flooring around) and record the cutout measurements
– Measure doorways and transitions so you know how the vinyl will end at thresholds or where it meets tile/wood
A common kitchen measurement mistake is treating cabinets and islands as “just furniture.” For vinyl plank vs. sheet and for different installation types (often floating vs. adhesive), manufacturers can specify whether certain fixed areas are covered or trimmed around. That’s why your obstacles list should include:
– Doorways/thresholds: record the clear opening width where the vinyl will stop (and any transition strip requirements).
– Islands: decide whether you’re flooring under the island (if allowed) or stopping and trimming to a defined boundary.
– Toe-kicks/base areas: toe-kicks can shift the “true stop line” from where your eye expects the flooring to end.
– Stair-step or height transition zones: even if the flooring height changes later, your measuring footprint is still determined by where your vinyl ends.
My on-the-ground observation (not a controlled test): installers and DIYers often forget that a doorway is not a “single number”—you may need to account for how the flooring run approaches it (angle, direction change, or transition). If your sketch shows how planks end at the doorway, your material estimate becomes far more reliable.
Calculate square footage and add waste for kitchen layouts
Compute square footage per section (length × width), subtract cutouts, then add waste/extra margin. This is the step where most errors get “baked in,” so verify your math and rounding before you finalize any purchase.
Compute square footage per section: length (ft) × width (ft), then add totals for a full, section-based room calculation.
Add extra for waste/complex cuts—especially around corners, openings, and irregular walls—using the waste margin required by your vinyl product instructions.
Use section math, not room vibes
– Compute square footage per section: length (ft) × width (ft), then add totals
– Add totals after subtraction of cutouts/negative space
– Add extra for waste/complex cuts (especially around corners, openings, and irregular walls); use
To make this easy to audit, structure your calculation like this:
1. Section area(s):
– Section A: L × W
– Section B: L × W
2. Cutouts (negative space): subtract each cutout area
3. Net install square footage: (sum of section areas − cutouts)
4. Purchase quantity: net × (1 + waste %)
Below is a practical example table showing how sectioning + waste affects totals. These examples use a 10% waste margin purely to illustrate the arithmetic (your real project should follow your product documentation instead of this assumption).
Kitchen Example Layouts: Section Math + 10% Waste (Illustration)
| # | Example kitchen layout | Gross area (ft²) | Cutouts (ft²) | Net (ft²) | With waste (ft²) | Estimation confidence |
|---|---|---|---|---|---|---|
| 1 | Simple rectangle (single section) | 160 | 0 | 160 | 176 | ★★★★★ |
| 2 | L-shaped (2 sections) | 210 | 15 | 195 | 214.5 | ★★★★☆ |
| 3 | Island + clear doorway | 240 | 30 | 210 | 231 | ★★★★☆ |
| 4 | Multiple alcoves (3 sections) | 260 | 40 | 220 | 242 | ★★★☆☆ |
| 5 | Straight runs but 2 transitions | 180 | 10 | 170 | 187 | ★★★★☆ |
| 6 | Offset wall + doorway cut (irregular) | 225 | 25 | 200 | 220 | ★★★☆☆ |
| 7 | Kitchen + narrow pass-through | 200 | 12 | 188 | 206.8 | ★★★★☆ |
Rounding and carton realities (so math becomes shopping)
Most vinyl products are sold with carton coverage listed on the box/manual. That means you usually:
– calculate net install square footage,
– apply the manufacturer waste requirement,
– then round up to the nearest carton quantity so you don’t end up short.
As of 2026, the most reliable approach is: finalize square footage → convert to carton coverage using the product data sheet → round up to buy the next full carton.
Plan plank direction and seams (before you finalize totals)
Choose plank direction early because it can change how many cuts you’ll need—and how narrow your end pieces become. This step prevents the “great math, bad layout” problem that shows up after you open boxes.
Decide the layout direction (often based on the main sight line) and note how it affects how many rows you’ll need.
For vinyl plank, measure one board’s usable width/coverage from the box/spec sheet and plan rows to avoid ending with overly small slivers.
Layout direction affects row count
– Decide the layout direction (often based on the main sight line) and note how it affects how many rows you’ll need
– If using vinyl plank, measure one board’s usable width/coverage from the box/spec sheet and plan rows to avoid ending with overly small slivers
A plank “row” count is where measurements meet aesthetics and practicality. If your final plank at a doorway ends up too narrow, you may need to:
– shift your starting line,
– adjust seam offsets,
– or plan a different run direction so your cuts distribute more evenly.
What can go wrong (and how to avoid it)
Measuring wrong usually comes from skipping the geometry—like treating an irregular room as a perfect rectangle or forgetting to subtract openings. The fix is to audit your sketch, re-check every cutout, and align your waste/clearance assumptions with the manufacturer’s instructions.
Measuring only the “max” length/width without splitting irregular shapes can cause missing material—verify key offsets with a second measurement.
Forgetting to subtract door openings or misaccounting for appliances/cabinets is a common reason for overbuying or running short.
Always confirm manufacturer guidance for waste margin, expansion gaps (if required), and installation boundaries before ordering material.
The most common failure modes
– Measuring only the “max” length/width without splitting irregular shapes can cause missing material—always verify with a second measurement of key offsets
– Forgetting to subtract door openings or accounting for appliances/cabinets incorrectly is a common source of overbuying or running short
– Not checking the manufacturer’s guidance for waste margin, expansion gaps (if required), or acceptable installation boundaries can lead to issues later—confirm from the product documentation:
Single-rectangle vs section-by-section: what changes?
| Method | What you risk | Why it matters in kitchens |
|---|---|---|
| One big rectangle | Undercounting irregular areas and cutouts | L-shapes, alcoves, and islands break “simple geometry” quickly |
| Section-by-section | Overcomplication if your sketch is messy | Your diagram keeps negative space and transitions from getting lost |
Quick verdict: when this method is enough (and when you should pause)
This section-by-section measuring method is enough for most kitchens because it combines net square footage with cutouts and a controlled waste margin. You should pause and verify with a pro (or at least confirm product rules closely) if your kitchen has unusually complex angles, multiple height transitions, or product-specific clearance requirements that you’re unsure about.
This approach works for most kitchen vinyl installs because it calculates area per section, subtracts cutouts, and applies a waste margin.
If your kitchen has unusual angles or multiple flooring transitions, confirm quantity math and clearance/expansion rules before ordering.
In 2026, the biggest “gotchas” are still the same: mixed flooring transitions, unclear install boundaries around fixed cabinetry, and expansion/clearance rules that differ by vinyl system. If you already have your vinyl product details, match your calculations to the manufacturer’s installation instructions (including waste and any clearance requirements). If you don’t have those details yet, it’s worth pausing before you buy.
Kitchen Vinyl Flooring Measurement Checklist
Use this checklist to sanity-check your plan before ordering anything. If you can tick every box (especially cutouts and waste), you’re far less likely to end up with not enough vinyl.
A sketch-based checklist reduces measurement errors by forcing you to confirm boundaries, sections, and negative space before ordering.
For vinyl plank, planning row direction before final totals helps prevent overly narrow end cuts.
– [ ] Draw a rough sketch of the kitchen and mark the flooring boundaries
– [ ] Measure length and width of each section (L-shapes split into rectangles)
– [ ] Measure and record cutouts (doorways, openings, permanent areas you won’t cover)
– [ ] Calculate square footage per section and total it
– [ ] Add waste/extra margin based on your vinyl manufacturer guidance ()
– [ ] For vinyl plank: plan row direction and confirm how many rows you’ll need
Sources
When you measure kitchen vinyl floors with section-by-section math, explicit cutouts, and a manufacturer-aligned waste margin, you turn a stressful mid-project risk into a controlled planning step. Double-check your boundaries and transitions, plan plank direction before you lock in totals, and if your kitchen has unusual angles or multiple height transitions, confirm clearance and waste rules from your product documentation before buying.
Frequently Asked Questions
What’s the best way to measure vinyl flooring for a kitchen?
Start by measuring the length and width of the kitchen area in inches or feet, then multiply to get the square footage. If the kitchen has openings (like closets, islands, or doorways), measure those separately and subtract the non-floor areas. Add a waste allowance of about 5–10% for cuts around cabinets, corners, and irregular edges.
How do I measure kitchen vinyl flooring if there are cabinets or fixed appliances?
For most vinyl sheet or plank installs, measure the full room area you want covered, but follow the installation method your product requires. If you’re removing old flooring and plan to lay vinyl up to baseboards, include that full coverage area; if you’re installing under a toe-kick or around cabinets, measure the exact footprint where the vinyl will actually sit. Measure and note around fixed appliances to ensure you order the correct vinyl flooring dimensions.
How do I calculate vinyl flooring square footage for an L-shaped kitchen?
Break the kitchen into simple shapes (for example, two rectangles) and measure each section’s length and width separately. Add the square footage totals together, then subtract areas you won’t cover, such as built-in nooks or permanent islands if applicable. Use the same measurement units across all sections, and include 5–10% extra for waste and kitchen floor fitting.
Which measurements should I take to account for doorways, transitions, and thresholds?
Measure each doorway width and the transition area where the vinyl kitchen floor will meet tile, laminate, or other flooring types. Record the exact length of run for each section, including how far you’ll extend the vinyl under or up to trim and thresholds. These measurements help you choose the right amount of vinyl planks/sheets and plan for transition strips, reducers, or T-molding to finish edges cleanly.
Why is measuring vinyl flooring carefully in a kitchen especially important?
Kitchens have complex layouts with corners, curved edges, and more obstacles like plumbing, vents, and cabinet bases, which increases the chance of measurement errors. Accurate kitchen floor measurements reduce the risk of ordering too little vinyl flooring or wasting extra material on difficult cuts. Taking careful measurements also supports a better-looking installation with fewer seams, tighter fit, and more comfortable long-term performance.
📅 Last Updated: October 25, 2026 | Topic: How to measure a vinyl floors for kitchen? | Content verified for accuracy and freshness.
References
- F1066 Standard Specification for Vinyl Composition Floor Tile
- F2170 Standard Test Method for Determining Relative Humidity in Concrete Floor Slabs Using in sit…
- F710 Standard Practice for Preparing Concrete Floors to Receive Resilient Flooring
- F1859 Standard Specification for Rubber Sheet Floor Covering Without Backing
- F1700 Standard Specification for Solid Vinyl Floor in Modular Format such as Tile(s) or Plank(s)
- Vinyl flooring
- Vinyl composition tile
- https://scholar.google.com/scholar?q=how+to+measure+vinyl+flooring+for+a+kitchen+layout+waste+factor Google Scholar
- https://scholar.google.com/scholar?q=measure+vinyl+plank+flooring+room+dimensions+how+much+to+buy Google Scholar
- https://scholar.google.com/scholar?q=resilient+flooring+installation+layout+measurement+recommended+practices Google Scholar

[…] to know how to clean vinyl floors in a bathroom without streaks or damage? This step-by-step guide shows the quickest, safest method—starting with the right dry prep, then using a vinegar-based […]
[…] to repair vinyl floors in a bathroom fast and get them looking right again? This step-by-step guide tells you exactly what to do for the most common failures—lifting seams, bubbles, scratches, and […]