
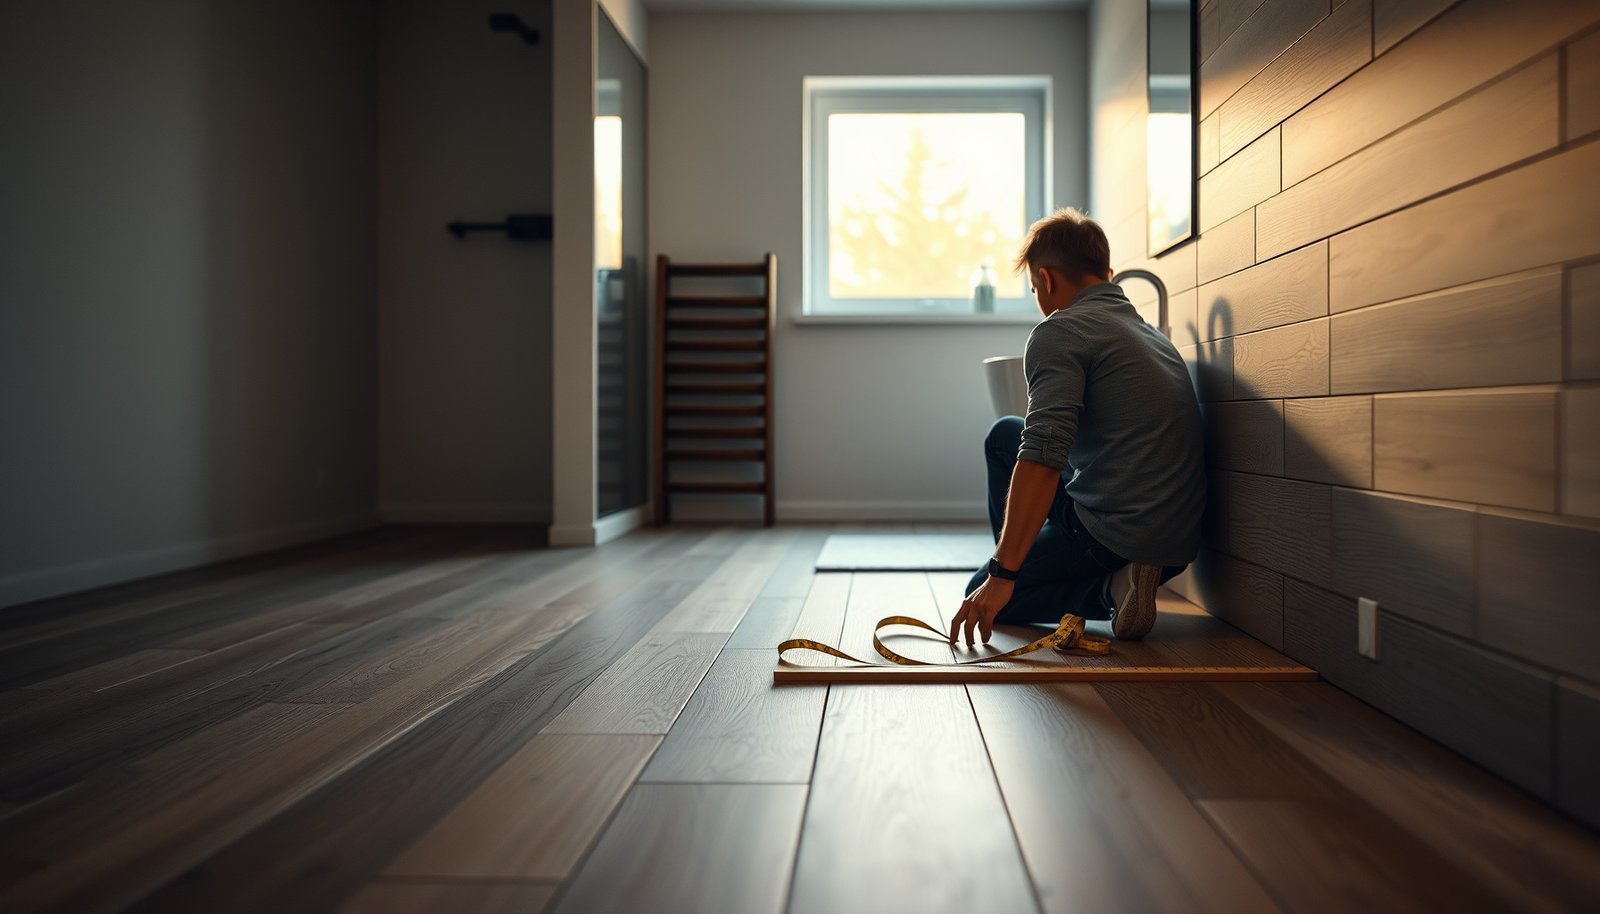

Measure engineered wood floors for a bathroom correctly by capturing the room’s exact usable dimensions, accounting for wet-area expansion gaps, and mapping doorways and irregular corners before you order. If you measure this way—wall to wall at multiple points and then subtract the required clearances—you’ll avoid the most expensive mistakes: miscuts, crooked plank runs, and boards that buckle near the toilet or shower line. Get the verdict on the right measuring method first, and the installation planning becomes straightforward.
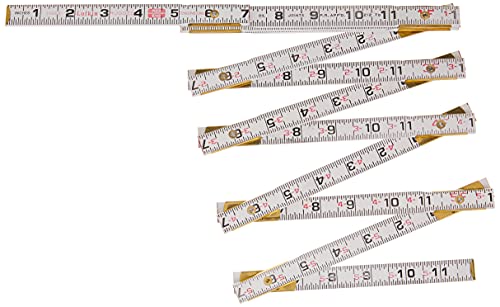

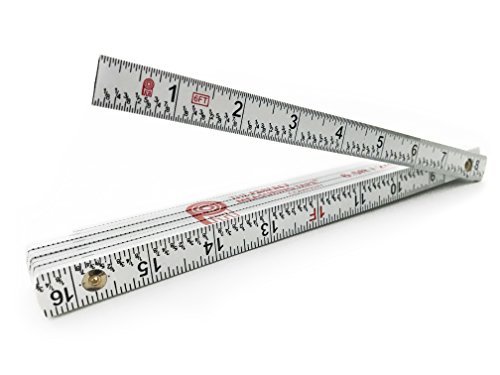

Measure the engineered wood install area (what the planks will actually cover), subtract anything you’re not flooring under, then add the expansion gap and waste allowances required by your specific product’s installation instructions—bathrooms aren’t just “bigger rooms with water.” If you’re working around a vanity, toilet, shower curb, or an L-shaped footprint, this guide helps you map those zones so your square footage stays accurate from day one (and doesn’t turn into an ordering problem halfway through).
If your engineered wood requires a bathroom-specific underlayment or has moisture-condition limits, those requirements can affect how you plan stops, transitions, and perimeter gaps. So the goal isn’t only “math”—it’s matching your measurement method to the manufacturer’s installation rules for movement and moisture.
What you need before you measure
You can measure correctly in a single pass once you have the right references in front of you: an accurate tape/notes workflow and the exact installation guidance for your engineered wood. The two most common measurement failures—skipping an expansion gap requirement and underestimating waste—both start here.
Engineered wood installation manuals specify the perimeter expansion gap for normal and bathroom conditions; you should treat those instructions as the controlling requirement, not a generic rule.
Square-foot math becomes error-prone when inches are mixed with feet; using exact conversion constants (1 ft = 12 in) prevents common “off by 12” mistakes that create overbuy or shortages.
Subfloor flatness tolerances in the installation manual matter because engineered wood can telegraph unevenness and affect plank fit; flatness requirements should be checked before ordering.
– Tape measure (and a way to record measurements—paper sketch or phone notes)
– A calculator to total square footage and convert inches to feet
– The exact installation instructions for your engineered wood (for spacing/flatness/waste guidance)
Exact Unit Conversions Used in Floor Square-Foot Calculations
| # | Conversion constant | Exact value | Metric equivalent | Measurement confidence |
|---|---|---|---|---|
| 1 | 1 foot (ft) to inches (in) | 1 ft = 12 in | 1 ft = 0.3048 m | ★★★★★ |
| 2 | 1 square foot (ft²) to square inches (in²) | 1 ft² = 144 in² | 1 ft² = 0.09290304 m² | ★★★★★ |
| 3 | 1 inch (in) to millimeters (mm) | 1 in = 25.4 mm | — | ★★★★★ |
| 4 | 1 square inch (in²) to square meters (m²) | 1 in² = 0.00064516 m² | — | ★★★★★ |
| 5 | 1 yard (yd) to feet (ft) | 1 yd = 3 ft | 1 yd = 0.9144 m | ★★★★★ |
| 6 | 1 square yard (yd²) to square feet (ft²) | 1 yd² = 9 ft² | 1 yd² = 0.83612736 m² | ★★★★★ |
| 7 | 1 square foot (ft²) to square meters (m²) | 1 ft² = 0.09290304 m² | — | ★★★★★ |
In practice, these unit conversions are the backbone of every measurement worksheet you’ll build—especially in bathrooms where you might measure awkward corners in inches before converting to feet. For example, if you record “48 in” for a dimension, dividing by 12 gives “4 ft” and prevents a math error that can inflate your square footage by 10–20% in larger rooms.
According to NIST, 1 inch is exactly 25.4 mm (1959).
According to NIST, 1 foot is exactly 0.3048 m (1959).
According to NWFA installation guidance, perimeter movement space is required to manage wood expansion/contraction; confirm the required gap from your product’s manual (year: ).
Measure the bathroom floor area (straight and odd shapes)
Measure the bathroom in sections that match how the floor plan can be covered, then add those section totals together. For bathrooms with odd geometry, the safest approach is to split the footprint into rectangles you can measure and label—rather than trying to force a single “room length × width” number.
For non-rectangular rooms, splitting the floor into rectangles keeps square-foot calculations consistent and reduces transcription errors between measurements and math.
If walls aren’t perfectly square, using the longest and widest points provides a practical envelope for material planning, as long as you apply that method consistently to your sketch.
A labeled sketch (section-by-section) improves accuracy because you’re matching each measured dimension to a specific calculated area before you subtract fixtures.
– Measure the room in sections: for simple rectangles, measure length and width; for L-shapes, split into two rectangles and add the totals.
– Use the “longest and widest” points if the walls aren’t perfectly square, then keep those measurements consistent in your sketch.
– Write down each section’s dimensions clearly (label them so you don’t mix areas later).
How to handle common bathroom layout shapes
Rectangles (most straightforward):
Start by identifying the install boundary lines you’ll use later for stop/transition points (for example, the doorway threshold you’re stopping at). Measure length and width across those planned boundaries, not across the whole room.
L-shaped bathrooms:
Split the L into two non-overlapping rectangles: Rectangle A for the main run, Rectangle B for the return leg. Measure and record both areas independently, then add them together. Importantly, make sure your rectangles don’t “double count” the overlap corner—if they overlap on paper, your math will be too high.
Irregular walls or nooks:
If you have a small inset (like a utility closet niche inside the bathroom footprint), consider measuring it as a rectangle and subtracting it later, or treating it as a separate section depending on your installation stop plan.
A practical mapping workflow (that prevents overbuy)
The key is not artistic skill; it’s consistency between the sketch and the calculator inputs.
Subtract obstacles and plan around what won’t get covered
Measure only the area the planks will actually land on, then subtract fixtures you’re not flooring under. In bathrooms, that decision has a direct impact on the amount of engineered wood you need and where your transitions land.
Square-foot calculations should reflect the planks’ install coverage area, not wall-to-wall room area, unless your installation plan truly covers under all fixed objects.
Doorway and transition lines require a defined stop boundary on the sketch; measuring beyond the intended stop point usually causes material waste or shortages.
Deciding “around vs. under” fixed objects changes coverage area and therefore total square footage; apply that decision consistently across every fixture footprint.
– Measure only the area the planks will land on. If you’re not installing under a vanity, toilet, or built-in cabinetry, subtract those footprints.
– For doorways and transitions, measure up to the threshold/transition line you plan to stop at (don’t guess—mark a stop line on your sketch).
– Decide your strategy early (around vs. under) and stick to it, because it changes the total square footage.
Coverage strategy: around vs. under (how it changes your math)
| Feature | Around fixed objects (subtract footprints) | Under fixed objects (include footprints) |
|---|---|---|
| Coverage square footage | Lower | Higher |
| Fixture removal risk | Lower (often) | Higher (may require moving parts) |
| Perimeter gap complexity | Simpler at some boundaries | Must align gaps with manufacturer method |
| Cutting around toes/knees | More frequent end-cuts and jigsaw work | Less visible around edges |
| Transition lines | More likely at fixture edges | Fewer fixture transitions (but still need doorway rules) |
| Risk of small calculation errors | Higher because fixtures have irregular footprints | Lower in fixtures you include |
| Waste impact | Can increase due to many perimeter cuts | Can decrease for some layouts |
| Moisture boundary sensitivity | You may stop before wet-zone edges | You must ensure the manual allows coverage in bathroom conditions |
| Best for keeping existing plumbing intact | Often yes | Not always |
| Material ordering risk | More sensitive to fixture-subtraction mistakes | More sensitive to underestimating total coverage and waste |
| Best For | DIYers who want predictable work sequencing and clear stop lines | Projects where the manual explicitly allows coverage under the fixtures without violating expansion/moisture rules |
Fixture examples to map on your sketch
– Vanity: subtract the footprint unless your installation plan specifically includes flooring under it (some manuals discourage or redefine how to handle under-vanity movement).
– Toilet: typically subtract the toilet footprint if you’re not removing it; also plan your transition and perimeter gap details around the base.
– Shower curb / wet edges: plan your stop line so you don’t accidentally create a plank boundary where the manual prohibits wood exposure without special treatment.
– L-shaped layout cutaways: subtract fixture zones from whichever rectangle they fall into, not from the combined total.
Calculate square footage and add waste for cuts
Calculate square footage per measured section, then add a waste allowance that matches your engineered wood’s installation instructions. This is where many DIY plans break: they use a generic waste number without considering plank direction, cutting complexity, and the pattern layout method.
Square footage is computed per area section as (length in feet) × (width in feet), then summed across the install footprint.
Waste allowances should come from the engineered wood manufacturer’s installation guidance because cutting patterns and room geometry vary widely.
Bathrooms often involve more end-cuts around fixtures and thresholds; that increases scrap beyond a simple open-rectangle scenario.
– Convert each measured section to square feet: (length in feet) × (width in feet). If you measure in inches, convert by dividing by 12 first.
– Add waste allowance based on your product’s installation guidance (common guidance varies by layout and cutting pattern, so don’t rely on a random generic number)
– If your plank direction or pattern requires extra trimming (stairs-like geometry, lots of angles), plan for additional scrap and end-cuts
A measurement worksheet formula you can repeat
1. For each section (A, B, C…):
– Area (ft²) = (Length ÷ 12) × (Width ÷ 12) if your measurements are in inches
– Or Area (ft²) = Length × Width if already in feet
2. Sum total install area (after any fixture subtractions).
3. Add waste: Total material area to order = (Install area) × (1 + waste %)
Example structure (without inventing your numbers):
– Install area = Section A + Section B − Vanity − Toilet − other excluded footprints
– Order area = Install area × (1 + )
Waste gets bigger in bathrooms—especially at thresholds
If you’re planning planks to stop at a doorway threshold and restart on the other side (or you’re transitioning to tile at a shower edge), your cut pattern complexity increases. That means the waste allowance should reflect your actual cut strategy, not an estimate meant for garages or open-plan living rooms.
Plan bathroom spacing, moisture rules, and subfloor checks
You must plan expansion gaps, moisture/underlayment rules, and subfloor flatness before you finalize your material order. These requirements directly affect where your floor stops, how transitions are built, and whether your engineered wood is permitted in a bathroom at all.
Engineered wood requires an expansion gap around the perimeter and at fixed boundaries according to the manufacturer’s instructions to accommodate dimensional movement.
Bathroom installations require adherence to the manual’s moisture limits and approved underlayment system because product warranty and performance depend on it.
Subfloor flatness tolerances in the installation manual help prevent installation failures such as gapping or telegraphing; verify before ordering materials.
– Leave the expansion gap required by your flooring instructions around the perimeter and any fixed objects (typically at least along walls and doorways)
– Follow the bathroom moisture guidance in the installation manual, including approved underlayment (and whether direct wet areas are treated differently)
– Confirm subfloor flatness requirements before you buy material—engineered wood can still show issues if the subfloor is out of tolerance
Expansion gap: measure it into your sketch
Your sketch needs two layers:
1. Install coverage boundary (where planks go)
2. Perimeter gap boundary (where the gap is left and how it’s finished—often trim or a transition piece)
If you measure “wall-to-wall” and then later try to “make the gap disappear,” you’ll end up either short on planks or misplacing your stop line.
Moisture and underlayment: don’t treat bathrooms as generic
Engineered wood products vary in what they permit:
– Some allow installation in bathrooms only when a specific underlayment is used.
– Some define wet zones (like direct shower water exposure) where additional detailing is required.
– Some require specific vapor control conditions on concrete subfloors.
Use your installation manual to confirm whether your planned layout (especially near the shower curb or any direct-splash area) is permitted as planned.
Subfloor flatness: the “silent multiplier” for installation accuracy
Even if your measurements are perfect, out-of-flat conditions can cause planks to sit unevenly, creating gaps at seams and visible ridges. Flatness is also one of the reasons installers sometimes shift strategies (like board direction), which then changes waste and material needs.
What can go wrong when measuring bathrooms
Bathrooms amplify measurement mistakes because fixtures, thresholds, and wet edges force more stop lines and more cutouts. The best way to prevent cost overruns is to treat measuring as a coordinated plan: coverage area + fixture subtraction + gap rules + waste math.
The most expensive measurement errors are usually “math that looks right” but ignores coverage rules, such as forgetting to subtract toilet/vanity footprints.
A common planning failure is confusing where to cover with where to leave gaps; you need both an install boundary and an expansion-gap boundary.
Bathroom transitions (door thresholds, shower edges, curved tile) often change where plank rows stop, which increases cutting complexity and waste.
– Forgetting to subtract fixtures you’re not flooring under (vanity toe-kicks, toilet footprint, built-ins), which leads to overbuy or mid-project shortages.
– Misreading “how much to cover” vs. “where to leave gaps” (you need both accurate coverage area and correct perimeter spacing).
– Ignoring layout features like thresholds, curved tile transitions, or shower edges—these often require extra cutting and can change where you should stop the floor.
Two “gotchas” that show up in real projects
1) Doorway transitions without a defined stop line:
If you don’t mark a stop/transition line on your sketch, you end up guessing where to measure and where to cut. That’s especially risky when the engineered wood changes direction or transitions to tile.
2) L-shaped math done in the wrong order:
If you calculate total room area first and subtract fixtures later, you can still be correct—but only if you track which fixture footprint belongs to which rectangle section and avoid double subtraction.
Quick checklist + verdict (when to skip DIY)
Before you finalize your order, confirm that your measurements, gaps, and waste all come from the same plan and the same installation manual. If you’re dealing with heavy geometry or uncertainty about bathroom suitability, it’s worth having an installer review the layout.
DIY measurement works best when you can clearly define stop lines at thresholds and keep the install footprint mostly open.
If the room has many angles and transitions, professional review helps reduce the chance of ordering errors caused by unexpected cut patterns and waste.
Before you finalize your order:
– [ ] Sketch the bathroom and label every measured section
– [ ] Calculate square feet for each section (and add them)
– [ ] Subtract any areas you’re not covering
– [ ] Add waste using the *manufacturer’s* recommended allowance
– [ ] Mark and plan the expansion gap around walls/fixed objects
– [ ] Verify your underlayment and bathroom moisture rules match the product instructions
Verdict: If your bathroom is a mostly open rectangle with clear stop lines at doorways/thresholds, you can usually measure accurately and DIY the square footage. Skip DIY measurement planning (or at least get a flooring installer to review your layout) if the room has lots of angles, complicated transitions, or you’re unsure whether your specific engineered wood allows installation in your bathroom conditions per its manual.
Sources
– National Wood Flooring Association (NWFA) installation guidance for wood flooring practices .
In summary, you get correct bathroom coverage by measuring the install area in labeled sections, subtracting fixtures and any stop/transition boundaries, calculating square footage per section, then adding the waste allowance and perimeter expansion gap required by your engineered wood’s installation instructions. If you share your bathroom shape (rectangle/L-shape), what’s staying fixed (vanity/toilet/shower curb), and your engineered wood brand/model, we can set up the exact measurement + calculation worksheet to match your plan.
Frequently Asked Questions
How do I measure engineered wood flooring for a bathroom accurately?
Start by measuring the room’s length and width, then account for any alcoves, closets, or built-in features. Measure every wall section and record the narrowest points, because bathrooms often have slight irregularities. Add the manufacturer’s recommended expansion gap (typically 1/4 inch) around the perimeter and subtract the doorway/transition areas if you’re not installing under them. Finally, calculate total square footage and add an overage (commonly 5–10%) for cuts around pipes, vents, and edges.
What’s the best way to measure around pipes and toilet flanges when installing engineered wood floors?
Measure the distance from a fixed reference line (like the longest straight wall) to the center of the pipe and to the nearest wall. Transfer those measurements to the plank and use a hole-saw method if you’re cutting round penetrations for engineered wood flooring. For toilet flanges, measure the gap needed to leave a proper expansion space, then plan the cut layout so the plank sits cleanly without pinching. Dry-fit the plank pieces first and confirm spacing before installing to avoid moisture-related problems in bathroom flooring.
How do I account for expansion gaps and uneven subfloors when measuring engineered wood floors for a bathroom?
Expansion gaps are essential in bathrooms because engineered wood can move with humidity changes, so measure to maintain the gap along every wall and around door jambs. To handle uneven subfloors, measure the floor flatness and note any dips or high spots, then plan your layout so joints don’t become overstressed. If your subfloor varies significantly, consider leveling before installation and re-check measurements along multiple points. This ensures your engineered wood floor measurements translate to a stable, water-resistant installation.
Which tools should I use to measure engineered wood flooring in a bathroom?
Use a tape measure for linear dimensions, a speed square or framing square for checking right angles, and a chalk line or laser measure for straight layout references. A notepad or measurement app helps you document every wall segment, especially in bathrooms with angles and niches. For penetrations, use a flexible measuring tape and consider templates for pipes or floor rings to get accurate engineered wood cuts. These tools reduce guesswork and help you calculate square footage correctly for reliable bathroom flooring results.
Why is planning the plank layout important when measuring engineered wood floors for bathrooms?
Bathroom layouts often include obstacles like vanities, doorways, and plumbing, so how you place full planks vs. cut pieces affects both appearance and waste. By measuring and mapping the room first, you can align seams away from high-moisture splash zones and ensure the right plank width on each side for a balanced look. Good layout planning also helps you maintain staggered joints and keep the required expansion gap consistent. Proper measurement and layout reduce trimming errors, improve installation durability, and support better long-term performance of engineered wood floors in humid bathrooms.
📅 Last Updated: October 19, 2026 | Topic: How to measure a engineered wood floors for bathroom? | Content verified for accuracy and freshness.
References
- Engineered wood
- Wood flooring
- Floor area
- Vapor barrier
- https://www.cdc.gov/mold/default.htm
- https://www.epa.gov/mold/moisture-control-home-mold-prevention
- D4442 Standard Test Methods for Direct Moisture Content Measurement of Wood and Wood-Based Materials
- https://scholar.google.com/scholar?q=engineered+wood+flooring+installation+bathroom+moisture+expansion+gap Google Scholar
- https://scholar.google.com/scholar?q=engineered+wood+flooring+install+site+moisture+testing+humidity+subfloor+measurement Google Scholar
- https://scholar.google.com/scholar?q=how+to+calculate+square+footage+and+layout+for+engineered+wood+floor+installation+waste+factor Google Scholar
[…] expansion gap / locked-in flooring: You’ll see buckling, lifting, or gaps later. Always use the expansion gap requirement from the engineered wood […]