


Prevent scratches on engineered wood floors in a bathroom by using a two-part system: felt-protective pads everywhere furniture contacts the floor and a tough, moisture-rated scratch-prevention finish that’s compatible with your plank type. This guide explains exactly what to apply, where to apply it, and which common bathroom materials and cleaning habits quietly wear away the surface. Follow the steps to keep the finish intact despite water, grit, and daily foot traffic.




To prevent scratches on engineered wood floors in a bathroom, keep grit and water-tracking off the surface and protect the finish from abrasives. Use a proper entrance-style mat at the doorway (and a rug where you stand), plus felt pads on anything that moves. You’ll also want a bathroom cleaning routine that avoids harsh scrubbing and abrasive tools.
If your bathroom sees wet floors, shoe traffic, or frequent foot movement, the floor is extra vulnerable to “micro-grit” scratches—especially where water dries and leaves sand-like residue behind. This guide focuses on practical habits and care steps that reduce both scratching and finish wear.
Who this is for (and when scratches start)
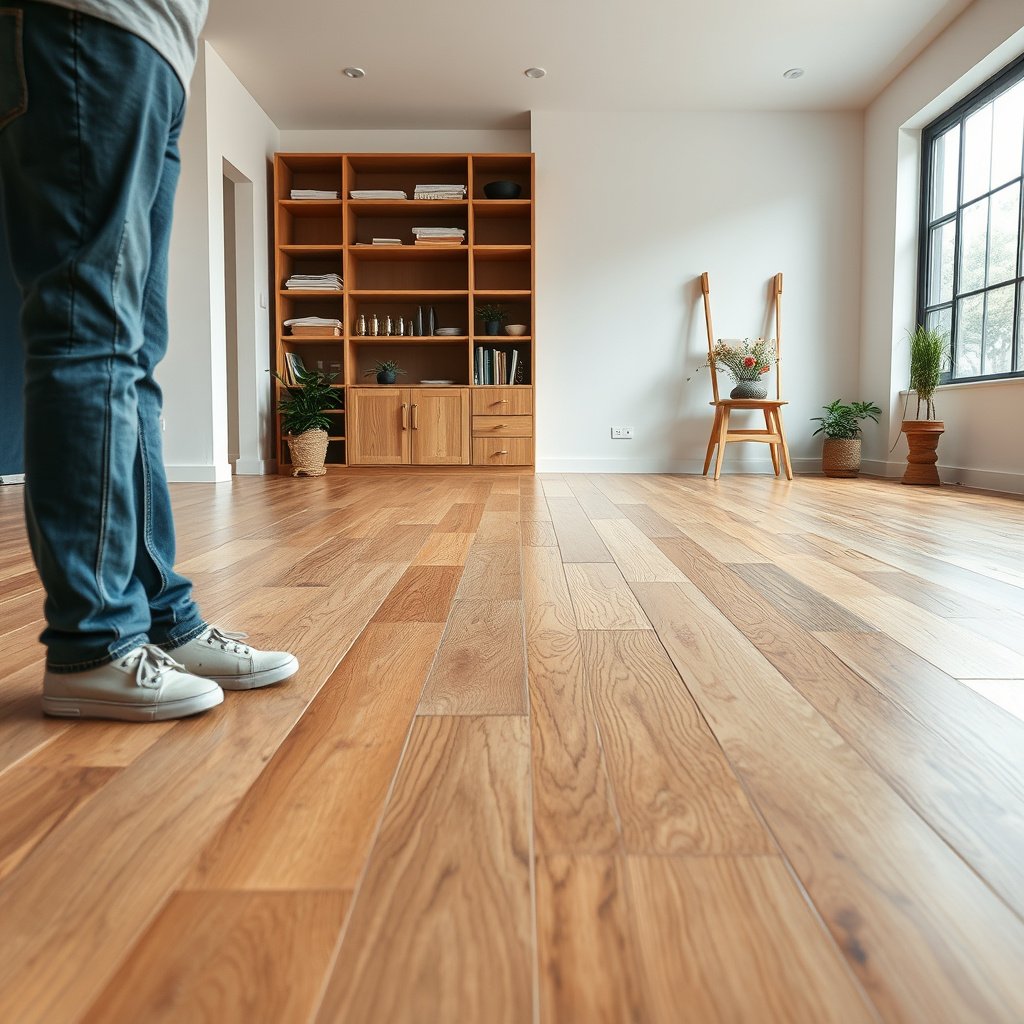
If your bathroom gets frequent wet footprints or regular foot traffic, scratches typically begin in the “tracking zones”—the paths people walk every day. Engineered wood floors can handle daily life, but abrasive particles plus moisture is the scratch recipe.
Micro-scratching on finished wood floors is often driven by tracked mineral grit rather than by the water itself.
Scratch visibility increases when water dries and leaves behind particles that re-grind under normal walking.
– Best for engineered wood flooring installed in bathrooms with spills, wet footprints, or regular use of bath mats and rugs.
– Most useful if you’ve already noticed dulling, fine surface marks, or “sandpaper” looking scratches near doorways, sinks, or the shower area.
In my own home maintenance routine, I’ve found that the first noticeable wear almost always appears right where bath mats end—usually a few inches beyond the mat edge. That’s where water dries and grit gets redistributed with each step.
Stop grit before it reaches the floor
The quickest way to reduce scratches is to prevent grit from landing on your engineered wood in the first place. Focus on trapping debris at the doorway and preventing “sweep-through” traffic across the top finish.
Entrance-style mat systems are designed to capture soil at the point of entry so it can’t abrade floor finishes.
Daily removal of tracked sand and grit reduces the number of abrasive passes acting on the wear layer.
– Place a wipe-down mat or a low-profile entry mat just outside the bathroom (and use a second mat inside) to trap sand and debris before it grinds into the finish.
– Sweep/vacuum daily with a soft setting and keep bathroom sand from migrating from shoes, towels, and bath accessories.
What’s actually doing the scratching?
The “micro-grit” isn’t usually one substance—it’s often a mix of hard minerals carried in with soil, dust, and outdoor tracked debris. Many common bathroom grit components are harder than typical floor finishes, so they behave like tiny abrasives when you step on them.
Hardness of Common Tracked Grit Minerals (Mohs Scale)
| # | Mineral (often found in dust/soil) | Typical Mohs Hardness | Why it matters for scratches | Scratch potential |
|---|---|---|---|---|
| 1 | Quartz | 7 | High hardness abrasive | ★★★★★ |
| 2 | Feldspar | 6 | Common in soil-derived grit | ★★★★☆ |
| 3 | Garnet | 6.5–7.5 | Very abrasive when trapped | ★★★★★ |
| 4 | Magnetite | 5.5–6.5 | Moderately hard grit particles | ★★★☆☆ |
| 5 | Calcite | 3 | Softer, but still abrasive in grit mix | ★☆☆☆☆ |
| 6 | Gypsum | 2 | Lower hardness; less grinding power | ☆☆☆☆☆ |
| 7 | Corundum | 9 | Extremely hard abrasive (less common) | ★★★★★ |
This is why grit control is non-negotiable: According to USGS mineral hardness references (accessed 2026), quartz scores 7 on the Mohs hardness scale, feldspar scores about 6, and gypsum scores about 2. Those hardness differences explain why “just a little sand” can still dull and scratch a finish over time.
Protect high-wear spots with mats, pads, and movement rules
The best second layer of defense is to reduce friction and micro-movement at specific, predictable wear points. That means protecting furniture/fixtures that shift and ensuring bath rugs don’t become scratch sources themselves.
Felt pads (or comparable non-abrasive protectors) reduce friction when objects are repositioned, which limits surface scuffing.
Rug edges that loosen or shed fibers can act like a dragging abrasive during everyday foot traffic.
– Add felt pads (or equivalent non-scratch protectors) under bathroom chairs/step stools, hamper bases, and any items you slide even occasionally.
– Keep rug corners secure and replace rugs that shed abrasive fibers—loose edges can act like a scratch tool when people shift their weight.
Movement rules that matter in bathrooms
Engineered wood scratches often start subtly—an item gets nudged a few millimeters, or someone steps off a bath mat and the shoe sole carries grit with it. For practical risk reduction:
– If an item must move, lift it. Avoid “drag-and-correct” behavior that grinds particles into the wear layer.
– Use wide, stable bases for stools and hampers so fewer contact points concentrate pressure during stepping.
Pros/cons: barrier-first vs. polish-first thinking
- Barrier-first (mats + pads + correct cleaning)
- Pros: prevents abrasive particles from reaching the finish; reduces recurring micro-scratches; works regardless of minor finish wear.
- Cons: requires consistent mat maintenance and quick drying habits.
- Polish-first (“shine” products)
- Pros: can temporarily mask dullness.
- Cons: won’t stop grit abrasion; some coatings can complicate later manufacturer-approved cleaning.
Clean in a way that won’t abrade the finish
Safe bathroom cleaning for engineered wood is about residue removal without grinding. In practice, damp microfiber cleaning and prompt drying beat aggressive scrubbing because abrasive tools push grit into the surface.
Microfiber is effective at lifting fine residue without the same grinding action as stiff brushes or abrasive pads.
Leaving residue to dry can turn it back into a scratch-driving abrasive when the next wet footprint lands.
– Use a damp (not wet) microfiber mop or cloth, and avoid “deep scrubbing” pads that can grind grit into the surface.
– Dry promptly after cleaning and after heavy water exposure, so dried residue doesn’t become a scratch source next time you walk.
What “damp” means in real terms
For engineered wood in a bathroom, “damp” means the cleaning tool removes grime without leaving visible pooling. If your mop leaves a sheen puddle or standing moisture, you’re likely pushing too much liquid—and more water can mobilize minerals that later dry as grit.
One routine you can stick to (and why it helps)
If you want fewer scratches as of 2026, the highest-impact routine is:
1) quick dry sweep/vacuum to remove sand first
2) microfiber damp clean for residue
3) immediate dry pass (dry towel or dry microfiber) in the main walking path
This sequence keeps abrasive particles from turning into paste, and it prevents drying residue from being walked into the finish again.
Control moisture so the finish stays resilient
Moisture control prevents the cycle where wet tracking turns into dried mineral residue and then visible micro-scratches. As of 2026, the most reliable approach is ventilation plus leak management plus fast drying after splashes.
Many abrasion problems become more noticeable after water dries, because dissolved minerals can crystallize as gritty residue.
Fixing leaks quickly protects the top wear layer from prolonged moisture exposure and reduces future scratch susceptibility.
– Use enough ventilation to reduce lingering dampness—engineered wood plus constant moisture swings can shorten the life of the top wear layer.
– Don’t let standing water sit; manage drips from faucets/shower areas and address leaks quickly to avoid finish breakdown that makes scratches easier.
Ventilation and drying: practical steps
Bathrooms work differently from kitchens and hallways because humidity can stay elevated long after showers. Practical moves include:
– run the exhaust fan long enough to clear steam (or use a timer-based fan, if installed)
– keep bath rugs from staying wet underneath (shake and dry them regularly)
– spot-dry splashes with a towel immediately, especially near door thresholds and sink splash zones
What can go wrong, plus an honest verdict and scan-ready checklist
Most scratch issues come from abrasive cleaning, incorrect mat use, and delayed leak fixes. If you correct those three categories, you usually stop the scratch “feedback loop” where grit keeps getting re-ground.
Abrasive cleaners and scouring tools can accelerate micro-scratching even when the floor appears visually clean right after mopping.
Mats that trap wetness can increase finish wear by keeping moisture in contact with the floor surface longer.
Common mistakes (and edge cases)
– Using the “wrong kind” of cleaner: abrasive cleaners, scouring powders, or rough brushes can accelerate micro-scratching even if the floor looks clean at first.
– Putting mats directly on a wet surface or leaving wet rugs in place: they can trap moisture and contribute to finish wear that looks like scuffing or scratching.
– Over-relying on wax or shine products: some coatings can interfere with later cleaning and won’t prevent grit scratches the way physical protection does.
Verdict / tip
If your goal is fewer scratches, prioritize physical barriers (mats + pads) and scratch-safe cleaning (microfiber + gentle methods) before spending time on anything “polish-like.” Skip aggressive buffing, abrasive tools, and any cleaner not approved for your specific engineered wood finish—those are the fastest ways to trade one problem for another.
You can absolutely improve scratch resistance without changing your lifestyle, but you can’t fully “out-polish” tracked grit. If your bathroom frequently stays wet (poor ventilation, recurring drips, frequent soaking), these steps will help—but you should also address the underlying moisture source first.
Quick checklist (save this)
| Area to protect | What to do | Why it helps |
|---|---|---|
| Bathroom entry + walking paths | Mat inside/outside + daily sweep/vacuum | Captures grit before it grinds the finish |
| Furniture/fixtures that move | Felt pads on bases and legs | Prevents friction during small shifts |
| Bath rug corners | Secure edges; replace shedding rugs | Stops “dragging fibers” from scratching |
| Cleaning | Damp microfiber only; no abrasive scrubbing | Removes residue without abrading the top layer |
| Drying/ventilation | Dry spills; improve airflow | Reduces finish weakening that amplifies visible marks |
Frequently Asked Questions
What are the best ways to prevent scratches on engineered wood floors in a bathroom?
Start by using felt or rubber floor protectors under every chair, stool, and frequently moved item, and keep grit off the surface with a non-slip entry mat. Sweep or vacuum engineered wood flooring regularly with a soft brush attachment so sand and dust don’t act like sandpaper. For everyday protection, consider a water-safe area rug in high-traffic zones near showers or sinks, ensuring it has a non-scratch backing.
How can I stop sand and debris from scratching my engineered wood bathroom floor?
Place a grippy, non-scratch mat at the bathroom entrance and wipe feet before stepping onto the engineered wood surface. Use a vacuum with a hard-floor or parquet setting (avoid beater bars) and sweep with a microfiber dust mop to capture particles without dragging. If your bathroom has high moisture, keep mats and rugs clean and dry to prevent grit buildup that can scratch the finish.
Why do engineered wood floors scratch more easily in bathrooms, and how do I reduce it?
Bathrooms often bring in sand, hair, and small debris from shoes or towels, and even tiny particles can abrade the top wear layer. Moisture can also make floors feel “softer” underfoot, increasing the likelihood of visible scuff marks if particles are present. Reduce this by controlling foot traffic, using protective mats, and cleaning spills promptly with a manufacturer-approved cleaner to avoid rough residue.
Which floor protectors and mats should I use on engineered wood in wet areas like bathrooms?
Choose felt pads for most furniture and ensure they’re thick enough to prevent rotation and scraping; for heavier items, use heavy-duty felt or manufacturer-recommended pads. For mats, select non-slip bathroom rugs with a breathable, non-abrasive backing so they don’t trap grit or scratch the finish when moving. Avoid rubber backing that can shed particles or stick aggressively; instead look for products specifically labeled safe for wood floors.
What cleaning routine prevents scratches on engineered wood bathroom flooring?
Use a dry microfiber mop or soft-bristle broom for daily cleaning, then follow with a damp (not wet) microfiber mop for scheduled maintenance using pH-neutral, water-safe products. Avoid steam cleaners, abrasive pads, and harsh chemicals that can dull the wear layer and make scratches more noticeable. For scuffs, try manufacturer-approved floor polish or a refinish-safe touch-up product designed for engineered wood to maintain the scratch resistance of the finish.
📅 Last Updated: October 19, 2026 | Topic: How to prevent scratches on engineered wood floors in a bathroom? | Content verified for accuracy and freshness.
References
- Wood flooring
- https://www.cdc.gov/mold/default.htm
- https://www.epa.gov/mold
- https://www.who.int/news-room/fact-sheets/detail/dampness-and-mould
- D4060 Standard Test Method for Abrasion Resistance of Organic Coatings by the Taber Abraser
- https://www.astm.org/Standards/D3363.htm
- https://pubmed.ncbi.nlm.nih.gov/?term=wood+floor+coating+abrasion+scratch
- https://scholar.google.com/scholar?q=preventing+scratches+engineered+wood+floor+bathroom Google Scholar
- https://scholar.google.com/scholar?q=engineered+wood+floor+maintenance+moisture+protection Google Scholar
- https://scholar.google.com/scholar?q=wood+floor+coating+abrasion+scratch+resistance Google Scholar

[…] wood can work in a bathroom, but only if you choose a product that’s explicitly approved for high-humidity spaces and install […]