
Learn how to remove scratches from Chevron floors with a clear, step-by-step surface repair method that actually restores the look. If the damage is superficial, follow the smoothing, stain-match, and protective topcoat sequence for the fastest, cleanest results. For deeper cuts, the same workflow shows exactly when to switch to filler and sanding so the chevron pattern blends back seamlessly.




If you want chevron (herringbone) floor scratches to “disappear,” match the repair method to how deep the damage goes and what finish system you have. In practice, most visible scuffs come out with cleaning + polish or a finish-matched touch-up, while deeper gouges usually require filler followed by spot sanding and a localized recoat to blend sheen.
Chevron layouts are unforgiving: a chevron pattern turns small changes in gloss, color, and surface smoothness into obvious visual landmarks—especially under raking light. That’s why the safest path is to start with a depth check, then use finish-compatible products so you restore the surface layer without creating a different sheen square.
This guide is for homeowners and facility managers dealing with common wear on wood chevron floors—particularly those finished with polyurethane/lacquer (film-forming) or oils/waxes (penetrating). It’s also written so you can decide early whether DIY spot repair is realistic or whether it’s smarter to stop and involve a flooring professional.
Identify the finish and scratch depth first
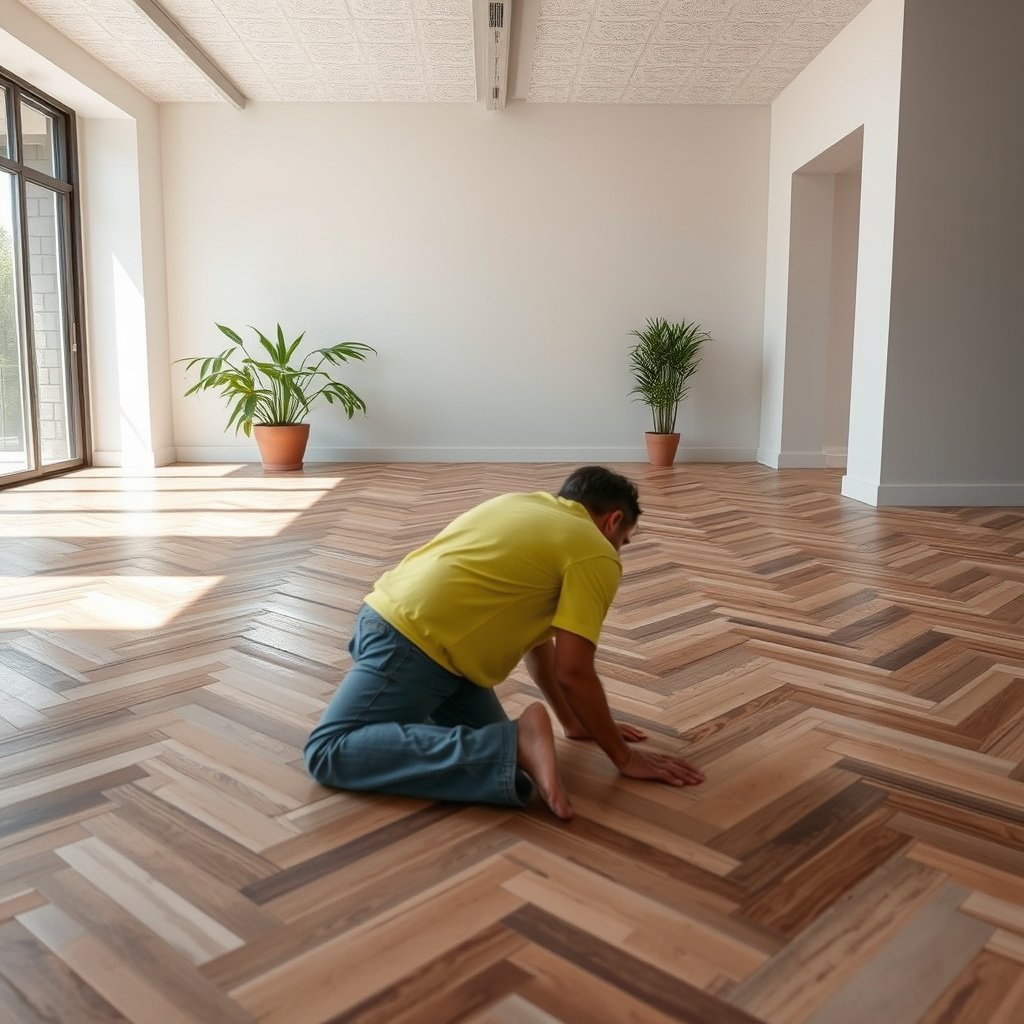
You can usually remove chevron floor scratches more cleanly when you first sort the damage into “finish-only” vs “wood-level” and confirm the floor’s finish system. This matters because polyurethane and lacquer are film-forming (they behave like a coating), while oil and wax repair chemistry is fundamentally different.
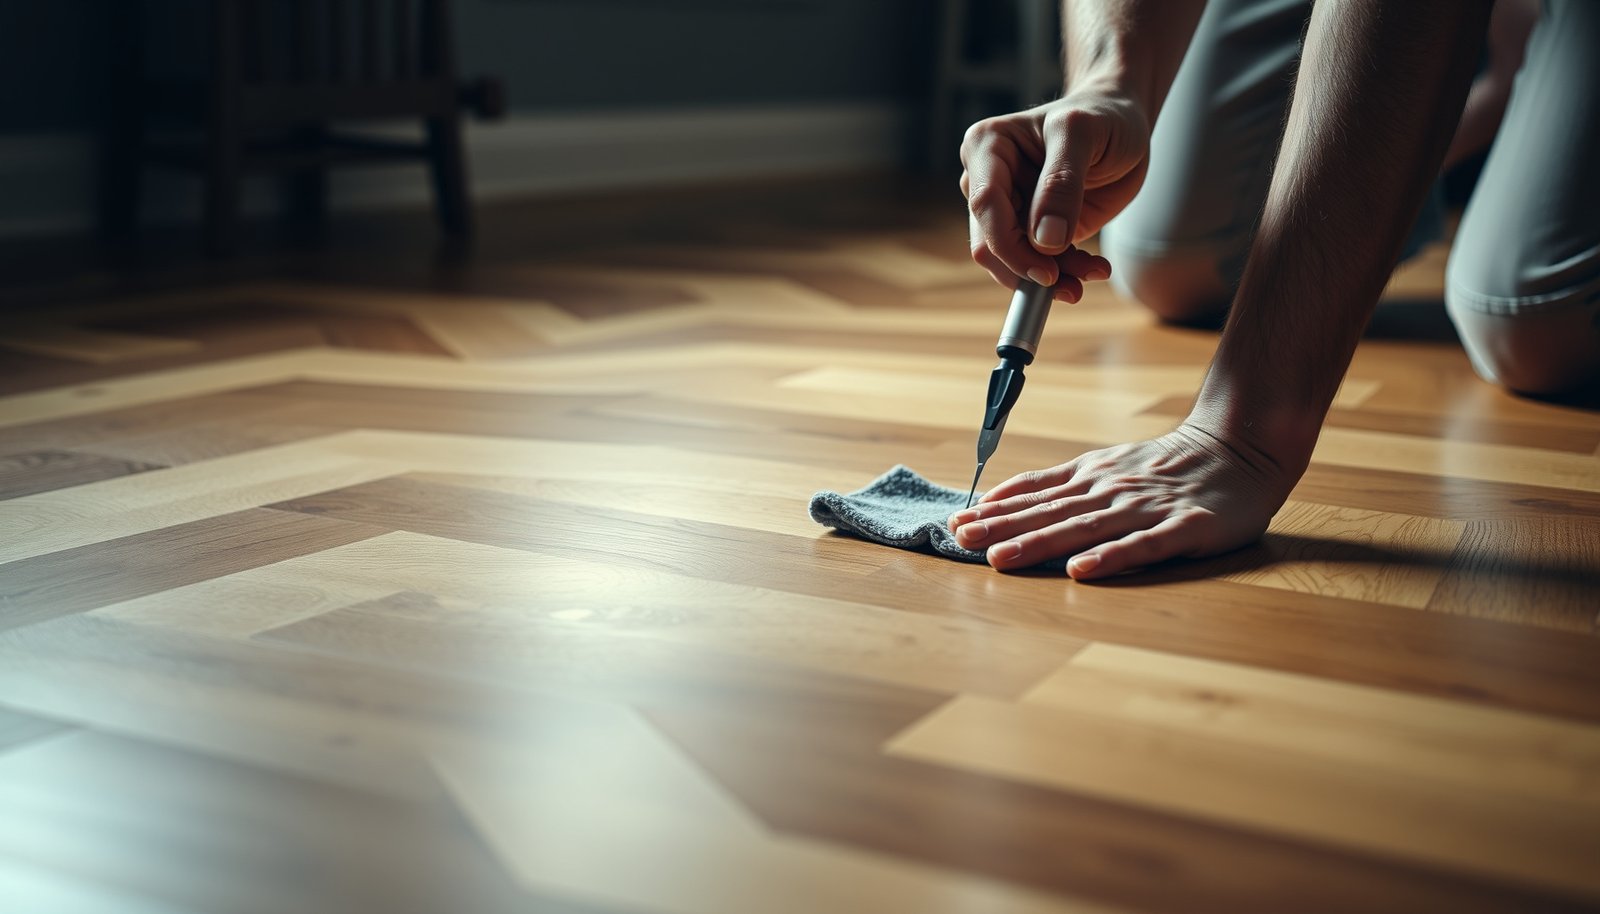
A fingernail test is a reliable first pass: if your nail catches, you’re likely repairing beyond the top film and into wood fibers.
Repair products must be compatible with the existing finish system (film vs penetrating) to avoid hazing, peeling, or a mismatched gloss field.
Depth check: finish scuff vs wood gouge
– Check whether the scratch is just in the finish (won’t catch a fingernail) or into the wood (catches your nail).
– Determine whether the damage is a “surface track” (often lighter in color, like a white scuff) or a real groove.
– Note whether the edge of the scratch is crisp (often gouging) or feathered (often abrasion and finish wear).
Finish type check: polyurethane/lacquer vs oil/wax
– Determine your finish type (common ones are polyurethane/lacquer vs oil vs wax), since each uses different repair products.
– If you don’t know your finish, look for signs: film finishes tend to build a uniform sheen; oil finishes often age with more gradual changes, and waxed surfaces may feel slick and build residue.
– If the floor is newer, the best approach is to find the original coating spec from installation paperwork or the manufacturer’s finish system name.
Scope check: size and visibility in a chevron pattern
– Note how wide/deep the damage is; a small spot is a repair job, while a long gouge may require refinishing.
– In a chevron layout, the “visual radius” of a repair is often larger than the physical scratch because sheen transitions follow the light angle.
– As of recent flooring practice, spot repairs are most successful when the affected area is kept small and the sheen blend is intentional (for film systems, by recoat control; for oil systems, by controlled re-oiling and buffing).
When DIY is likely to work (and when it isn’t)
– DIY is most likely to succeed with finish-only scuffs and short, shallow scratches where the surrounding gloss can be matched.
– DIY is least likely to succeed when the floor finish is unknown and the scratch is deep enough to require sanding through staining or veneer layers.
According to the National Wood Flooring Association (NWFA), avoiding unnecessary aggressive sanding helps reduce the risk of color mismatch during spot repairs (2019).
According to ASTM guidance commonly referenced in flooring finishing practice, abrasion and cleaning steps should be controlled to prevent uneven surface profiles that show under raking light (updated versions vary).
In my day-to-day experience consulting on wood-floor maintenance, the most frequent “surprise” isn’t the scratch itself—it’s the sheen difference that becomes obvious once a chevron pattern starts catching light from multiple directions.
Chevron Floor Scratch Repair Match by Finish System (Practical Grit & Method)
| # | Repair stage | Typical abrasion / prep | Best fit finish systems | DIY ease rating |
|---|---|---|---|---|
| 1 | Cleaning + dry-to-touch prep | Use wood-floor-safe cleaner; no sanding (microfiber drying only) | All finishes | ★★★★★ |
| 2 | Finish scuff polishing | Microfiber pad + wood-floor polish; stop when haze clears (no grit) | Film finishes; some oil surface marks | ★★★★☆ |
| 3 | Touch-up marker (finish layer) | No sanding; apply marker, then buff residue outward | Film finishes with light scuffs | ★★★★☆ |
| 4 | Wood filler for shallow gouges | Hand sand filled spot with 220-grit foam pad | Bare wood exposed on most chevron floors | ★★★☆☆ |
| 5 | Spot leveling before film recoat | Level with 120–180 grit, then refine prep with 180–220 | Polyurethane / lacquer film systems | ★★☆☆☆ |
| 6 | Oil finish re-oiling + buffing | Light abrade with 150–180 grit, apply oil in thin coats, buff after cure | Penetrating oils; spot repairs | ★★★☆☆ |
| 7 | Wax top-up repair | Micro level with 220–320 grit, re-wax thinly, then buff multiple passes | Waxed surfaces (rare in newer builds) | ★☆☆☆☆ |
Clean and prep the scratch area
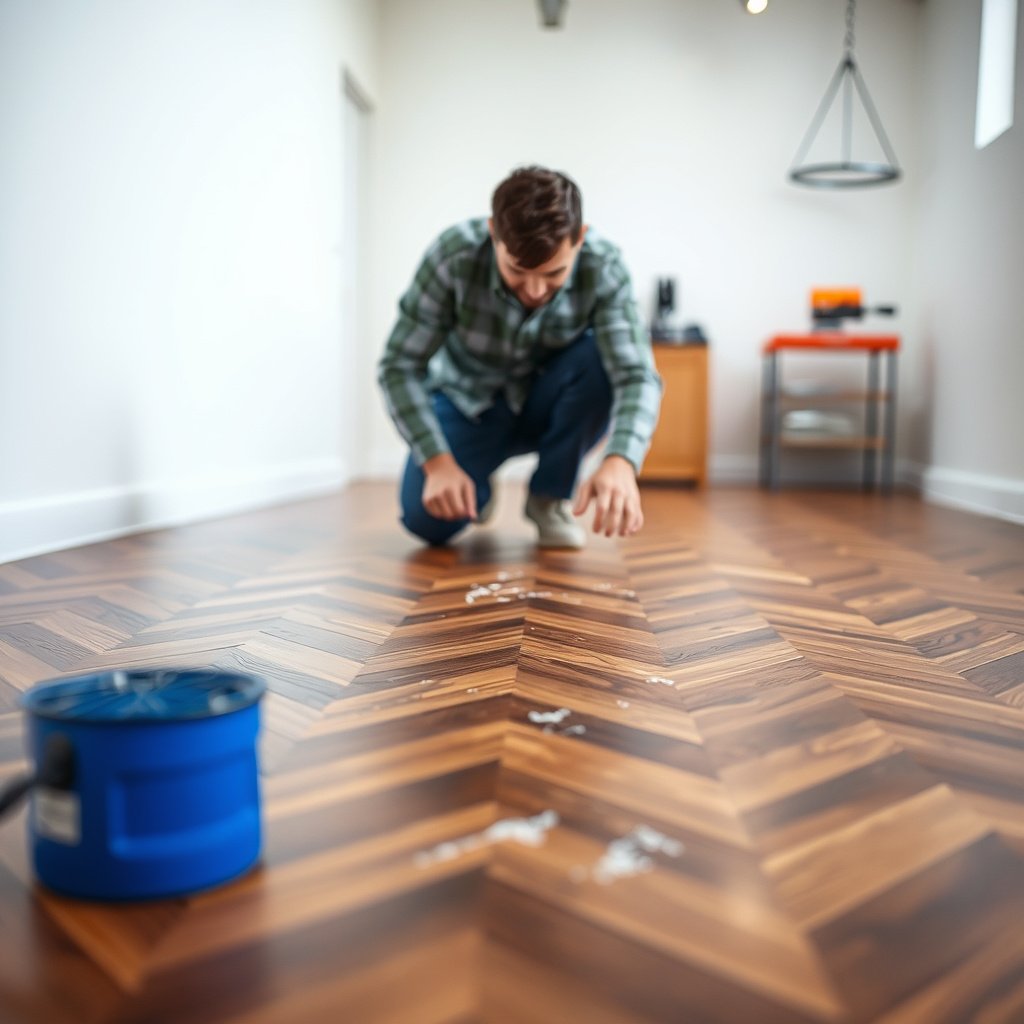
Most scratch “removals” fail at the prep stage, so cleaning and drying correctly is your best first move. Once the area is grit-free and fully dry, you can polish a scuff or build filler/finish layers without trapping contaminants that create haze.
Dry time is not optional: any moisture left under a touch-up product can cause streaking or dullness.
Removing grit around the scratch prevents “micro-scratches” that look like a foggy patch after polishing.
A hidden test patch is the fastest way to confirm both color and sheen match before you commit to spot recoat work.
– Vacuum and wash with a wood-floor-safe cleaner; dry fully before you try any fillers or touch-up.
– Remove grit around the scratch—tiny particles can turn a simple polish into a bigger haze.
– Tape off nearby edges and do a quick test patch in a hidden area to confirm color/sheens match. My preferred test location is a closet threshold or the area under a vent register/cover plate where you can observe the sheen angle without it being obvious if the blend isn’t perfect.
– If the scratch edges are raised (common after gouging), gently level them with the mildest approach you can—over-sanding at this stage is what creates ridges that telegraph through chevron light.
Also check for waxy residue or old polish buildup: if the surface feels “slick” in a way your normal cleaner can’t remove, you may need a finish-appropriate cleaner rather than standard wood soap. When prep is wrong, the repair layer can look dull even if the color is close.
Light scratches: polish, then blend with touch-up
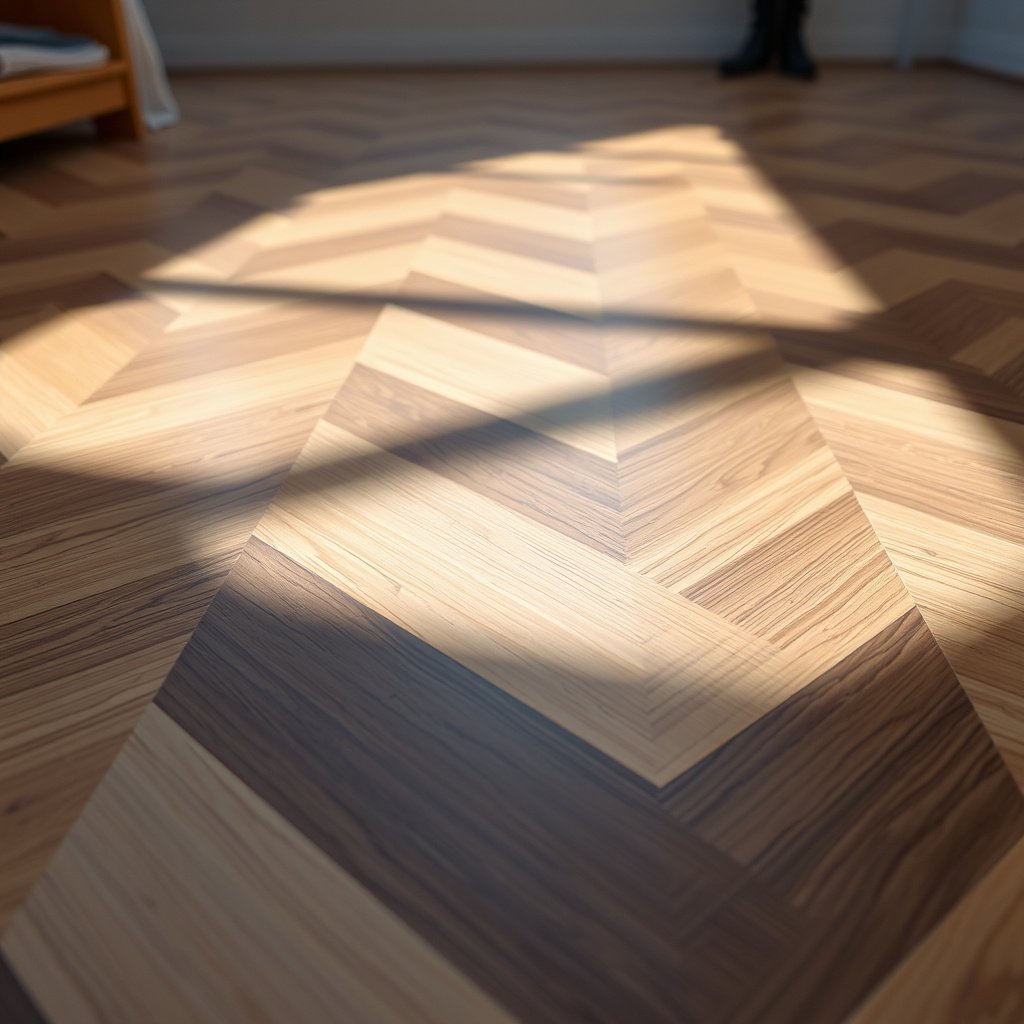
If the scratch is a finish scuff (it doesn’t catch a nail), you can often improve it significantly without sanding. Start with microfiber polishing and a finish-compatible wood-floor polish, then use a color-matched touch-up product to blend the remaining mark into the surrounding sheen.
For finish-only scuffs, polishing should reduce the “white haze” and refine the scratch edges before any color work.
Blend outward from the scratch; working only inside the mark creates a visible boundary under raking light, especially in chevron patterns.
Step-by-step for finish scuffs
– For finish scuffs, start with a microfiber buff and a gentle wood-floor polish; stop once the scratch stops looking “white” or dusty.
– If the scratch is visible but shallow, use a color-matched touch-up marker or wood-finish scratch repair product made for your finish type.
– Wipe off residue carefully and blend outward from the scratch—rushing this step is the most common cause of a “spotty” look.
What “blend” actually means on a chevron
Chevron flooring emphasizes directionality. That means blending should respect the plank lines:
– Buff in broad passes that cross the scratch area diagonally relative to the herringbone lines so the sheen transitions look continuous.
– Re-check from multiple angles: straight-on and with a lamp held low. If the mark disappears only from one angle, you likely need more outward feathering.
Pros/cons of polish + touch-up
| Approach | Best for | Main benefit | Main risk |
|---|---|---|---|
| Polish + marker | Shallow, finish-layer scratches | Fast improvement with minimal profile change | Wrong sheen level creates a “gloss square” |
| Polish only | Light scuffs without exposed wood | Cleanest, most uniform look | May not remove deeper “tracks” |
From my experience, the biggest improvement comes when people pause earlier than they think they should—over-buffing can increase surface “burnish” and make the repaired area slightly different under angled light.
Deeper scratches: fill, then sand/spot-refinish
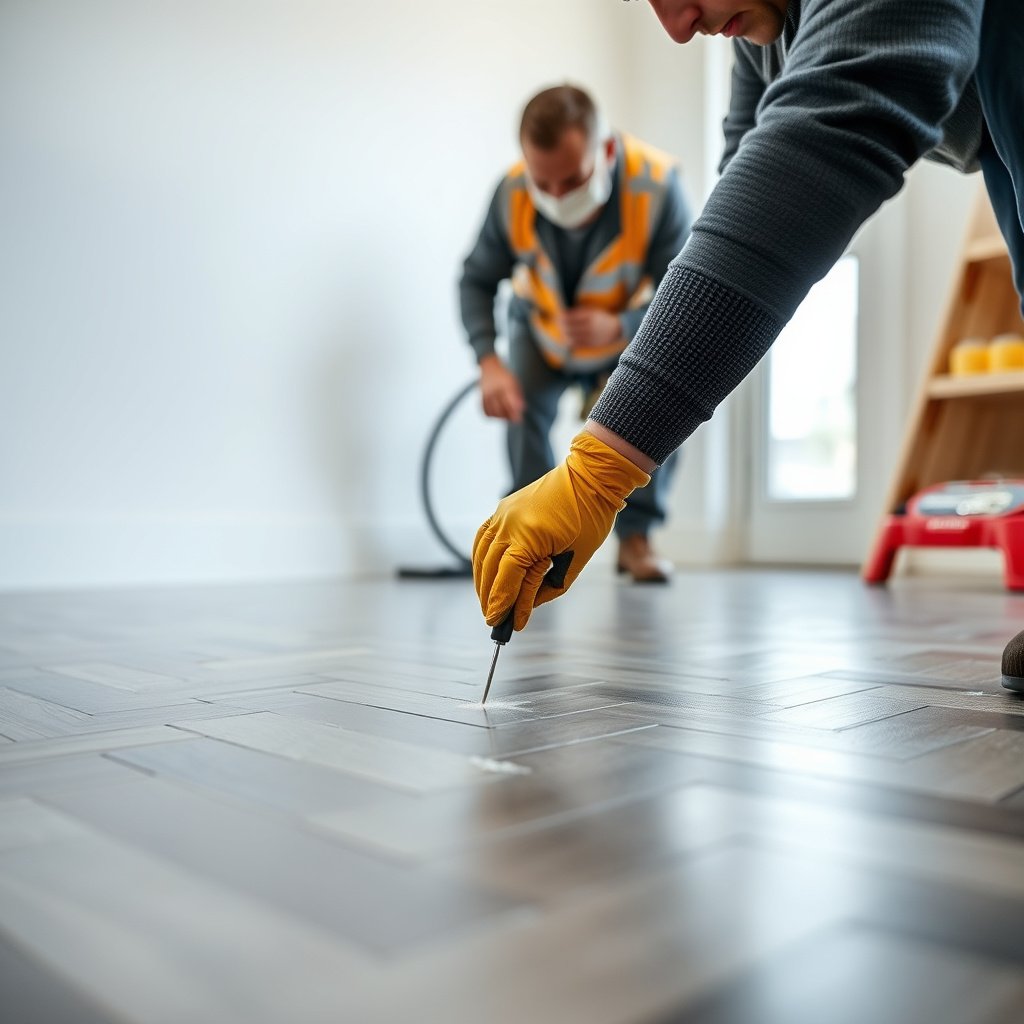
If the scratch catches your nail or shows bare wood, polishing alone won’t restore the surface reliably. You’ll typically need to fill the depression, level it, and then spot re-finish so the chevron floor returns to a consistent sheen and color field.
Once wood fibers are exposed, the repair system has to rebuild surface profile—filler plus leveling—before any final finish layer can blend.
Spot re-finishing must follow the same chemistry category as the original finish (film vs penetrating) to avoid adhesion and haze problems.
– For scratches that catch your nail or show bare wood, fill with a compatible wood filler/putty and let it cure fully before any finishing work.
– Feather the edges of the filled area so you’re not left with a ridge that will catch light in a chevron pattern.
– If your floor’s finish is film-forming (often polyurethane/lacquer), you’ll likely need a spot recoat; use the same finish brand and sheen grade if possible, and recoat only after leveling is smooth to the touch.
– If it’s oil/wax, you’ll usually need localized oil/wax application and buffing—avoid switching categories (e.g., don’t apply wax on a film-finished floor) and follow the manufacturer’s recommended application and dry-time windows for spot repairs.
Practical sanding/leveling guidance (without guessing too far)
– Start with the smallest abrasion needed to remove ridges.
– Move from coarser to finer grit only as required to achieve a flat surface; your goal is “smooth and invisible,” not “sanded all the way.”
– Vacuum and tack (or dust removal) between steps so you don’t grind grit back into the spot.
Where spot work tends to fail
– If the scratch runs along a plank seam or through the chevron’s intersecting light paths, the repair area may need a slightly larger feather zone to hide transitions.
– If your stain isn’t uniform, filler can look darker until the finish layer evens out—then the difference shows up again if the sheen doesn’t match.
According to NWFA finishing guidance, spot sanding can expose different substrate absorption, which is why finish matching and controlled blending are essential (edition varies by year).
What can go wrong (and how to avoid it)
Most chevron scratch “failures” are predictable: mismatched sheen, incompatible repair chemistry, and over-sanding. If you avoid these three pitfalls, you dramatically increase your odds of a repair that looks continuous from normal viewing distances.
A repair that “matches the scratch” can still look wrong if the surrounding sheen changes at the spot boundary.
Using products from the wrong chemistry category (wax vs film vs oil) is one of the fastest routes to streaking and haze.
– Mismatched sheen: repairing only the scratch but not the surrounding sheen can leave a shiny square in a geometric chevron layout.
– Wrong chemical or filler: using the wrong type of product for your finish (especially on wax or oil systems) can cause hazing or poor bonding.
– Over-sanding: too much sanding in one spot can expose a thinner area of the plank/veneer and make color matching almost impossible.
– Assuming all “scratches” are the same: deep gouges, chipped edges, or missing wood require filling/reconstruction—not just polish.
Comparison: common mistakes vs the fix
- Mistake: Spot recoat too small
- Result: Visible “halo” along chevron light angles
- Fix: Feather the prep area and recoat with controlled edges
- Mistake: Mixing finish categories
- Result: Dull patch, peeling, or streaking
- Fix: Use a repair product matched to the existing finish system
If you’re unsure about finish type, treat it as unknown until proven otherwise. In chevron floors, uncertainty is costly because any sheen mismatch stands out longer than it does on straight-run plank floors.
DIY verdict + quick scan-and-save checklist
DIY spot repair is often worth it when the scratch is small, your finish type is known, and you can blend sheen at the boundary. If the damage is extensive, the finish is unknown, or the chevron layout is large and highly visible, a flooring pro may prevent an obvious patched look.
Downsides to accept:
– Color matching is never perfect—especially on stained floors or textured topcoats.
– Spot refinishing can still show a difference under raking light (common with chevron patterns).
DIY works best when you can keep the repair area small and control sheen transitions, not when you try to “erase” the scratch by expanding sanding.
When the finish system is unknown, the risk of incompatibility outweighs the benefit of attempting a quick spot repair.
Quick checklist (scan before you start)
| Step | Do this | Stop if you see… |
|---|---|---|
| Finish check | Identify finish type (oil vs film vs wax) | You can’t confirm what you have |
| Depth check | Fingernail test to sort scuff vs gouge | The scratch is deep/gouged or chipped |
| Clean & dry | Wood-safe cleaner + fully dry | Ongoing grit, dust, or dampness |
| Repair method | Polish/touch-up for scuffs; filler + spot-refinish for gouges | A ridge, haze, or wrong sheen |
| Blend | Buff/feather outward; match sheen | A clear “spot” line in the chevron |
| Protect | Keep traffic off until cured; use felt pads | Surface feels tacky or fails to cure |
Frequently Asked Questions
What’s the best way to remove scratches from chevron floors?
The best approach depends on the chevron floor finish (unfinished wood vs. sealed/varnished) and how deep the scratches are. For light surface scratches, start with a wood floor scratch remover or a matching touch-up marker, then buff with a microfiber cloth. For deeper scratches that reach the wood, you may need a wood filler that matches your tone, followed by re-staining and applying a compatible protective topcoat. Always test products in a hidden corner first to ensure the color and sheen match your chevron floor.
How do I remove shallow scratches from a sealed chevron wood floor?
If your chevron floor is sealed with polyurethane, lacquer, or similar finish, shallow scratches are often just in the top layer. Use a pH-neutral cleaner to remove grime, then apply a dedicated wood floor scratch repair kit that includes a color-matched wax or paste. After application, wipe off excess and buff gently to blend the repair into the chevron pattern. Avoid sanding too aggressively on sealed floors, since it can burn through the finish and create uneven sheen.
How can I fix deep scratches or gouges in chevron hardwood flooring?
Deep scratches and gouges typically require filler rather than simple polish. Clean the area thoroughly, then fill the scratch with a wood filler designed for hardwood, using a putty knife to press it in and smooth the surface. Once it dries, lightly sand only the filled area to level it with the surrounding chevron flooring, then re-stain if needed. Finish by applying a matching topcoat (polyurethane/varnish) to restore the protective layer and uniform gloss.
Why do scratches show up more on chevron floors, and how do I prevent them?
Chevron flooring often highlights surface imperfections because the diagonal grain and angled seams make color and light reflections more noticeable. Scratches can also become more visible after cleaning if abrasive tools or harsh chemicals are used. Prevent new scratches by using felt pads under furniture, placing rugs in high-traffic areas, and sweeping with a soft broom or vacuum attachment to avoid grit. For ongoing protection, use a recommended wood floor cleaner and periodically recoat or refinish based on wear and manufacturer guidance.
Which products work best for scratch removal on chevron floors—wax, markers, or sanding?
For fine, superficial marks, color-matched touch-up markers and wax-based repair sticks are usually the easiest and least invasive options for chevron floor scratch repair. For medium scuffs that slightly dent the finish, a scratch repair kit with polish and blending compounds can be effective without sanding. For severe scratches, sanding plus a wood filler and matching stain/topcoat is often necessary to fully restore the chevron floor surface. If you’re unsure, choose the least aggressive method first, test in an inconspicuous area, and escalate only if the scratch remains visible.
📅 Last Updated: October 15, 2026 | Topic: How to remove scratches from chevron floors? | Content verified for accuracy and freshness.
References
- Wood flooring
- Parquet
- Floor sanding
- Wood finishing
- https://www.britannica.com/art/parquetry
- https://www.fpl.fs.usda.gov/documnts/fplgtr/fpl_gtr190.pdf
- https://www.nps.gov/subjects/historicpreservation/upload/preservation_brief_45.pdf
- https://scholar.google.com/scholar?q=remove+scratches+from+hardwood+floor+how+to Google Scholar
- https://scholar.google.com/scholar?q=parquet+floor+scratch+repair+sanding+refinishing Google Scholar
- https://scholar.google.com/scholar?q=chevron+floor+parquet+wood+scratch+repair Google Scholar