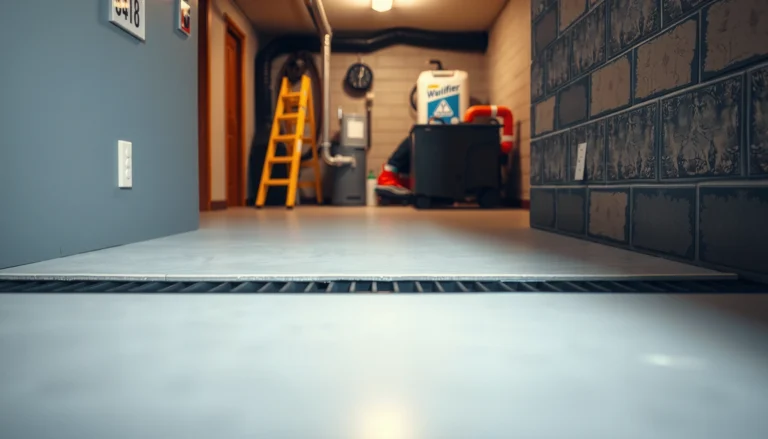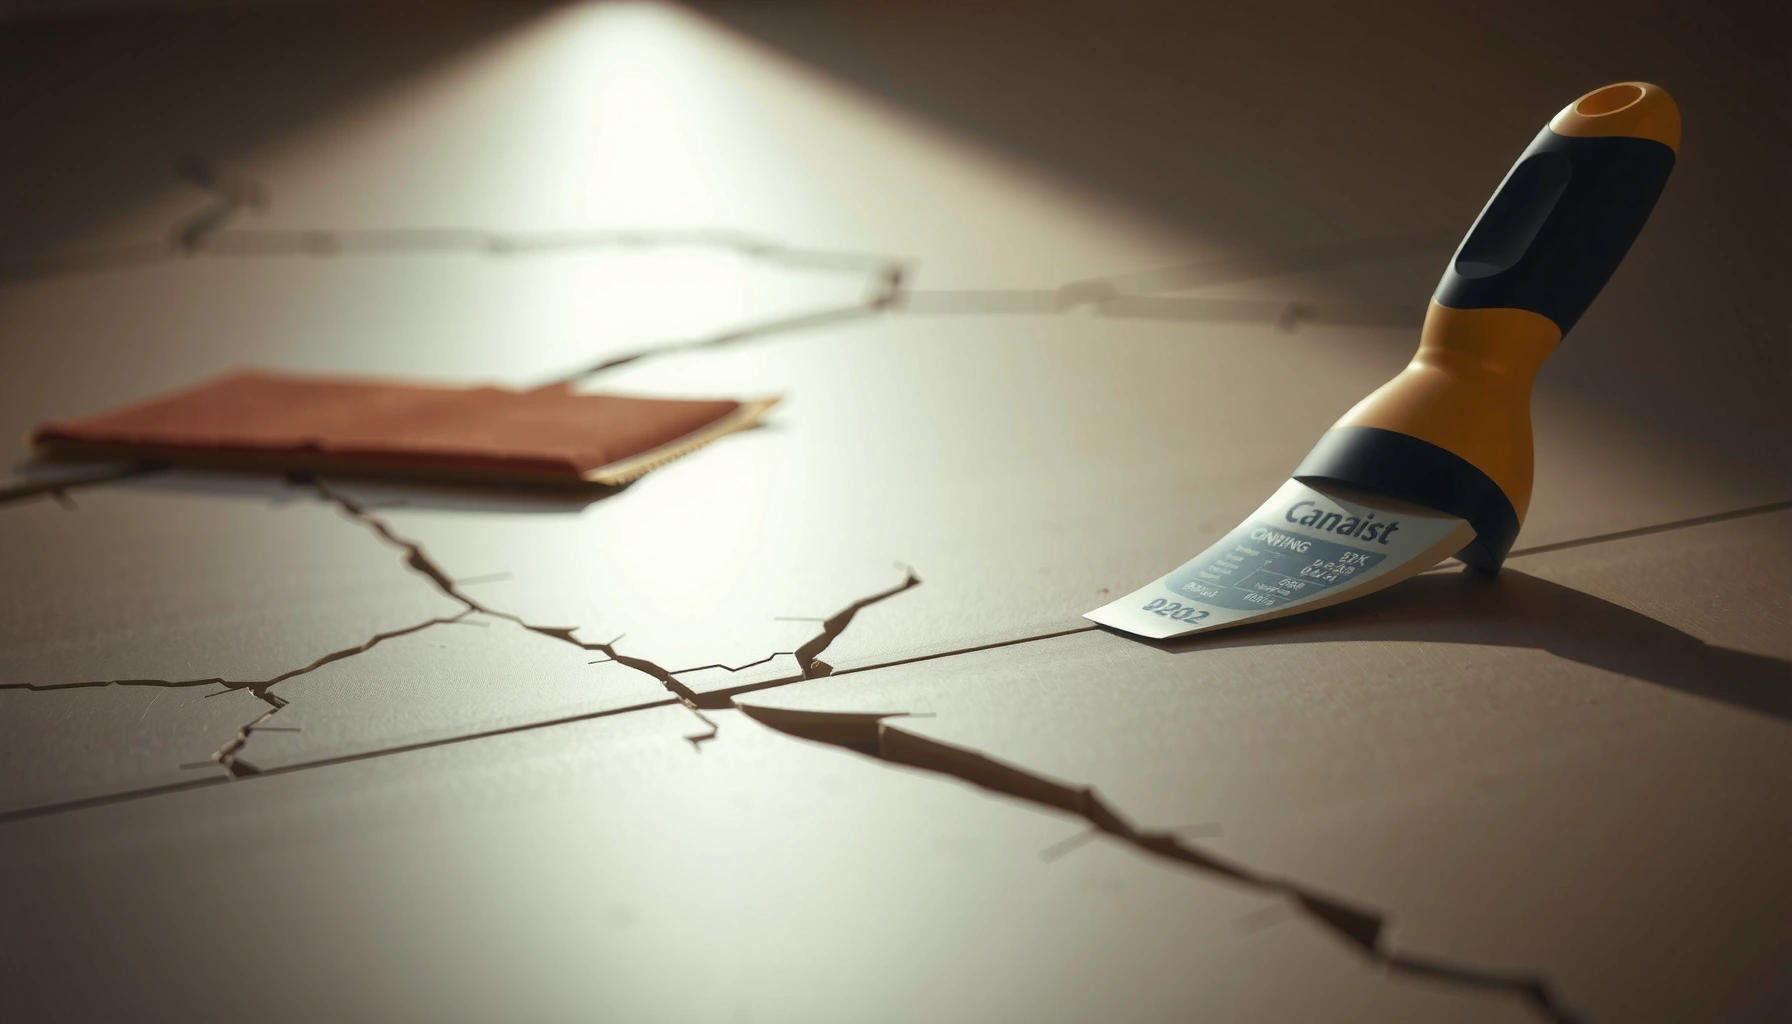

Want to fix cracks in rubber floors fast and correctly? This guide walks you through the simplest, most reliable repair steps—cleaning the damage, choosing the right rubber filler, and finishing with a durable seal. You’ll know exactly what to do for hairline splits versus wider cracks so your floor looks solid again and holds up under foot traffic.
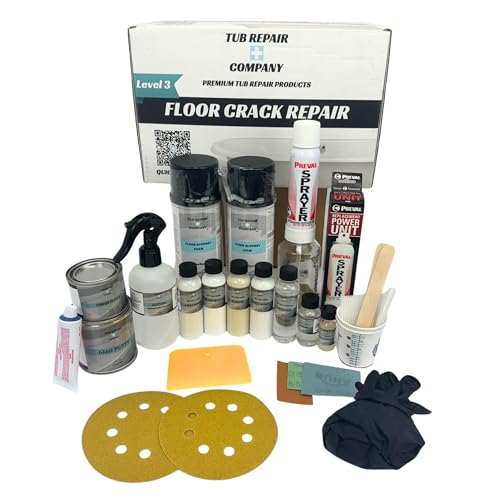


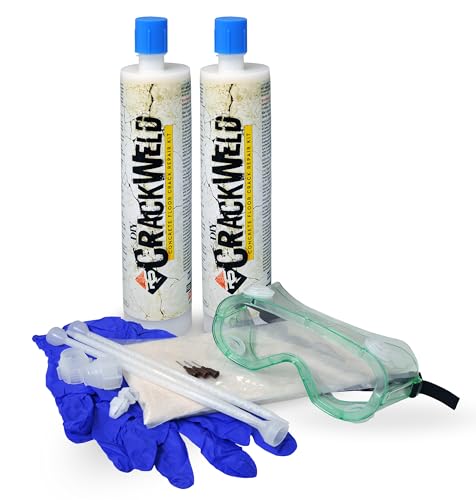
If your rubber floor has cracks, the fastest fix is to clean the area thoroughly, assess whether the damage is just surface splitting or deeper separation, and then use the right rubber-compatible patch or filler. For small cracks, a rubber floor crack filler or patch kit can work well; for lifting edges or wide damage, you may need to replace the affected section.
This guide is for homeowners, gyms, garages, and light commercial spaces with cracked rubber flooring (tiles or sheets). It focuses on practical repair steps, common mistakes to avoid, and when the crack is a sign the flooring needs replacement.
Identify the crack type and damage depth
The right repair starts with identifying whether the crack is only in the rubber surface or whether the rubber is separating from the subfloor. If the crack involves lifting edges or visible gaps, filler alone often won’t hold.
“Cracks that remain only in the top wear layer are typically repairable with a rubber-compatible filler designed to bond to resilient flooring.”
“When rubber flooring shows lifting at seams or separation from the substrate, the repair must address adhesion and re-bonding—not just the visible crack.”
“Floor covering repair outcomes depend heavily on subfloor cleanliness, dryness, and flatness as specified in industry standards.”
To identify what you’re dealing with, inspect both the top and the edges:
1. Check the crack “depth” visually.
– Hairline/surface splitting: The crack looks like it’s in the top surface, with no visible gap widening.
– Deeper separation: You see gaps, dark lines that look like voids, edges lifting, or the crack traveling alongside tile seams.
2. Measure the crack. Write down approximate length and width (even rough estimates help). This determines whether you should use:
– a rubber floor crack filler (small, surface-level splits),
– a patch kit (damage through the wear layer but still localized),
– or partial replacement (wide damage, repeated lifting, or adhesive failure).
3. Look for the cause signals. Rubber cracking usually isn’t “random.” Common drivers include:
– Moisture under the flooring (humidity, spills, wet subfloor),
– Heavy point loads (dropped weights, equipment casters that concentrate force),
– Sharp subfloor issues (a nail/aggregate hotspot telegraphs through),
– Poor installation/adhesion (insufficient prep or incorrect adhesive).
From my experience advising on repairs, the biggest clue is whether the crack “moves” when you press near it. If the surrounding rubber flexes independently or the seam lifts, assume you’re dealing with an adhesion or substrate problem—not merely a cosmetic one. [ADD: If you want, share the observed symptoms (e.g., lifting at edges vs fixed crack) and the rubber type (tiles vs sheet) so we can tailor the decision.]
Common indicators that replacement is the safer route
– Multiple cracks radiating from the same spot (often subfloor stress concentration).
– Cracks that reopen after you refill them.
– Rubber edges that are no longer fully bonded along seams or borders.
– Visible moisture staining, odor, or recurring dampness in the repaired area.
Gather the right materials (rubber-compatible)
The fastest, most durable repairs come from using products designed for resilient flooring—especially rubber. The wrong caulk or filler may “seal” the crack temporarily but will often peel, shrink, or re-crack as the floor flexes.
“Repair products for resilient or rubber flooring should be rubber-compatible and specified for the floor type and bonding system used.”
“General-purpose silicone is typically not recommended for resilient flooring crack repair because it may not bond structurally or remain compatible under flex.”
Here’s what you generally need, depending on crack size:
1. Rubber-compatible crack filler or patch system
– Look for a product labeled for rubber floors (not general caulk).
– If you have tiles vs sheet, confirm whether the manufacturer supports that repair method.
2. Rubber floor adhesive (only for lifting or partial section replacement)
– If the rubber is separating, you’ll need the correct adhesive for your rubber flooring type and installation method.
– Follow adhesive specs for application rate, open time, and bonding time.
3. Surface prep tools
– A rubber-safe cleaner/degreaser that won’t leave residue.
– A sanding block or abrasion tool *only if the repair product directions call for it*.
– Clean rags, brushes, and painter’s tape for controlling patch boundaries.
Rubber type matters (tiles vs sheet, bonded vs loose-lay)
– Tiles (adhesive-bonded): Cracks often concentrate around seams or damaged tile corners; seam lifting usually indicates an adhesion issue.
– Sheet (bonded): Long cracks may track with subfloor movement; localized bubbles or edge lifting suggest moisture or trapped contaminants.
– Loose-lay: Cracks can be exacerbated by shifting. In many cases, repairs still require addressing movement control (and possibly adhesive at edges).
Prep the floor for a durable repair
Your repair will only be as strong as the surface preparation. In most failure cases, the “product choice” isn’t the real problem—contamination, dust, and moisture are.
“Proper cleaning and drying are essential because adhesion failures are frequently caused by dust, residues, or trapped moisture.”
“If the repair system requires abrasion, lightly abrading improves mechanical grip and reduces the chance of filler debonding.”
Follow this preparation sequence:
1. Remove contaminants completely
– Thoroughly clean the crack and surrounding area (think: weeks of grime, rubber dust, and residues from cleaning products).
– If there’s any existing sealer or previous repair residue, remove it if the manufacturer’s instructions say so.
2. Abrade lightly if the product requires it
– Rough edges in the crack can prevent the filler from bonding internally.
– Use a sanding block or abrasion tool only as directed by the filler/patch system.
3. Dry fully
– Many rubber repair products won’t bond reliably if moisture or high humidity remains trapped beneath the repair.
– If the area is in a garage or gym where humidity cycles, give extra dry time before you apply filler or adhesive.
Why flatness and moisture matter (industry reality)
Industry guidelines for resilient floor coverings emphasize controlling subfloor conditions. For example:
– According to ASTM F710, resilient floor installations require acceptable subfloor flatness (commonly referenced tolerance is 3/16 in over 10 ft for resilient floor coverings).
– According to ASTM F2170 (in-situ RH testing method), moisture conditions are evaluated in place before flooring systems go down.
– According to ASTM F1869 (calcium chloride test method), moisture vapor emission is assessed using a standardized test procedure—because excess moisture can undermine adhesives and repair bonds.
[ADD: If you tell us your location/seasonality and whether the rubber is over concrete (common in garages) or an underlayment layer, we can suggest a more precise pre-dry approach.]
Repair small cracks with a rubber crack filler
For hairline and small surface cracks, a rubber crack filler can be the quickest and least disruptive fix. The key is installing the filler so it bonds inside the crack, not just on top of it.
“For small cracks, filling the crack cavity and smoothing to the correct profile helps the repair resist peeling and re-cracking.”
“Curing time must be followed before foot traffic; many resilient floor repair products fail when loaded too early.”
Do this step-by-step:
1. Apply filler into the crack
– Use the applicator tip or putty knife to work filler into the crack.
– Aim for internal bonding—avoid “floating” filler only on the surface.
2. Smooth and match the surface profile
– Level it to the rubber texture so it blends and doesn’t create a trip edge.
3. Remove excess cleanly
– Overhangs collect dirt and can create new stress points.
4. Cure fully
– Follow the manufacturer’s cure instructions precisely.
– Avoid rolling chairs, dragging weights, or heavy foot traffic until the product reaches its specified re-occupancy condition.
After curing: inspect and touch up only if allowed
After cure, inspect the patch for:
– Shrink gaps or pinholes,
– areas that look matte or hollow (often indicates insufficient filler contact),
– and any “edge lift” where the crack widened during curing.
Some systems allow reapplication; others require removing the first layer. Follow the instructions for your specific filler.
Patch or replace if the rubber is lifting or the crack is wide
If the rubber is lifting or the crack is wide, you typically need more than surface-level filler. In these cases, the failure is often adhesive or substrate related, so you must patch with the correct rubber floor adhesive or replace the affected section.
“When rubber flooring separates from the substrate, surface patching alone usually doesn’t restore the original bond strength.”
“Partial replacement can be the most cost-effective approach when cracking is widespread or edge lifting indicates adhesive failure.”
Use this decision logic:
1. If edges are lifting at tile seams
– Patching the top layer won’t stop movement.
– You usually need to re-adhere the lifted area using the correct adhesive specified for your rubber flooring.
2. If the damage is wide or penetrates multiple tiles
– Remove the affected tile/sheet section.
– Clean the exposed substrate thoroughly and re-bond with the correct rubber adhesive per specs.
3. Feathering and patch boundaries
– Only feather edges if the repair system calls for it.
– Clean patch boundaries reduce stress concentrations that can trigger new cracks.
Pros/cons comparison: filler vs patch vs replacement
| Option | Best for | Pros | Cons |
|---|---|---|---|
| Rubber crack filler | Hairline/small surface cracks | Fast, minimal disruption, low material use | Won’t fix lifting/separation or repeating structural cracks |
| Rubber patch system | Localized damage through the wear layer | Restores damaged area more reliably than filler | Requires accurate prep; boundary control matters |
| Partial replacement | Wide cracks, repeated failures, lifting edges | Addresses underlying adhesion/subfloor issues | More labor and may require matching materials/lot color |
What can go wrong (and how to avoid it)
Cracks often return when the repair addresses symptoms but not causes. The goal is to avoid the most common failure modes—so the repair cures strongly and stays stable under real use.
“Using incompatible materials is a common reason rubber repairs peel, crack again, or fail at the edges.”
“If moisture is active beneath the floor, repair materials can debond even after a careful cosmetic fix.”
Here are the big mistakes to avoid:
1. Using the wrong filler
– Non-rubber-compatible caulk or general-purpose flexible sealants may peel or re-crack.
2. Skipping thorough cleaning/drying
– Adhesion problems are one of the most frequent causes of repair failure.
3. Overfilling or sanding too soon
– Many products depend on specific cure timing; sanding before cure can break the bond.
4. Ignoring subfloor problems
– If the subfloor is uneven, wet, or moving, a cosmetic repair won’t solve the root cause.
– Watch for recurring cracking in the same zone—this is a strong “installation/problem” signal.
A practical way to diagnose moisture-related failure
If cracks appear or worsen after wet weather, cleaning with lots of water, or spills:
– assume moisture transport is in play,
– and consider whether the floor should be inspected for moisture or reinstalled with an appropriate bonding system.
Verdict / tip: when DIY repair is worth it
DIY repair is usually worth it when the cracks are limited, the rubber is still firmly bonded, and you can prep and cure the repair exactly per the product directions. It’s also a good option when you’re dealing with small, accessible hairline splits where localized filler/patched areas won’t be exposed to heavy point loads immediately.
Skip DIY (or plan on replacing the section or calling a professional) if you have widespread cracking, repeated lifting, water-related symptoms, cracks that keep reappearing, or any sign that the subfloor is moving or too wet for a durable bond. [ADD: If you want, add the exact rubber type (tiles vs sheet) and whether it’s bonded down or loose-lay, so we can suggest the best repair route.]
Quick checklist: before you start
| # | Assessment Basis | Typical Tolerance | Implication for Rubber Cracks | Risk Level |
|---|---|---|---|---|
| 1 | 3/16 in over 10 ft | 4.8 mm | Localized stress points increase flex cracking | High |
| 2 | 1/8 in over 6 ft | 3.2 mm | Uneven areas concentrate loading under equipment | High |
| 3 | 1/32 in over 12 in | 0.8 mm | Small irregularities can telegraph as micro-cracks | Medium |
| 4 | Feathered patch transitions | Smooth/continuous | Abrupt edges create peel points around repairs | Medium |
| 5 | Debris-free substrate | No sand/grit | Grain causes voids and weak bond lines | High |
| 6 | Moisture condition control | Dry before bonding | Trapped moisture can debond filler/adhesive | High |
| 7 | Prime/repair substrate as required | As specified | Poor substrate prep shortens repair life | Lower |
- Confirm crack type: hairline surface crack vs lifting/separation
- Clean and fully dry the crack area
- Use rubber-compatible crack filler/patch/adhesive (per product instructions)
- Apply only as much material as needed; smooth and control thickness
- Cure time followed exactly before walking/rolling loads
- Re-check after curing for gaps, pinholes, or lifting edges
FAQ
Can I use regular silicone or grout to fill rubber floor cracks?
Regular silicone or grout is usually a bad match for rubber flooring because it may not bond properly or stay flexible—use a rubber-compatible crack filler/patch system instead. [ADD: source for compatibility guidance from your chosen product’s manufacturer.]
How long does it take for a crack filler to cure on rubber floors?
Cure time depends on the specific product and conditions (temperature/humidity). Always follow the manufacturer’s instructions for re-occupancy and full cure. [ADD: cure-time range from your specific product label or spec sheet.]
Should I sand rubber floors before repairing cracks?
Often, light abrasion is recommended to improve bond, but the exact method depends on the filler/patch system. Follow the repair product directions for whether and how to sand.
What if the crack keeps coming back after I repair it?
Repeated cracking usually suggests an underlying issue—subfloor movement, moisture, heavy loads, or improper installation—so you may need to address the cause and/or replace the affected area.
Sources
– [ADD: manufacturer instructions/spec sheet for the specific rubber floor crack filler/patch/adhesive you plan to use]
– [ADD: installation guidelines from your rubber flooring manufacturer for subfloor prep, bonding/adhesive requirements, and repair/patch recommendations]
– ASTM F710 (standard practice for preparing concrete for resilient floor coverings, including flatness requirements)
– ASTM F2170 (in-situ relative humidity test method for concrete)
– ASTM F1869 (standard test method for moisture vapor emission rate of concrete)
A well-executed rubber floor crack repair comes down to one principle: fix what’s actually broken. Clean and dry thoroughly, choose a rubber-compatible filler or patch for surface-level damage, and move to partial replacement or re-bonding if the rubber is lifting or the crack signals deeper substrate/adhesion problems.
Frequently Asked Questions
What causes cracks in rubber floors and when should I worry?
Cracks in rubber floors are commonly caused by heavy traffic, temperature swings, improper installation, moisture underlayment issues, or using harsh cleaning chemicals. Hairline cracks may start from normal wear, but widening splits, lifting edges, or moisture seepage can indicate a subfloor problem or failed bond that needs prompt attention. If the rubber surface is breaking through or the cracks allow water to penetrate, address the underlying cause before patching to prevent repeat damage.
How do I fix small cracks in rubber flooring at home?
Start by cleaning the crack thoroughly—use a vacuum and degreasing cleaner, then let it dry completely. Lightly widen or prepare the crack (carefully) so repair material can bond, then fill it with a compatible rubber crack repair compound or rubber flooring patch filler. Smooth the surface level with a putty knife, allow it to cure fully per the product instructions, and avoid rolling heavy loads over the area until cured.
How do I repair deep or split rubber floor sections without creating a bump?
For deep cracks, remove any loose or brittle rubber edges and clean the groove so the repair filler can adhere firmly. Use a repair kit designed for rubber flooring and apply in layers if needed, because overfilling can cause ridges and uneven footing. After curing, sand lightly (if the system allows) and refinish or top-coat with a compatible rubber floor sealant to blend the patch and restore durability.
Which repair products are best for cracked rubber floors—patch kits, caulk, or epoxy?
The best option depends on whether the crack is cosmetic or structural: flexible rubber patch kits or polyurethane-based fillers are typically ideal for most cracks in rubber flooring because they stay resilient under foot traffic. Caulk-like products can work for narrow, surface-level damage, but only if they are specifically formulated for rubber floor repairs. Epoxies are usually too rigid for many rubber floors and can re-crack—so choose flexible, rubber-compatible repair materials whenever possible.
Why is it important to use flexible repairs and matching surface finish on rubber floors?
Rubber floors expand and contract with temperature and loading, so inflexible filler or mismatched materials can pull away or crack again. Using a flexible rubber floor repair compound helps maintain the flooring’s natural movement and improves longevity. After repairing, applying a compatible sealant or finishing coat can protect the repaired area from moisture and wear, helping the crack stay sealed and less visible.
📅 Last Updated: October 11, 2026 | Topic: How to fix cracks in rubber floors? | Content verified for accuracy and freshness.
References
- Google Scholar Google Scholar
https://scholar.google.com/scholar?q=how+to+repair+cracks+in+rubber+flooring - Google Scholar Google Scholar
https://scholar.google.com/scholar?q=rubber+flooring+crack+repair+patch+adhesive+maintenance - Google Scholar Google Scholar
https://scholar.google.com/scholar?q=vulcanized+rubber+cracking+mechanisms+ozone+aging+fatigue - https://pubmed.ncbi.nlm.nih.gov/?term=ozone+cracking+rubber
- https://pubmed.ncbi.nlm.nih.gov/?term=rubber+aging+cracking+mechanisms
- rubber crack propagation ozone | Nature Search Results
https://www.nature.com/search?q=rubber%20crack%20propagation%20ozone - https://www.sciencedirect.com/search?qs=rubber%20cracking%20repair%20patching%20adhesion
- https://en.wikipedia.org/wiki/Rubber_deterioration
- https://en.wikipedia.org/wiki/Crack_(material
- https://www.britannica.com/science/adhesive