


First, carefully assess the scratch depth and gather appropriate repair materials based on your wood type and finish. Next, clean the area thoroughly and lightly sand it with fine-grit sandpaper to smooth edges and guarantee adhesion. Finally, apply wood filler for deep scratches or a wax stick for minor ones, then seal the repair with a matching finish like varnish or polyurethane. This method restores your floor’s uniformity and durability while protecting the surface—explore further to master detailed techniques.




Assess the Damage and Gather Materials

Before you begin repairing scratches on your wood floor, it’s crucial to accurately assess the extent of the damage. Conduct a thorough damage assessment by examining the depth, length, and location of each scratch. Superficial scratches may only require minor touch-ups, while deeper gouges demand more involved repairs. This evaluation guides your material selection, ensuring you use appropriate products—such as wood fillers, stains, or sealants—that match your floor’s wood type and finish. Selecting compatible materials preserves the floor’s integrity and appearance. Your precise damage assessment empowers you to make informed choices, granting you the freedom to execute repairs confidently and efficiently, restoring your floor’s surface to its original condition without unnecessary expense or effort.
Clean and Prepare the Scratched Area
Two essential steps must be completed to assure an effective repair: cleaning and preparing the scratched area. Begin by gathering appropriate cleaning supplies—use a soft cloth, mild detergent, and water to remove dirt, dust, and oils from the floor’s surface. Avoid harsh chemicals that can damage the wood or finish. Thorough cleaning guarantees ideal adhesion of repair materials.
Next, focus on surface preparation. Lightly sand the scratched area with fine-grit sandpaper to smooth rough edges and enhance repair compound bonding. Wipe away sanding residue with a damp cloth, then allow the area to dry completely. Proper surface preparation prevents repair failure and assures a seamless finish. By meticulously cleaning and preparing, you set the foundation for restoring your wood floor’s original beauty while maintaining your freedom to enjoy it.
Apply Repair Techniques and Finish the Surface

Several effective methods exist to repair scratches on wood floors, each suited to different scratch depths and finishes. For deeper scratches, apply wood filler precisely into the damaged area, then sand smooth once dry. For minor surface scratches, use finish options like wax sticks or stain markers to blend imperfections seamlessly. After repair, seal the area with an appropriate finish—varnish, polyurethane, or oil—to restore protection and uniformity.
| Scratch Depth | Repair Method | Finish Options |
|---|---|---|
| Light | Wax sticks, stain markers | Oil-based or wax finishes |
| Moderate | Wood filler + sanding | Polyurethane or varnish |
| Deep | Wood filler + sanding | Multiple coats of finish |
Choose the best method matching your floor’s finish to maintain integrity and freedom of style.

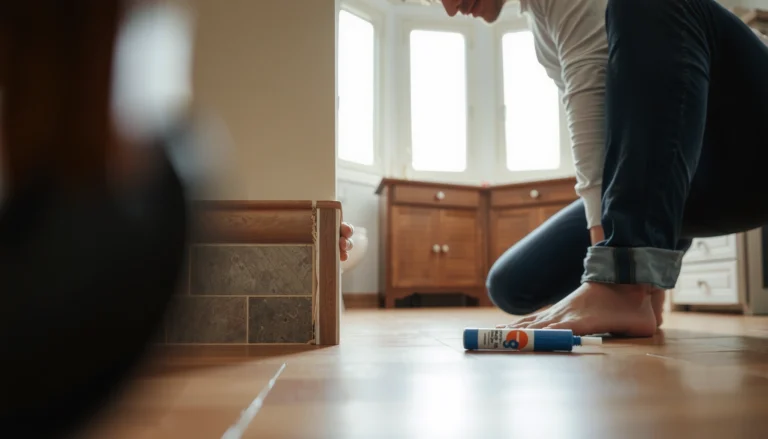

[…] Dry-fit your trim pieces first and identify the high and low spots on the wall using a scrap spacer or cardboard template. For irregular areas, coping the inside corners and using an oscillating tool to fine-tune edges often gives the cleanest result. Measure the gap at multiple points, then cut in small increments to avoid removing too much material. Once the hardwood trim fits smoothly, secure the molding to the wall and fill nail holes with wood filler for a seamless finish. […]
[…] the surface without replacing the entire sheet. This guide walks you through the exact steps to assess the scratch depth, clean and prepare the area, and apply the right vinyl filler or color-matching solution for a […]
[…] you want to remove scratches from terracotta floors, clean the area thoroughly first, then use the least-aggressive repair that matches scratch depth—polish for surface scuffs […]
[…] If you’re trying to remove scratches from polyaspartic floors, the fastest reliable fix is a controlled wet-sand and polish process followed by a matching recoat where needed. This step-by-step guide shows exactly what grit to use, how to level the damaged area without widening the scratch, and when to stop to avoid haze. You’ll also learn the one condition that determines whether polishing alone works or you must apply a spot repair for a truly seamless finish. […]
[…] and contaminants, then re-fill with a compatible polyaspartic patch system and recoat to lock in a seamless finish. This guide tells you exactly when gap repairs need spot patching versus full section leveling, so […]
[…] floor scratches usually get much less noticeable after you clean the area thoroughly and match the repair method to the scratch depth—light scuffs typically need gentle smoothing, […]
[…] your rubber floor has cracks, the fastest fix is to clean the area thoroughly, assess whether the damage is just surface splitting or deeper separation, and then use the right […]
[…] designed for vinyl or WPC surfaces, since they need a base material to restore the level. Clean the area thoroughly, apply the filler according to the kit instructions, and smooth it level with a plastic scraper. […]
[…] mismatched sheen, cracked edges, and unexpected height transitions. If you’re aiming for a clean, seamless finish, follow these steps before you remove a single […]
[…] Clean the area thoroughly and remove any waxes/finish buildup so the repair material can […]
[…] light surface scuffs, clean the area thoroughly and use a vinyl floor scratch repair kit or color-matched vinyl touch-up marker. For deeper […]