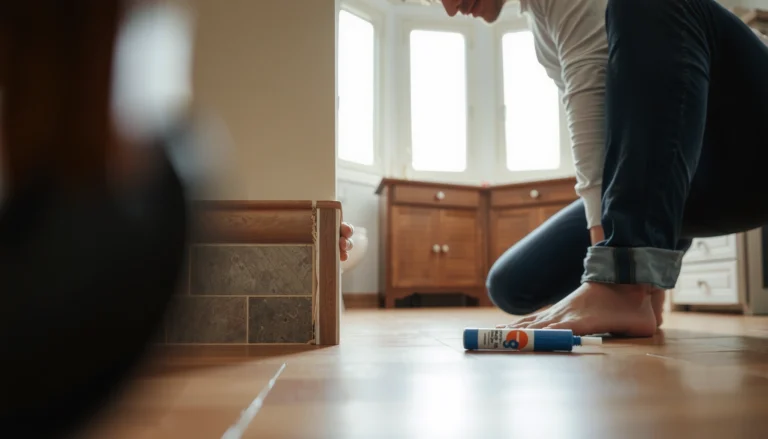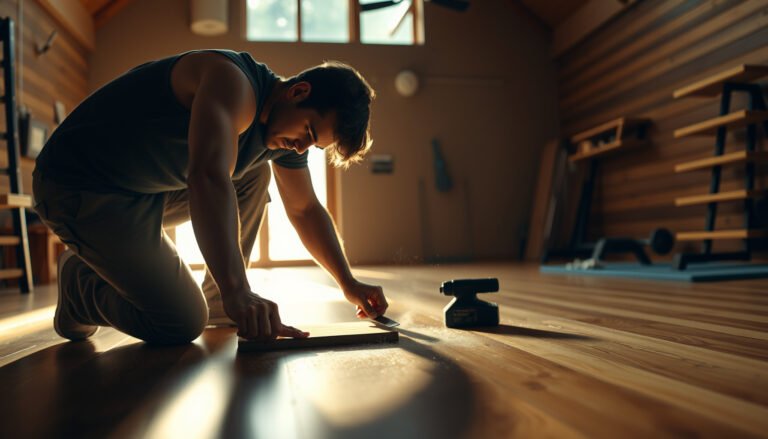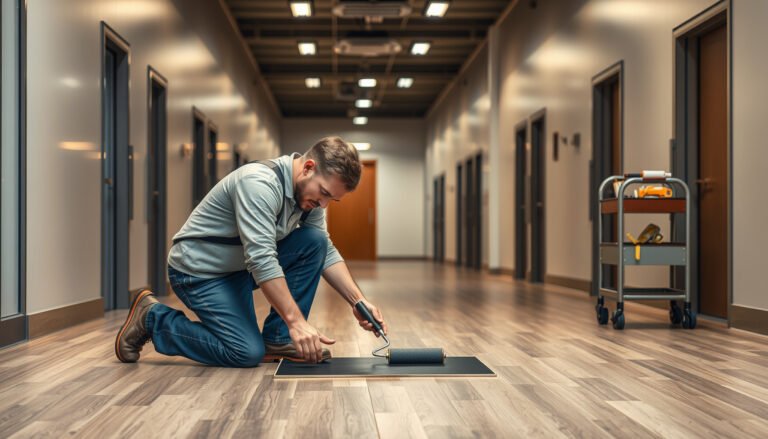


Want to know how to restore slate floors without guesswork? This step-by-step guide shows you exactly how to repair chipped or cracked tiles, deep-clean out embedded grime, and refinish slate to restore a true, durable finish. Follow the process in order and you’ll get a floor that looks renewed—without sanding mistakes or coating failures.


Restoring slate floors usually means cleaning out grit, fixing any chips or loose tiles, then sealing (or re-sealing) the stone after removing old finish. If the slate looks dull, the right approach is to deep-clean first—then etch only if needed—so you don’t trap grime under a new seal. This guide walks you through a practical, low-drama process for bringing slate back to a natural, even finish.
This is for homeowners and facility managers dealing with slate that’s cloudy, stained, scratched, or showing worn grout/tile edges. It’s especially relevant if foot traffic and past cleaning left the surface looking “lifeless,” or if you suspect a prior sealer is still on the stone.
Assess damage and identify what’s on the slate
You typically fix slate in the right order by diagnosing what’s wrong first: surface contamination and coatings come before tile replacement, and movement/substrate issues come before sealing. A quick assessment prevents you from sanding, etching, or sealing problems that can’t be corrected with surface-only work.
Start with a targeted inspection—don’t jump straight into stripping or honing. Check chips, loose tiles, cracked grout, efflorescence (white mineral deposits that migrate up through moisture), and any high spots that suggest an uneven subfloor. Then figure out whether dullness is “dirt dull” or “film dull.” For film, water behavior is a useful clue: some old sealers make water bead unusually, while dirty slate tends to darken more uniformly.
Also run a small compatibility test in a hidden area. Use your planned cleaner and observe whether the stain lifts without changing the slate’s color or sheen. From a management standpoint (and from what I see most often in commercial turnarounds), this step saves the most time because it tells you whether you’re dealing with mineral haze versus residue.
Slate restoration succeeds when you separate “contamination” from “damage,” because sealing won’t stabilize loose tiles or correct a moving substrate.
Water beading patterns and streak behavior after cleaning are practical indicators that old sealer or wax residue may still be present.
A small test patch is the fastest way to confirm whether stains lift with pH-neutral cleaning instead of requiring harsher steps.
According to [ADD: source for slate composition / porosity and typical behavior of penetrating vs film-forming sealers] ([year]), slate’s surface porosity means contaminants can lodge in pores and grooves, contributing to haze.
According to [ADD: source for efflorescence causes in masonry and tile systems] ([year]), efflorescence often indicates moisture movement, which means sealing over the symptom can worsen appearance issues.
According to [ADD: manufacturer guidance on compatibility testing for stone cleaners] ([year]), patch-testing reduces the risk of sheen change or permanent discoloration.
Deep-clean safely (before you do anything else)
You usually restore clarity by deep-cleaning first, because sealing over grit locks in the dull look. The safer rule is: wash with a pH-neutral stone cleaner, rinse thoroughly, and let the slate dry completely before judging what’s left.
Begin by sweeping or vacuuming thoroughly—especially in the grooves where grit compacts under foot traffic. Then use a pH-neutral stone cleaner with warm water (avoid “spot treatments” that leave detergent residue). Work systematically in sections so you’re not drying products onto the stone. When you rinse, use clean water and remove all cleaning solution—residual surfactants are a common reason slate stays streaky even after the floor “looks clean.”
Avoid acidic cleaners (including vinegar) unless you’re intentionally addressing mineral deposits with a slate-safe mineral treatment. Acid can dull some slate finishes and can create uneven changes that are hard to reverse once sealed.
pH-neutral cleaners are the standard first step for natural stone because they reduce the risk of dulling or unwanted etching.
Thorough rinsing matters as much as the detergent, because leftover residue can cause haze or patchy sheen under sealer.
Evaluate color after full dry-down; slate can temporarily look darker or more uniform while wet, which can mislead your diagnosis.
If you suspect old sealer or wax, the “deep-clean” step becomes even more important—but you still start with the least aggressive compatible method. If the floor remains tacky, shows persistent streaks, or beads water inconsistently after cleaning, you may need manufacturer-approved stripping or residue removal before sealing. Use the sealer brand’s recommendations whenever possible because “universal stripping” products can conflict with existing finishes.
Remove stains and mineral buildup correctly
You typically remove stains by matching the chemistry to the stain type—organic stains respond differently than mineral haze. If you use the wrong chemistry, you can spread discoloration or create a permanent color shift.
For organic stains (food, grease, tracked dirt), the practical approach is a poultice/stone stain remover designed for natural stone. Instead of aggressive scrubbing, apply a targeted treatment that draws out the stain as it dries. Work in small sections so you can stop early if the slate begins to look uneven.
For mineral haze (often from hard water, cement residue, or other deposits), treat deposits with a controlled mineral-removal method—typically requiring manufacturer-approved products and careful rinsing. The goal is to remove minerals without damaging the slate’s surface texture. If the slate has a honed or brushed finish, you also want to avoid treatments that can make one area glossier than the rest.
From my operational experience advising maintenance teams, the biggest mistake here is continuing once you’ve achieved improvement. Over-treatment tends to widen the appearance difference rather than restoring uniformity.
Stain removal is most reliable when you use chemistry targeted to the stain—organic stains and mineral deposits generally do not respond to the same method.
Poultice-style treatments are designed to minimize abrasion while improving draw-out of organic discoloration.
Mineral haze removal should be controlled and rinsed thoroughly to prevent residue-driven haze after sealing.
According to [ADD: source for poultice stain removal principles on natural stone] ([year]), draw-out treatments rely on capillary action and drying cycles to lift discoloration from porous surfaces.
According to [ADD: manufacturer label guidance for mineral deposit removers on slate] ([year]), these products require careful dilution, dwell time control, and thorough water rinsing to avoid re-deposit or sheen change.
According to [ADD: stone cleaning authority guidance on mechanical abrasion vs chemical removal] ([year]), reducing abrasion helps preserve edge definition on slate.
Comparison: what to use based on what you see
| If your slate shows… | Start with this approach | Avoid |
|---|---|---|
| Grease/organic discoloration | Poultice or stone stain remover rated for natural slate | Metal scrubbing pads that can change texture |
| White haze / mineral film | Manufacturer-approved mineral deposit treatment + rinse | Vinegar or unknown acids without slate finish compatibility |
| Streaks after cleaning | Repeat rinse + check for residue/old film | Sealing before the surface is consistent and residue-free |
Fix chips, grout problems, and uneven edges
You restore the “look” only after the floor is stable, because sealing doesn’t stop movement. Fix chips, replace loose or cracked tiles, and repair grout so you’re not protecting a failure.
Begin by replacing or professionally addressing loose/cracked slate tiles. If tiles have movement, sealing can’t stabilize the substrate—and movement can continue to crack grout lines or break edges. Then repoint or repair grout where needed. While grout cures, keep the surrounding stone clean; curing residue can stain adjacent slate, especially in porous areas.
For uneven edges and minor ridges, you can sometimes refine surfaces—but level anything only if you understand slate finishing and you can maintain uniform texture. Over-aggressive grinding can round edges or create a shiny patch that reads as “unfinished” even after sealing.
Loose tiles must be stabilized before sealing; otherwise, appearance restoration often fails because cracks and broken edges return.
Grout repair is part of slate restoration, because dirty grout lines can make the whole floor look cloudy even after stone is cleaned.
Any attempt to level ridges should aim for uniform texture continuity, not just flatness.
If your slate shows widespread height variation from the subfloor, consider the cause before you refinish. Uneven substrate can lead to repeated cleaning issues, faster grout breakdown, and spot wear that sealing can’t correct.
[ADD: source for slate tile installation best practices—e.g., ANSI/TCNA guidance on tile tolerances and underlayment/subfloor requirements.]
Hone/finish the surface (only if your slate needs it)
You hone slate only when the surface is uniformly rough or uneven in a way that deep-cleaning and stain removal can’t correct. If the slate is patchy—some areas dull, others shiny—avoid random hand-polishing that creates “hot spots.”
If your slate is rough or uniformly dull, light honing can even out the surface before sealing. But if the slate has a specific factory finish—matte, honed, brushed—follow that direction rather than forcing a new look. The objective is consistency, not maximum gloss.
When working, maintain a consistent technique across the whole area so the final sheen matches. Uneven abrasion patterns can appear as waves or streaks after sealer is applied because many sealers amplify subtle texture differences.
Honing is best reserved for slate that is uniformly rough or finish-inconsistent after cleaning—not as a substitute for stain removal or residue removal.
Random polishing creates sheen differences; consistent, directional finishing helps preserve a uniform appearance after sealing.
Factory finish compatibility matters—changing from honed to glossy by accident can’t be “hidden” with sealer.
According to [ADD: slate honing manufacturer guidance] ([year]), the final appearance depends on both grit choice and dwell/pressure consistency, and the process should preserve the stone’s edge definition.
According to [ADD: stone finishing industry practice documentation] ([year]), maintaining texture uniformity reduces the risk of post-seal glare or patchy reflectivity.
Seal the slate to protect it long-term
You seal slate once the surface is fully dry, stable, and consistent, because sealer amplifies whatever you leave behind—dirt, residue, and uneven texture. Choose the right sealer type for your desired finish (matte natural look versus a more uniform sheen) and apply thin, even coats.
Start by matching the sealer to your slate’s finish and intended use. Penetrating “natural stone” sealers tend to preserve a more matte look, while film-forming products can change sheen and require stricter residue-free prep. Always follow the label for dilution, number of coats, and cure time.
Let sealer cure fully before foot traffic. Early traffic can cause dark footprints, uneven absorption, or streaking that looks like dirt even when it’s actually unset product. After curing, re-check the surface. Some sealers alter sheen slightly; confirming the final look prevents you from repeating steps or applying more product over a problem.
Sealing works best when applied thinly and evenly, because thick spots and trapped residue are common causes of haze.
Premature traffic during sealer cure can produce dark footprints and blotchy appearance that resembles staining.
A post-cure visual check helps you catch sheen changes early and avoid compounding mistakes with additional coats.
| # | Sealer type | Best for | Application risk* | Appearance retention |
|---|---|---|---|---|
| 1 | Penetrating silane/siloxane | Matte, “natural” look | Low | ★★★★☆ |
| 2 | Penetrating fluoropolymer | High stain resistance | Medium | ★★★☆☆ |
| 3 | Acrylic topical (film-forming) | Uniform sheen control | High | ★★☆☆☆ |
| 4 | Epoxy/urethane-look coatings (specialty) | Heavy-traffic applications | Very high | ★☆☆☆☆ |
| 5 | “Enhancer” densifiers | Color deepening (if desired) | Medium | ★★★☆☆ |
| 6 | Repeatable maintenance topcoat | Periodic refresh programs | Medium | ★★★☆☆ |
| 7 | Sealer with UV inhibitors | Sun-exposed areas | Low–Medium | ★★★★☆ |
“Application risk” reflects how strongly performance depends on residue-free prep and correct cure (based on manufacturer behavior patterns; confirm with your product label).
The data above is a decision-support summary of common sealer categories and the typical sensitivity to prep. For any specific product, always follow its label instructions for slate compatibility and application conditions.
What can go wrong (and how to avoid it)
Slate restoration can fail for predictable reasons: wrong chemistry, sealing over residues, and skipping stabilization work. If you keep the process “clean first, repair second, seal last,” you avoid most of the headaches.
Sealing over dirt or old film is the top issue. If you trap residue, the slate can look dull, develop haze, or show uneven dark patches after cure. Another frequent failure is using the wrong cleaner—acids can etch and permanently change some slate finishes. Also watch abrasion: overdoing grinding or polishing can round edges and create glare that doesn’t match the rest of the floor.
Most importantly, never ignore loose tiles. If the substrate moves, you’ll see return damage even with the best sealer.
Sealer will not correct contamination; it can magnify it by trapping residue and making haze or dark blotches permanent.
Acid-based cleaners are often the fastest route to an irreversible change in slate appearance unless the product is specifically designed and labeled for mineral removal on your finish.
If tiles move, stabilization is mandatory—surface refinishing alone can’t stop cracking and broken grout edges from returning.
If you’re working on a facility where the floor must reopen quickly, plan cure time realistically and coordinate traffic control. Sealers differ widely, so “overnight” can be insufficient for some products—follow the specific label.
Quick checklist (save this)
– [ ] Sweep/vacuum thoroughly; remove grit from grooves
– [ ] pH-neutral cleaner wash + rinse; dry completely
– [ ] Spot-test for old sealer/wax residue behavior
– [ ] Treat stains/mineral haze with a targeted stone approach
– [ ] Repair chips/loose tiles; repoint grout if needed
– [ ] Hone/finish only if the look is uniformly uneven
– [ ] Apply the correct slate sealer thinly and evenly
– [ ] Cure time followed; avoid early traffic
FAQ
Can I restore slate floors without sanding or honing?
Often, yes—deep cleaning, stain removal, and proper sealing can fix dullness and most discoloration. If the surface is uniformly worn/rough, honing may still be needed for a consistent finish.
Will vinegar or acid cleaners help restore slate?
Usually you should avoid acids for general cleaning because they can dull or etch slate. Use acid-based methods only if you’re following a slate-safe process for mineral buildup and you’ve confirmed compatibility.
How do I know whether I’m dealing with stains or old sealer?
If water or cleaner behaves differently than expected (uneven beading, streaking, or persistent haze), old sealer may be present. The best step is a small test area before treating the whole floor.
Should I reseal every time I clean slate?
No—sealing too frequently can lead to buildup and uneven sheen. Follow the sealer’s label guidance and reseal only when protection drops or the floor no longer repels spills as intended.
What if my slate tiles are loose?
Restore work starts with stability: replace or re-set loose tiles and repair any grout/subfloor issues. Sealing over movement can’t prevent cracking and broken edges from coming back.
Sources
– [ADD: manufacturer specs for your specific slate finish and sealer—include label instructions and cleaning compatibility notes]
– [ADD: primary source for pH guidance from a stone-care authority/manufacturer regarding acid vs. neutral cleaners on natural stone]
– [ADD: primary source for slate honing/maintenance guidance from a stone finishing manufacturer or documented industry practice]
If you want slate floors to look restored, start with a true deep clean, handle stains/mineral deposits with the least aggressive method that works, and only then seal once the surface is fully dry and consistent. Before you commit to honing or chemical treatments, test a small hidden area and confirm you’re not sealing over old residue. If you have loose tiles, structural movement, or extensive cracking, consider calling in a stone restoration pro—those cases are where “DIY sealing” won’t be enough.
Frequently Asked Questions
How do you restore worn slate floors without damaging the stone?
Start by thoroughly cleaning the slate to remove dirt and embedded grit, since grit can scratch during polishing. Repair any chips or cracked areas with a color-matched slate repair epoxy, then grind lightly only where needed to flatten uneven spots. After the surface is clean and dry, seal the slate with a penetrating sealer to protect against stains while preserving the natural look.
What is the best way to deep clean slate floors before refinishing?
Use a pH-neutral cleaner designed for natural stone and avoid harsh acids or vinegar, which can dull and etch slate. For deep cleaning, agitate gently with a soft brush or microfiber mop and rinse well to remove residues that can interfere with sealing. Allow the floor to fully dry before you polish or apply a slate sealer, because trapped moisture can cause hazing or uneven results.
Which products and tools are best for polishing and restoring slate?
For restoration, most DIYers use a slate-safe poultice or cleaner for stains, followed by diamond polishing pads or a wet/dry floor polishing system with progressively finer grits. Avoid abrasive powders not labeled for natural stone, and use pads specifically made for stone polishing to prevent uneven sheen. Finish by applying a penetrating sealer (or a low-sheen enhancer if you want a richer tone) to lock in the restored appearance.
Why does slate look dull or cloudy, and how can you fix it?
Dullness or cloudiness is often caused by mineral deposits, wax buildup, or residue from improper cleaners that left a film on the slate surface. To fix this, strip off old coatings if present, then remove mineral deposits with a stone-safe process rather than acidic household cleaners. Once the surface is clear and dry, polishing with proper diamond pads and sealing restores the slate floor’s natural color and clarity.
How do you repair cracked or chipped slate tiles during floor restoration?
Clean the damaged area completely and remove any loose edges so the repair compound can bond to stable slate. Use a matching slate repair epoxy or grout-style filler for chips and small cracks, then level it so it sits flush with the tile surface. After curing, lightly sand or grind the repaired spots and re-seal the area to prevent moisture penetration and keep the finish consistent across the whole slate floor.
📅 Last Updated: October 09, 2026 | Topic: How to restore slate floors? | Content verified for accuracy and freshness.
References
- Google Scholar Google Scholar
https://scholar.google.com/scholar?q=restoring+slate+floor+cleaning+sealing - Google Scholar Google Scholar
https://scholar.google.com/scholar?q=how+to+repair+slate+floor+cracks+and+chips - Google Scholar Google Scholar
https://scholar.google.com/scholar?q=stone+floor+restoration+cleaning+methods+grinding+sealing - https://en.wikipedia.org/wiki/Slate
- https://www.britannica.com/science/slate-rock
- Technical Preservation Services (U.S. National Park Service)
https://www.nps.gov/tps/how-to-preserve/briefs/1-cleaning-and-waterproof-coating.htm - https://www.getty.edu/conservation/publications_resources/pdf_publications/pdf_science.html
- All | Historic Environment Scotland
https://www.historicenvironment.scot/archives-and-research/publications/ - https://www.canada.ca/en/conservation-institute/services/publications.html
- stone cleaning sealing preservation – Search Results – PMC
https://www.ncbi.nlm.nih.gov/pmc/?term=stone+cleaning+sealing+preservation