
Lifting on LVP floors is fixable—if the plank has released rather than buckled, you can usually repair it with a quick clean, proper leveling, and the right adhesive method. Follow the fastest steps to re-secure loose planks, correct the cause (moisture or uneven subfloor), and stop the edges from popping again. This guide answers exactly how to fix lifting on LVP floors without replacing the entire floor.




If your LVP is lifting, the fastest path to a fix is to stop the cause first (most often moisture/temperature swings or poor installation), then re-seat or replace only the affected planks. Start by checking for gaps, raised edges, and any water issues—repair won’t hold if the subfloor is still damp or uneven.
If you’re seeing seam lift, buckling, or peeling corners on a floating (click-lock) or glue-down LVP floor, this guide walks you through practical troubleshooting and the decision points that determine whether you can re-seat boards or you should replace them.
1) Identify why the LVP is lifting
If LVP is lifting, the reason is usually mechanical (alignment/locking connection), dimensional change (expansion/contraction), or moisture/subfloor flatness issues. The goal in this step is to classify the failure mode before you touch the planks, because the “right” repair for a floating floor can make a glue-down floor worse.
“Most LVP lifting at seams and edges tracks back to either an incomplete/failed click-lock connection, inadequate expansion gaps, or subfloor flatness issues as described in resilient flooring installation guidance.”
“Moisture drives dimensional instability: when the substrate picks up moisture, resilient planks can expand, release at seams, or buckle.”
“Installation type determines repair method: floating (click-lock) floors rely on interlocking joints, while glue-down LVP depends on adhesive bond strength and surface prep.”
Where the lift shows up (seams vs. edges vs. buckled zones)
– Seams and joints lifting usually point to a click-lock connection that isn’t fully engaged, a plank that’s out of plane, or expansion gap problems near the room perimeter.
– Edges and corners lifting commonly happen when the perimeter is too tight (missing expansion gap) or when baseboards/moldings restrict movement.
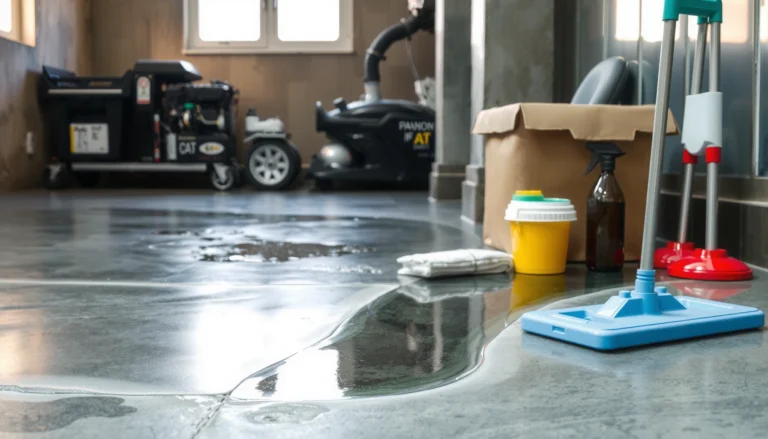
– Larger buckled sections often indicate subfloor flatness failure, trapped moisture, or a section exposed to repeated wetting (spills, mopping patterns, plumbing leaks).
From my experience walking homeowners through on-site diagnostics, the most useful “tell” is whether the floor is lifting in a narrow line at a seam (connection/alignment) versus lifting across an arc or wave (flatness/moisture/temperature movement).
Confirm floating vs. glue-down (this changes everything)
– Floating LVP (click-lock): planks “float” over the subfloor. Repairs usually involve re-seating joints and restoring proper spacing.
– Glue-down LVP: planks are bonded. Lifting usually means adhesive bond failure (often surface prep or moisture).
If you don’t know which you have, check your installation paperwork, product model information, or the way the planks were installed around edges (glue-down is typically adhered and won’t behave like it can flex freely at the perimeter).
Use a moisture + temperature trigger timeline
Start with your best timeline: “When did the lift start?” Then map it to likely triggers:
– Recent water exposure: spills, wet mopping, pet accidents, or construction moisture.
– Seasonal HVAC changes: heating season can dry the substrate; cooling season can raise relative humidity.
– Hot sun exposure: direct sunlight through windows can expand surface layers differently than the substrate below.
For moisture and subfloor requirements, many installers reference the testing approach in ASTM F2170 (in-situ RH for concrete slabs) and supporting moisture test standards. ASTM F2170 is commonly referenced for determining relative humidity in concrete slabs prior to resilient flooring installation. [ADD: specific numeric pass/fail limit from your LVP/adhesive manufacturer spec.]
2) Get the floor stable before you repair anything
If LVP is lifting, repairs only last when the subfloor is dry and flat, and when the room is back within normal operating conditions. Before re-seating or re-gluing, stabilize the environment so the planks can settle into their intended plane.
“Resilient flooring performance depends on subfloor flatness and moisture control; fixing lifting without addressing substrate conditions leads to repeat failures.”
“Letting the installation environment normalize temperature and humidity is a standard step before attempting repairs to dimensional products like LVP.”
Inspect subfloor conditions (don’t skip the boring parts)
Look for:
– Moisture signs: dark spots, soft/damp feel, persistent odor, visible efflorescence on concrete.
– Flatness problems: humps, ridges, loose patches, or high spots left behind by old flooring removal.
– Underlayment mismatch (floating floors): wrong underlayment or double-underlayment can create a bounce effect that stresses joints.
According to NWFA resilient flooring guidance, subfloor flatness tolerances are often stated as no more than 3/16 in. over 10 ft and 1/8 in. over 6 ft for resilient/lock-up systems (verify against your product’s manual). NWFA resilient flooring guidance commonly uses these flatness tolerance figures. [ADD: your LVP brand’s specific flatness tolerance if it differs.]
Relieve pressure safely (only when needed)
If baseboards/shoe molding are compressing the perimeter of a floating floor, temporarily removing them can help—but don’t dismantle more than necessary. Focus on creating safe access to the lifted edges while you avoid prying that damages the locking profile.
Normalize room conditions (especially in 2026 seasonal swings)
As of 2026, most climates are still subject to rapid HVAC cycling. Run HVAC at normal settings for several days (per your installation guidance), then re-check:
– Do seams still lift when the room is stable?
– Do planks “hold position” after a cool/heat cycle?
This step matters because click-lock joints may sit differently when boards are expanded vs. contracted.
3) Fix minor lifting along edges and seams
If the lift is localized at seams or a perimeter edge, you can often re-seat the planks—provided the subfloor is dry and flat. The repair method depends on whether your LVP is floating (click-lock) or glue-down.
“For floating click-lock LVP, re-seating requires restoring alignment and full engagement of the locking profile, not simply pushing the edge down.”
“Missing or incorrect expansion gaps can cause seam separation and edge lift, especially during temperature-driven expansion.”
Floating (click-lock): re-seat the lifted joint correctly
For click-lock LVP, typical best practice is:
1. Remove/loosen just enough perimeter material so the plank can move into position.
2. Align the locking profile so the tongue/groove (or equivalent locking feature) engages without forcing.
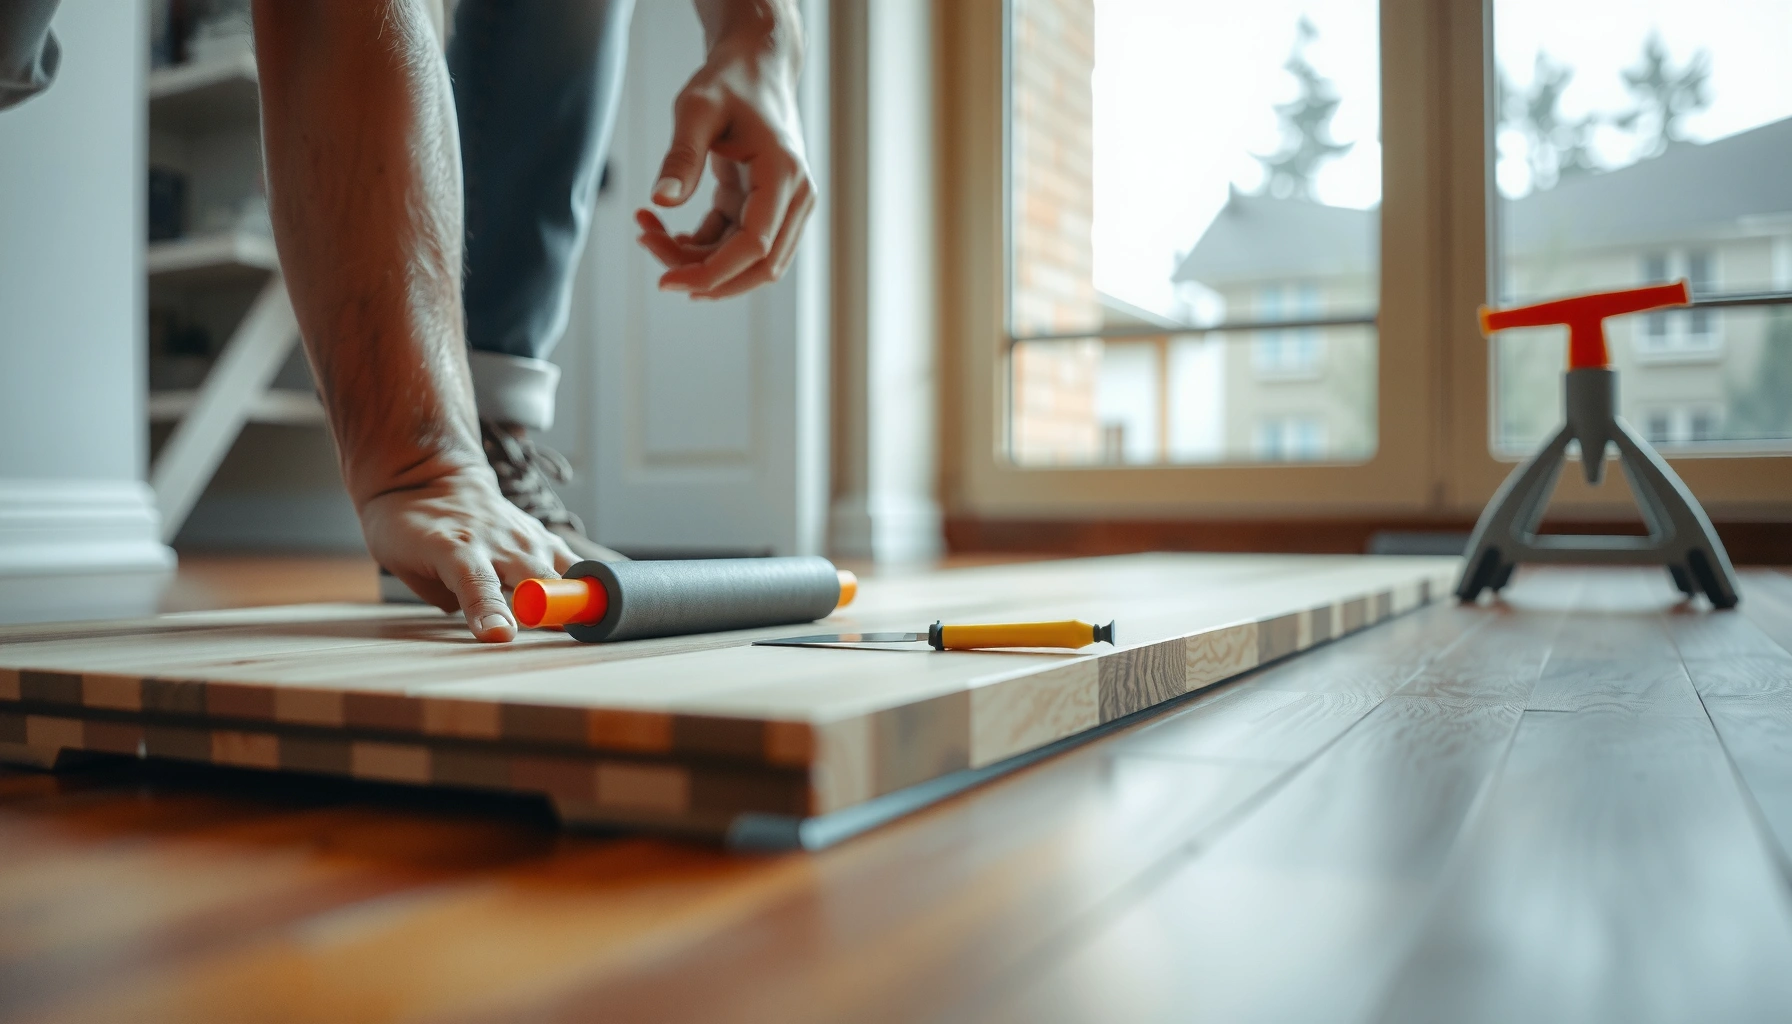
3. Apply controlled pressure using a tapping block or the manufacturer-approved method (avoid direct hammer contact).
4. Let the area stabilize under normal room conditions.
If the joint still won’t engage cleanly, treat that as a sign of either:
– a damaged locking edge,
– debris in the joint,
– or an out-of-plane subfloor section under that seam.
Replace the damaged locking connection (when re-seating won’t hold)
If the interlock is chipped, worn, or permanently deformed, replacing the affected planks is usually better than “pinning” them indefinitely. Many LVP systems depend on the geometry of the locking mechanism; once compromised, repeated attempts accelerate failure.
Prevent recurrence: underlayment + spacer discipline
Recurring edge lift usually means one of these:
– Underlayment installed incorrectly (wrong thickness/material for that product).
– Expansion gaps missing (or trimmed too early).
– Floor installed before fully acclimating to room conditions.
For floating LVP, expansion gap guidance is frequently cited in installation manuals in the ~1/4 in. (6 mm) range around perimeter (confirm with your specific brand). [ADD: cite the exact expansion gap requirement from your LVP installation manual.]
Quick comparison: when to re-seat vs. replace (floating)
| Situation you see | Best move | Why |
|---|---|---|
| Seams lift after a recent heat/cool change | Re-seat + confirm expansion gaps | Dimensional movement is recoverable when the joint is intact and spacing is correct. |
| Joint won’t lock even when aligned | Replace planks with damaged interlock | A broken locking profile won’t transmit load evenly. |
| Lift follows a wave/bump in the floor | Fix subfloor flatness first | Joint repairs fail if the floor under it is out of plane. |
4) Repair glue-down LVP that’s separating
If glue-down LVP is separating, the key issue is usually adhesive bond failure, not just a “loose plank.” The fix generally involves removing the affected pieces and re-adhesiving with proper surface preparation.
“Don’t assume additional glue will restore performance; adhesive failures often trace back to insufficient surface prep or moisture.”
“Glue-down resilient flooring repairs typically require cleaning old adhesive residue so the new bond can key into the substrate.”
“Using the wrong adhesive for the flooring system can prevent proper cure and reduce bond strength.”
Remove only what’s affected, then prep like a bond-critical job
A typical workflow:
1. Carefully remove lifted/failed planks to avoid damaging the surrounding edges.
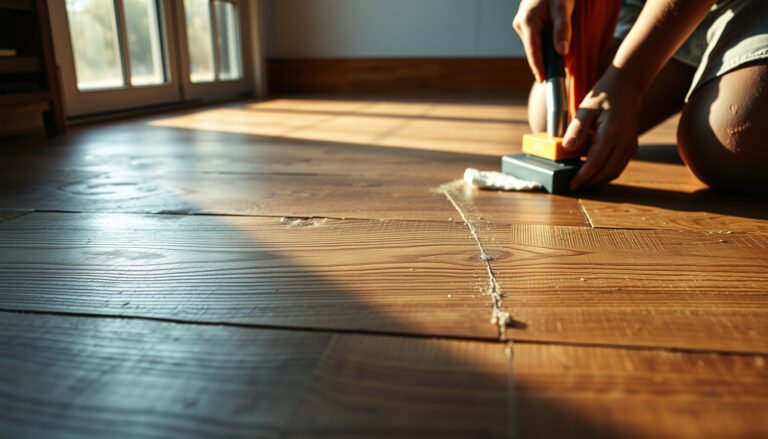
2. Remove old adhesive residue from the subfloor and plank backing (as allowed by your adhesive and LVP instructions).
3. Clean and dry surfaces—adhesives need the right profile and dryness to grab.
4. Apply adhesive using the manufacturer’s recommended trowel/notch and coverage method.
5. Allow cure time per the adhesive instructions before foot traffic.
Why “more glue” can fail
More adhesive cannot correct:
– moisture migration through a concrete slab,
– contaminants (paint overspray, dust, curing compounds),
– or adhesive incompatibility.
Moisture guidance for resilient systems is often anchored to slab moisture testing standards, including ASTM F2170 for in-situ RH. ASTM moisture testing standards are used to evaluate concrete suitability prior to resilient flooring. [ADD: your product/adhesive’s moisture acceptance criteria.]
5) When lifting means replacement is the real solution
If planks are permanently warped or the locking mechanism is damaged, re-seating usually becomes temporary. Replacement becomes the real solution when the subfloor is out of tolerance or when there’s ongoing moisture.
“If the locking edge is cracked, delaminated, or permanently deformed, the joint typically cannot be restored to its original strength.”
“Resilient flooring performance degrades when substrate flatness or moisture conditions fall outside the manufacturer’s installation tolerances.”
Replace planks when the failure is structural
Replacement is often the correct route if:
– planks are warped/cracked (they may re-lay once, then lift again under load),
– the click-lock edge is chipped or rounded,
– or glue-down planks show delamination where the bond line failed.
Correct the substrate when flatness is the cause
If the subfloor is uneven beyond tolerances, patching only the visible lift zone usually fails. Instead:
– identify the high/low areas,
– correct them (self-leveler, grinding, patch systems as appropriate),
– and then reinstall with the correct underlayment and spacers.
Fix ongoing moisture before replacing
If you suspect:
– plumbing leaks,
– slab dampness,
– chronic high indoor humidity,
then replacement without moisture correction is likely to repeat the problem. This is especially true for “almost dry” subfloors that still release moisture slowly.
6) What can go wrong (and common mistakes)
If you treat lifting as a purely mechanical problem, you can accidentally lock in the real cause. Most repeat failures come from forcing joints, skipping expansion gaps, or ignoring moisture/flatness.
“Forcing click-lock planks back down can damage the locking profile and reduce the connection’s long-term strength.”
“Ignoring expansion gap requirements can lead to buckling and seam separation when the floor expands.”
“Adhesive misuse or incorrect adhesive selection for glue-down LVP can prevent proper cure and bond development.”
Common mistakes to avoid
– Brute-forcing click-lock: If the joint won’t seat with controlled alignment, forcing it can snap the tongue/groove geometry.
– Skipping expansion gap checks: Even small perimeter tightness can show up as seam lift and corner buckling.
– Wrong underlayment: Some underlayments compress too much or trap moisture, creating stress concentrations at seams.
– Repairing over an uneven subfloor: Any ridges/humps under the lifted section re-create the problem after the floor flexes back.
From a practical standpoint, the biggest avoidable downside is “chasing the symptom.” Once I see repeated seam reopening after re-seating, I stop and re-check flatness/spacing rather than repeating the same re-seat attempt.
7) Verdict: what to do first (and who should skip DIY)
Start with diagnosis: moisture and subfloor flatness are the two highest-impact variables that determine whether repairs will last. DIY is reasonable for small, localized lifting where the subfloor is dry/flat and only the locking edge is misaligned—but pause and call a pro (or stop DIY) if you suspect active moisture, significant unevenness, or widespread buckling.
“The most durable repair is the one that removes the cause: moisture control, correct expansion gaps, and subfloor flatness within manufacturer tolerances.”
“When locking profiles are damaged or subfloor tolerances are not met, replacement plus substrate correction is typically the reliable approach.”
“If you cannot confirm whether your LVP is floating or glue-down, follow the manufacturer’s installation manual before attempting any re-seating or re-adhesion.”
When DIY is a good fit
– Lift is small and localized (a seam line or perimeter section).
– Subfloor feels dry and appears flat when you check with a straightedge.
– Your LVP is floating, and the locking edge isn’t visibly damaged.
When to stop DIY
– You see signs of active moisture (water intrusion, damp subfloor, persistent odor).
– The lifted areas are large or show repeating waves across the room.
– Glue-down planks are separating and you don’t have the correct adhesive/cure procedure.
Quick reference: float vs. glue-down
– Floating: fix the perimeter spacing and re-seat the interlock (replace damaged planks if needed).
– Glue-down: fix the bond failure with correct removal, cleaning, adhesive selection, and cure time.
Common Installation Tolerances and Conditions Linked to LVP Lifting (Resilient Flooring Guidance)
| # | Installation metric | Typical target | Why it matters for lift | Risk if missed |
|---|---|---|---|---|
| ★ | Expansion gap at perimeter (floating floors) | 1/4 in. (6 mm) | Prevents buckling and seam opening during expansion | High (avoid) |
| 2 | Flatness tolerance over 10 ft | 3/16 in. | Reduces joint stress and plank rocking | Very high |
| 3 | Flatness tolerance over 6 ft | 1/8 in. | Prevents seam lift in smaller spans | Very high |
| 4 | Concrete slab moisture test method (common) | ASTM F2170 RH | Detects in-situ moisture that can weaken bonds | High |
| 5 | Room operating temperature during service | 65–85°F (18–29°C) | Reduces expansion/contraction cycling that opens seams | Medium–High |
| 6 | Relative humidity stability (during installation) | 35–55% RH target range | Limits dimensional movement and seam separation | Medium–High |
| 7 | Foot-traffic/cure readiness after adhesive | Follow adhesive spec (hours/days) | Insufficient cure can reopen edges and seams | High |
Notes on this table: The flatness and expansion gap targets above are consistent with widely cited resilient flooring installation guidance (confirm against your LVP brand manual). NWFA resilient flooring guidance commonly references flatness tolerances of 3/16 in. over 10 ft and 1/8 in. over 6 ft. [ADD: manufacturer-specific expansion gap and RH targets from your LVP/adhesive installation instructions.]
Quick checklist: Lifting on LVP
– [ ] Is it floating/click-lock or glue-down?
– [ ] Any signs of moisture or water exposure?
– [ ] Is the subfloor flat and dry?
– [ ] Is there an expansion gap around edges?
– [ ] Are the planks warped/cracked or are only seams/edges lifted?
– [ ] Do the repair steps match the manufacturer’s method for your LVP type?
FAQ
Can I just glue down lifted LVP planks?
Sometimes, but only if your flooring is glue-down or the manufacturer explicitly allows adhesive re-securing for your scenario. For floating floors, “gluing random lifted edges” can trap moisture, distort expansion behavior, and lead to repeat lifting.
Why does LVP lift at the seams?
Seams often lift due to missing/incorrect expansion gaps, subfloor unevenness, underlayment issues, or a damaged click-lock connection. Moisture can also expand/soften materials enough to open the seam.
How do I stop lifting from coming back?
Correct the root cause: verify moisture conditions, ensure subfloor flatness is within tolerance, and confirm correct expansion spacing. Repairs that only re-seat the top surface without fixing substrate conditions are likely to fail again.
Do I need to replace the whole floor if sections lift?
Not always. Localized lifting can sometimes be repaired or replaced in sections. However, widespread buckling, damaged locking systems, or a chronically uneven/wet substrate often requires a broader remedy.
Sources
– ASTM F2170 — Standard method for determining relative humidity in concrete using in-situ probes (referenced for moisture testing prior to resilient flooring).
– NWFA (National Wood Flooring Association) resilient flooring installation guidance — commonly cited subfloor flatness tolerance figures used by installers for resilient products (confirm against your LVP manual).
– ASTM F1869 — Standard test method for moisture vapor emission rate (used as an alternative moisture test approach in some installations).
– [ADD: manufacturer installation instructions/spec sheet for your specific LVP brand detailing whether it’s click-lock (floating) or glue-down, approved repair methods, expansion gap requirements, and moisture/flatness tolerances.]
– [ADD: adhesive manufacturer technical data sheet (glue-down LVP) for approved adhesive type, surface preparation requirements, open time, and cure times.]
A solid LVP lift repair starts with the right diagnosis: stop moisture/temperature problems, verify the subfloor is dry and within flatness tolerance, then follow the correct repair approach for your installation type. If the locking profile is damaged or the substrate conditions are out of spec, replacement (plus substrate correction) is the more dependable choice than repeated re-seating.
Frequently Asked Questions
What are the most common causes of lifting on LVP (luxury vinyl plank) floors?
LVP lifting is usually caused by moisture getting underneath the planks, poor subfloor prep, or temperature changes that expand and contract the flooring. Improper installation—like missing expansion gaps, not using the correct underlayment, or placing planks over uneven spots—can also lead to edges curling or gaps forming. Heavy traffic, furniture movement, or damaged click-lock joints can further worsen lifting over time.
How do I fix lifted edges or corners on LVP floors?
Start by checking for moisture by inspecting the area under and around the lifted section, and dry the subfloor if needed. If the plank edges are lifting due to a loose seam, remove the affected planks (if possible) and reinstall them, ensuring the click-lock joints fully engage. If only the edge is slightly raised, you may be able to press it back down while addressing the root issue, but avoid forcing planks into place if the subfloor is uneven.
How can I prevent LVP floor buckling or lifting from temperature and humidity?
Allow the LVP to acclimate to your home’s temperature and humidity before installation, and maintain a stable indoor climate year-round. Keep required expansion gaps along walls, doorways, and fixed objects so the floor can float and expand without lifting. Using a moisture barrier when required (especially over concrete) and fixing any high-moisture areas helps prevent swelling that can cause lifting.
Which is the best way to re-secure LVP planks when the click-lock won’t stay engaged?
First, verify the subfloor is flat (LVP often requires a very level surface), because a high spot or dip can prevent a proper lock. If the plank edges won’t click into place, remove the affected boards and reinstall with correct alignment—sometimes cleaning debris from the tongue-and-groove or click mechanism is enough. For severe joint failure, replacing damaged planks is usually the most reliable solution, since repeated gluing over time can create uneven areas and new lifting.
What should I do if LVP is lifting due to moisture or a wet subfloor?
Stop further installation or traffic in the affected area until you identify the moisture source—such as leaks, condensation, or groundwater issues under concrete. Dry the subfloor thoroughly and allow materials to return to normal moisture levels before attempting any repair. If the underlayment or subfloor is compromised, replacing that material is often necessary to fully stop lifting on LVP floors and prevent recurring problems.
📅 Last Updated: October 07, 2026 | Topic: How to fix lifting on LVP floors? | Content verified for accuracy and freshness.
References
- Vinyl composition tile
https://en.wikipedia.org/wiki/Luxury_vinyl_tile - https://en.wikipedia.org/wiki/Vinyl_flooring
- Floating floor
https://en.wikipedia.org/wiki/Floating_floor - https://www.rfci.com/technical_information/
- Mold | US EPA
https://www.epa.gov/mold - https://www.cdc.gov/mold/default.htm
- https://pubmed.ncbi.nlm.nih.gov/?term=resilient+floor+covering+installation+moisture
- Google Scholar Google Scholar
https://scholar.google.com/scholar?q=how+to+fix+lifting+vinyl+plank+floor - Google Scholar Google Scholar
https://scholar.google.com/scholar?q=resilient+flooring+installation+moisture+subfloor+flatness - Google Scholar Google Scholar
https://scholar.google.com/scholar?q=vinyl+plank+floating+floor+acclimation+failure+lifting