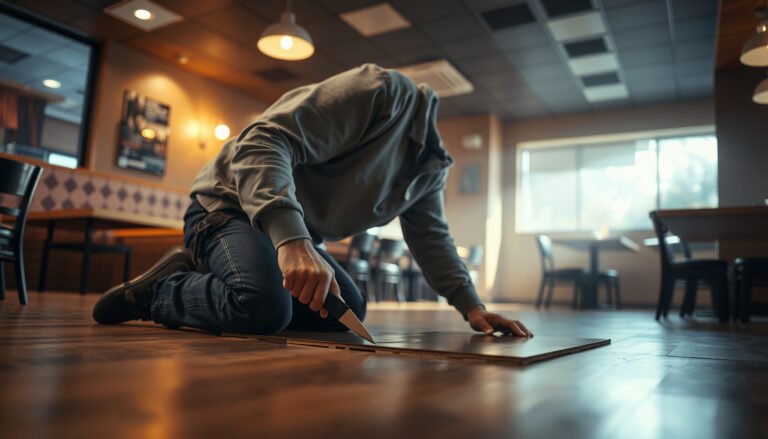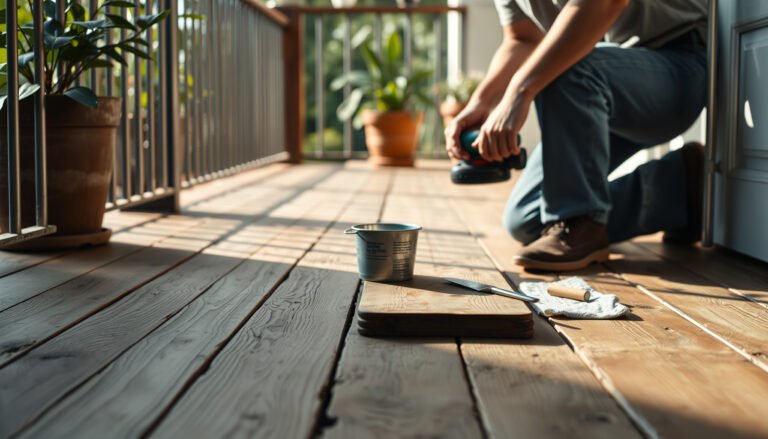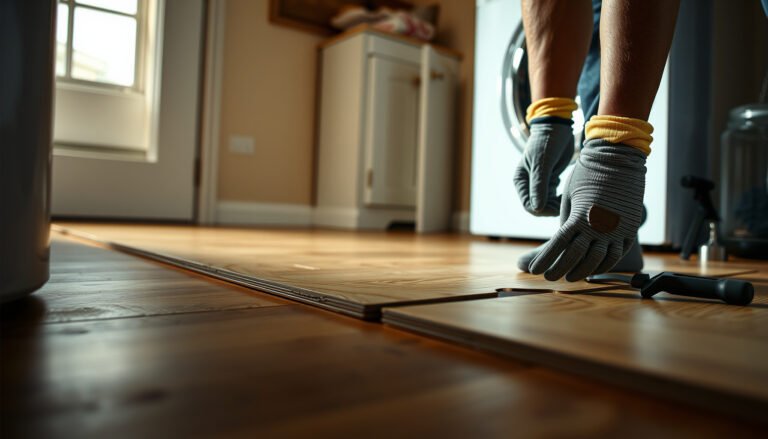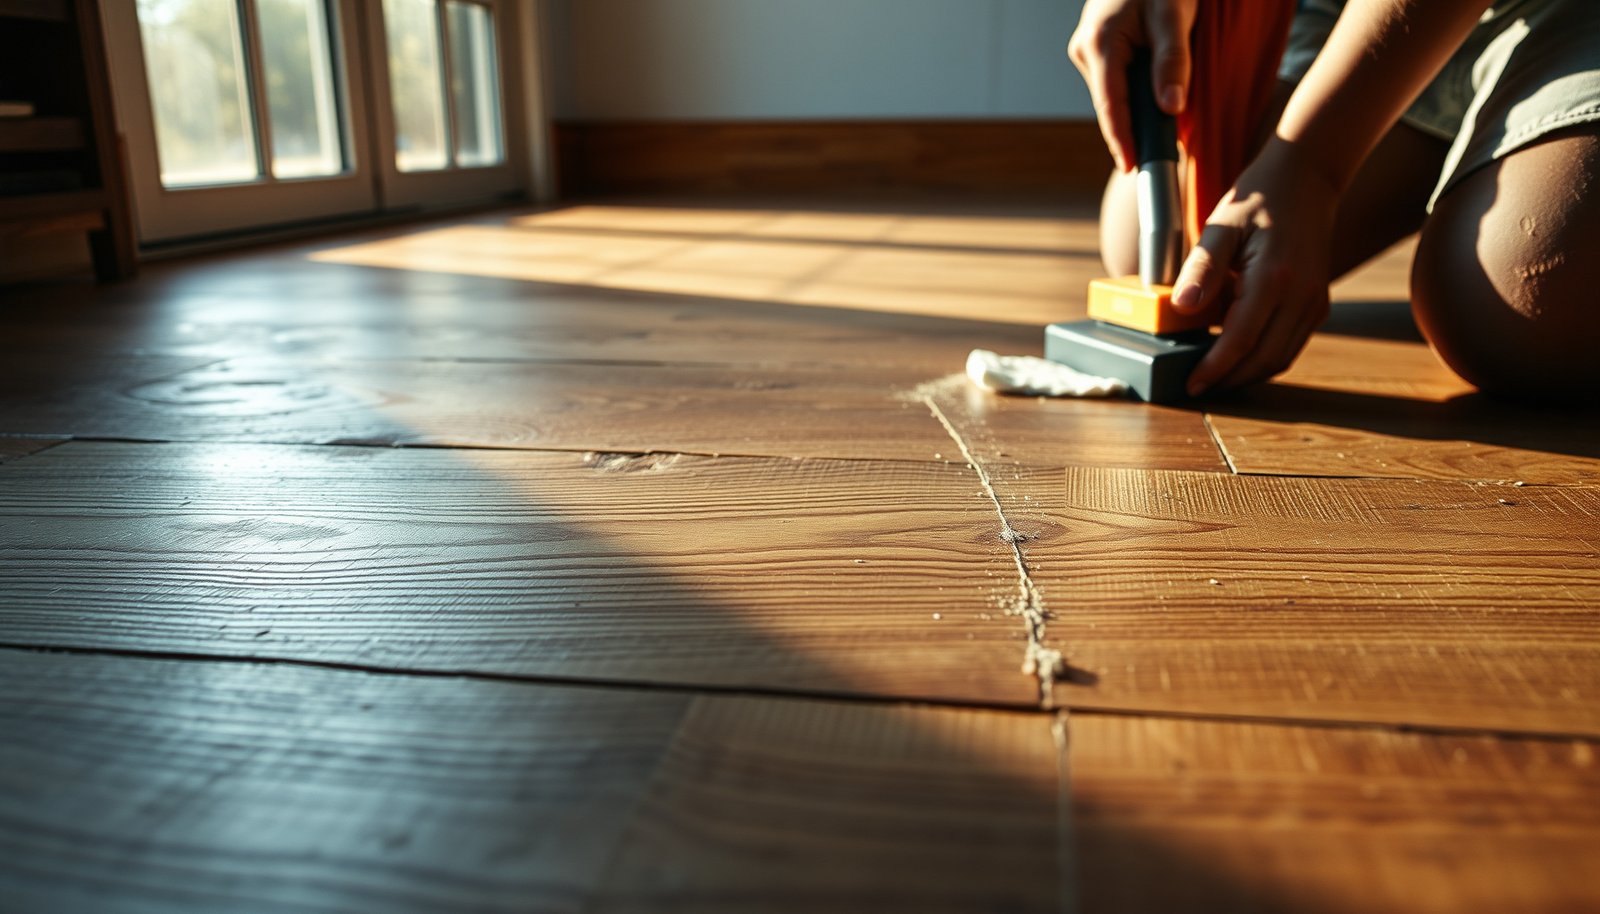

Want to remove scratches from reclaimed wood floors and make them look new again? This step-by-step guide shows the fastest, most reliable method to repair common surface scuffs and deeper gouges using the right sanding, stain, and finish. You’ll get clear, do-this-next instructions and the exact finish choices that match reclaimed wood’s patina for a seamless repair.


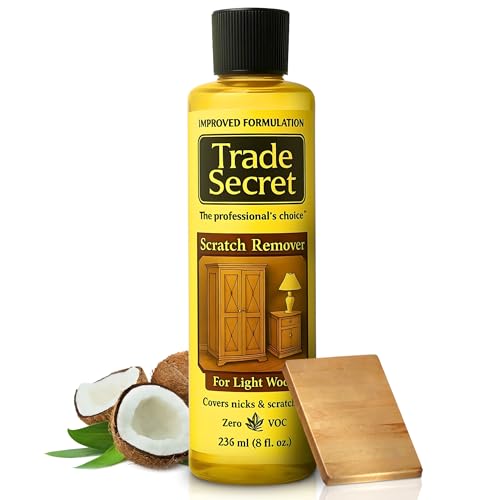

Remove most scratches from reclaimed wood floors by sanding lightly to level raised damage, filling deeper gouges, then blending with the right stain/toner and a compatible topcoat. For shallow scuffs, you may be able to reduce visibility with a wood-safe scratch remover or a matching finish/oil blend—without flattening the whole board surface. Because reclaimed planks vary in hardness, previous finishes, and grain structure, the “best” method depends on scratch depth and the existing coating system.
If your floors already look “worn-in” but now have visible lines from pets, furniture, or renovations, this is for you. It’s also useful when you need a method that respects reclaimed wood’s variability (different boards, hardness, and previous finishes).
Assess the scratch depth (surface vs. gouge)
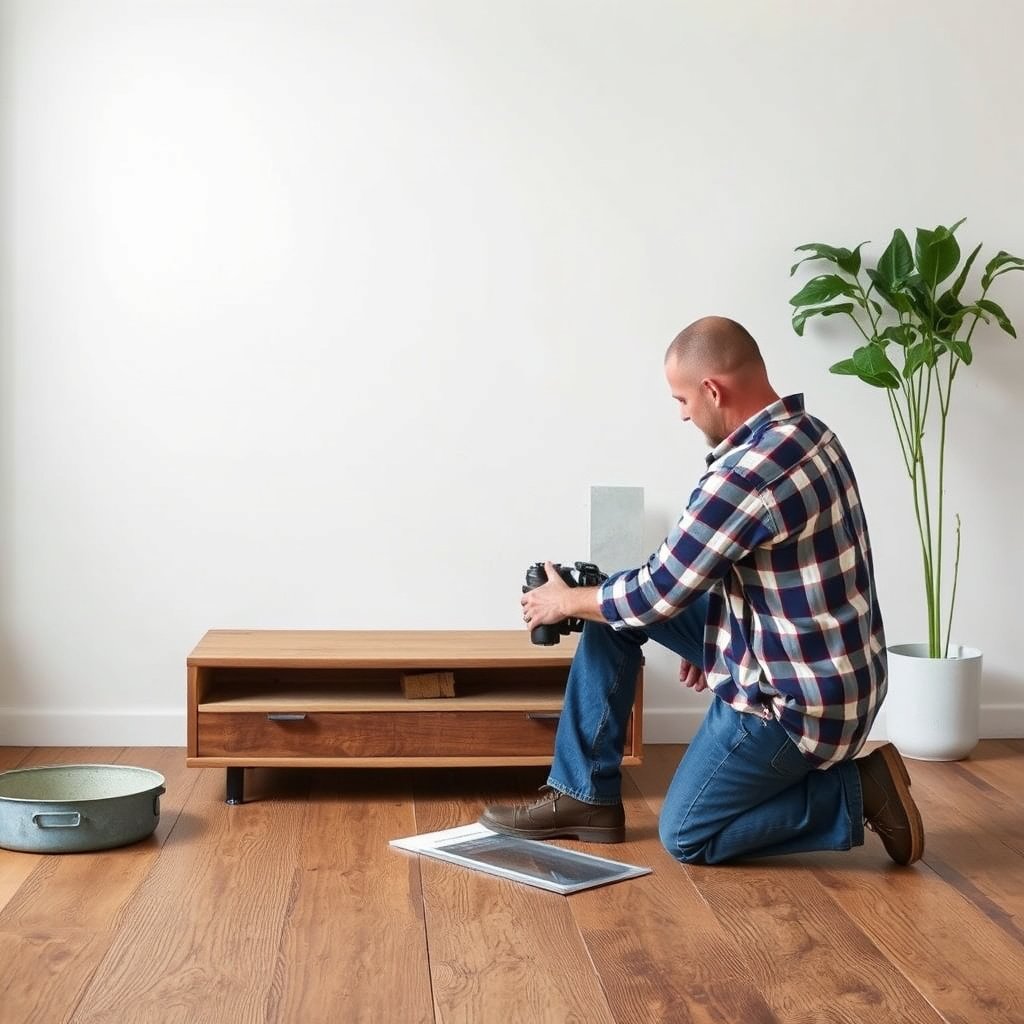
You can choose the right repair method fastest by deciding whether the damage is a surface scuff or a gouge that cuts through the finish and into (or near) the wood. A simple fingernail drag and color/finish inspection will tell you whether you should start with a remover/builder approach or plan on sanding plus filler and re-coating.
A fingernail catch is a practical indicator that a scratch is deeper than a surface scuff and typically requires flattening (sanding) and possibly filling.
If the scratch exposes raw wood, you usually need stain/toner and a protective topcoat—because polish or wax can’t rebuild missing color and film protection.
– Drag a fingernail lightly across the mark: if it doesn’t catch, it’s usually a surface scratch; if it catches, plan for sanding and/or filling.
– Check the color difference: pale scratches can be surface damage; darker trenches suggest deeper wear or old finish removal.
– Look for finish failure: if the scratch has exposed raw wood, you’ll likely need stain/toner and a protective topcoat—not just polish.
Clean the area before any repair

Clean reclaimed wood floors thoroughly before you try to repair scratches, because grit turns a small defect into a larger, more noticeable patch. This is especially important on reclaimed planks, where previous sanding dust and finish residue can interfere with bonding and stain uniformity.
Vacuuming and dust removal before sanding or staining prevents embedded grit from creating a “gritty” finish texture.
Reclaimed wood can be sensitive to excess moisture, so repairs typically require a slightly damp wipe followed by complete drying to avoid raised grain.
– Vacuum thoroughly and wipe with a slightly damp, lint-free cloth to remove grit that can grind deeper during repair.
– Use a wood-floor cleaner only if your finish manufacturer approves it; otherwise, use a minimal amount of cleaner and let the floor fully dry.
– Avoid soaking reclaimed wood—excess moisture can raise grain or interfere with stain adhesion.
Remove scratches with sanding (when the mark is raised or rough)
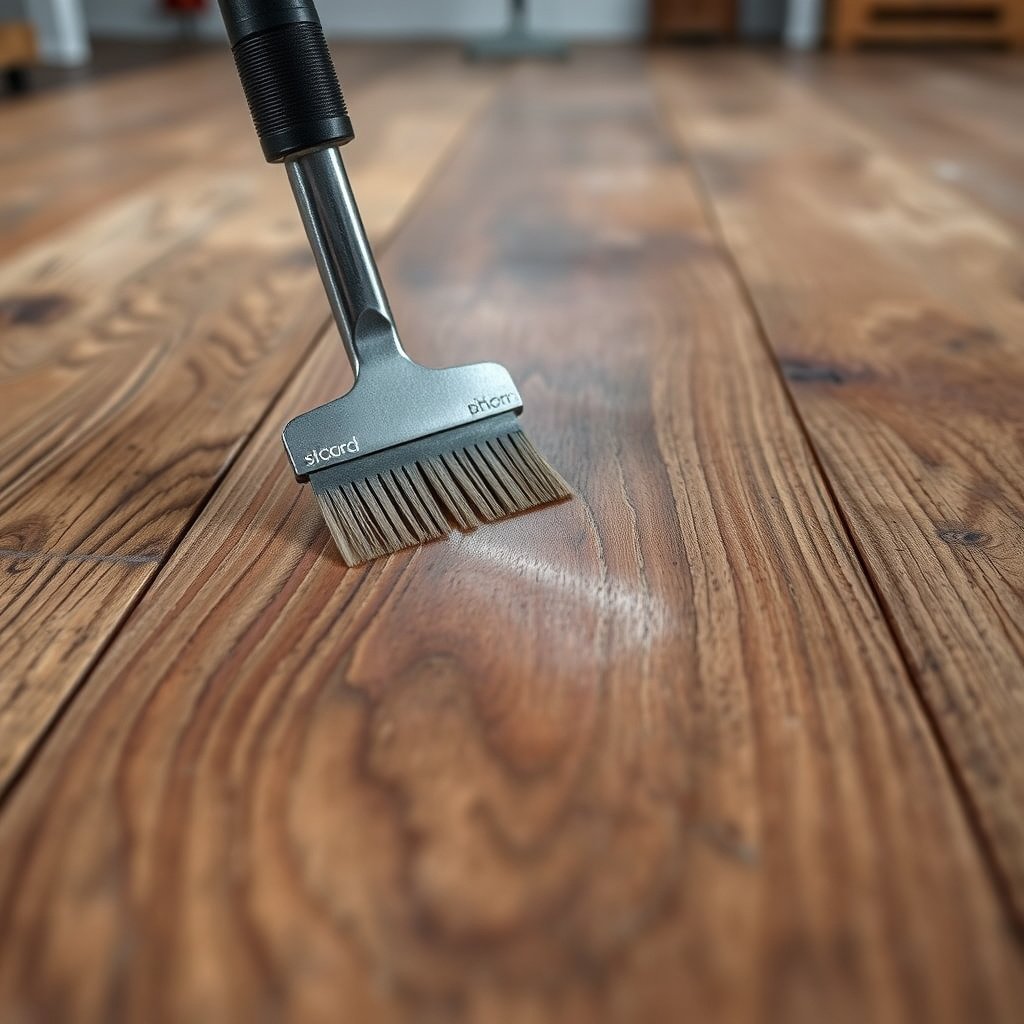
When a scratch is raised, rough, or visibly cut through the finish film, sanding is usually the only reliable way to flatten it so the repaired area doesn’t remain “high” to the touch. The goal on reclaimed wood floors is controlled blending—level the damage without creating a light-edged patch.
Most reputable floor-finishing workflows rely on sanding with a grit progression (coarser to level, finer to blend) to avoid visible transitions.
Feathering (blending) the scratch edges reduces the likelihood of a “patch” that shows different sheen or texture once coated.
– Use sanding paper around the same grit progression: start fine enough to avoid removing too much finish, then move finer for blending ().
– As a practical baseline many refinishing pros use for spot blending: start around 120–150 to knock down raised edges, then refine with 180–220 to reduce sanding marks before staining.
– Sand with the grain and feather the edges so you don’t create a visible “patch.”
– Vacuum and wipe dust after sanding; any remaining particles can cause gritty finishes.
Blend the repair so it matches the surrounding boards
Once you’ve flattened the scratch, blending is what makes reclaimed wood floors look “continuous” again. If sanding exposed fresh wood, you’ll typically need stain/wood toner in thin layers and then match the existing sheen level with a compatible topcoat.
Spot staining typically looks best when applied in thin layers, because reclaimed boards absorb tone unevenly across earlywood/latewood bands.
Sheen mismatch (matte vs. satin vs. gloss) can reveal repairs even when color blending looks close.
– If sanding exposed fresh wood, apply a matching stain/wood toner in thin layers until the tone blends.
– Let each layer dry fully before adding more (dry time varies by product).
– Seal the spot to match sheen level and protection of the rest of the floor ().
Reclaimed Flooring Wood Species vs. Scratch Resistance (Janka Hardness)
| # | Wood species (often found in reclaimed floors) | Janka hardness (lbf) | Relative scratch resistance vs. red oak | Field rating |
|---|---|---|---|---|
| 1 | Teak | 3,220 | +149.6% | ★★★☆ |
| 2 | Brazilian cherry (Jatoba) | 2,350 | +82.2% | ★★★☆ |
| 3 | Hickory | 1,820 | +41.1% | ★★★★ |
| 4 | Sugar maple | 1,450 | +12.4% | ★★★ |
| 5 | White oak | 1,360 | +5.4% | ★★★ |
| 6 | Red oak (baseline) | 1,290 | +0.0% | ★★ |
| 7 | Black walnut | 1,010 | -21.7% | ★★ |
Fill deeper scratches and dents (before staining/sealing)
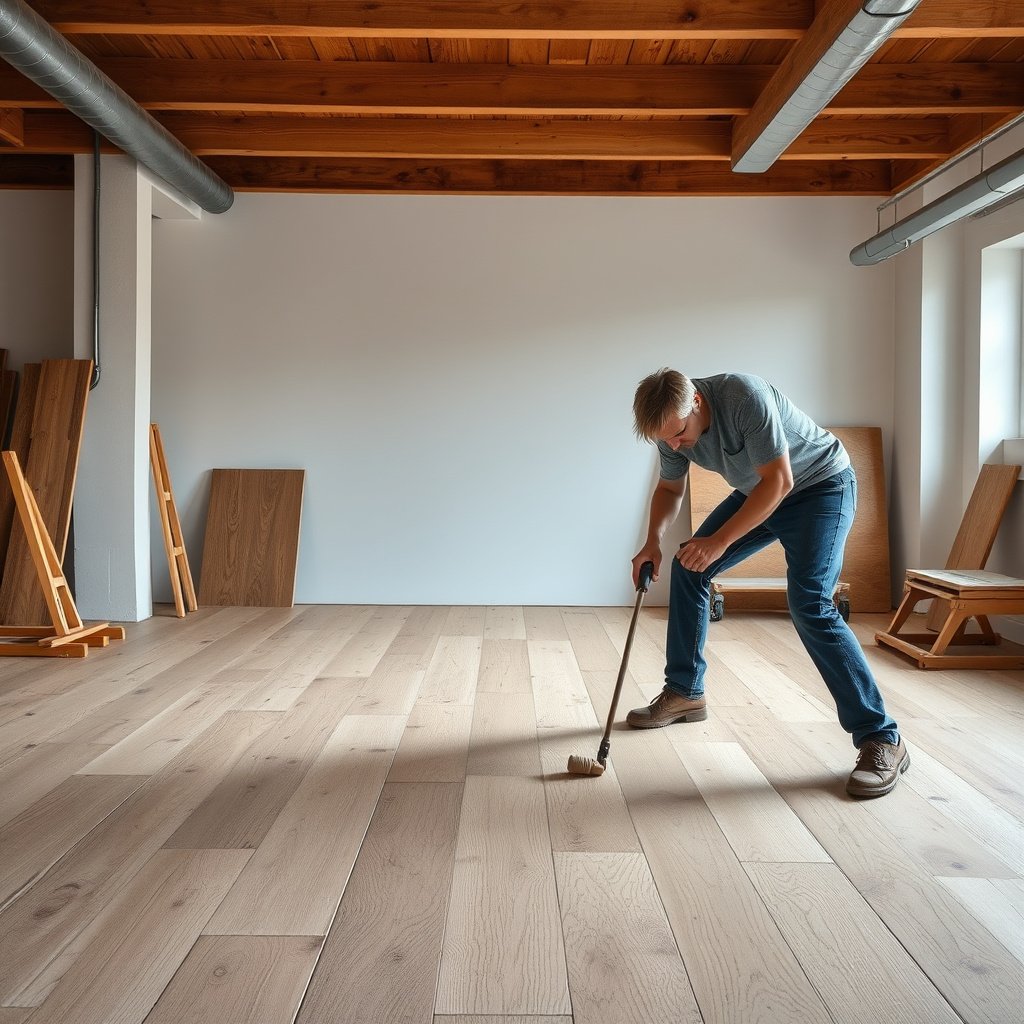
When the scratch is a gouge or the surface has dents you can feel, filling before you stain is what prevents a “shadow line” after coating. This approach works because stain can’t reliably level a void, and reclaimed wood floors often show low spots as dark edges once finished.
Gouges generally need a floor-rated filler (often water- or solvent-based) before staining so the repair surface is level and accepts color evenly.
Overfilling and sanding flush is typically required because fillers shrink slightly during cure.
– For gouges, use a wood filler or scratch repair compound designed for floors (choose one that matches stainability if you plan to color it).
– Overfill slightly, let it cure, then sand level with the surrounding wood for a smooth transition.
– Wipe away residue and dust before staining so the filler takes color evenly.
Finish with the right topcoat (to protect reclaimed boards)
After color blending, the topcoat step protects reclaimed wood floors from wear, moisture, and future abrasion—so this is not optional if the scratch reached the finish layer. The key is compatibility: the new product must bond to (or be accepted by) what’s already on your floor.
Topcoat compatibility is essential; water-based finishes generally need to be applied over compatible existing coatings to avoid peeling, fisheyes, or dull patches.
Recoating spot repairs usually requires blending sheen, not just matching color.
– Choose a finish compatible with the existing floor coating (water-based over water-based; oil-based over oil-based, unless you confirm compatibility).
– Apply thin, even coats; reclaimed wood boards can take finish differently, so plan on careful blending at edges.
– Allow full cure time before heavy foot traffic (use the manufacturer’s stated cure window—).
What can go wrong (and how to avoid it)
Reclaimed wood scratch repairs fail most often due to over-sanding, incompatible products, or rushed color blending—not because stain “doesn’t work.” If you treat reclaimed boards like uniform flooring, you can easily create a patch that shows more than the original scratch.
Over-sanding can remove more finish from the surrounding area than from the scratch itself, creating visible sheen differences around the repair.
Using the wrong repair compound or solvent can lead to poor bond strength, which shows up later as peeling or “holidays” in the coating.
– Over-sanding: chasing a scratch too aggressively can remove more finish than the rest of the board and create a “light square.”
– Wrong product over existing finish: some fillers, oils, or removers won’t bond well to the current topcoat, leading to peeling or dull spots.
– Color mismatch: reclaimed wood may be darker/lighter board-to-board; rushing stain layers usually makes the patch more obvious.
– Trapped grit: skipping cleaning can grind debris into the wood, turning a shallow mark into a wider repair.
Quick decision lens: sanding vs. spot treatment
When you’re unsure, choose the least invasive option that actually fixes the scratch mechanism on reclaimed wood floors. In my experience, the biggest preventable issue is starting with a “cosmetic” cleaner when the scratch has already cut through the finish—.
- Sanding (plus stain/toner) is best when:
- the scratch catches a fingernail, feels raised/rough, or exposes raw wood/failing finish.
- Spot remover/finish blending is best when:
- the scratch doesn’t catch and is confined to surface scuffs without finish failure.
- Filler is best when:
- there’s a true groove or dent that won’t level out with surface polishing.
Verdict: what to do first (and who should skip sanding)
Start with the least invasive option: on reclaimed wood floors, try a wood-safe scratch remover or light blending only if the scratch is truly superficial. If your fingernail catches, sanding (and possibly filler + stain + new topcoat) is usually the only way to flatten the damage without leaving a raised line.
If the scratch reaches bare wood or the finish film has failed, cosmetic products alone typically can’t rebuild missing depth and protection.
Sanding is inherently riskier on reclaimed floors because board-to-board hardness and prior coatings vary.
Skip DIY sanding if you’re unsure what finish is on your reclaimed wood, the floor has extensive areas that need refinishing, or you can’t match sheen/color afterward—those situations often call for a professional floor refinisher. Also avoid aggressive DIY repairs on historically important reclaimed planks or floors with unknown coatings.
Quick checklist to save
Use this scan-ready checklist to keep the repair method aligned with scratch depth and reclaimed wood floors’ variability.
A consistent repair workflow is depth test → cleaning → correct leveling → color blending → compatible topcoat.
Planning compatibility first prevents many “months-later” failures like peeling or dull edge rings.
– [ ] Confirm depth: fingernail test (surface vs. catches)
– [ ] Clean/dry completely; remove all grit
– [ ] Spot test any cleaner/stain/repair compound on a hidden area
– [ ] Sand only as needed; feather edges
– [ ] Fill gouges; sand flush
– [ ] Match stain tone and sheen
– [ ] Seal with a compatible topcoat; allow full cure time
Sources
– National Wood Flooring Association (NWFA): guidance on wood flooring care/maintenance conditions (including recommended indoor relative humidity ranges).
– OSHA: occupational safety guidance on controlling wood dust and related respiratory hazards during sanding (work-practice controls such as ventilation/HEPA vacuums and protective equipment).
– ASTM D4442: standard method for determining equilibrium moisture content in wood (oven-dry approach).
– U.S. Forest Service / Wood Handbook (USDA Forest Products Laboratory): wood property references (including hardness values used for comparative performance).
If you treat reclaimed wood floors like variable materials—test depth, clean thoroughly, level only what’s damaged, then finish with compatible protection—you can remove most scratches without turning them into larger, more obvious repairs. The fastest path to a natural look is matching both the wood tone (via stain/toner) and the surface film (via a compatible, correctly cured topcoat).
Frequently Asked Questions
What’s the best way to remove scratches from reclaimed wood floors?
Start by cleaning the floor thoroughly so you can see the scratch depth and remove any grit that can worsen damage. For light surface scratches, use a wood floor scratch remover or a color-matched wood stain marker and then apply a matching finish. For deeper gouges, you may need wood filler or a repair paste, followed by sanding and refinishing with polyurethane or the floor’s original finish.
How do I fix deep gouges in reclaimed wood floors without making the damage worse?
Clean the area and lightly sand only the damaged zone to remove splinters and level raised edges, keeping sanding minimal so you don’t thin the reclaimed wood too much. Press a color-matched wood filler into the gouge, let it cure, and sand it flush with the surrounding boards. Finish by applying a compatible topcoat (often water-based or oil-based polyurethane) to blend sheen and protect against future wear.
Why do reclaimed wood floors scratch more easily, and how can I prevent new marks after repairs?
Reclaimed wood often has softer wear layers from years of use and may have an older finish that’s less durable than newer coatings. After repairs, use felt pads under furniture, place rugs in high-traffic walkways, and avoid dragging items across the surface. Regularly clean with a wood-safe cleaner (not harsh abrasives) and consider a protective finish refresh if the topcoat has worn thin.
Which scratch repair method should I use for hairline scratches versus scuffs on reclaimed hardwood?
Hairline scratches that only affect the surface are usually best handled with a wax-based repair stick, wood stain marker, or scratch repair kit, followed by buffing. Scuffs and dull spots typically require gentle cleaning first, then a light rub with a wood-floor polish or refinish-friendly cleaner; if they persist, apply a thin layer of matching finish. Avoid aggressive sanding on minor scuffs, since reclaimed wood thickness and patina can vary board to board.
How can I sand and refinish reclaimed wood after scratch removal to match the existing color and sheen?
Use progressively finer sandpaper (or a sanding block for small spots) until the repair area is smooth, then remove dust completely with a tack cloth or vacuum. Apply a wood stain or blending gel that matches the reclaimed wood tone, especially if the scratch shows bare wood. Finish with a compatible topcoat and feather edges to reduce visibility, testing sheen on a hidden area first so the repaired spot blends with the surrounding floor.
📅 Last Updated: October 15, 2026 | Topic: How to remove scratches from reclaimed wood floors? | Content verified for accuracy and freshness.
References
- Wood flooring
- Wood putty
- Sandpaper
- Refinishing
- Floor sanding
- Lead Renovation, Repair and Painting Program | US EPA
- https://www.cdc.gov/nceh/lead/prevention/renovation.htm
- https://scholar.google.com/scholar?q=reclaimed+wood+floor+scratch+removal Google Scholar
- https://scholar.google.com/scholar?q=hardwood+floor+scratch+repair+sanding+wood+filler Google Scholar
- https://scholar.google.com/scholar?q=wood+surface+scratch+repair+coatings+refinishing Google Scholar