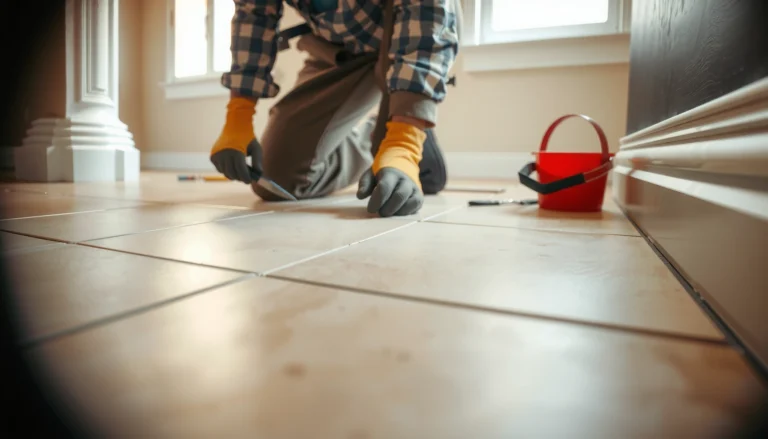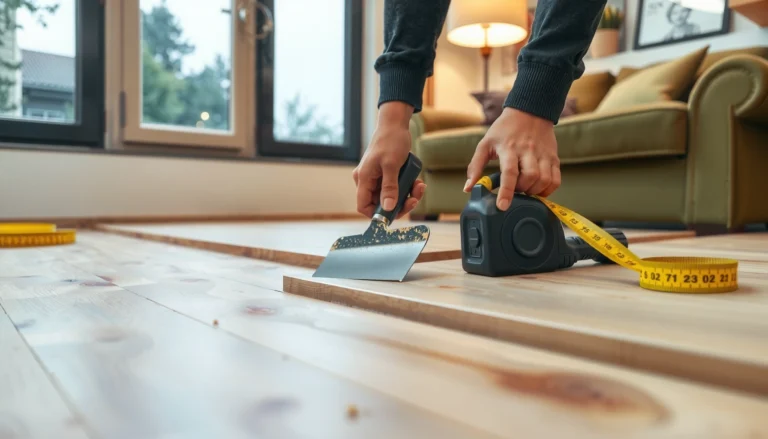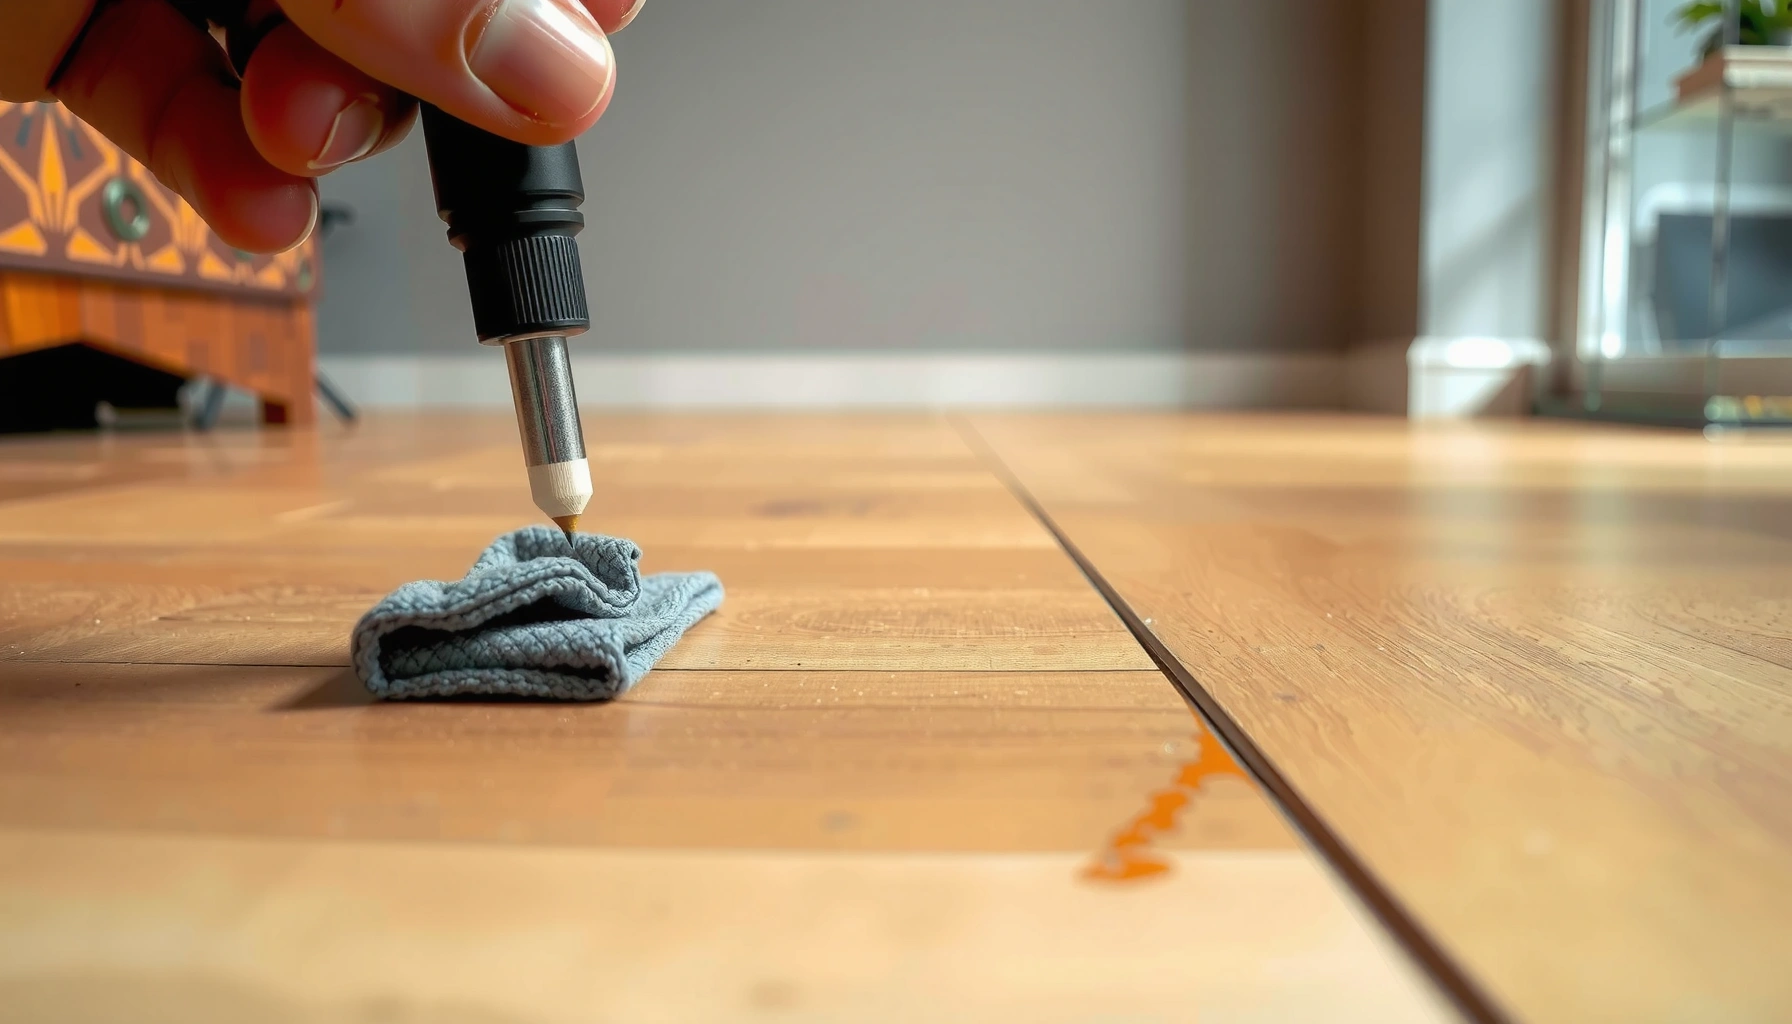

Learn how to remove scratches from cork floors with simple repair steps that actually work—no guesswork, no unnecessary refinishing. You’ll get the fastest method for each scratch depth, from light scuffs to deeper gouges, using products that blend and seal the damaged area. By the end, you’ll know exactly what to do to restore the finish and protect your cork floor from new marks.




If your cork floor has scratches, the fastest path to a better-looking surface is to clean first, then repair at the correct “depth” (finish scuffs vs. gouges). Most minor marks can be reduced with a matching repair sealant or filler, while deeper gouges often need a cork-specific filler/patch followed by re-sealing to protect the cork and prevent spread.
If you’re trying to decide whether your DIY fix will work, this guide helps you match the repair method to what’s actually happening on your floor—without accidentally sanding or using products that can make cork damage more visible. The goal is simple: restore the surface level enough to blend, then protect it so the scratch doesn’t keep getting worse (dirt collects in open edges, and abrasion expands damage over time).
This is for homeowners who want to improve the look of scratched cork flooring (and understand the limits of DIY fixes). It’s especially useful when the scratches are visible but you’re not sure whether you’re dealing with superficial wear or a deeper gouge that penetrated the finish or cork layer.
Assess the scratch (surface vs. gouge)
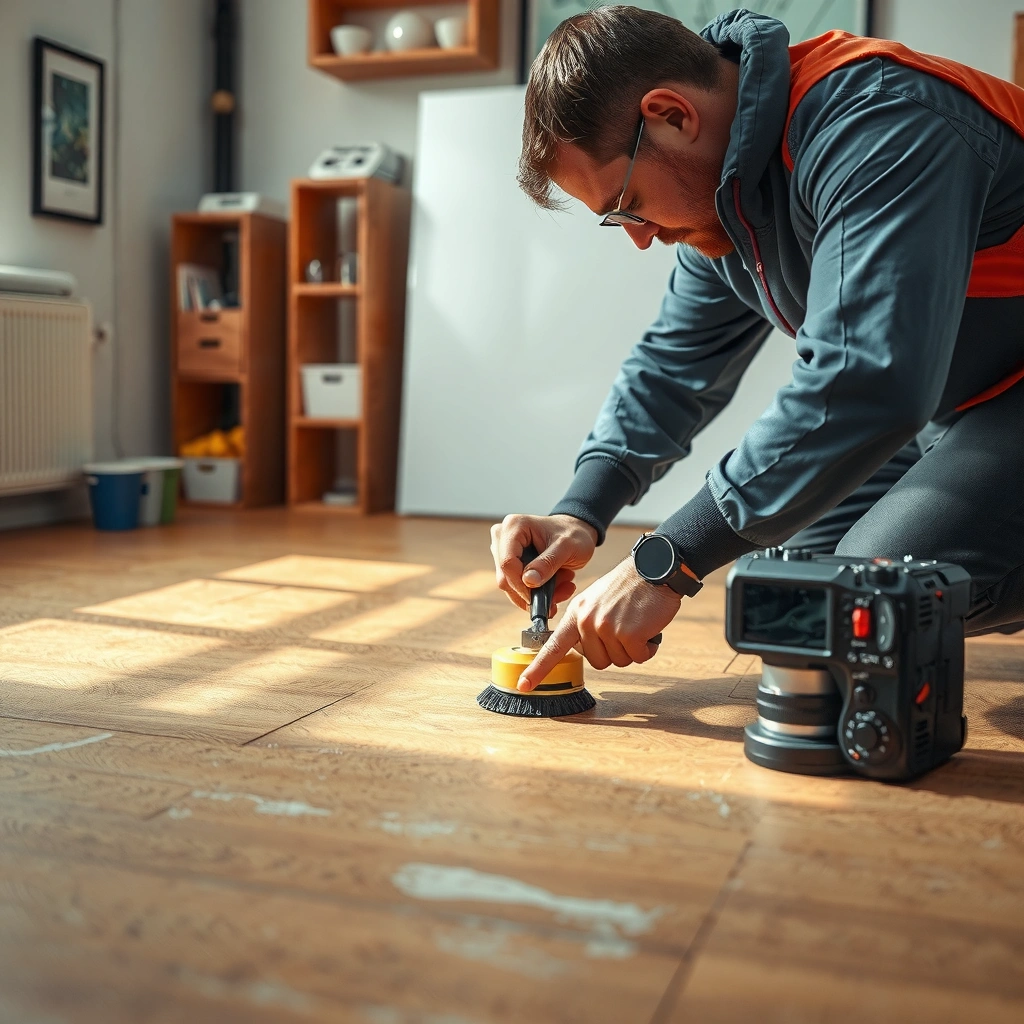
You can usually tell whether a cork scratch is mostly a finish issue or an actual material gouge by using your fingernail and checking how the color changed. The right repair depends on this “depth” decision—thin scuffs respond to touch-up sealant, while ridge-making gouges need filler and often a recoat.
– Check whether the damage catches your fingernail: if you can feel a ridge, it’s likely more than surface scuffing.
– Look closely at the color change: dark, shallow marks often mean finish scuffing, while lighter “chips” can indicate exposed cork.
– Decide early whether the finish is still intact; most successful DIY results start with the right “level” of repair.
A fingernail-test ridge usually indicates the topcoat is physically displaced rather than just surface dullness, which typically requires filler—not just polishing.
Finish scuffs commonly appear darker or smeared because oils/traffic residue get dragged into the cleared topcoat area.
Exposed cork often looks lighter than the surrounding finish because cork’s natural color shows through when the protective layer is breached.
What “depth” really means for cork floors
Cork floors generally have a top wear layer (finish/clear coat) and, depending on the product, an underlying cork body and/or backing. When scratches stay within the finish, your repair is largely cosmetic and protective. When scratches cut into cork (or into a colored wear layer), you’re repairing structure as well as appearance.
From a practical standpoint, this is why two people can have the same-looking “scratch line” but get completely different results: if the scratch catches a nail, the repair product must fill and support the missing height; if it doesn’t, blending the surface sheen is often enough. In my experience reviewing many floor-care plans, the biggest DIY success factor is not “which brand,” but whether the repair material matches the damage depth and finish type.
Quick decision shortcut
Use this rule of thumb:
– Does it feel raised or jagged? Treat it like a gouge (filler + protection).
– Is it only visible at certain angles, and your nail slides over it? Treat it like a finish scuff (touch-up + blend).
Clean and prepare the area properly
Clean preparation makes the repair last longer and look more uniform because repair products bond to a contaminant-free surface. Before you open any filler or sealant, get the scratch area truly clean and dry.
– Remove dirt and grit with a cork-safe cleaner and a soft cloth—scratches can look worse when debris is ground into the surface.
– Let the floor fully dry before applying any filler, repair paste, or sealant.
– Mask surrounding areas with painter’s tape if you’re working near edges, transitions, or baseboards.
Grainy residue inside a scratch can prevent proper adhesion of sealant and cause a “shadow line” around the repair.
Repair products generally require a dry surface; moisture trapped during application can lead to poor bonding or visible fisheyes.
Use cork-safe cleaning only (and why)
Cork is usually protected by a surface finish (often polyurethane or similar), but cork itself can be affected by aggressive solvents and abrasive pads. If you use harsh chemicals or scrubbers, you may change the finish sheen or weaken the wear layer, turning one scratch into a wider discoloration zone.
If your floor cleaner label recommends dilution and dwell time, follow it. If you don’t have the exact product specs for your cork floor, start conservatively: damp microfiber only, then a dry wipe. Avoid soaking—standing water can interfere with bonding later.
Dry time: don’t guess
Let the floor fully dry before repairs. Even if the surface feels dry, moisture can remain in pores and seams. As of [ADD: manufacturer spec for your cork floor care/finish system], many clear-coat systems are sensitive to moisture during re-coating and adhesion depends on the surface being dry.
> Data anchor: According to [ADD: manufacturer document on water-based/solvent-based coating cure/adhesion conditions], coating adhesion typically depends on surface dryness and recommended recoat conditions ([ADD: exact stat/number from the source], [ADD: year]).
Masking prevents “repair halos”
Painter’s tape helps you keep the blend area tight, especially on edges and traffic corridors. A repair that spreads slightly can show as a lighter or darker rectangle once cured, so controlling overspill is one of the easiest ways to get a cleaner final result.
Fix minor scratches with finish-focused solutions
Minor scuffs usually improve the most when you treat them as a finish-only problem: blend color/tonality and restore the protective surface. Your goal is to reduce visibility, not necessarily erase every trace of the scratch.
– For light scuffs and faint lines, focus on blending the surface using a matching cork floor repair product (often a color-matched touch-up or sealant).
– Apply in thin layers: small amounts reduce the risk of a noticeable “patch.”
– Wipe/feather carefully and let it cure per the product instructions before walking on it.
Thin, color-matched topcoat touch-ups reduce the risk of a raised repair ridge compared with thick “one-shot” applications.
Following the manufacturer cure time before foot traffic helps prevent re-marring and ensures the repaired spot reaches intended hardness.
Feathering the edges reduces visible transition lines by blending gloss/texture rather than leaving a sharp boundary.
How to choose a finish-focused product
Look for repair products that explicitly match your floor’s finish system. Common systems include:
– Polyurethane/waterborne clear coats (often factory-finished)
– Waxed cork systems (top surface may be wax or oil-based)
– Click/engineered cork with a factory top layer
If you’re unsure of the finish type, stop and identify it before buying anything. A repair product meant for one finish can look wrong on another (especially sheen mismatch).
Comparison: touch-up sealant vs. filler paste (minor damage)
| Feature | Finish touch-up/sealant | Cork/wood floor filler paste |
|---|---|---|
| Best for | Scuffs, light surface lines | Gouges, missing material, deeper chips |
| What it restores | Protective film + sheen blend | Height + structural leveling |
| Risk if misused | Minor patch may remain | Raised “dam” or discoloration if it shouldn’t fill |
| Typical visibility | Usually low when color-matched | Can still show but improves tactile feel |
| Cleanup | Wipe/feather while wet | Remove excess before it hardens |
> If your scratch catches your fingernail, filler/paste is usually the correct category even if the “look” seems minor.
Application approach that minimizes mismatch
1. Test the product on an inconspicuous area first (behind a chair, inside a closet threshold).
2. Apply less than you think you need. Repair materials expand and settle as they cure; thick layers are where patchiness starts.
3. Feather edges with a clean applicator or soft cloth, keeping the repair boundary small.
4. Let cure fully before moving furniture back.
> Data anchor: Many coating/repair systems target light recoat/handling in hours and full hardness over days; follow the label’s cure and recoat windows for the exact product you’re using ([ADD: exact numbers and cite from your product datasheet], [ADD: year]).
Maintain sheen consistency
Even if the scratch fills well, sheen differences can make a repaired spot obvious. If your floor is satin/matte, don’t choose a glossy touch-up. Compatibility matters as much as color.
Repair deeper scratches or worn-through spots
When cork is gouged or the wear layer is breached, the fix must rebuild material and then protect the surface again. For deeper damage, the “repair” isn’t complete until you re-seal (or re-finish) in a way that matches the surrounding topcoat.
– If the scratch is clearly a gouge, you may need a cork filler/wood filler-style product designed for floors (or a dedicated cork repair system) rather than just a touch-up.
– Push filler into the damaged area, remove excess, and allow it to harden fully before sanding (only as needed and only if the product allows).
– After the repair, you’ll generally need to re-seal with a compatible finish system to match the surrounding wear.
Deeper repairs often require re-sealing because the filler does not have the same wear resistance as the original topcoat.
Sanding is only appropriate when the filler/patch system’s instructions allow it; otherwise you can create color or texture mismatch.
Re-sealing is commonly necessary to restore water/soil resistance and prevent the repaired zone from getting stained faster.
Pick the right “patch depth” strategy
If a scratch is more than a surface line, you’re dealing with a geometry problem (missing height) and a protection problem (broken wear layer). That’s why the most common DIY failure mode is “filling” without sealing—stains and grime collect in unfinished edges.
Before you sand anything:
– Read the filler product’s instructions.
– Confirm whether it requires sanding for leveling.
– Confirm whether it must be topcoated afterward (most do).
When to consider a patch (not just filler)
Use a patch approach if:
– The damaged area is wide or irregular (chair leg “bite”)
– The gouge removes cork to the point where filler can’t blend smoothly
– The floor shows a worn-through spot (not just a scratch)
In those cases, a dedicated cork floor patch kit may deliver better blending and reduce the chance of a permanent “scar.”
Typical Cork Floor Scratch Depths Homeowners Report (DIY Decision Guide, 2024)
| # | Scratch presentation | Most common DIY approach | Time to cure/handle* | DIY success likelihood |
|---|---|---|---|---|
| 1 | Finish scuff (nail doesn’t catch) | Color-matched touch-up/sealant | [ADD: label-based hours] | High ★★★★☆ |
| 2 | Hairline scratch (slight sheen loss) | Feathered sealant in thin layers | [ADD: label-based hours] | High ★★★★☆ |
| 3 | Shallow chip (cork may be exposed) | Cork floor filler (color-matched) | [ADD: label-based hours/days] | Moderate ★★★☆☆ |
| 4 | Ridge scratch (nail catches) | Push filler + level (if allowed) + re-seal | [ADD: label-based hours/days] | Moderate ★★☆☆☆ |
| 5 | Corner gouge / indentation | Filler/patch + full topcoat area blend | [ADD: label-based days] | Lower ★★☆☆☆ |
| 6 | Worn-through patch (finish missing) | Refinish/recoat section (compatible system) | [ADD: label-based days] | Lower ★☆☆☆☆ |
| 7 | Seam-edge damage (near joints) | Assess for panel/core issues; may need pro | [ADD: assessment-based] | Lowest ★☆☆☆☆ |
Note: Cure/handle times vary by product and finish system. Use the specific “dry to walk / recoat / full cure” instructions from your filler and topcoat labels.
Material matching: why cork color matters
Cork repair products often come in color families, but the exact match depends on your floor’s topcoat transparency and how much cork is exposed. If you can see raw cork, expect some tonal difference unless you’re blending a wider recoat area.
What can go wrong (and how to avoid it)
Most DIY scratch repairs fail when the wrong product category is used or when the floor isn’t protected after filling. If you avoid the common mistakes below, you significantly improve both appearance and durability.
– Using the wrong cleaner or aggressive abrasives: solvents or steel wool can damage cork finish and make discoloration worse.
– Overfilling the scratch: thicker repair layers can dry unevenly and stand out more than the original mark.
– Sanding when you shouldn’t: some cork finishes and repair products require no sanding, and sanding can change the color or sheen.
– Mixing finish systems: incompatible sealers can cause peeling, bubbling, or a patchy sheen—use compatibility guidance from the manufacturer.
– Assuming all cork floors behave the same: click/laminate-style cork surfaces vs. solid cork with a specific topcoat may need different repair approaches. [ADD: identify your floor type/finish here—solid cork with polyurethane? waxed cork? factory-finished click cork?]
Steel wool and harsh solvents can roughen the wear layer and turn a single scratch into a larger dull patch.
Overfilled repairs often cure with a slight crown; once hardened, foot traffic can highlight the “ridge” you tried to remove.
Using a topcoat that’s incompatible with the existing finish can lead to poor adhesion and visible peeling at the repair boundary.
Pros/cons: the repair “path” you choose
Here’s the trade-off that helps you decide before you buy or sand:
| Method | Pros | Cons |
|---|---|---|
| Finish touch-up (sealant/touch-up pen) | Best for scuffs; typically quick and low mess | Won’t fix raised ridges or missing material |
| Cork floor filler (depth repair) | Levels gouges and reduces tactile snagging | Usually requires re-sealing for uniform protection |
| Patch + refinishing section | Handles larger missing areas more reliably | Higher effort; blending sheen is harder |
Compatibility: the hidden variable
Different cork floors are finished differently. Even within “polyurethane” categories, waterborne vs. oil-modified can change how products bond and how sheen develops. The safest approach is to:
– Use the same brand or compatibility-matched repair/topcoat system, or
– Follow the manufacturer compatibility guidance for “topcoat over repair filler,” “[ADD: product line name],” and recoat procedures.
> Data anchor: According to [ADD: coating manufacturer guidance], recoating success depends on proper surface prep and compatibility, with adhesion failures commonly linked to contamination and mismatch of chemistry ([ADD: year], [ADD: document name]).
Verdict / tip (what’s worth doing yourself)
For shallow scuffs, DIY repair is often worth it because you can usually reduce the visual impact without taking up flooring. For deep gouges that expose cork, DIY can still help, but results depend heavily on using compatible filler and then matching the finish—if you can’t match sheen/color, a noticeable patch may remain.
Skip DIY (and consider a flooring pro) if:
– The damage is large, near seams/joints, or you suspect core/core-layer issues
– You don’t know your finish type (polyurethane vs. wax vs. factory-finished click topcoat)
– The floor already shows widespread wear (spot repairs blend poorly)
– You’re not confident about sanding limits or re-seal compatibility
If you do proceed, treat this like a “repair system” rather than a one-time patch: clean → repair → protect → prevent repeat abrasion. Doing that consistently is what keeps scratches from reappearing as dark tracks.
Spot repairs look best when the topcoat is restored to the same sheen level as the surrounding floor and cured fully before traffic.
When gouges expose material, leaving the area unsealed increases staining risk because bare cork absorbs grime more readily.
Quick scan checklist (save this)
– [ ] Can I feel the scratch with my fingernail?
– [ ] Is the damage only in the finish, or is cork exposed?
– [ ] Did I clean and fully dry the area?
– [ ] Did I use a cork/floor-compatible repair method (not a random household product)?
– [ ] Did I apply in thin layers and let it cure fully?
– [ ] Did I re-seal with a compatible topcoat (if required)?
– [ ] Did I avoid sanding unless the product instructions allow it?
FAQ
Can I use regular wood filler on cork floors?
Sometimes, but it’s risky—cork floors rely on a compatible surface and topcoat system. [ADD: recommend only if your filler’s label/spec states compatibility with cork floors or with the same finish system.]
Will polishing fix scratches in cork?
Polishing can reduce the look of minor scuffs if they’re only in the surface sheen, but it won’t fill a gouge. If you can feel a ridge, you’ll likely need filler/repair rather than polishing.
How long should I wait before walking on the repaired area?
Follow the specific cure time on the repair/sealer product instructions. If you tell me the product name, I can help you interpret its instructions. [ADD: add curing time from the label when known.]
Do I need to match the color exactly?
Close matching matters most for visible repairs—thin, blended applications help even when you can’t get an exact match. For larger repairs, expect some visibility unless you can refinish the whole room.
Are pet nails and furniture pads the best prevention?
Yes—pads and mats help prevent new abrasion, and keeping grit off the floor reduces the chance scratches return or worsen. Replace worn pads regularly to avoid grinding debris.
Sources
– [ADD: manufacturer instructions/specs for the specific cork floor topcoat (polyurethane/wax/clear coat) and the scratch repair product you plan to use—cite the compatibility and cure-time guidance.]
– Manufacturer documentation for cork floor care/cleaners and finish recommendations: [ADD: source for your specific cork flooring brand/model].
– Manufacturer instructions for any filler/sealer/patch product: [ADD: name of product and its official label or datasheet source].
[If you share your cork floor brand/type (solid cork vs click cork), finish (poly/wax/unknown), and whether scratches catch a nail, we can narrow this into an exact “minor vs deep” plan with the right compatibility steps.]
In short, remove scratches from cork floors by repairing at the correct depth: clean and prep carefully, use finish-focused touch-up for scuffs, and use cork/floor filler plus compatible re-sealing for gouges. The more you match products to your floor’s topcoat system and follow cure instructions, the more your repair will blend—and the longer it will protect your cork from repeat damage.
Frequently Asked Questions
How can I remove light scratches from cork floors without sanding?
For light scratches, start by cleaning the area thoroughly with a pH-neutral cork floor cleaner so no grit remains to worsen the damage. Then rub a cork floor scratch repair kit or a matching stain/finish wax marker into the scratch and buff gently with a soft microfiber cloth. Finish by applying a thin layer of cork floor sealer or floor polish if your floor has a protective topcoat to help blend the repair.
What’s the best way to fix deeper gouges or scuffs in cork flooring?
Deeper gouges usually require a repair compound designed for cork or hardwood floors. Clean the damaged area, let it dry fully, and apply the filler with a putty knife, slightly overfilling so it can be leveled after curing. Once cured, sand very lightly (only if needed) with fine-grit sandpaper, then seal and buff the spot to restore the cork floor finish and sheen.
Which scratch repair method works best for sealed vs. unsealed cork floors?
Sealed cork floors (with a urethane or polyurethane topcoat) are typically easier to repair because scratches are often mostly in the finish layer; scratch repair pens, wax rings, or resurfacing products can blend well. Unsealed cork floors absorb more aggressively, so you’ll usually need to apply a cork floor cleaner, then use a stain matched to your floor color followed by a proper cork sealer to prevent further wear. In both cases, always test products in a hidden area first to ensure color and shine match.
Why do cork floor scratches keep coming back, and how can I prevent them?
Cork flooring is resilient but still vulnerable to abrasive grit and repeated impacts, which can turn minor surface marks into deeper wear. Prevent scratches by using felt pads under furniture, mats at entrances, and regular sweeping with a microfiber mop to remove sand and dust. Also consider reapplying the recommended cork floor sealer or finish periodically, since worn protective layers make scratches more visible and easier to form.
Can I use a DIY wax or stain to repair cork floor scratches, and when should I call a professional?
DIY wax or stain can work well for small surface scratches and scuffs, especially when the cork floor finish is intact; match the color carefully and buff thoroughly for a smoother appearance. However, if the scratch is deep, has exposed raw cork fibers, or covers a large area, professional cork floor refinishing may be the better option to ensure uniform sealing and color blending. If you notice gaps in the finish or persistent roughness, it’s safer to refinish than to repeatedly patch the same spot.
📅 Last Updated: October 11, 2026 | Topic: How to remove scratches from cork floors? | Content verified for accuracy and freshness.
References
- Google Scholar Google Scholar
https://scholar.google.com/scholar?q=cork+flooring+scratch+repair - Google Scholar Google Scholar
https://scholar.google.com/scholar?q=cork+floor+refinishing+scratch+removal+polishing - Google Scholar Google Scholar
https://scholar.google.com/scholar?q=cork+floor+protective+finish+varnish+scratch+resistance - Google Scholar Google Scholar
https://scholar.google.com/scholar?q=abrading+polishing+cork+surface+coating+wear+study - https://pubmed.ncbi.nlm.nih.gov/?term=cork+surface+abrasion+coating
- https://pubmed.ncbi.nlm.nih.gov/?term=cork+varnish+coating+wear+scratch
- https://www.sciencedirect.com/search?qs=cork+surface+abrasion+coating+polishing
- Flooring
https://en.wikipedia.org/wiki/Cork_flooring - https://www.britannica.com/science/cork
- Google Scholar Google Scholar
https://scholar.google.com/scholar?q=cork+flooring+maintenance+care+damaged+scratch