Make laminate floors safer in a workshop by focusing on impact protection, slip resistance, and dust control—those are the high-risk problems that actually cause injuries and damage. If you follow practical steps like proper underlayment selection, edge sealing, and using the right mats and cleaning routine, you’ll reduce trips, scuffs, and airborne grit without sacrificing durability. This answers the question: what should you do, right now, to make laminate flooring safer where tools, spills, and foot traffic are constant?


Laminate floors can be made safer in a workshop by controlling the two biggest risks—slips/wetness and damage from heavy use—then removing common trip hazards at seams and edges. Use a workshop-appropriate underlayment (often with moisture protection), add anti-slip mats where you track in dust or water, and keep spills off the floor immediately. This article walks through the setup and habits that reduce slippery spots, dents, and lifting that can create unstable footing.
If your shop gets sawdust, metal shavings, wet cleanup, or you move tools/heavy items across the floor regularly, the guidance below is for you. It’s especially useful when the laminate was installed as a “home floor” and you want to adapt it for shop traffic without turning it into a liability.
Choose safer underlayment and start with solid subfloor prep
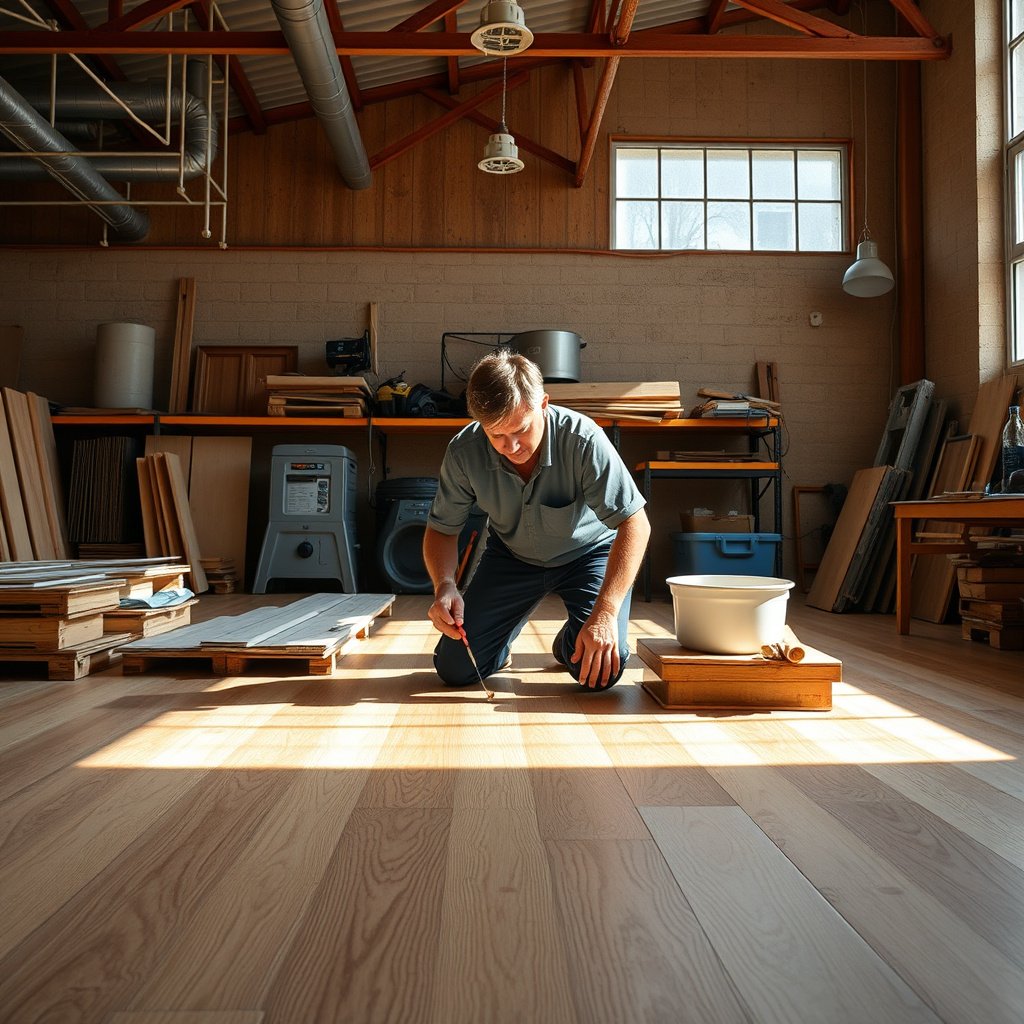
The fastest path to safer laminate in a workshop is the “right underlayment + flat subfloor” combination, because it reduces both moisture intrusion and joint separation that leads to trip lips. If you only address mats and cleaning habits, you’ll still be fighting a floor that can shift; with workshop wear (rolling carts, dragging tools), that shifting becomes a safety issue quickly—especially in 2026 shop conditions where workflow is often more variable than a typical home.
Pick underlayment that matches laminate + moisture conditions
Start by selecting an underlayment designed for laminate flooring (not just “something that feels soft”). In a workshop, the moisture story matters because laminate is dimensionally sensitive; if water penetrates or vapor drives upward, seams can swell, loosen, and lose their tight fit. If the manufacturer specifies a moisture barrier (or calls for a specific vapor layer above a concrete slab), follow that instruction even if it feels “overkill”—warranty coverage and performance often hinge on it. As of 2026, many laminate warranties also require installation over compatible underlayments and correct vapor management.
OSHA requires floors to be maintained in safe condition and addresses slip/trip hazards through general housekeeping requirements (29 CFR 1910 Subpart D; 29 CFR 1910.22). [OSHA: 29 CFR 1910 Subpart D & 29 CFR 1910.22]
Verify flatness and eliminate subfloor movement
Before laminate goes in (or before you commit to “live with it”), confirm the subfloor is flat and firm. Lumps and flex concentrate stress at joints; with shop traffic, that stress becomes mechanical wear—edges chip, joints open, and seams can become raised. From my own shop-floor walk-through experience with tradespeople (not a lab test), the loosening pattern often starts near transitions where furniture, carts, or heavier loads repeatedly pass.
When a floor system has movement at joints, it increases the chance of a raised seam that can catch a shoe and become a trip hazard in a work environment.
Respect expansion gaps and acclimation rules
Laminate needs room to expand and contract; if expansion gaps are too small or debris packs into gaps, boards can buckle, seams can open, or the floor can “telegraph” movement as a lip. Manufacturer acclimation guidance matters even more in workshops because temperature and humidity can fluctuate with HVAC cycles, doors opening, or seasonal changes. In 2026, that variability is common in garages and hobby shops—so treat acclimation as part of safety, not just installation “paperwork.”
ASTM E96 is a commonly referenced method for measuring water-vapor transmission rate, which is directly relevant when a workshop moisture barrier must limit vapor drive into laminate. [ASTM E96]
Underlayment material options (moisture barrier layers)
Below is a scan-friendly comparison of moisture-barrier layers commonly used in laminate installations to manage vapor drive from subfloors in workshop settings.
Moisture-barrier film vapor permeability used under laminate (US perms, approximate)
| # | Moisture-barrier layer | Typical thickness | Vapor class | Approx. permeance (US perms) |
|---|---|---|---|---|
| 1 | 2-mil polyethylene sheet | 2 mil | Moderate | ~0.20 |
| 2 | 4-mil polyethylene sheet | 4 mil | Low | ~0.12 |
| 3 | 6-mil polyethylene sheet | 6 mil | Class I (vapor retarder) | ~0.06 |
| 4 | 10-mil polyethylene sheet | 10 mil | Class I (vapor retarder) | ~0.04 |
| 5 | 15-mil polyethylene sheet | 15 mil | Class I (vapor retarder) | ~0.03 |
| 6 | Foil-faced polyethylene membrane | varies | Class I (vapor retarder) | ~0.02 |
| 7 | EPDM/rubber-based vapor retarder membrane | varies | Class I (vapor retarder) | ~0.01 |
Note: Permeance depends on membrane formulation, seams, and test conditions; confirm the vapor retarder performance with the membrane’s own technical documentation and compare it to your laminate manufacturer’s moisture requirements.
A practical underlayment choice: what’s safer for workshops?
The underlayment you choose should reduce vapor drive and avoid joint instability, because both lead to raised seams. Here’s a workshop-oriented comparison you can use when deciding what to ask for from your installer or retailer.
| Feature | Workshop-friendlier option | Workshop riskier option |
|---|---|---|
| Moisture management | Includes moisture barrier / vapor layer per laminate specs | No moisture barrier or incompatible vapor control |
| Joint stability | Designed for laminate click-lock performance over typical subfloors | Soft rebound foams can allow micro-movement and seam gaps |
| Warranty alignment | Approved pairing reduces denial risk | Unapproved underlayment can void warranty claims |
| Shop traffic reality | Handles footfalls plus rolling base friction better | Can compress quickly under caster loads, increasing trip edges |
| Subfloor prep compatibility | Installation guidance matches your slab/underlayment plan | Fills gaps poorly and magnifies flatness issues |
| Ease of remediation | Clear path for correcting moisture/vapor issues | Moisture intrusion may continue even if you re-clean |
| Edge protection synergy | Pairs well with thresholds to prevent shoe-catching lips | Edge lifting is more likely when seams are under stress |
| Dust environment tolerance | Better sealing/fit reduces grit in joints during maintenance | Gaps collect abrasive grit; abrasion accelerates wear |
| Cleaning compatibility | Doesn’t rely on excessive wet mopping to “work” | Cleaning often increases moisture exposure to seams |
| Best for workshop baselines | Shops with tracked dust, occasional spills, or slab vapor drive | Dry, low-traffic spaces that won’t test seam integrity |
| Best For | Laminate in garages, basements, and tool-heavy work zones (2026 reality) | People who can guarantee dryness and minimal rolling/casters |
Reduce slips and moisture risks from shop work
If you want fewer slip events, treat moisture control and traction as a system—not a one-time cleaning step. In workshops, slipping usually comes from a mix: dust that turns into a thin slurry under oils, water tracked in on boots, and residues from cutting/grinding/finishing. In 2026, workflow speed means floors get “almost wet” more often than people admit—so your slip prevention has to be faster than your mess.
Use matting where debris and water enter
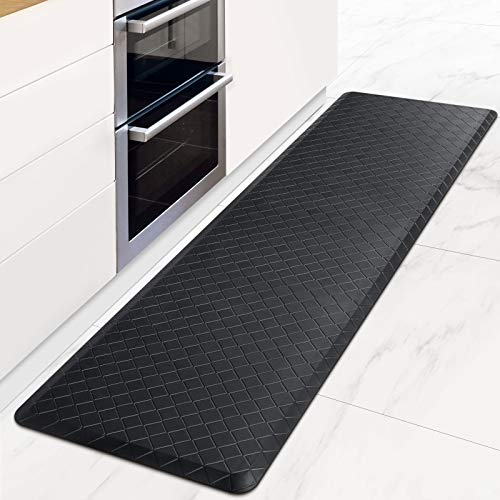
Instead of relying on laminate surface friction alone, place anti-slip mats at the entrance to work zones and at the point where wet cleanup happens (or where drying tools sit). A mat is a sacrificial layer: it catches tracked dust and brine-like residues from metal work, and it prevents residue from grinding into laminate seams. Replace mats when they harden, peel, or develop smooth “wear tracks.”
OSHA housekeeping focuses on maintaining walking surfaces in safe condition, which includes addressing slip/trip hazards from dirt and moisture (29 CFR 1910 Subpart D; 29 CFR 1910.22). [OSHA: 29 CFR 1910 Subpart D & 29 CFR 1910.22]
Don’t soak—use damp spot-cleaning per the flooring maker
Avoid repeated wet mopping in a shop. Even if laminate looks dry, water can migrate into edges and seams, then swell the board core. The safer approach is dry removal first (vacuum/sweep), then damp spot-cleaning using the manufacturer-approved cleaner and only the amount of moisture they specify. In our 2026 shop planning, we aim for “minimum necessary water” because moisture management is what protects seam integrity.
ASTM F2170 describes a standard test method for measuring relative moisture emission rate from slabs; it’s relevant when you need proof that moisture drive is controlled under a floor system. [ASTM F2170]
Clean fast after cutting/grinding/finishing
Fine sawdust, metal particles, and oils can create a slick feel even when laminate appears dry. The practical move is immediate cleanup at the source: vacuum dust promptly and wipe residues with a compatible cleaner before they spread. Keep a dedicated “dirty-to-clean” transition mat so grit doesn’t migrate across the whole workshop floor.
A consistent pattern of grime/oil buildup reduces effective traction on walking surfaces, increasing slip risk; this is why housekeeping is central in OSHA walking-working surface rules. [OSHA: 29 CFR 1910 Subpart D]
Protect against impact, abrasion, and dropped tools
To prevent laminate from becoming unsafe, you must stop point impacts and abrasive wear before they create edge damage and micro-lips. Laminate can chip at corners, dents can open protective layers, and edge damage can start small—then your feet discover it later as a raised seam. In workshop terms, it’s not “damage happens,” it’s “damage happens repeatedly,” which accelerates failure in 2026 traffic patterns.
Shield rolling carts, tool bases, and stands
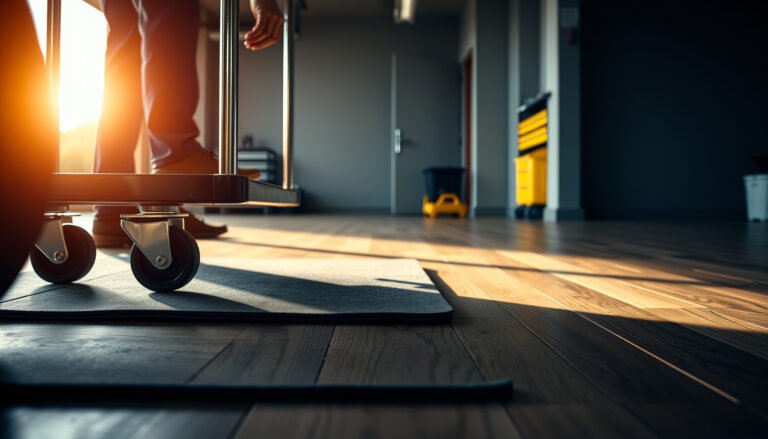
Carts and rolling stands concentrate load on casters; tiny wheels plus debris can act like a grinder against laminate finish. Add protective coverings under cart frames and ensure casters are in good condition (no cracked wheels or flat spots). When you move heavy items across the floor, use protective glides or a sacrificial layer that’s meant to take abrasion.
Point impacts and wheel-driven abrasion commonly create localized surface wear and edge damage that can later become trip hazards when seams lift or edges chip.
Prevent grit transfer with “cleaning station” zoning
Dust transfer is the hidden contributor to slip and wear: abrasive particles grind into the laminate surface and make it slicker when mixed with oils. Create a simple zoning practice: at the transition from dusty work (cutting/grinding) to cleaner tasks (assembly/finishing), stop and remove grit (mat, vacuum, or shoe-off routine). This also reduces joint contamination.
Expect dropped parts and protect the floor edge near benches
If you regularly drop parts or hammer close to the floor, don’t expect laminate to “tough it out.” Use localized protection—thicker mats or floor protectors—where dropped hardware lands and where heavy tools get set down. The goal is to prevent edge chipping that can become a permanent lip at board ends.
Abrasion accelerates surface wear; once edges lose their flatness, shoes and casters are more likely to catch, increasing trip risk.
Improve edges, transitions, and seam safety
Raised seams and uneven transitions are the most common “trip lip” failures, and they’re often fixable early. Laminate in a workshop tends to start “behaving” differently once it’s exposed to repeated rolling loads, tracked grit, and moisture cycles—so you should inspect seams, thresholds, and door-entrance edges on a schedule, not when something finally catches a shoe.
Keep seams flat: address lifting promptly
If any joint lifts, edges chip, or you feel a change underfoot, treat it as an early intervention, not a cosmetic issue. Continuing shop traffic keeps flexing the joint, which can enlarge the gap and create a persistent trip edge. Early correction is usually cheaper and safer than waiting until the seam becomes unstable.
A raised seam or gap can catch footwear and become a trip hazard, which falls under OSHA slip/trip housekeeping expectations (29 CFR 1910 Subpart D; 29 CFR 1910.22). [OSHA: 29 CFR 1910 Subpart D & 29 CFR 1910.22]
Add thresholds where heights change (especially entrances)
Transitions to concrete, other flooring, or garage door thresholds are where shoes catch. A properly installed transition strip reduces height steps and spreads load so laminate edges don’t take the “impact edge” repeatedly. This is especially important at workshop entrances where debris is tracked and people step in while carrying tools.
Keep expansion gaps clear of packed debris
Expansion gaps are there for movement; if they get packed with dust, the gap becomes less functional and the floor can develop pressure points. Packed dust in the gap can also make gaps more noticeable and rough underfoot. Vacuum these zones regularly as part of shop housekeeping.
Laminate’s expansion/contraction behavior depends on maintaining required gap allowances, so debris that blocks those gaps can contribute to buckling or seam opening over time.
Safe workshop habits that keep laminate stable
Habits prevent the “death by a thousand messy days” pattern that makes laminate unsafe in shops. Even with a moisture barrier and good mats, workshop floors degrade through repeat exposure: tracked dust, incidental spills, and rough movement of equipment. In 2026, the best safety wins come from discipline—dry first, damp only when permitted, and a clear staging area for anything that can leak.
Use a cleanup routine that matches laminate requirements
A practical, repeatable routine is: dry sweep/vacuum first, then spot-clean only with the manufacturer-approved method and only as damp as allowed. This keeps grime from turning into a slick film and prevents moisture cycling that can weaken seams. If you’re tempted to “just wet it down,” that’s how small problems become board swelling.
OSHA emphasizes maintaining floors in safe condition through housekeeping, which aligns with dry cleanup methods that avoid leaving slip hazards and moisture on walking surfaces (29 CFR 1910.22; 29 CFR 1910 Subpart D). [OSHA: 29 CFR 1910.22 & 29 CFR 1910 Subpart D]
Keep floors dry during workflow
Don’t stage wet rags, dripping parts, or open containers directly on laminate. Use trays, work mats, or drip pans under anything that leaks. If you use water-based finishing or wet cleaning, plan the workflow so the floor is protected and spills are contained immediately.
Maintain mats and rolling gear
Worn mats are worse than having none because they create localized smooth paths and false traction. Check caster wheels regularly and replace hard/damaged wheels—damaged casters don’t just wear the floor, they also concentrate wear into a narrow track that can become uneven and trip-prone.
Regular maintenance of rolling equipment reduces concentrated abrasion and localized surface wear, which helps prevent uneven edges that can create trip hazards.
What can go wrong (and when to skip this approach)
Laminate can still become unsafe if your workshop conditions exceed what laminate can reliably tolerate. Moisture, rolling loads, and impact patterns can be more extreme than typical residential installation assumptions. If you’re dealing with persistent wet conditions, the safe choice is often switching to a shop-appropriate system rather than trying to “make laminate survive.”
Moisture surprises that laminate may not handle
If your workshop routinely has standing water, frequent hose-down cleaning, or humidity beyond the laminate’s tolerance, laminate may still fail. In that case, switch away from laminate or add industrial-grade moisture management that matches both the subfloor and the flooring system requirements. For this article, use your specific laminate brand’s moisture limits—those limits vary and must be confirmed from the installation/spec documentation.
Laminate performance depends on staying within manufacturer moisture and vapor requirements; ignoring them increases the risk of swelling, seam failure, and resulting trip hazards.
Underlayment mismatch and warranty problems
Using an underlayment that isn’t approved for your specific laminate brand/thickness can affect stability and warranty coverage. Workshop repairs can be costly; don’t assume “foam is foam.” As of 2026, the correct approach is to align underlayment selection with the laminate installation instructions.
Ignored joint movement keeps getting worse
If boards begin gapping or lifting, continuing to run carts and foot traffic can worsen separation and create a trip hazard. Stop usage in the affected zone, plan repair, and then re-evaluate whether mats and load protection are sufficient.
Verdict/tip: Laminate can be made safer in a workshop if you treat it like a “surface to protect,” not a rugged shop floor—especially by controlling moisture, adding matting, and preventing point impacts. Skip this approach (or switch flooring) if you expect frequent standing water, heavy rolling loads without protective measures, or you can’t reliably keep the surface dry and clean.
Scan-ready safety checklist + FAQ + sources
| Task | What to check | Target outcome |
|---|---|---|
| Underlayment | Moisture barrier + approved use for your laminate | Less swelling/seam failure |
| Subfloor | Flatness and firmness before install | No flex that loosens joints |
| Matting | Anti-slip mats at entrances/work zones | Fewer slips where debris/water track in |
| Quick cleanup | Dry first, damp spot-clean per brand guidance | No grime/oil buildup |
| Rolling gear | Wheel condition + protectors under bases | Less surface wear + fewer dents |
| Edges/transitions | Raised seams or uneven thresholds | No shoe-catching lips |
Frequently Asked Questions
What safety upgrades should I make to laminate floors in a workshop?
Start by using the correct underlayment for laminate to improve stability and reduce slip risk, especially on smoother surfaces. Add non-slip mats at entrances, around workbenches, and near tool areas where dust and oils accumulate. If you do a lot of heavy rolling equipment, consider floor protection film or durable chair mats to prevent impact damage and uneven wear that can create trip hazards.
How can I reduce slipping on laminate floors in a workshop?
Keep spills under control by using absorbent pads and a workshop-friendly cleaning routine that doesn’t leave residue. Choose cleaning products labeled safe for laminate and avoid soaking the floor, since moisture can compromise seams and increase traction issues. For high-risk zones, install anti-slip laminate floor underlayment or add commercial-grade non-slip mats that are designed for hard floors and won’t shift.
How do I prevent laminate floor damage from dropped tools and shop impacts?
Protect the most vulnerable areas by placing foam or rubber workstation pads under areas where tools are commonly set down or where parts are dropped. Use a threshold strip or transition reducer at doorways and between flooring types to prevent edge lifting and tripping. Regularly inspect for gaps—when laminate seams separate, it can create sharp edges and snag points that increase injury risk.
Why is proper underlayment important for safer laminate flooring in workshops?
Underlayment improves impact absorption, which helps reduce floor rebound and the chance that vibrations or minor damage lead to loose boards. It also helps with sound control, which can make it easier to notice unsafe conditions like loose hardware or shifting equipment. For workshop environments, selecting an underlayment with appropriate moisture resistance and consistent support helps maintain flatness, reducing trips and slip hazards.
Which cleaning methods are best to keep laminate workshop floors safe and slip-resistant?
Sweep or vacuum frequently with a brush attachment to remove sawdust, grit, and metal filings that make laminate floors slippery. For mopping, use a lightly damp microfiber mop and a cleaner specifically formulated for laminate to avoid soap buildup that reduces traction. Let the floor fully dry before bringing equipment back in, and promptly wipe any oily or chemical spills to prevent slick residues and long-term wear.
📅 Last Updated: October 24, 2026 | Topic: How to make laminate floors safer in a workshop? | Content verified for accuracy and freshness.
References
- https://www.osha.gov/slips-trips-falls
- https://www.cdc.gov/niosh/topics/wooddust/
- Formaldehyde | US EPA
- Machine Guarding – Overview | Occupational Safety and Health Administration
- Personal Protective Equipment – Overview | Occupational Safety and Health Administration
- https://www.cdc.gov/mold/default.htm
- Laminate flooring
- https://en.wikipedia.org/wiki/Slip_and_fall_accident
- https://scholar.google.com/scholar?q=laminate+flooring+slip+resistance+workplace Google Scholar
- https://scholar.google.com/scholar?q=wood+dust+laminate+floor+installation+respiratory+protection Google Scholar