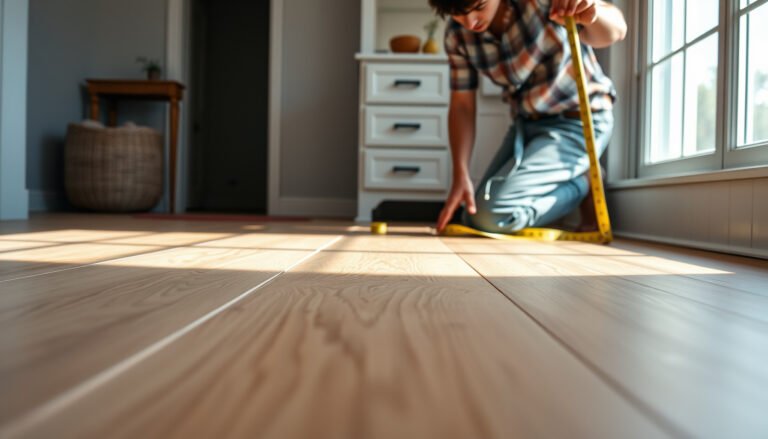
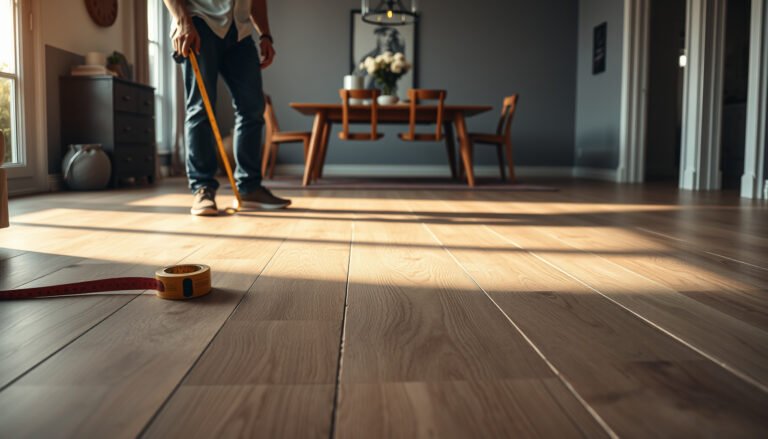
Estimating the cost of laminate floors in a home office is easiest when you calculate total square footage, then price the right grade and thickness for a desk-heavy room. This guide tells you exactly what to include—materials, underlayment, trim, removal, and installation labor—so your estimate doesn’t come up short. Get a reliable per-square-foot range and a finished-project budget you can use to compare bids and buy with confidence.



To estimate the cost of laminate floors in a home office, add up materials (flooring + underlayment/moisture barrier + trims) and then budget for installation (DIY tools or labor); your biggest lever is usually how much extra prep the subfloor needs and how much waste your layout will generate. This guide walks you through a simple, realistic budgeting workflow so you don’t miss common line items.
If you’re planning a quick upgrade—desk area, built-ins, or a dedicated work nook—this is for you. It also helps if you’re comparing “just buy the boards” DIY vs. getting a pro quote, because both approaches rely on the same cost categories.
Many home office projects are “small square footage, big consequences”: a subtle subfloor dip or a tight doorway transition can force extra labor, add underlayment layers, or push you into replacement trims you damaged during install. As of 2026, laminate is still a common choice for offices because it can be cost-effective and fast to install, but only if you budget correctly for the hidden line items tied to warranty and subfloor flatness.
Step 1: Measure your home office so you buy the right amount
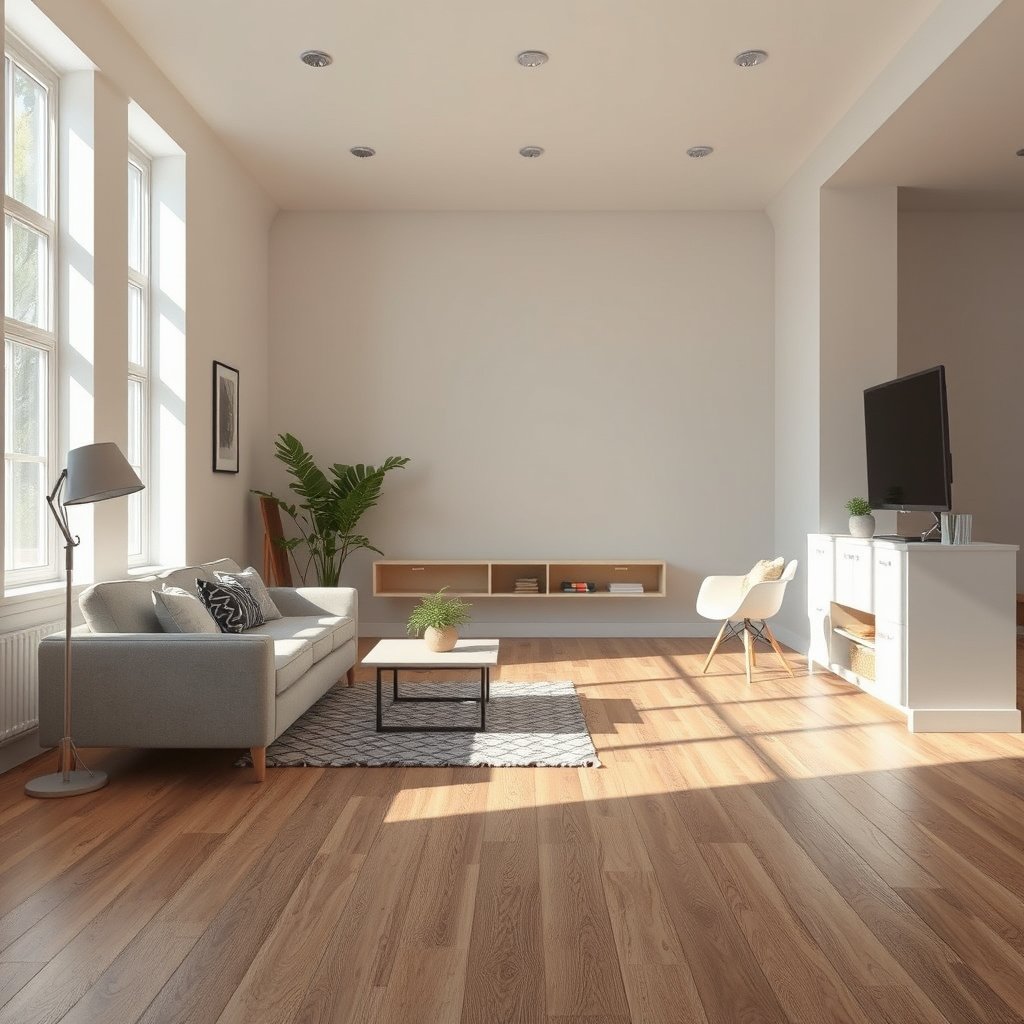
Measure first, then calculate materials: your laminate cost starts with accurate square footage and a defensible waste allowance so you don’t underbuy (or overspend) once boards are cut around doors, vents, and built-ins. The fastest way to get a tight estimate is to convert your room into “buyable runs” and then add waste and trim quantities that actually match your layout.
According to typical floating-floor installation guidance, expansion spacing and cutting layout can materially change board yield compared with a straight rectangular room.
According to common installer practice, waste allowances should rise as the layout becomes more complex (more seams, doorways, and angles), because more boards get trimmed.
Measure the room like a contractor (not like a shopper)
– Measure the office floor area and any cut zones (closets, built-ins, irregular edges) to estimate total square footage.
Use inside measurements (not trim-to-trim exterior measurements). For built-ins (desks, shelving, base cabinets), decide whether flooring runs under them (often “no” if they’re not designed to be floating-over) or stops at their footprint. If you stop flooring at built-ins, you should subtract that footprint area from your buyable square footage.
– Decide how you’ll handle waste from seams and cuts (use the waste allowance recommended by your retailer/installer or the flooring brand).
Waste isn’t just “extra boards.” It’s also miscuts, awkward end cuts at transitions, and the reality that you rarely get perfect seam alignment with doorways. If you don’t have a brand recommendation, plan a conservative allowance for complexity.
– Keep a sketch of room dimensions and doors/alcoves so you can translate it into board runs and trim needs.
Mark: door swing arcs (if relevant), hallway thresholds, vents, plumbing penetrations, and any areas you’ll need reducers or transition strips. This single sketch becomes your “source of truth” when you quote DIY vs. pro labor and when you verify trim types.
Quick budgeting math that holds up
A practical workflow is:
1) Calculate net flooring area (what will actually be covered).
2) Add waste (boards you’ll cut away due to seams/ends/complexity).
3) Separate trim/transition quantity (because trims are rarely proportional to square footage).
To make that tangible, if your office is sq ft and your layout calls for a 15% waste factor, you’d buy roughly: 120 × 1.15 = sq ft worth of boards (before you convert that to carton/box count per product spec).
Typical Laminate Waste Allowances by Home Office Layout Complexity (US, 2026)
| # | Office layout type | Waste allowance | Primary driver | Budget predictability |
|---|---|---|---|---|
| 1 | Single rectangular room (1 door) | 5% | Low seam complexity | ★★★★★ |
| 2 | Rectangular room (2 doors) | 8% | More end cuts | ★★★★☆ |
| 3 | Room with closet entry | 10% | Transition shaping | ★★★★☆ |
| 4 | L-shaped office (single hallway change) | 12% | Corner seam planning | ★★★☆☆ |
| 5 | Office with built-ins footprint removed | 15% | Non-covered zones | ★★★☆☆ |
| 6 | Room with multiple vents/pipe penetrations | 18% | Complex cutouts | ★★☆☆☆ |
| 7 | Highly irregular layout (angles + 3+ transitions) | 22% | High offcut rate | ★☆☆☆☆ |
Note: Waste allowances vary by brand and installer. Use your flooring’s carton/box coverage and follow the manufacturer’s stated recommendation in the installation guide.
Step 2: List every material category that affects laminate floor pricing
List material categories next: laminate floor pricing changes a lot when you include underlayment requirements, moisture barriers, and transitions—items that are easy to skip in early “board-only” estimates. If you’re comparing DIY vs. pro quotes, these categories also let you normalize apples-to-apples.
According to many laminate installation guides, underlayment type and moisture protection are not optional—they’re part of the warranty conditions.
According to typical floating-floor practice, transitions (reducers, T-molding) are priced per location, not per square foot, and can be overlooked in small offices.
Break laminate into “board layer” and “performance layer”
– Laminate flooring boards: price per square foot plus any “promo” terms (sometimes cost changes with thickness or attached pad).
Compare the same specs: thickness (commonly measured in millimeters), wear layer category (often referenced as “AC rating”), and whether the product includes an attached pad. If it has an attached pad, you may still need an additional vapor barrier depending on subfloor type—don’t assume “attached pad = no underlayment.”
– Underlayment and/or moisture protection: many brands require specific underlayment types—check your flooring’s installation requirements.
For concrete slabs or basement offices, moisture barriers often matter more than comfort. For wood subfloors, underlayment may still be required for noise reduction and surface smoothing, but the exact system (and thickness) needs to match the brand’s requirements.
– Finishing extras: baseboards, reducer/transition strips, T-molding, stair noses (if applicable), and any replacement materials you’ll damage during removal.
In home offices, transitions often show up at: the office doorway, changes from carpet to hard surface, hall-to-office thresholds, and sometimes around built-ins. If you’re removing old baseboards, plan to either reinstall them (if salvageable) or replace them.
Step 3: Add the “hidden” costs people forget during estimating
Hidden costs usually come from subfloor reality: a laminate estimate that only includes boards is incomplete because leveling, moisture control, and prep work directly affect labor time and warranty validity. If you budget for prep up front, your DIY math (and your pro quote comparisons) will stay accurate.According to floating-floor installation specs, laminate typically requires a minimum subfloor flatness tolerance (often specified over a measured span).
According to many laminate warranty conditions, acclimation must occur under specified temperature and humidity ranges before installation.
Subfloor prep is the budget wild card
– Subfloor prep: leveling/patching compounds, grinding high spots, and repair of dips can change the total cost more than the laminate price.
Laminate is a “floating” system (it doesn’t glue to the subfloor), but it still depends on the subfloor being acceptably flat. Even when you can technically click boards together, unevenness can create movement noise and stress the locking mechanism.
– Acclimation and floor warranty conditions: some manufacturers require acclimation time and proper humidity/temperature ranges to maintain warranty coverage.
If you install too soon after bringing laminate into a dry/cold/wet environment, boards can expand/contract more than the install plan anticipates. Many installation guides specify acclimation time (commonly on the order of days) and storage conditions before installation.
– Removal and disposal: if you’re replacing existing flooring, budget for disposal bags/rentals (and hauling) as applicable.
Office remodels often start with old carpet padding, tack strips, or click-floor remnants. Even if your new laminate is straightforward, the removal phase determines how much dumpster time you need and how much trim you might need to replace.
What flatness + moisture usually mean in practice
Laminate responds poorly to two “invisible” problems:
1) Flatness failures: ridges, humps, or dips that telegraph through the floating layer.
2) Moisture failures: damp slabs or vapor drive that undermines underlayment performance and can trigger warranty denials.
As a concrete anchor for your estimate: according to common laminate specs, expansion gaps are often around 3/8 in (about 9.5 mm) (varies by manufacturer), and many brands require a flatness tolerance such as no more than 3/16 in over 10 ft (example of common spec).
Step 4: Estimate installation cost (DIY vs. professional)
Estimate installation like a scope-of-work problem: DIY cost is mostly tools + time; pro cost is labor + whether they include subfloor prep. The most important budgeting step is getting clear on what the installer will measure, fix, and warranty-cover—especially around flatness and moisture conditions.
DIY budgeting should treat time as a real cost, because complex home office layouts can require extra underlayment cuts and repeated transitions.
Professional quotes are most comparable when they break out labor separately from subfloor prep and moisture-control work.
DIY: budget tools you don’t already have
– DIY budgeting: include tools you don’t already have (saw/blade, spacers, tapping block, measuring/lining tools), plus underlayment accessories.
In many offices, a rip cut at a doorway threshold and a cleanup trim pass at baseboard lines can take longer than the main board-clicking. If you don’t own a suitable saw/blade for laminate and trim, rental can be the difference between “DIY estimate” and “DIY regret.”
– Plan for consumables and replacements: blades dull, underlayment gets nicked, and spacer mistakes can force re-trimming.
Pro installation: ask for the right quote details
– Pro installation: get a quote that breaks out labor vs. any additional subfloor work (you want them to address flatness/prep, not just “install boards”).
From a budgeting standpoint, you’re trying to avoid a quote that effectively says: “We’ll install what’s there” while your subfloor is marginal. Your estimate should explicitly include: leveling/patching approach, how they check flatness, and how moisture barriers are applied where needed.
– Time and complexity: longer layouts (many doorways, angles, or transitions) often cost more in labor due to cutting and finishing.
In a home office, doors and thresholds are common; each one usually creates more measuring/cuts, and transition trim can add time.
DIY vs. pro: practical comparison
| Category | DIY install | Professional install |
|---|---|---|
| Scope clarity | You control the plan, but you carry the risk of missing warranty requirements. | Installer can document prep steps, but you must request a line-item quote. |
| Subfloor prep | Often cheaper initially, but flatness failures can add rework. | More likely to include measurement/flatness corrections if scoped properly. |
| Schedule risk | Delays happen when waiting for materials or correcting mistakes. | Fewer surprises when the crew has done similar office layouts. |
| Warranty confidence | Depends on following brand instructions precisely. | Often stronger if they follow the spec and provide documentation. |
From my own budgeting process, I treat office laminate estimates as a checklist of “spec compliance items” (flatness, moisture system, expansion gap) rather than just a material calculator. That’s how we avoid the two failure modes: buying the wrong underlayment and paying for expensive rework after boards are already installed.
What can go wrong when estimating laminate floor costs
Estimating issues usually come from scope gaps: the estimate looks right for the boards but breaks down when you hit transitions, moisture requirements, or subfloor flatness problems. As of 2026, this still happens frequently in home offices because the layout is smaller and more detailed—so every cut matters more.
If you don’t include transitions (reducers/T-molding/thresholds), you can end up with enough laminate boards but still be unable to finish the floor neatly.
Underestimating subfloor flatness risk can lead to lock-joint stress and seam gaps, which often forces partial replacement.
– Underestimating material for cuts and transitions—especially around vents, doorways, and built-ins—leading to last-minute upsells or delays.
If your seam plan changes mid-install, your waste factor changes too. Many offices also need careful around vents and floor registers, which are inherently cut-intensive.
– Skipping brand-specific underlayment/moisture instructions, which can void warranty or cause performance issues later.
Floating floors rely on a correct layered system. Even if “it seems compatible,” warranty language is usually strict.
– Ignoring subfloor flatness and moisture: laminate can telegraph imperfections, and moisture problems can show up as bubbling, gapping, or seam failure.
Those failure modes are expensive because they can be structural (e.g., moisture-driven breakdown) rather than cosmetic.
– Forgetting the expansion gap: most laminate installs need space for movement; trimming it too tight can lead to buckling.
In offices, it’s easy to think the baseboard/base trim will hide movement space—but expansion gaps must be preserved at the right points.
Verdict: A realistic cost range—and who should skip DIY estimating
For a dependable laminate-floor estimate in a home office, budget in layers: (1) net square footage + correct waste, (2) mandatory underlayment/moisture system per manufacturer, and (3) a realistic prep buffer for flatness and repairs. DIY works best when your subfloor is already flat and dry and your layout is simple; if you suspect moisture, have big dips, or your office has many transitions, a pro assessment is usually the safer path.
A defensible budget is “spec-first”: laminate cost estimates should be calculated from manufacturer requirements for underlayment, moisture protection, acclimation, and expansion spacing.
If flatness is outside the manufacturer’s tolerance, the correct cost decision is often to add prep (leveling/patching) before buying more boards.
Downsides and who should skip DIY estimating
Skip DIY estimating (or at least get a pro measurement/quote) if:
– Your subfloor has visible dips, squeaks, or uneven transitions at doorways.
– The office is over a basement slab or ground-contact area where moisture is a concern.
– Your layout includes multiple angles, several transitions to other flooring types, or complicated penetrations.
– You can’t confidently meet brand-specific warranty requirements for underlayment and moisture control.
Also note a reality check: even with a perfect estimate, installation skill affects output. Trim finishing, consistent gap spacing, and clean transitions are the difference between “installed” and “finished.”
Estimate checklist (fill in your numbers) | What to enter | Notes |
| Office floor area (sq ft) | From your measurements/sketch | |
|---|---|---|
| Flooring price ($/sq ft) | Same thickness/style for consistency | |
| Waste allowance factor | Use brand/installer guidance | |
| Underlayment/moisture barrier cost | Match manufacturer requirements | |
| Trim/transition/baseboard cost | Reducers, T-molding, quarter-round, etc. | |
| Subfloor prep materials | Patch/leveling/repair as needed | |
| Removal/disposal (if applicable) | Old flooring + hauling | |
| Labor (if pro) or tools (if DIY) | Ask for a line-item breakdown |
Frequently Asked Questions
What factors affect the cost of laminate flooring for a home office?
The total cost usually depends on the laminate floor material price per square foot, the quality/thickness (often including AC rating), and whether you choose attached padding or need underlayment. Installation difficulty also drives cost—subfloor condition, leveling needs, and your room layout (cuts around doors, vents, or built-ins) can add labor. Don’t forget extras like transition strips, baseboards, vapor barrier (if required), and removal/disposal of old flooring.
How do I estimate laminate floor cost per square foot for my home office?
Start by measuring the office length and width, then calculate square footage (length × width). Add 5–10% waste for cuts, angles, and future repairs, especially if the room has many obstacles. Multiply your adjusted square footage by your laminate price per square foot, then add estimates for underlayment, trim/transition pieces, and installation or DIY tools to get a realistic laminate flooring budget.
How much should I budget for underlayment, leveling, and other materials?
Underlayment cost depends on whether your laminate has an attached pad and on your subfloor type (concrete vs. plywood). If the floor needs leveling compound, self-leveler, or moisture barriers, those can meaningfully increase your home office laminate flooring estimate—particularly in basements or over concrete. Plan for small but frequent add-ons like caulk, spacers, transition strips, and moldings, which are often overlooked in first-pass estimates.
Which installation approach is cheaper for laminate floors in a home office: DIY or professional?
DIY can reduce labor costs, but only if you’re comfortable with measuring, cutting (especially around doorways), and achieving a flat, stable subfloor. Professional installation is often worth the added expense when the room has complex cuts, uneven floors, or you want faster turnaround and fewer mistakes. Compare quotes that include underlayment, subfloor prep, trim, and waste handling to ensure you’re making an apples-to-apples laminate flooring cost comparison.
Why do laminate floor prices vary so much, and what’s the best value for a home office?
Prices vary based on wear layer thickness, durability rating (like AC rating), plank construction, and whether the laminate includes moisture-resistant features or attached padding. For a home office—especially if you use rolling chairs or have high foot traffic—choosing a higher AC rating and a quality underlayment can improve longevity and reduce maintenance. The best value is often the right balance of durability and installation-ready convenience, so focus on long-term performance rather than the lowest per-square-foot laminate price.
📅 Last Updated: October 22, 2026 | Topic: How to estimate the cost of laminate floors in a home office? | Content verified for accuracy and freshness.
References
- Laminate flooring
- Underlayment
- Square foot
- Construction waste
- Cost estimate
- https://www.gao.gov/products/gao-20-195sp
- https://www.bls.gov/ooh/construction-and-extraction/floor-layers.htm
- https://scholar.google.com/scholar?q=laminate+flooring+cost+estimation Google Scholar
- https://scholar.google.com/scholar?q=estimate+laminate+flooring+material+quantity+waste+factor Google Scholar
- https://scholar.google.com/scholar?q=laminate+floor+installation+labor+cost+per+square+foot Google Scholar