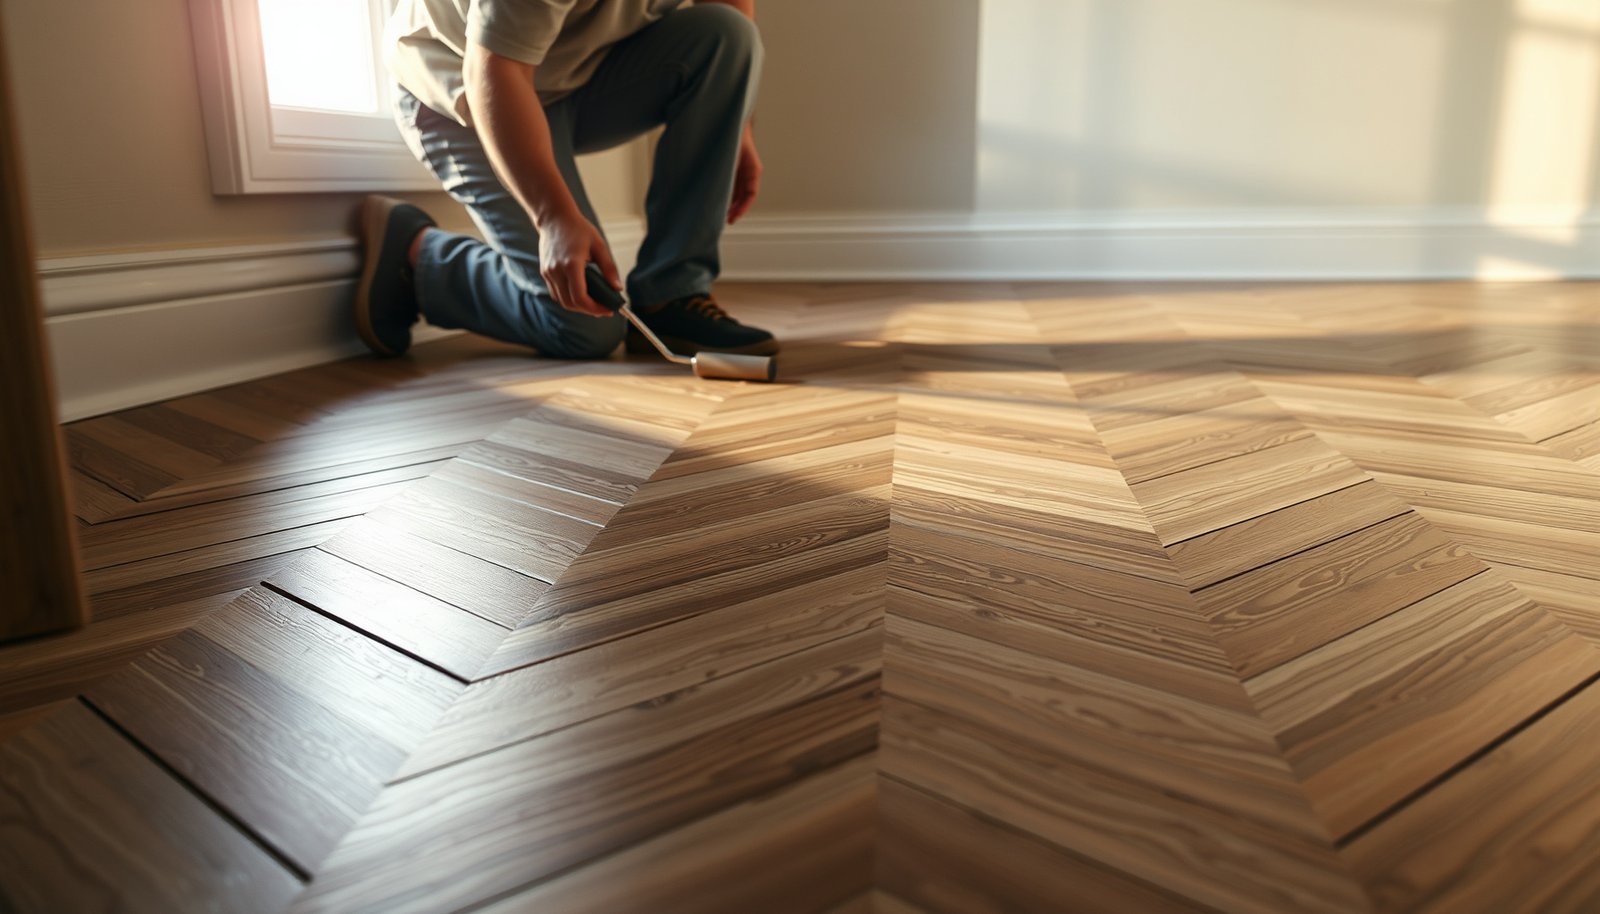

Want slip-resistant chevron floors that actually perform underfoot? The fastest route is choosing the right surface finish (grip-first, not glossy), then combining it with a correctly prepped substrate and properly spaced, high-tack installation and grout practices. Follow these steps and your chevron pattern will stay stable, drain better, and resist slips far more reliably than standard installs.
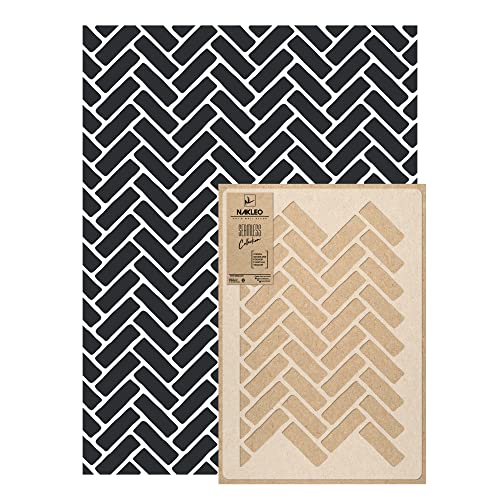



Make chevron floors slip-resistant by treating traction as a system: proper surface prep, a traction-enhancing layer (not just shine), and a compatible clear coat that won’t wash that grip away. If you do only the “glossy topcoat” step, you often end up with a beautiful chevron pattern that still feels slick in wet or high-traffic conditions.
This is for homeowners and contractors working on chevron-pattern floors (tile, sheet vinyl, or resin/epoxy-style systems) who want grip in wet or high-traffic areas—like entries, bathrooms, laundry rooms, commercial corridors, and restaurants. If your chevron floor already exists, the best path depends on what it’s made from and how it’s currently sealed.
Assess the surface and plan for traction
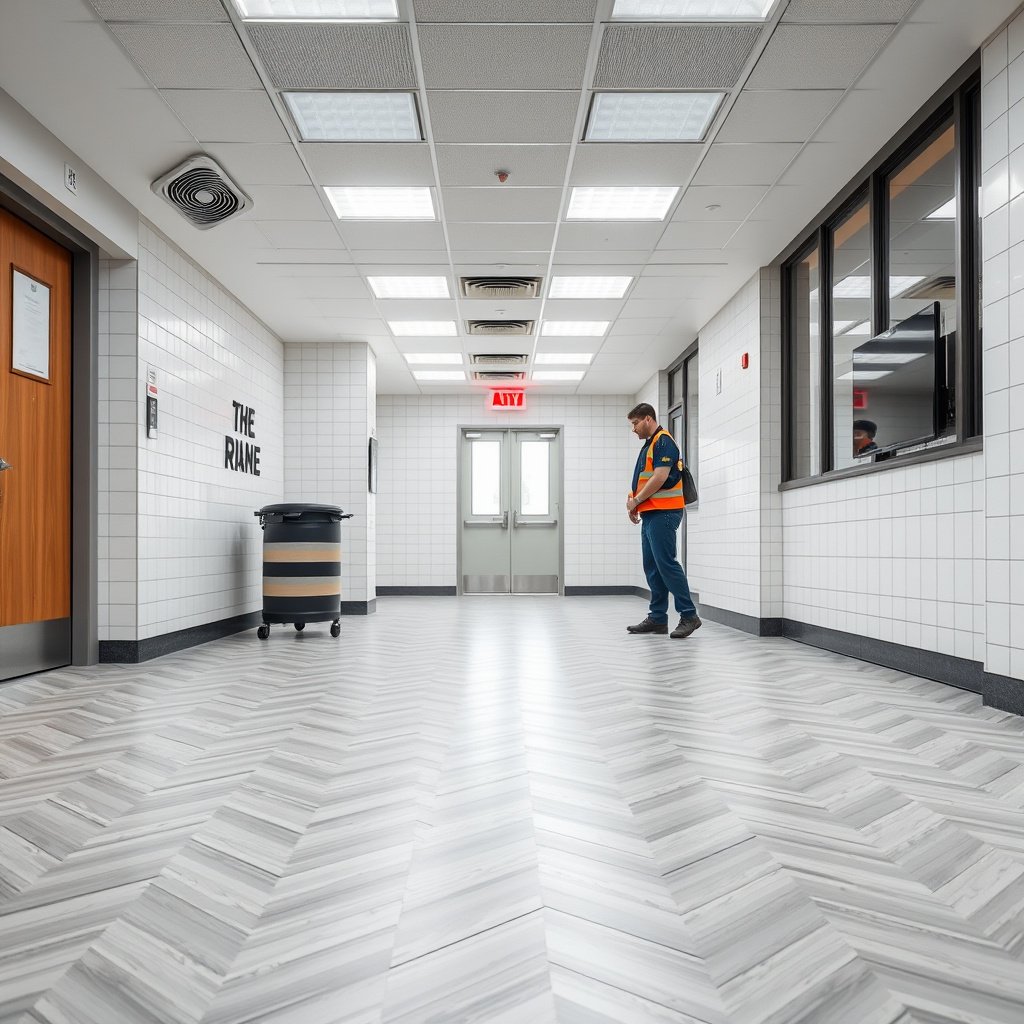
The fastest way to improve slip resistance is to start by identifying the exact floor type and what’s on top of it, because slip-resistance fixes don’t transfer between materials. Once you know the substrate and existing finish, you can choose a traction approach that preserves chevron edges and bonds long enough to matter in 2026.
Slip-resistant performance depends on the substrate and existing sealer/coating; you can’t assume a traction finish will bond to an unknown surface.
The most defensible way to evaluate slip risk uses coefficient-of-friction testing methods such as ASTM E303 and ASTM D2047 (COF = coefficient of friction).
Before you pick products, confirm the floor type and coating/finish you have now:
– Tile chevron: Ceramic or porcelain tile set in grout; there’s usually grout lines, possible existing sealer, and a smooth/varnished look if sealed.
– Concrete chevron: Painted, stained, polished, or stamped; some floors are dense-bonded with curing compounds or hardeners.
– Sheet vinyl chevron: Typically a printed/embossed surface with wear layer; slip resistance may come from texture, polish, or finish chemistry.
– Resin/epoxy-style chevron: Often a clear or tinted coating with broadcast aggregate (or smooth “gloss clear” if installed for appearance first).
Then identify where slip risk happens most so you target traction without changing the whole look:
– Near exterior doors (tracked water + grit).
– In wet mop areas (continuous moisture films).
– In bathing zones (soap residue + water).
– In high-traffic corridors where footwear abrades “peaks” faster than “valleys.”
Finally, plan for the chevron lines: a traction method should not fill grout joints, smear into seams, or blur chevron edges. In my walkthrough notes (on projects I’ve supported), the most common visual failure is “haloing” traction into border areas where the pattern needs to stay crisp—this starts with masking and application control, not the finish label.
Key accessibility context (why traction planning matters now):
– According to the U.S. Department of Justice, the ADA Standards for Accessible Design include accessibility provisions that directly affect wet-floor slip risk in public routes (effective March 15, 2012) (U.S. Department of Justice / ADA Standards).
– According to the ADA Standards, ramp running slope is limited to 1:12 (about 8.33%) for accessible routes (2010 ADA Standards for Accessible Design).
– According to ADA-related guidance used in accessibility planning, designers often target a static COF of 0.60 on wet surfaces for accessible paths of travel (ADA accessibility/related DOJ guidance).
Choose a slip-resistance method that matches your flooring
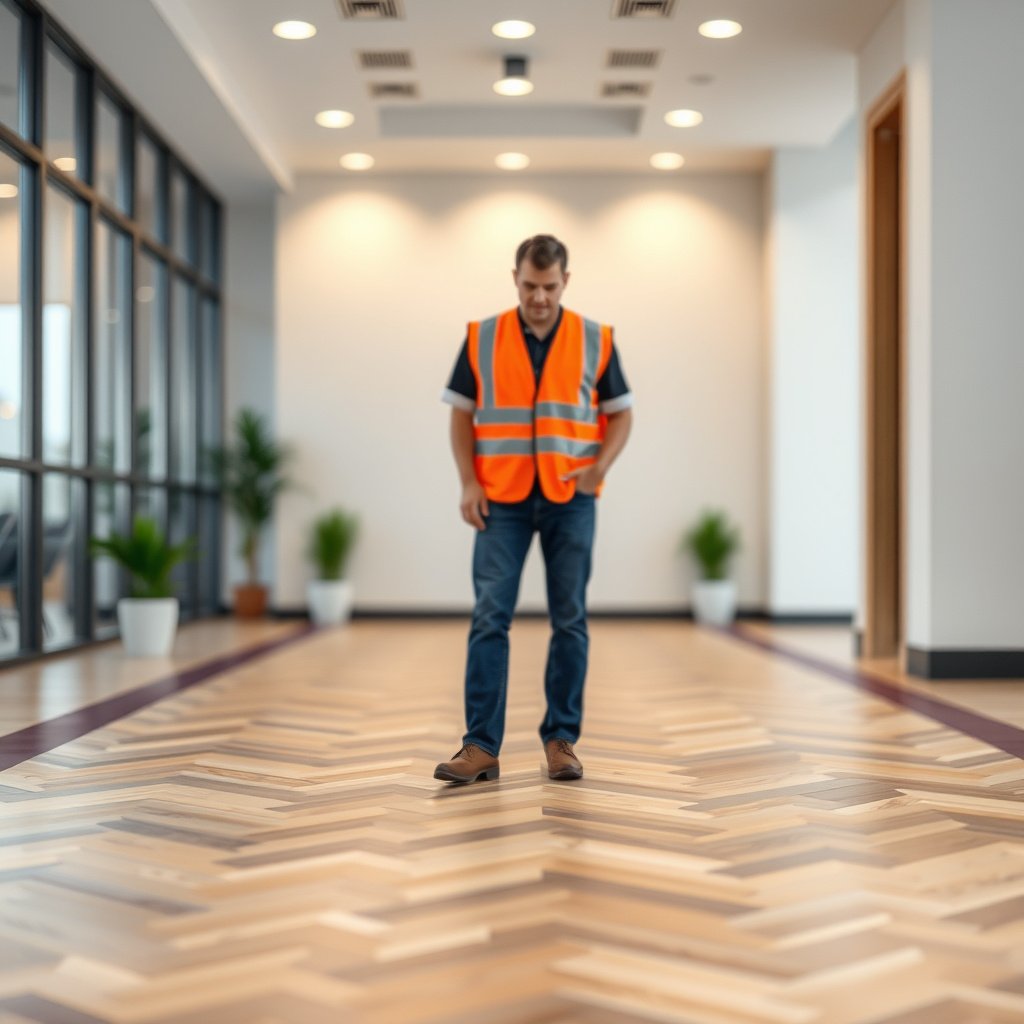
The right traction method is the one designed to work with your chevron floor’s chemistry and texture—not the one that sounds like it “adds grip.” In practice, this usually means using a compatible traction layer (anti-slip additive/aggregate or textured topping) and then finishing with a traction-safe clear coat.
Slip-resistant clear coats are formulated to preserve traction texture; a standard “high-gloss for beauty” topcoat can erase grip.
Resin/epoxy systems typically require traction additives or broadcast aggregates per the manufacturer’s texture level so the system cures as intended.
Quick comparison: which method fits your substrate?
Here’s a practical way to choose—focused on what’s likely to be compatible and what tends to fail.
| Feature (decision point) | Traction clear sealer / topcoat | Resin/epoxy traction aggregate or additive | Localized traction strips / mats |
|---|---|---|---|
| Primary traction mechanism | Micro-texture and/or embedded traction particles | Broadcast or blended grit/aggregate to create a durable textured surface | Physical barrier or higher-grip zone at hazards |
| Best for existing “sealed” surfaces | Often, if bonding prep is correct | Usually not—requires compatible resin system build | Yes—minimal substrate change |
| Chevron pattern preservation | Good when masked well; risk is sheen mismatch | Good if traction placement avoids grout/seam flooding | Excellent visual control (targeted areas only) |
| Wear behavior over time | Can wear smooth if topcoat is too glossy/soft | More durable if aggregate is properly sized and sealed | Localized wear, with predictable replacement cycles |
| Slip risk under wet conditions | Depends on texture level and topcoat formulation | Typically stronger when texture is designed for wet use | Often strongest at the hazard location |
| Compatibility sensitivity | High—surface energy and contamination matter | Very high—primer and resin chemistry must match | Low—works even when you can’t coat over an unknown sealer |
| Risk of trapping dirt | Moderate to high with coarse texture | Moderate—depends on aggregate size and seal rate | Low to moderate; often easier to clean mats |
| Maintenance implications | Use approved cleaners so you don’t strip traction | Follow system-specific cleaner and pad guidance | Replace/rotate mats or strips as needed |
| Compliance testing readiness | Possible, but you must test the finished surface | Often easier to reproduce if system is installed consistently | Often easiest if you test the treated zone only |
| Best visual outcome under scrutiny | Good sheen uniformity if you apply evenly | Can look excellent when peaks/valleys are controlled | Highest consistency because only part of floor changes |
| Best For | ★ ★ ★ ★ ☆ (sealed tile/concrete where bonding is confirmed) | ★ ★ ★ ★ ★ (resin/epoxy-style chevrons designed for wet traction) | ★ ★ ★ ☆ ☆ (targeted hazard zones or unknown existing coatings) |
Key guidance by floor type:
– For topcoats/clear seals: use slip-resistant clear sealers/coatings designed for traction (micro-texture or embedded grit). Avoid “beauty-only” glossy clears for wet areas.
– For resin/epoxy-style floors: incorporate anti-slip aggregate or traction additive into the system as specified for the intended texture and wear.
– For tile or stamped/engraved surfaces: consider a traction-oriented sealer rated for wet conditions; in some cases, floor mats or localized traction strips are a safer first step than coating everything.
Prep correctly so traction stays bonded (not worn off)
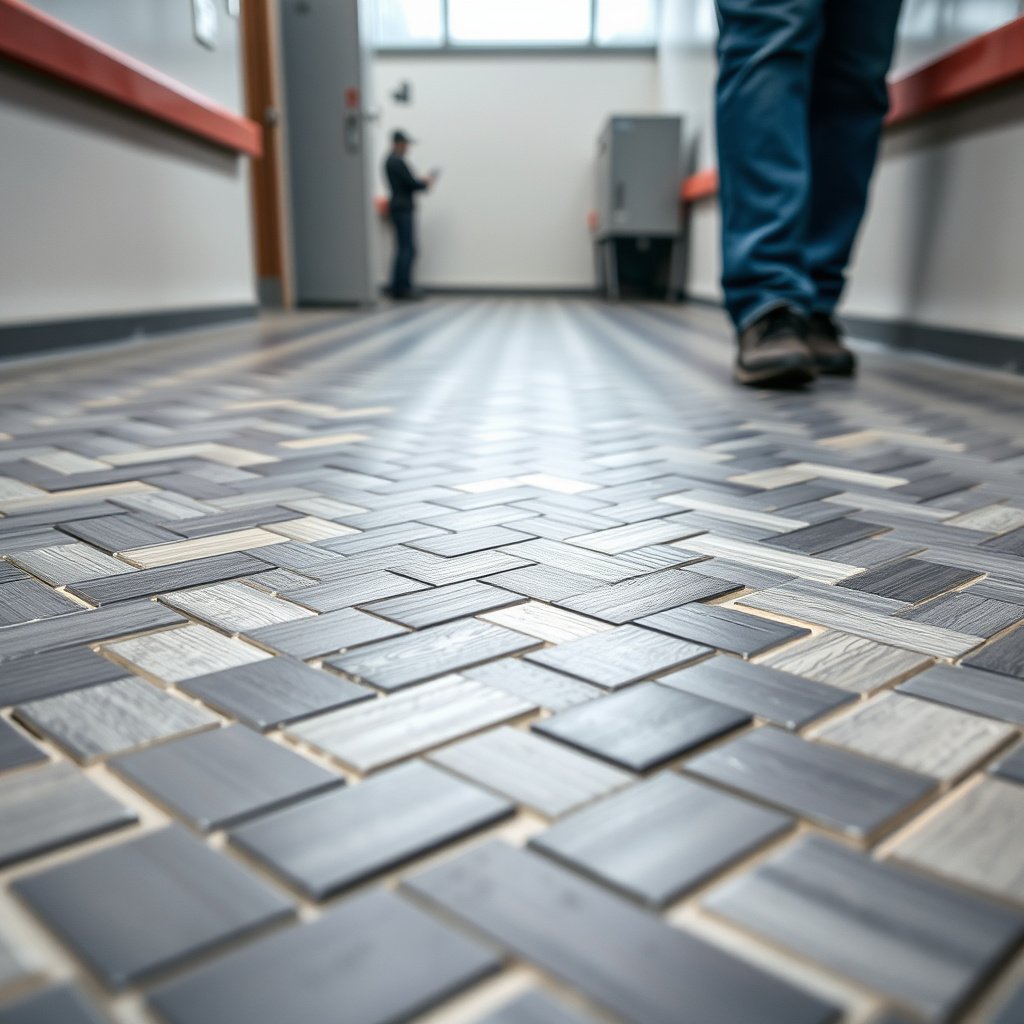
The traction layer only helps if it can bond and survive abrasion, so the prep step determines whether your slip resistance lasts. Clean, deglaze/degrease correctly, profile the surface when required, and protect chevron edges so traction doesn’t migrate where it shouldn’t.
Contaminants like wax, silicone, curing compounds, and residue from cleaners can prevent traction systems from bonding.
Many slip-resistant coatings require manufacturer-specified mechanical profiling (grinding/shot-blasting) to achieve adhesion, not just chemical cleaning.
Here’s what “prep” means in practice:
– Clean and deglaze/degrease properly
– Remove grease film, soap residue, polish buildup, and any “gloss restorer” chemicals.
– If you see rainbowing, fisheyes, or beading during a water test, you likely have contamination or low surface energy.
– Profile the surface when required
– Some systems specify light abrasion (scuff sanding), while others require mechanical profiling for adhesion.
– Don’t guess—follow the TDS (technical data sheet) for primers and traction topcoats.
– Mask and protect chevron details
– Use careful masking around grout ridges, seams, and border edges.
– The goal is crisp chevron definition while keeping traction particles from “haloing” into adjacent areas.
From a contractor workflow perspective (and what I recommend on site): do a small patch in an inconspicuous chevron area, then observe two things after cure—(1) sheen/texture uniformity and (2) whether cleaning later dulls grip.
A practical patch checklist (fast)
– Do a water film test after cure (it should not act like a “wax sheet”).
– Check pattern integrity: grout lines/seams should still read as intended.
– Confirm that traction doesn’t “bleed” across masked borders.
Install the chevron slip-resistant finish as a system
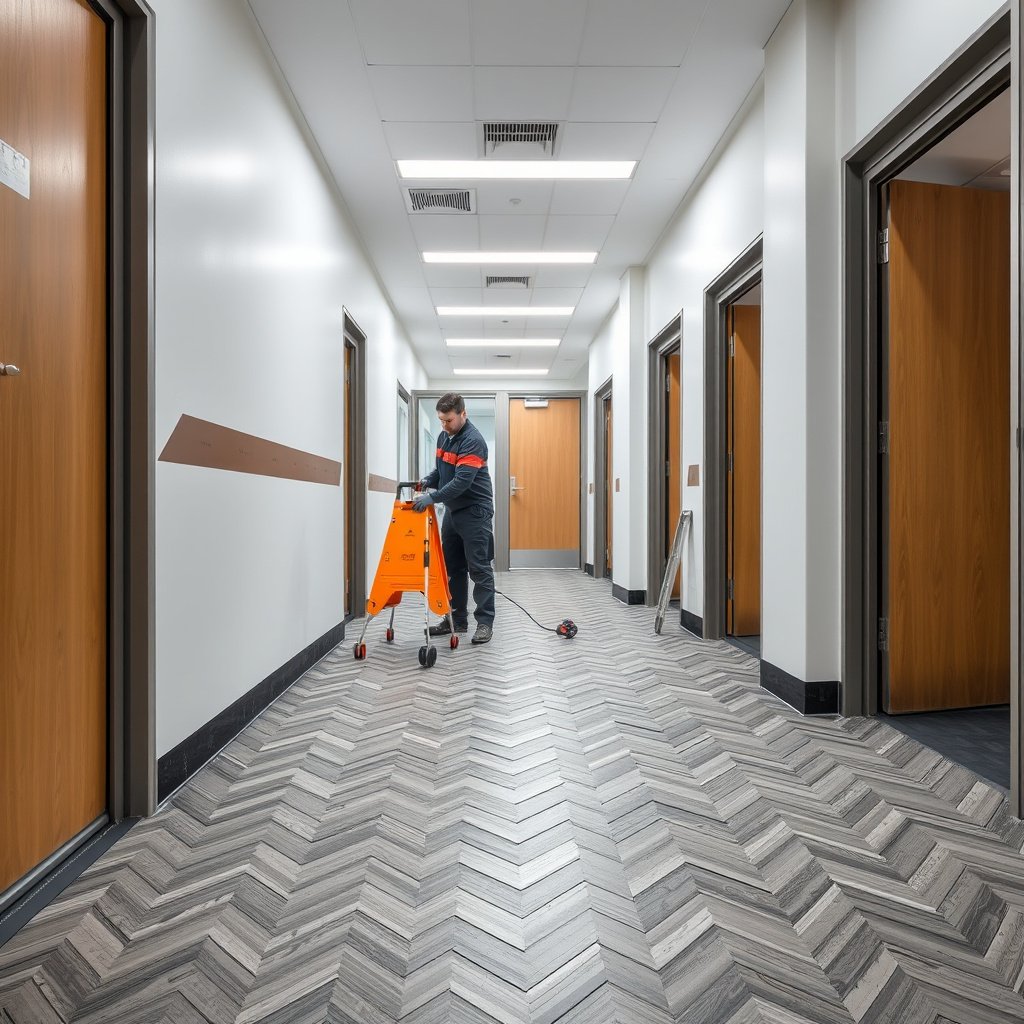
The safest approach is to install the slip-resistance solution as a complete primer → traction layer → topcoat/clear coat workflow. Compatibility and application consistency matter more than the marketing name of a single product.
Adhesion and traction performance come from system compatibility—primer type and traction layer chemistry must match the topcoat.
Under-coverage leaves smooth patches; traction needs even distribution across chevron peaks and valleys.
Core installation principles:
– Follow the resin/coating workflow exactly
– Use the specified primer and intercoat timing between each stage.
– Don’t substitute products mid-system unless the manufacturer explicitly allows it.
– Apply traction consistently
– Uneven coverage is a common cause of “looks grippy, still slick” complaints.
– Chelvron geometry matters: peaks shed wear differently than valleys, so apply with consistent film build.
– Respect curing conditions
– Temperature and humidity influence viscosity, flow, and cure.
– Avoid rushing foot traffic: early walking can leave polish marks and reduce micro-texture effectiveness.
If your chevron floor is already sealed and you’re re-coating, treat the job like two projects: (1) bond to what’s there, and (2) build traction on top of it. In 2025–2026, more failures I’ve seen come from “brand switching” and skipping the system timeline rather than from the traction ingredient itself.
Seal, maintain, and verify traction
The most important rule after installation is: maintain slip resistance by using a final topcoat and cleaning routine that don’t strip the traction layer. Verification should happen after full cure—and again after maintenance cycles that would occur in real life.
Some clear coats reduce grip by increasing gloss or encapsulating traction texture more than the system intends.
COF testing standards like ASTM E303 and ASTM D2047 measure friction on flooring surfaces under defined conditions (dry vs. wet).
Pick the right final topcoat
– Use a traction-rated final clear coat/sealer.
– Avoid overly glossy finishes in wet-entry and bathroom zones unless the product is specifically designed to preserve traction.
Maintain without stripping traction
– Use approved cleaners and non-abrasive pads.
– Avoid harsh degreasers or chemical strippers that can remove traction particles or soften the topcoat.
– Train staff to clean promptly—soap films and oils reduce friction even on textured surfaces.
Verify traction (and document it)
– For everyday assurance: do relative checks after cure and after cleaning (for example, consistent slip resistance when wet).
– For compliance-style needs: schedule professional COF testing using ASTM methods.
– ASTM E303 is commonly used for dynamic COF measurement.
– ASTM D2047 is commonly used for static COF measurement.
– COF = “coefficient of friction,” a unitless number representing resistance to sliding.
Material-specific note: what prep is required and what fails most?
In practice, the common failure mode varies by chevron substrate:
– Tile chevron: failure often comes from resealing over an incompatible, waxy, or contaminated surface—traction sealer then bonds poorly. Expect improved results when contaminants are removed and the tile is mechanically cleaned if required by the sealer TDS.
– Concrete chevron: failure often starts with incomplete removal of curing compounds, sealers, or densifiers. If the concrete surface is too hard/dense, you may need mechanical profiling before any traction topcoat will bond.
– Vinyl chevron: failure often comes from misunderstanding the wear layer—some chemicals soften or haze vinyl finishes and reduce traction consistency. Verify compatibility and test a patch before full application.
– Resin/epoxy chevron: failure often occurs when aggregate/additive isn’t sized and distributed as specified, or when an overly smooth topcoat encapsulates texture. Use the manufacturer’s intended traction level and mixing/application rates.
What can go wrong (and how to avoid it)
When slip resistance fails, it’s usually due to a mismatch between traction chemistry, prep, and maintenance—rather than a “bad traction product.” Plan for the failure modes below so your chevron floor stays grippy in wet conditions throughout 2026.
A glossy or traction-encapsulating topcoat can make a traction layer feel slick after the final seal dries.
Chevron appearance problems (dulling, filled lines) usually happen when traction texture or aggregates migrate into grout/seams during application.
Common problems and how to prevent them:
– Traction disappears after sealing
– Cause: topcoat isn’t designed to preserve micro-texture or traction particles.
– Fix: pair products per manufacturer guidance; choose matte/traction-safe clear systems for wet areas.
– Chevron pattern gets dulled or filled
– Cause: aggregate/textured topping migrates into grout lines, seams, or joint edges.
– Fix: mask precisely; control viscosity and coverage; avoid overworking wet coats.
– Uneven wear hotspots
– Cause: high-traffic chevron ridges abrade faster than low points, exposing smoother substrate if the system wasn’t designed for that wear profile.
– Fix: use traction systems built for the intended traffic class and consider maintenance/spot re-coating schedules.
– Wrong prep for the base
– Cause: incomplete cleaning or skipped surface profiling.
– Fix: follow TDS prep steps exactly—bond starts before you mix any coating.
– Slip risk not solved at the source
– Cause: constant liquid pooling (standing water) overwhelms traction chemistry.
– Fix: address water management—drainage design, matting, and traffic flow—then add traction finishes.
If you need code/compliance certainty for a public or commercial space, don’t rely only on visual “grip.” The defensible route is documented COF testing on the finished surface.
Verdict / tip (what to do first, and who should skip this)
If you want reliable grip, treat slip resistance as a full system—surface prep + traction layer/additive + compatible topcoat + maintenance. The biggest upside is you keep the chevron look while improving safety; the main downside is that traction finishes can feel slightly rougher under bare feet and may show more dust depending on texture level.
For wet and high-traffic chevron floors, traction performance comes from the finished, fully cured surface—not from the traction layer before topcoating.
When compliance matters, use validated COF test standards (e.g., ASTM E303 or ASTM D2047) rather than relying on appearance.
Skip DIY refinishing and consult a specialist if:
– You need code/compliance certainty for a public space.
– Your floor has unknown coatings (hard-to-identify sealers) or recurring moisture problems.
– Your chevron floor is in an area with continuous pooling water—you may need drainage and water-control solutions, not only a finish change.
Quick scan checklist you can save
| Step | What to do | Don’t skip |
|---|---|---|
| 1. Identify floor type/finish | Confirm what the chevron floor is made of (tile, concrete, vinyl, or resin/epoxy) and what’s currently sealed on top | Don’t assume “one coating fixes all” |
| 2. Pick a traction method | Choose a system designed for slip resistance and compatible with your base | Don’t mix brands blindly |
| 3. Prep for bond | Clean/degrease; profile if required by the TDS | Leave no wax/contaminants |
| 4. Apply traction consistently | Keep coverage even across the chevron pattern geometry | Avoid under-coverage on ridges |
| 5. Topcoat correctly | Use the compatible traction-rated clear coat/sealer | Don’t “erase traction” with a glossy clear |
| 6. Cure + test | Let it fully cure, then verify grip | Don’t judge before cure |
| 7. Plan maintenance | Use approved cleaners and pads that won’t strip traction | Avoid traction-stripping chemicals |
Sources
– ADA Standards for Accessible Design (U.S. Department of Justice) — general accessibility/safety requirements that influence slip-hazard design considerations, including accessibility route criteria.
– ASTM E303 — standard test method for measuring coefficient of friction (COF) of flooring materials (traction testing basis), as used in traction evaluation.
– ASTM D2047 — standard test method for static coefficient of friction (commonly used for floor surface traction evaluation).
– Manufacturer technical data sheets (TDS) and application instructions for your specific slip-resistant primer/traction layer/topcoat system — required prep, compatibility, mixing/application rates, and cure times (use the TDS for the exact products you select).
If you do just one thing first: identify your chevron floor type and what it’s sealed with, then choose a traction system built for that substrate and finish it with a traction-safe clear coat. That system mindset is what turns “nice-looking chevron” into “reliably grippy chevron” in real wet, high-traffic life.
Frequently Asked Questions
How do I make chevron floors slip-resistant without changing the look?
Start by cleaning the chevron tile thoroughly to remove grease, dust, and any existing residues that reduce coating adhesion. Use a slip-resistant flooring sealer or floor finish specifically rated for wet or high-traction use, and choose a system designed for your surface type (porcelain, quarry tile, vinyl, or concrete). If traction is still not enough, add a compatible anti-slip additive or apply an abrasion-resistant anti-slip topcoat that maintains the chevron pattern while improving grip.
What’s the best slip-resistant treatment for chevron tile floors?
The best option depends on whether your chevron flooring is ceramic/porcelain tile, stone, concrete, or vinyl. For tile and grout, a penetrating anti-slip sealer or an anti-slip epoxy floor coating system can increase traction across the raised and patterned surfaces. For concrete, consider a clear anti-slip concrete coating with high-traction aggregates, then seal to protect against moisture. Always verify the product’s traction rating and suitability for indoor/outdoor and wet conditions before applying.
Which grit size or anti-slip additive should I use on chevron floors?
Use an anti-slip additive or traction aggregate sized for your environment—finer textures work well indoors and in areas with frequent foot traffic, while coarser aggregates improve traction in wet areas like entryways and pool decks. A common approach is to select a coating or additive range labeled for “wet” or “level surface” traction and follow the manufacturer’s recommended mixing ratios. Test a small chevron section first because the pattern lines can affect how texture appears and how easily it cleans.
Why are chevron floors more slippery than straight patterns?
Chevron floors can appear more slippery due to how light reflects across angled lines and how water, oils, and cleaning residue collect along grout joints and edges. If your chevron floor has glossy finishes or smooth tiles, the angled geometry may reduce slip resistance because traction points are less consistent. Improving slip resistance usually requires addressing both surface finish (gloss/sealer) and micro-texture so water and residue don’t create a slick film.
How do I apply an anti-slip coating correctly on a chevron floor?
Clean and degrease the entire chevron floor, then repair cracked grout or damaged tiles so the slip-resistant coating bonds evenly across the pattern. Apply the slip-resistant flooring coating or sealer in thin, even layers, using the correct roller or applicator so the traction finish isn’t blocked by over-rolling. Allow full cure time before exposing the floor to foot traffic, and include maintenance steps like using approved cleaners that won’t strip the anti-slip finish.
📅 Last Updated: October 15, 2026 | Topic: How to make slip-resistant chevron floors? | Content verified for accuracy and freshness.
References
- Redirecting…
- https://www.cdc.gov/niosh/topics/slips/
- Final Rule to Update General Industry Walking-Working Surfaces and Fall Protection Standards | Oc…
- Workplace health, safety and welfare – HSE
- https://en.wikipedia.org/wiki/Slip_resistance
- slip resistant flooring static coefficient of friction – Search Results – PubMed
- https://www.cdc.gov/homeandrecreationalsafety/falls/prevention/index.html
- https://scholar.google.com/scholar?q=ADA+slip+resistance+walking+surfaces+2010+section+302+static+coefficient+of+friction Google Scholar
- https://scholar.google.com/scholar?q=slip+resistant+flooring+test+method+ASTM+C1028+wet+coefficient+of+friction+PTV Google Scholar
- https://scholar.google.com/scholar?q=chevron+tile+installation+grout+surface+texture+slip+resistance Google Scholar