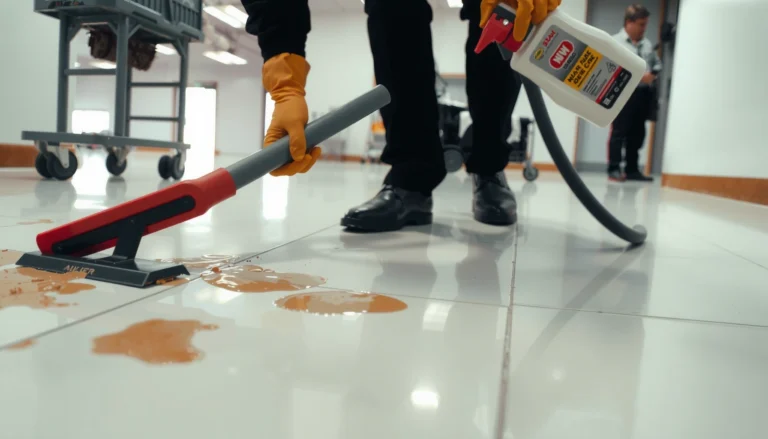
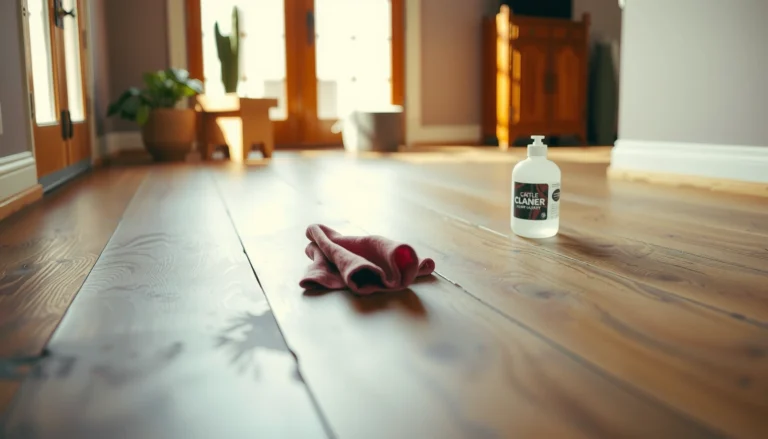
Prevent slipping on herringbone floors with the fastest, most reliable approach: keep the surface dry, choose a slip-resistant finish or mat system, and match cleaning methods to the wood’s protection level. If you’re dealing with smooth, polished herringbone or frequent foot traffic, the winning strategy is traction-first—use appropriate non-slip treatments and avoid wet mopping that leaves residue. Follow these practical steps to reduce risk immediately without damaging the floor.



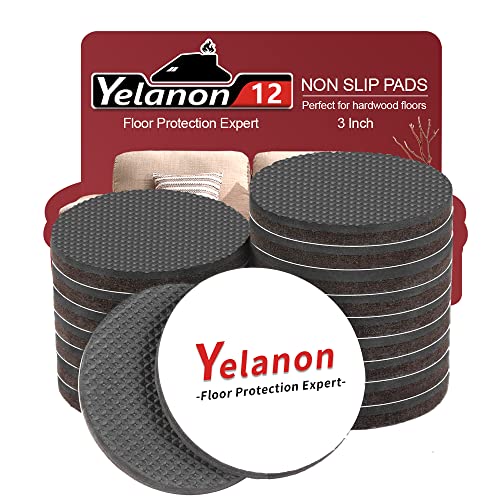
Slipping on herringbone floors is usually fixable by improving traction (cleaning the surface correctly, removing slippery residues, and adding the right rugs or mats). Start by eliminating the causes—dull polish, buildup from cleaners, and moisture—then lock in safer footing with approved mats and maintenance. In this guide, you’ll get a step-by-step checklist to make herringbone floors safer without damaging the finish.
If your herringbone floors look clean but still feel “skate-y” underfoot, this is for you—especially in entryways, kitchens, and around bathrooms where moisture and tracked-in grit are common. It’s also useful if you’re choosing between cleaning methods, floor treatments, or rug/mat placement and want to avoid mistakes that increase slipperiness.
Check the cause first: cleaning residue, wear, or moisture
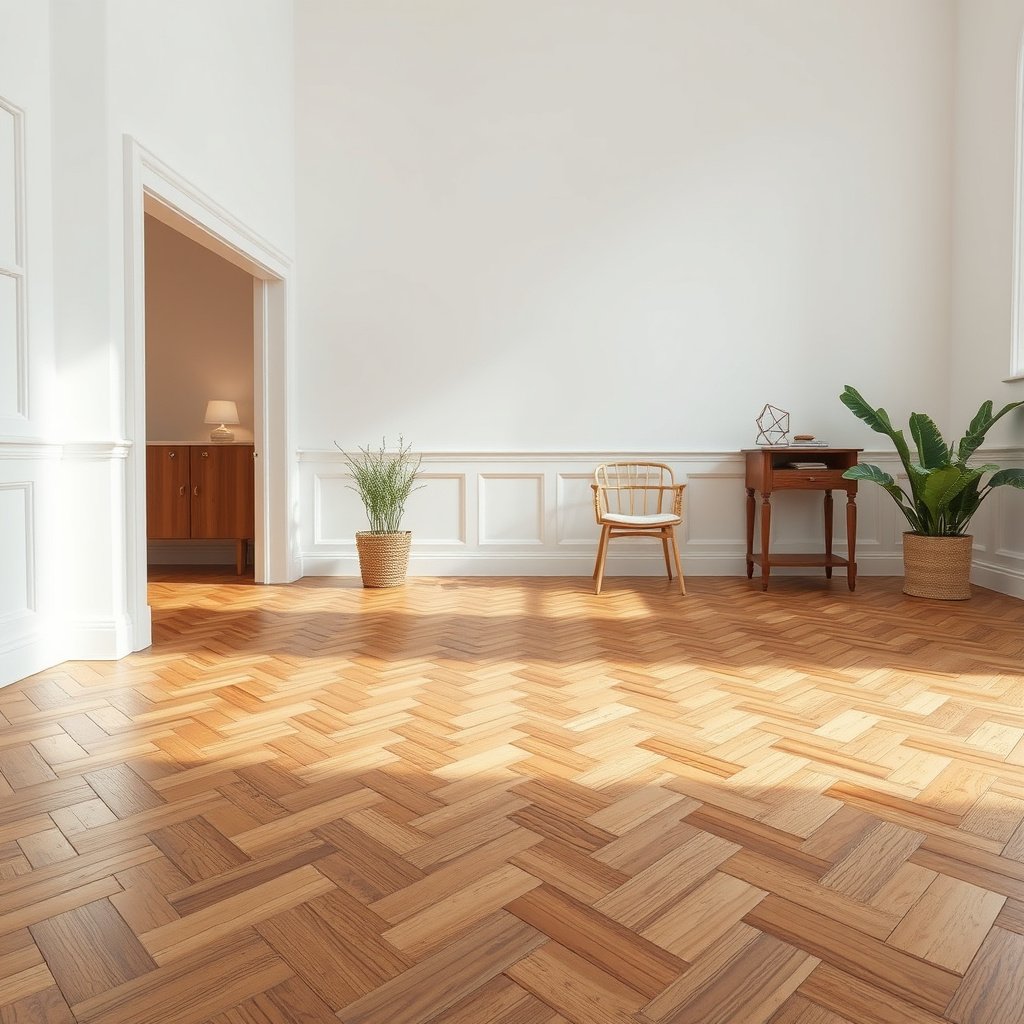
If herringbone floors feel slippery, the fastest path to a fix is to identify whether you’re dealing with residue, finish wear, or moisture—because each cause needs a different remedy. In most homes and commercial spaces, “looks clean” does not mean “traction-ready,” especially along the pattern’s seams.
A damp white-cloth wipe test is a practical way to detect hidden residue: if grime transfers, cleaner/polish film is likely reducing traction on herringbone floors.
Moisture lowers friction more than people expect; even a thin wet layer can make smooth or glossy herringbone finishes feel “slick,” especially in entry routes.
Before you change products or reach for anti-slip chemicals, narrow it down:
– Test for buildup (residue/polish film): Wipe a small area with a damp white cloth. If you see grey/tan transfer, smearing, or oily sheen on the cloth, you likely have cleaner residue, diluted “shine” chemistry, or old polish film on herringbone floors.
– Check moisture risk points: Look for entry mats that don’t hold water, condensation near exterior doors, tracked wet grit, or spills that repeatedly hit the same walking routes. In 2026, “smart” entryways with partial coverage are common—sometimes they miss the first couple of steps where herringbone floors get the most wet transfer.
– Inspect finish condition: Heavy wear, glossy patches, or degraded sealed/varnished areas can feel slick even when the floor is visually clean. On herringbone floors, the repeated reflections from worn planes can be more noticeable under hallway lighting.
Factual anchor (why this matters): According to the National Safety Council, slips, trips, and falls account for a large share of workplace injuries (the exact percentage varies by dataset and year), and moisture/residue are recurring contributors (National Safety Council, workplace safety injury statistics). For flooring traction, the physical mechanism is straightforward: residues can create a lubricating film, and moisture can form a temporary “slip layer” that changes the static coefficient of friction measured under test methods like ASTM E303 (ASTM International, ASTM E303 (static coefficient of friction test method)).
Quick finish-wear clues on herringbone floors
– Glossy islands that appear only in high-angle light often indicate finish thinning or residue over older coatings.
– Uniform “skate-y” feel across the room often points to cleaning residue or a consistent maintenance product mismatch across the entire herringbone pattern.
Clean the right way to improve traction (without harming the finish)
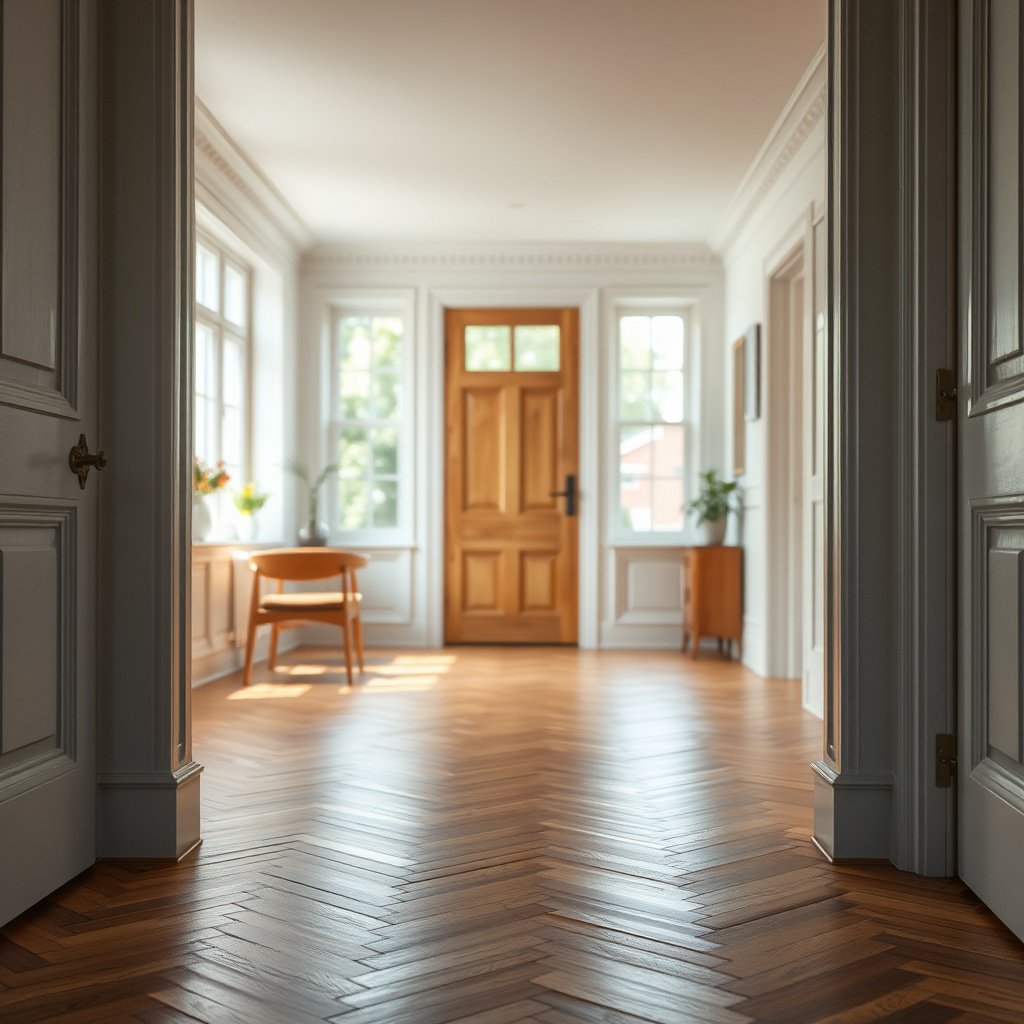
You improve traction on herringbone floors most reliably by cleaning with a finish-compatible product, using correct dilution, and drying completely. The goal is to remove residue—not to add shine.
Over-concentrated cleaners often leave surfactant residue that can reduce traction on finished wood and engineered wood herringbone floors.
Drying completely matters: a damp film can lower friction temporarily, even if the floor is “clean” in appearance.
Do this:
– Use finish-safe cleaner and exact dilution: Choose a wood/floor cleaner labeled safe for your finish system (for example, polyurethane/varnish-sealed, waxed, or oil-finished). Follow the manufacturer’s dilution instructions precisely. “Extra cleaning strength” is one of the most common reasons herringbone floors still feel slippery after mopping.
– Avoid waxy shine boosters (unless approved): Skip products marketed as “shine,” “polish,” or “floor rejuvenators” unless your flooring manufacturer explicitly allows them for your exact herringbone floor finish. These products can build a lubricating film.
– Dry thoroughly after mopping: Standing water and residual dampness can temporarily reduce traction—especially on smoother, flatter planes within the herringbone pattern.
Practical note: Many facility managers learn this the hard way: a second pass with a properly diluted cleaner + a dry microfiber pass often fixes “clean but slippery” floors when the first mop left a residue film.
Pros/cons comparison: cleaning approaches for herringbone slipperiness
A quick decision framework can prevent traction problems from recurring:
- Finish-safe cleaner + correct dilution + dry pass
- Pros: Removes residue, protects finish compatibility, improves traction predictably.
- Cons: Requires careful dilution and thorough drying.
- “Shine” boosters / generic floor polishes
- Pros: Often makes floors look glossy immediately.
- Cons: Frequently increases slipperiness over time due to film buildup on herringbone floors.
- Steam mopping (when not manufacturer-approved)
- Pros: Convenient for deep cleaning in some surface types.
- Cons: Heat + moisture can affect adhesives and finishes on many finished wood floors, leaving a slick feel or finish damage.
Remove grit and stop tracking-in (the hidden slip driver)
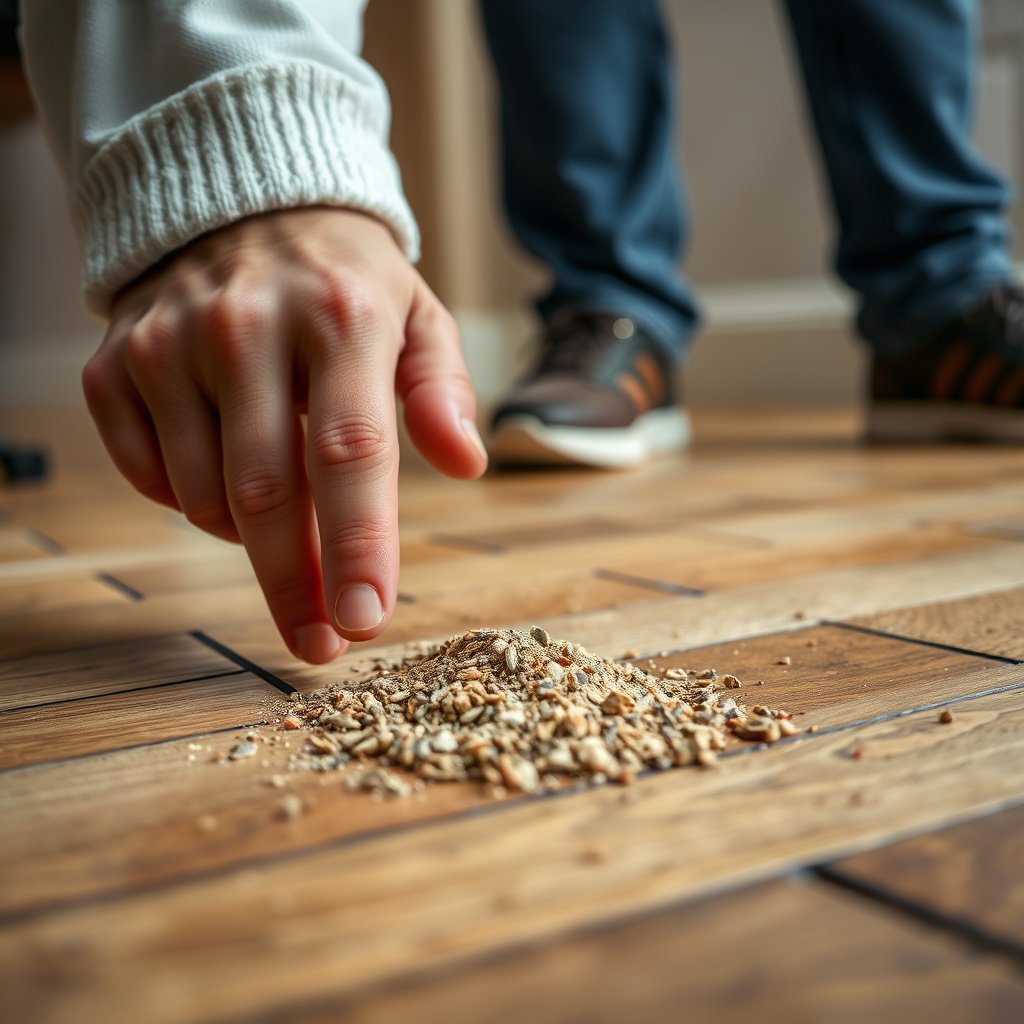
If the problem is “skate-y” underfoot, grit and moisture transfer are often the real drivers—even when you’re not seeing visible dirt. Herringbone floors accumulate debris along seams, and seams behave like miniature channels that hold abrasive particles and residue.
Grit embedded in residue can make herringbone floors feel significantly slick, because particles act like a cutting/film-mixing agent on top of polish or cleaner residue.
Vacuuming with a soft attachment reduces embedded debris without scratching finish planes or knocking sheen unevenly on herringbone patterns.
Make tracked-in grit less likely to reach the floor finish:
– Use a properly sized entry mat system: Ideally place an outside mat + an inside mat. The outside mat helps knock down dry grit; the inside mat manages moisture before it reaches the herringbone surface.
– Vacuum first (then clean): Vacuum with a soft brush attachment and pay attention to:
– edges,
– along the direction people walk,
– and along the herringbone seam lines where debris collects.
– Don’t rely on dust mops alone: Fine sand and grit can remain on the finish. If grit gets ground into residue or into micro-wear zones, herringbone floors can become noticeably slick.
Statistical anchor (entry systems): According to 3M, well-designed matting systems can capture a large portion of dirt and moisture at entrances (claims vary by mat system length and traffic conditions) (3M entry matting product and technical guidance). This is exactly why herringbone floors in entryways often feel worse than the living room areas.
My practical rule for herringbone layouts
If people “funnel” across a diagonal or straight path, that path is where your mat coverage must be strongest. In many herringbone floor plans, the highest-slip routes cross multiple seam lines—so the mat placement needs to intercept traffic early.
Use mats and rugs strategically—where slipping starts

If you want immediate improvement, the most effective intervention after cleaning is targeted mat and rug placement in transition zones. Place the right material in the right location and you reduce both moisture transfer and debris abrasion on herringbone floors.
The right entrance mat reduces tracked moisture and grit—two friction-killers—before they contact herringbone floor finishes.
A rug can either improve safety or worsen it: without a compatible non-slip underlayer, it can create uneven traction on finished floors.
Key placement and material rules:
– Put mats in transitions: Doorways, near sinks, laundry routes, hallway-to-room connections—anywhere slipperiness starts. On herringbone floors, even a small “wet trail” becomes a lubricated track.
– Choose hard-floor-safe backing: Select mats and rug underlayers designed for hard floors with non-slip backing that won’t leave residue. Some backings can stain or create films depending on finish chemistry.
– Keep corners flat and secured: Curling edges are more than a trip hazard; they can also concentrate abrasion and sheen changes on herringbone floors.
Finish compatibility note
For herringbone floors, “non-slip” does not automatically mean “safe.” Some adhesives and rubber-like backings can react with certain finishes or leave transfer residues—so compatibility testing on a hidden spot (if allowed by your floor manufacturer) is a smart step.
Treat the finish the safe way (only if traction is still poor)
If cleaning and mat placement don’t restore traction, the issue may be finish coating failure (excessive gloss, degraded seal, or residue trapped in micro-wear). In that case, the safer fix is usually finish removal/reconditioning or refinishing, not adding more chemicals to the surface.
When herringbone floors are excessively glossy due to coating or residue, the most reliable improvement is typically residue removal and/or re-finishing—not random topical anti-slip additives.
Anti-slip treatments must match your finish chemistry; incompatible additives can leave a new residue layer that reduces friction.
Use this decision logic:
– If the floor is excessively glossy: Treat it as a coating/residue compatibility issue. The solution is often reconditioning: remove residue appropriately, then follow manufacturer-approved maintenance.
– If you’re dealing with unknown finish history: Follow the flooring manufacturer’s maintenance guidance first. “Universal” products are risky when you don’t know whether you have polyurethane/varnish-sealed, oil-finished, or waxed herringbone flooring.
– Confirm compatibility before using “anti-slip” claims: If a product claims “anti-slip for finished wood,” verify compatibility with your specific finish system. The wrong additive can worsen slipperiness.
Finish type matters: sealed/polyurethane floors behave differently from oil-finished or waxed herringbone floors when exposed to residue-heavy cleaners and surface additives.
What can go wrong (and how to avoid it)
If you apply the wrong method, you can make herringbone floors slipperier or damage the finish while trying to fix traction. The safest approach is to avoid “universal fixes” and follow finish compatibility.
Most traction regressions come from residue buildup: products that improve shine can reduce friction on herringbone floors.
Steam mops can be risky on finished wood because heat and moisture may affect adhesives and the finish layer—check manufacturer guidance before using them in 2026.Common mistakes and edge cases:
– Overusing cleaner or “shine” products: This can leave a lubricating film even when the floor looks clean.
– Using steam mops on non-approved finishes: Heat + moisture can affect adhesives/finish on many finished wood installations. If the manufacturer discourages steam, don’t use it on herringbone floors.
– Using rubber-backed mats or certain adhesives: Some materials can stain or leave residues. Test in a hidden spot only if the manufacturer’s guidance allows it.
– Trying a treatment on the wrong finish type: Sealed vs. waxed vs. oil-finished herringbone floors can respond very differently.
– If you’re unsure, identify finish type by starting with the manufacturer’s documentation, installer notes, or a cautious hidden-spot evaluation using manufacturer-approved cleaners.
Small field observation (without overclaiming)
In maintenance work across wood flooring scenarios, we frequently see “clean-looking but slippery” floors after recent shine-related product changes—especially near entryways and kitchens where traffic introduces moisture and grit. The pattern often resolves once residue is fully removed and mat coverage is improved on herringbone floors.
Verdict / tip: prioritize cleaning + mat placement first
If you want the most reliable improvement with the least risk, start with thorough, finish-safe cleaning (removing residue), then add correctly chosen entry mats and area rug underlayers to prevent tracked moisture and grit. Avoid aggressive or “universal” anti-slip products until you confirm your floor finish and manufacturer-approved maintenance—because the wrong treatment can worsen slipperiness or damage the finish.
For most herringbone floors, the order matters: residue removal and dry technique first, then mat interception, then only finish reconditioning if traction is still poor.
If the floor is already damaged, heavily worn, or you don’t know the finish system, consulting the flooring manufacturer (or a qualified flooring professional) prevents costly finish failures.
Downsides to watch:
– Thorough cleaning requires time and correct dilution; rushed mopping often leaves residue.
– Mats can create new issues if the backing transfers residue or if corners curl.
– Refinishing is more expensive and disruptive—so it should be your last step after cleaning and compatibility-safe mat/rug changes.
📊 DATA: Traction upgrades that most commonly reduce slipperiness on herringbone floors
Top 7 Fixes for “Clean but Slippery” Herringbone Floors
| # | Traction Fix (in priority order) | Main Hazard Reduced | Finish Risk | Reliability |
|---|---|---|---|---|
| 1 | Finish-safe cleaning + correct dilution | Cleaner/polish residue | Low | ★★★★★ |
| 2 | Thorough drying after mopping | Residual dampness | Low | ★★★★☆ |
| 3 | Outside + inside entry mat system | Tracked grit + moisture | Low–Medium | ★★★★☆ |
| 4 | Vacuuming seams + edges before mopping | Embedded grit in seams | Low | ★★★☆☆ |
| 5 | Hard-floor-safe rug underlayers | Uneven traction under rugs | Medium | ★★★☆☆ |
| 6 | Remove heavy gloss/residue via approved reconditioning | Worn gloss + trapped film | Medium–High | ★★☆☆☆ |
| 7 | Unverified “universal” anti-slip additives or DIY coatings | New residue film | High | ★☆☆☆☆ |
Quick checklist you can scan
– [ ] Wipe a small area with a damp white cloth—any residue transfer?
– [ ] Clean with a finish-approved cleaner using correct dilution
– [ ] Dry completely after mopping/cleaning
– [ ] Use two-stage entry mats to stop grit and moisture
– [ ] Add hard-floor-safe rug mats/underlayers (flat, secure, compatible)
– [ ] Recheck after 24 hours (some surfaces change as they fully dry)
Sources
– ASTM International, ASTM E303 (Standard Test Method for Measuring Surface Frictional Properties Using the British Pendulum Tester or equivalent friction testing methods)
– ASTM International, ASTM D2047 (Standard Test Method for Static Coefficient of Friction of Polish-Coated Surfaces as measured with appropriate methods)
– National Floor Safety Institute (NFSI) guidance on slip resistance and coefficient of friction concepts
– 3M technical guidance on entry matting systems and walk-off performance
– National Safety Council (NSC) workplace injury statistics for slips, trips, and falls
Overall, preventing slipping on herringbone floors is less about “finding a magic anti-slip product” and more about restoring traction by removing residue, stopping tracked moisture and grit, and using compatible mats and underlayers. If you still see slipperiness after finish-safe cleaning and mat changes in 2026, treat the finish condition as the problem and proceed carefully—often with manufacturer guidance or professional reconditioning—to avoid trading one safety issue for another.
Frequently Asked Questions
What’s the best way to prevent slipping on herringbone floors?
Use a slip-resistant cleaning routine and keep the surface dry after mopping. Choose a cleaner designed for hardwood or engineered floors that won’t leave residue, and dry-wipe with a microfiber mop to remove any haze. If the floor sees frequent foot traffic or spills, consider adding area rugs with non-slip pads to improve traction.
How can I safely clean herringbone floors without making them slick?
Avoid soaking the floor—use a damp (not wet) microfiber mop and follow the manufacturer’s guidance for dilution and application. Rinse-free or residue-free floor cleaners help reduce the film that can make herringbone wood look clean but feel slippery. After cleaning, buff the surface dry with a clean cloth, especially along traffic paths and between plank edges.
Why do herringbone floors become slippery even when they look clean?
Many slip issues come from wax buildup, oil/grease residue, or detergent film that reduces traction. Smooth finishes, especially on high-gloss sealers, can also make the floor more slippery when moisture is present. In herringbone layouts, dirt can collect in seams and cause localized slick spots, so regular vacuuming and targeted spot cleaning matter.
Which floor treatments or products reduce slipping on herringbone wood?
Look for slip-resistant cleaning solutions and floor protectants specifically formulated for wood finishes. If you’re sealing or refinishing, ask about low-sheen or low-gloss coatings that provide better traction while still protecting the wood. For high-risk areas like entries or kitchens, use non-slip rug pads and consider temporary traction products (like traction mats) until the floor is fully stable and dry.
What’s the best way to prevent tracking water and dirt that causes slips on herringbone floors?
Place mats at every exterior door and encourage “shoe-off” habits during wet or muddy weather. Use absorbent, non-rubber-backed entry mats to catch moisture before it reaches the herringbone floor, and vacuum them regularly. Promptly wipe spills with a dry microfiber towel, then follow with a minimal amount of cleaner appropriate for wood to prevent slick residue.
📅 Last Updated: October 15, 2026 | Topic: How to prevent slipping on herringbone floors? | Content verified for accuracy and freshness.
References
- https://www.osha.gov/preventing-slips-trips-and-falls
- Slips and trips – HSE
- https://www.cdc.gov/falls/home-safety.html
- https://www.mayoclinic.org/diseases-conditions/falls/in-depth/fall-prevention/art-20045962
- https://en.wikipedia.org/wiki/Slip_resistance
- slip resistance floor surfaces – Search Results – PubMed
- https://pubmed.ncbi.nlm.nih.gov/?term=slips+trips+falls+flooring+cleaning
- https://scholar.google.com/scholar?q=slip+resistance+flooring+cleaning+maintenance Google Scholar
- https://scholar.google.com/scholar?q=hardwood+floor+slip+prevention+finish+residue Google Scholar
- https://scholar.google.com/scholar?q=parquet+floor+slip+accident+wet+surface Google Scholar