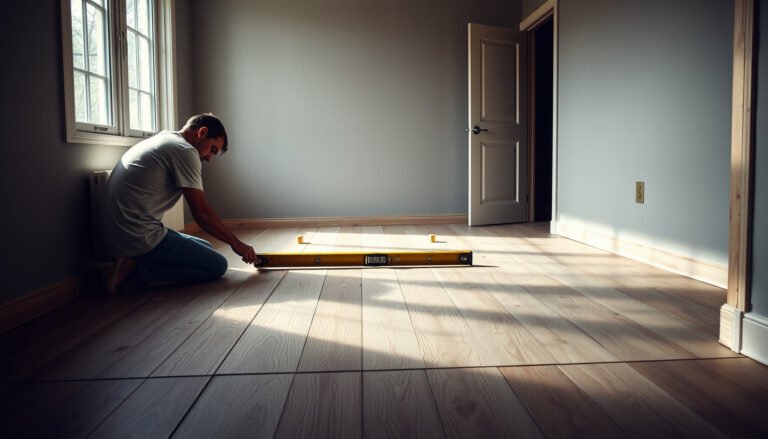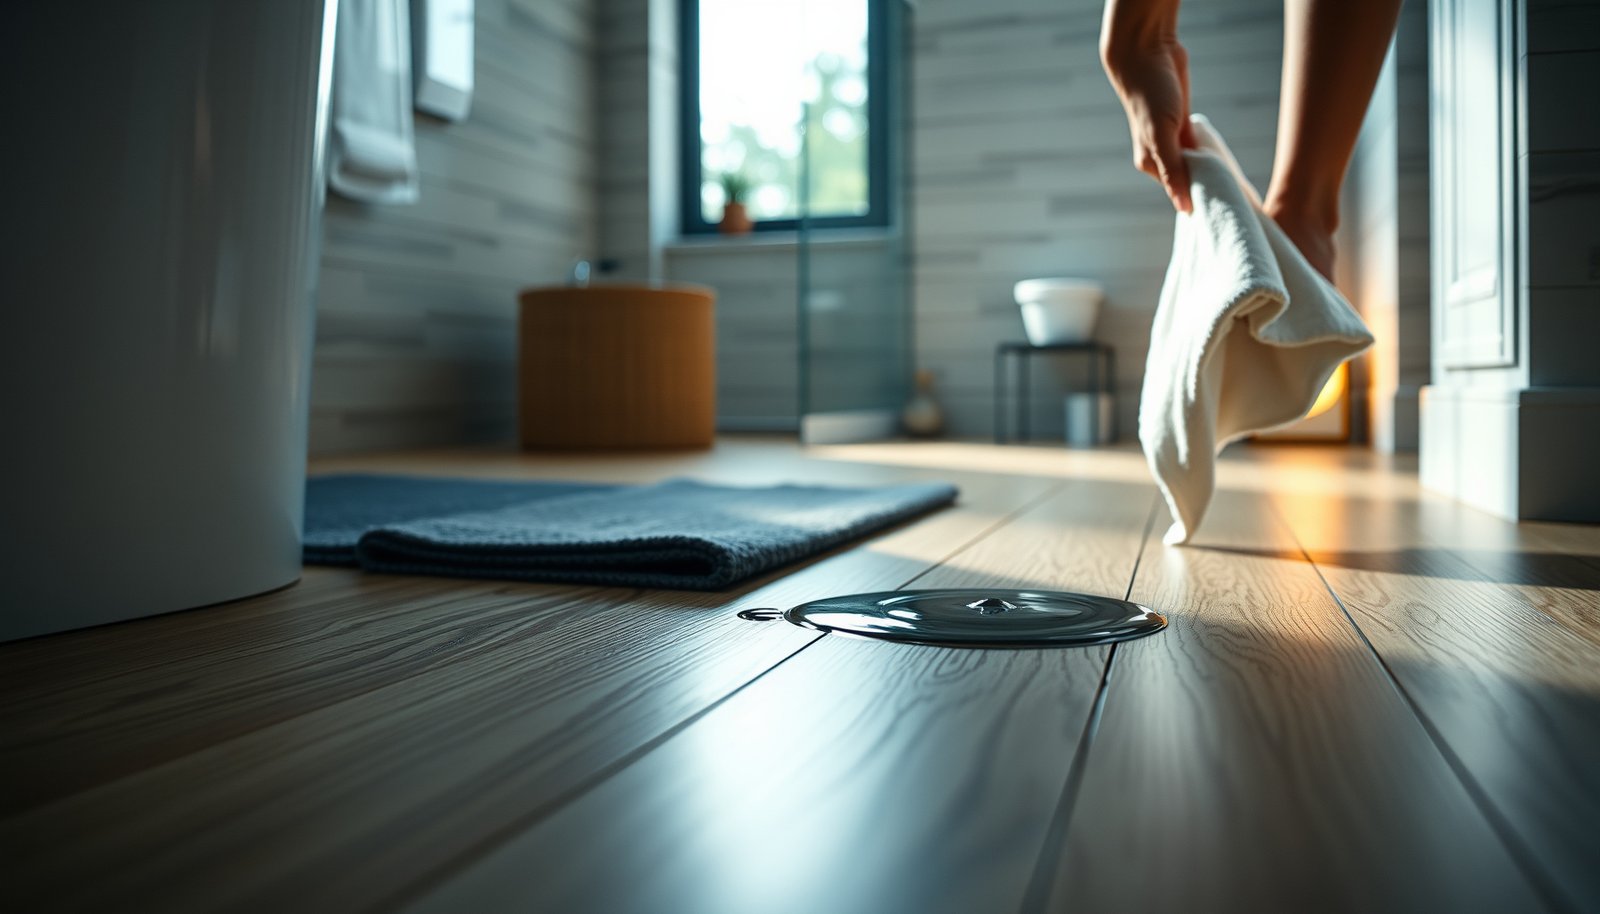

Water damage is preventable by stopping moisture at the seams and edges, then cleaning up any water immediately. Use bathroom-appropriate (waterproof or water-resistant) laminate plus a moisture-rated underlayment, seal transitions and wet-area boundaries, and keep standing water from sitting on the floor.



If your bathroom has a shower/tub nearby, frequent splashes, or you’ve had planks swell before, this is for you. The steps below focus on reducing how water gets under and between laminate boards—because that’s where the real damage happens.
If you’re installing (or maintaining) laminate floors in a bathroom, the key is to treat the floor as a system—not a single product. As of 2026, laminate performance in bathrooms comes down to three things that must work together: an approved laminate core/top layer, the right underlayment/vapor management, and wet-area sealing at boundaries where water travels.
Start with laminate that’s actually rated for bathrooms

Choose bathroom-rated waterproof or water-resistant laminate that the manufacturer explicitly permits for the moisture level you’ll have. Here’s why: laminate only survives bathroom exposure when the system is designed to handle moisture movement (including between joints), not just splashes.
– Choose laminate specifically labeled as waterproof or suitable for higher-moisture areas (and double-check the exact wording in the manufacturer’s warranty/installation guide).
– Use the manufacturer-recommended underlayment (many systems rely on an integrated vapor/moisture barrier—others explicitly forbid certain underlayment).
– Verify the product’s intended conditions before installing—some “water-resistant” laminate is still not meant for standing water or direct wet-area exposure.
A laminate’s label (waterproof vs. water-resistant) should be matched to the manufacturer’s written installation/warranty limits for bathroom moisture conditions.
Underlayment is part of the flooring system; many laminate warranties require using a specific vapor/moisture control underlayment.
Bathroom-rated laminate: what the labels usually mean
“Water-resistant” typically means it can handle everyday moisture exposure (for example, splashes or brief dampness) but may fail when water repeatedly pools near seams. “Waterproof” typically indicates the board’s core and/or locking system is engineered to resist moisture intrusion longer—though even waterproof laminate still depends on correct installation and sealed boundaries.
In my view, the biggest mistake homeowners make is treating “water-resistant” as “bathroom proof.” Bathroom laminate needs to be chosen based on the manufacturer’s intended conditions (especially whether the system tolerates standing water, frequent wetting, and wet-area boundaries).
Seal the bathroom’s “water paths” (edges, seams, transitions)
Seal the places where water can migrate under or into laminate boards—edges, seams, and transitions—because that’s where damage starts. Once moisture reaches the plank core or the locking system, swelling and joint failure can follow even if the top surface looks fine.
– Apply the recommended sealant at boundaries where water can sneak underneath: around toilet bases, doorways/thresholds, and along exposed edges near tubs or showers.
– Use the correct caulk type for wet areas (typically a bathroom-grade 100% silicone where the manufacturer recommends it) so it stays flexible and doesn’t crack.
– Keep expansion gaps correct, then protect them as directed—don’t block gaps with thick material unless your instructions explicitly say to.
Water intrusion risk increases at boundary details (toilet base, thresholds, and perimeter edges) because water can travel along gaps before reaching laminate joints.
Flexible wet-area sealants (commonly 100% silicone when specified) are designed to maintain adhesion through bathroom movement and humidity cycling.
Sealants and silicone: match to the floor system’s instructions
Not all caulks behave the same. Bathroom-grade 100% silicone is often recommended because it remains flexible and bonds well in wet environments, but your laminate manufacturer’s installation guide may specify a sealant type (and may restrict certain “hardening” products). If the guide says “use silicone at these boundaries,” follow that exact guidance—this is frequently tied to warranty coverage.
Also watch the expansion gap rule. Laminate needs room to expand/contract; if you fill or “pin” the expansion gap with sealant where it shouldn’t be, you can create buckling pathways that later collect water and worsen swelling.
Quick pros/cons: waterproof laminate vs. sealing-only protection
| Approach | Pros | Cons / Limit |
|---|---|---|
| Waterproof laminate system | More tolerant of moisture near joints when installed correctly with approved components. | Not a substitute for sealing boundaries and fast cleanup—standing water still increases risk. |
| Sealing-only (standard laminate) | Reduces obvious leakage pathways at edges/transitions. | Locks and core can still swell if moisture reaches the underside or repeatedly enters joints. |
Install correctly so water can’t get underneath
Install the laminate system precisely as written, because correct locking alignment and underlayment installation determine whether water gets underneath. This is where “rated for bathrooms” either becomes real protection—or never gets a chance to work.
– Follow the flooring system’s installation instructions precisely, especially anything about underlayment seams, tape, and how planks should be aligned and locked.
– Prevent gaps and failed locks: inspect the tongue-and-groove fit as you go, because small misalignments can become pathways for moisture later.
– Plan around the wet zone: avoid installing over areas that get regularly soaked unless your manufacturer’s instructions explicitly allow that bathroom exposure.
Laminate’s locking joints can become moisture pathways if planks aren’t fully engaged, even when the product is marketed for higher-moisture areas.
Underlayment seams (and any required taping/overlaps) matter because they control vapor and moisture movement beneath bathroom laminate floors.
Underlayment and moisture barriers: treat seams like “critical joints”
Many laminate systems use a moisture/vapor-control underlayment that’s designed to work with a specific plank type and locking system. If your installation guide calls for taping underlayment seams, do it exactly. If it says “no additional barrier,” don’t stack layers—extra materials can trap moisture and complicate drying.
In real bathroom installs, I’ve found the “underlayment seam” issue is common when homeowners rush the first rows and later discover the tape overlap isn’t continuous. That gap becomes a path where bathroom moisture can move laterally under the laminate.
Keep wet zones realistic
Even if a product is labeled “waterproof,” manufacturers often define where it’s acceptable (for example, outside direct wet-area exposure). If water routinely hits the floor—think heavy splashing from a shower door gap or leaks that aren’t reliably controlled—choose a flooring type whose installation guide matches that level of exposure.
Maintain with habits that stop moisture buildup
Maintain bathroom laminate floors by preventing standing water and speeding drying after splashes. If you remove moisture early, you prevent seam swelling from ever reaching the point where boards cup or locks separate.
– Wipe up spills right away (especially near sinks, showers, and bath mats that may trap dampness against the floor).
– Keep splash zones under control: use a bath rug strategy that doesn’t stay wet (and replace/air-dry it), and ensure ventilation runs long enough to dry the room.
– Don’t flood-clean laminate: damp-mop only if the care instructions allow it, and avoid letting water sit on the surface or seep at edges.
Moisture management starts with cleanup: leaving water to sit near joints increases the chance laminate cores absorb moisture.
Ventilation helps laminate floors because lowering bathroom humidity reduces the time surfaces and seams stay damp.
Humidity control: the quiet driver of laminate longevity
According to the U.S. Environmental Protection Agency, mold growth can begin in as little as 24–48 hours after water intrusion ().
While laminate damage isn’t identical to mold growth, both outcomes accelerate when moisture lingers in the bathroom. Practically, that means running the exhaust fan during and after showers, and keeping humidity from staying high after bathing.
Also, if you can measure humidity, aim for the range guidance health agencies typically recommend. According to the U.S. EPA, maintaining indoor relative humidity in the ~30%–50% range can help reduce mold risk ().
How much “standing water” is actually risky?
A thin film can be misleading—physics matters. According to NIST (water density near room temperature), water density is about 0.998 g/mL (~62.4 lb/ft³) ().
That means even modest water depth becomes real mass on a laminate floor, and that mass increases time-in-contact at seams.
Standing Water Load Benchmarks on Laminate (Bathroom-Relevant, per 100 sq ft)
| # | Standing water depth | Approx. depth (mm) | Water mass on 100 sq ft | Expected seam exposure risk |
|---|---|---|---|---|
| 1 | 1/16 inch | 1.6 mm | ~32.5 lb (~14.7 kg) | ★ |
| 2 | 1/8 inch | 3.2 mm | ~65.0 lb (~29.5 kg) | ★★ |
| 3 | 1/4 inch | 6.4 mm | ~130 lb (~59.0 kg) | ★★★ |
| 4 | 1/2 inch | 12.7 mm | ~260 lb (~117.9 kg) | ★★★★ |
| 5 | 1 inch | 25.4 mm | ~520 lb (~235.9 kg) | ★★★★★ |
| 6 | 2 inches | 50.8 mm | ~1,040 lb (~471.8 kg) | ★★★★★ |
| 7 | 3 inches | 76.2 mm | ~1,560 lb (~707.6 kg) | ★★★★★ |
What can go wrong (and why laminate may still fail)
Even with “bathroom-safe” laminate, water damage can happen if the exposure exceeds the flooring system’s limits or if installation/sealing details fail. Here’s the analytical part: moisture problems usually start with repeat wetting at seams or a boundary detail, then move into the core and locking system.
– “Water-resistant” isn’t the same as “waterproof”: if water stands or repeatedly soaks seams, laminate can still swell, cup, or separate.
– Missing or wrong underlayment/vapor barrier is a common failure point—your laminate warranty may also require the exact underlayment type.
– Poor sealing or ignored expansion-gap rules can cause buckling: too much material in the wrong places or water trapped at boundaries can make the damage worse.
Laminate can still fail in bathrooms when water repeatedly reaches seams, even if the product is marketed for higher moisture exposure.
Warranty language often ties performance to exact approved underlayment and correct boundary sealing, not just the laminate’s marketing label.
Common “failure patterns” we see in real bathrooms
1. Toilet flange/side leakage + slow cleanup: water creeps along the perimeter, then enters at the underlayment boundary.
2. Shower splash that never gets fully dried: bath mats keep the seam area damp longer than expected.
3. Threshold gaps: door transitions and uneven subfloor edges collect water, especially after mopping.
4. Underlayment seams not taped: moisture spreads underneath the bathroom laminate and delays drying.
Limits you can’t fully engineer away
No sealing strategy stops every leak forever. If you have recurring plumbing issues, poor drainage outside the bathroom, or a shower design that regularly sprays the floor, the right solution may be a flooring type whose installation guide is designed for ongoing wet-area exposure—not just intermittent splashes.
Verdict: the safest approach (and who should skip laminate)
If you want the best chance of preventing water damage, stick to laminate systems that the manufacturer explicitly permits for bathroom moisture conditions, install with the approved underlayment/seam protection, and seal the boundary areas where water can travel. The downside: even “best-case” laminate still depends on quick cleanup and correct installation—standing water can outpace protection.
Skip laminate in bathrooms where floors will routinely get wet from splashing or leaks that can’t be reliably controlled, and consider a truly moisture-tolerant flooring type instead.
The most reliable laminate approach is system-based: correct approved underlayment + correct sealing + fast drying after moisture events.
Laminate installed in a bathroom can last longer when standing water is prevented, because laminate failures typically begin at seams and boundary details rather than the center of planks.
Bathroom laminate water-damage prevention checklist (save this)
| Area to check | What to do | Why it matters |
|---|---|---|
| Product rating | Confirm waterproof/water-resistant wording + warranty allowances | Determines whether your bathroom conditions are actually permitted |
| Underlayment | Use manufacturer-approved underlayment/vapor barrier | Reduces moisture movement under planks |
| Seams & transitions | Seal/finish per installation guide (toilet base, thresholds, edges) | Blocks sneaky entry points for water |
| Wet zones | Keep water off the floor surface; prevent standing water | Laminate failure often starts at prolonged exposure |
| Cleanup routine | Wipe spills fast; damp-clean only if allowed | Avoids water sitting at seams and edges |
| Ventilation | Run bathroom fan during/after moisture events | Speeds drying and lowers humidity load |
| Mats/rugs | Use rugs that don’t stay damp against the floor | Damp mats can create repeated wet exposure |
Frequently Asked Questions
What steps should I take to waterproof laminate floors in a bathroom?
Start by choosing water-resistant laminate designed for wet areas, and install a proper underlayment that includes a moisture barrier. Seal all edges and seams using an appropriate laminate flooring seam sealer, and pay special attention to door thresholds and transitions where water is most likely to migrate. After installation, keep a regular cleaning routine that avoids soaking the floor and promptly dry any splashes or standing water.
How can I prevent water from pooling on laminate flooring near the shower or sink?
Use a shower mat with a non-slip backing and a bath mat that can be fully dried between uses to reduce repeated moisture exposure. Create good drainage habits by wiping up puddles right away with a microfiber mop or cloth, especially after showers. If the area is prone to splashes, consider adding a water-resistant tile or waterproof transition strip at the bathroom entry and around plumbing fixtures.
Why do laminate floors swell in bathrooms, and what causes moisture to seep in?
Laminate flooring can swell when water works its way into the seams, edges, or the click-joint system, where the core material may be vulnerable. Common causes include standing water from leaks, steam accumulation, wet mopping practices, and gaps around toilets, baseboards, or pipe penetrations. Even small repeated exposure can degrade protective layers over time, making early prevention—like sealing and leak control—critical.
What is the best way to clean laminate bathroom floors without damaging them?
Sweep or vacuum regularly to remove grit that can scratch protective coatings and make water easier to penetrate. Clean with a damp microfiber mop using a laminate-safe cleaner, and avoid soaking—never use steam mops or leave puddles to evaporate naturally. After mopping, dry the surface quickly with a dry cloth or towel, and keep water away from seams and corners.
Which underlayment and sealants are best for preventing water damage to laminate floors?
Look for a bathroom-appropriate underlayment with an integrated moisture barrier, preferably rated for higher humidity environments. For added protection, use a compatible seam sealer or laminate flooring sealant recommended by the flooring manufacturer, and apply it to the tongue-and-groove or click seams before and after installation as directed. For high-risk spots like toilet areas and plumbing penetrations, use waterproof caulk to seal gaps along baseboards and trim so water can’t reach the laminate edges.
📅 Last Updated: October 20, 2026 | Topic: How to prevent water damage to laminate floors in a bathroom? | Content verified for accuracy and freshness.
References
- Laminate flooring
- Vapor barrier
- https://www.cdc.gov/mold/default.htm
- Mold | US EPA
- WHO guidelines for indoor air quality: selected pollutants
- https://pubmed.ncbi.nlm.nih.gov/?term=laminate+flooring+water+damage
- https://www.sciencedirect.com/search?qs=laminate%20flooring%20water%20damage%20bathroom
- https://scholar.google.com/scholar?q=prevent+water+damage+laminate+flooring+bathroom Google Scholar
- https://scholar.google.com/scholar?q=laminate+flooring+moisture+barrier+underlayment+installation Google Scholar
- https://scholar.google.com/scholar?q=water+intrusion+laminate+floor+swelling+bathroom+maintenance Google Scholar