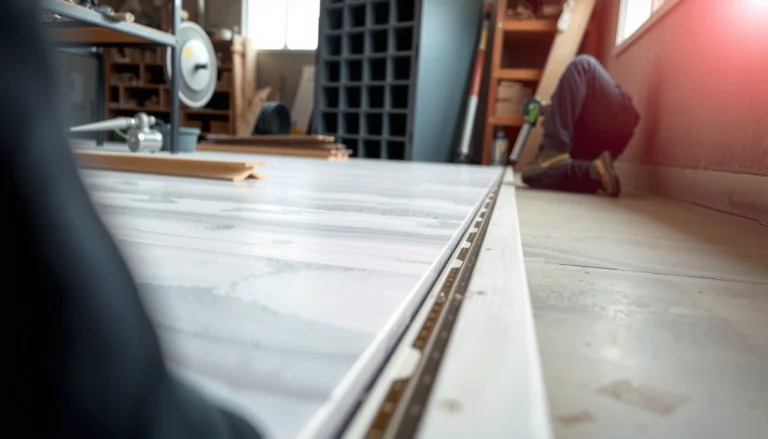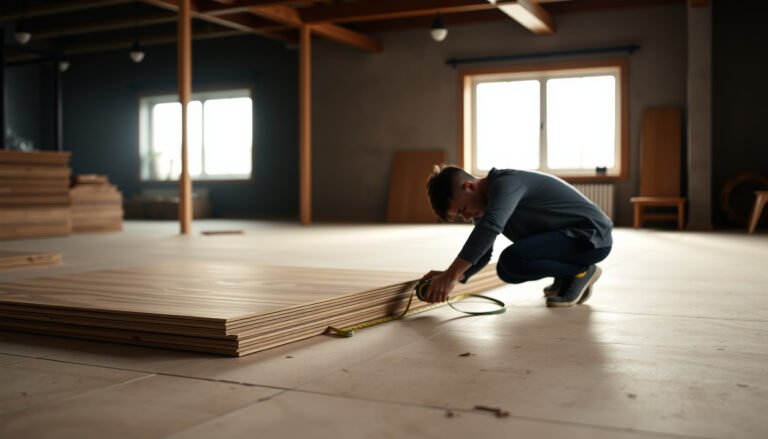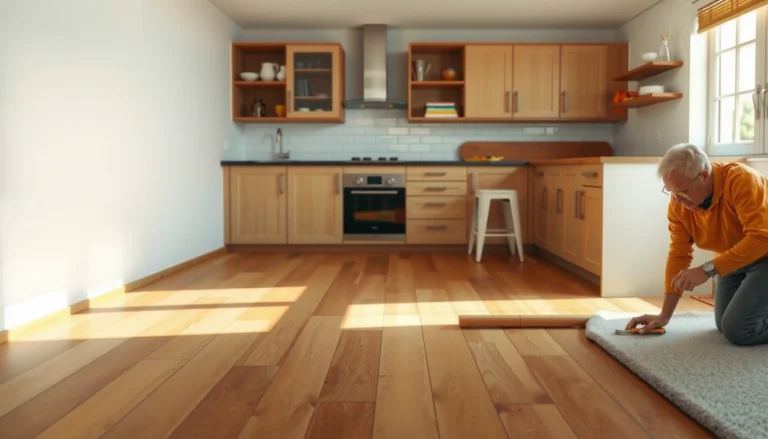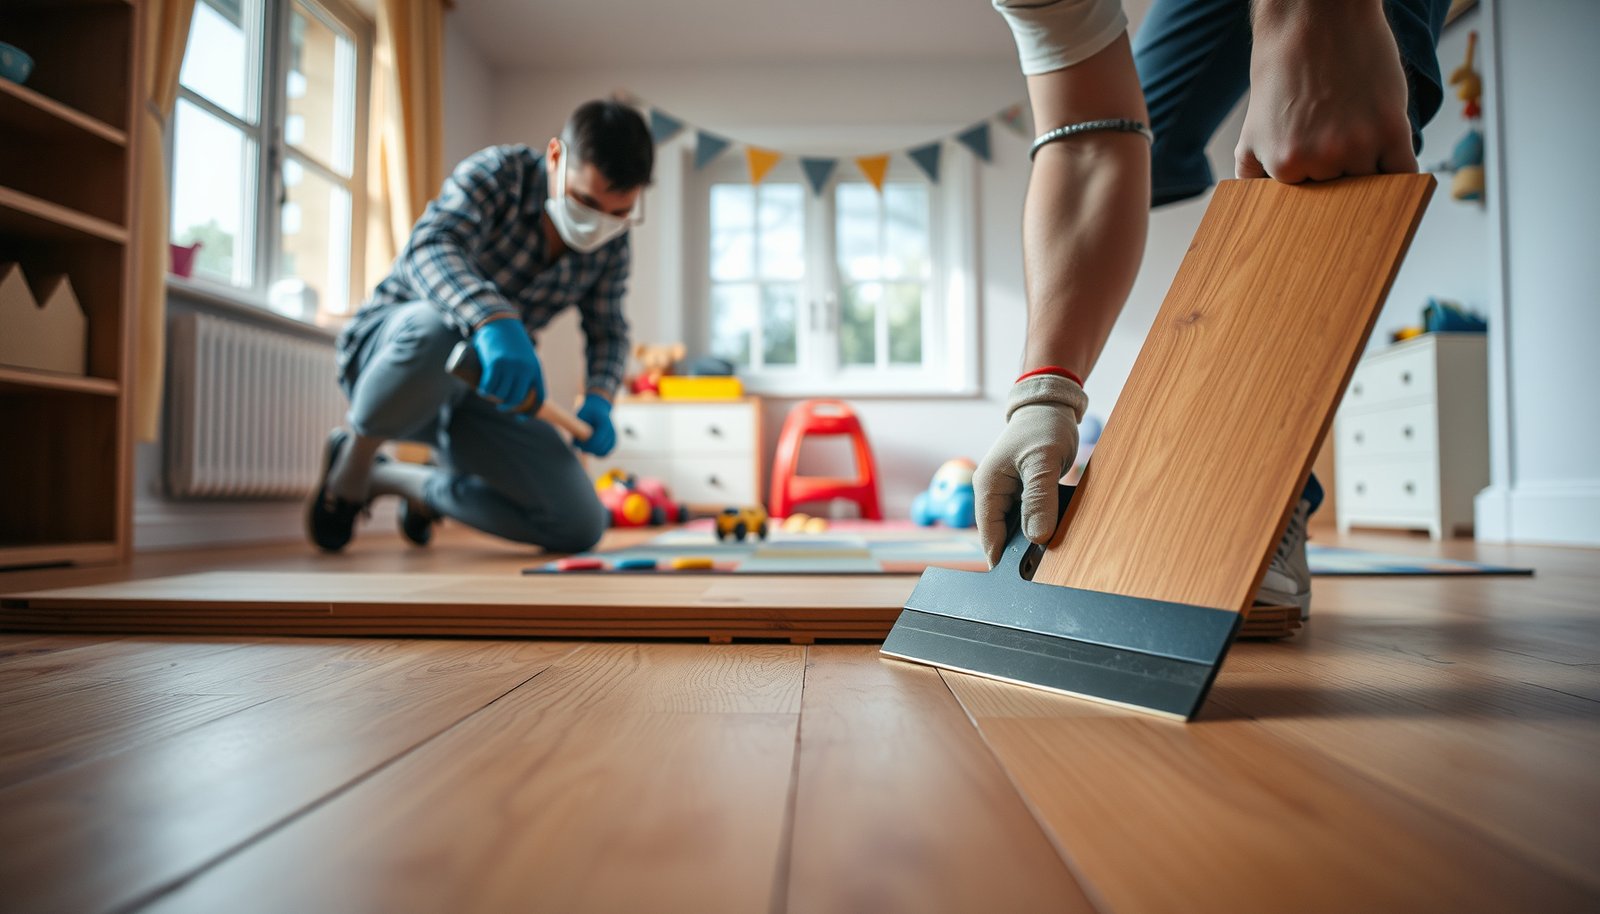

Want to remove engineered wood floors from a playroom without damaging the subfloor or scattering dust everywhere? This guide gives you the safest step-by-step method for pulling up engineered wood flooring—starting with prep and protective controls—so the area is ready for whatever comes next. Follow these instructions and you’ll minimize mess, prevent costly repairs, and keep the playroom usable throughout the project.




Removing engineered wood floors from a playroom is usually straightforward once you know how the planks are installed—floating/click-lock, glued down, or nailed down. Start by identifying the install type from seam/edge clues, then remove in the correct sequence while controlling dust so your kids and subfloor stay protected.
Removing engineered wood in a high-traffic playroom is different from doing the same project in a spare bedroom because you’re typically dealing with daily foot traffic, smaller furniture, and lots of hidden dust pathways. If your goal is safer DIY removal (and possibly reusing boards), you’ll want a methodical approach: confirm the installation system, prep for dust containment, disassemble or release joints properly, then clean and prep the subfloor flat for whatever comes next—repair, refinishing, or replacement. As of 2026, dust control and respiratory protection are still the most underestimated parts of these projects, especially when engineered wood products include hardwood veneers or when older adhesives are involved.
Identify how your engineered wood floor was installed
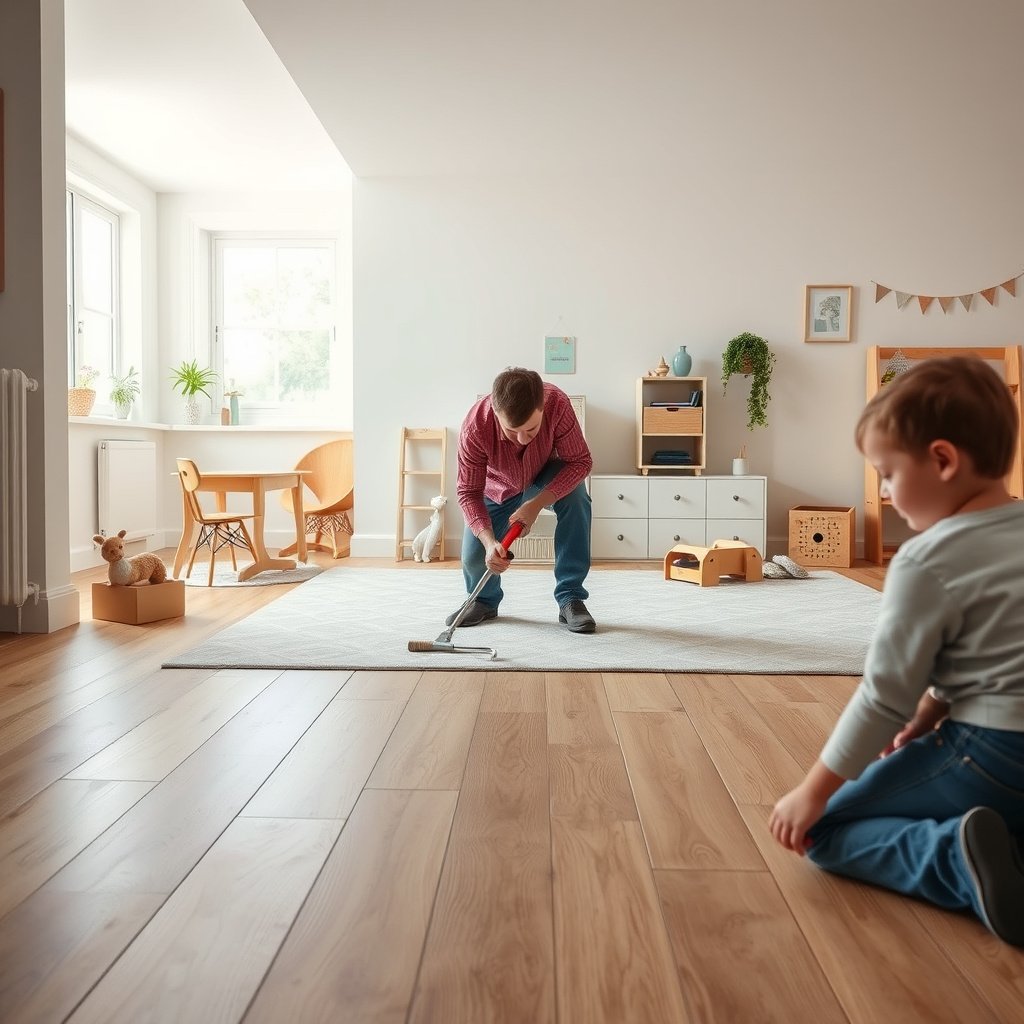
Knowing the installation method is the fastest route to safer removal because each system fails differently under pry force. You’re looking for three distinct signatures: floating/click-lock seams that release cleanly, glue-down floors with visible adhesive lines or tight rigidity, and nail-down floors with mechanical fasteners that resist pry and can leave pin/nail holes.
The key is to confirm installation type before you touch the first row. If the playroom floor is installed over an underlayment, you may also see fasteners at transitions (doorways, stairs, or HVAC registers) or discover residue patterns around edges. In my experience, most DIY damage happens when people assume “glue” because the boards feel tight, then they pry too aggressively and gouge the subfloor. Engineered wood removal works best when you treat every plank like it’s “connected” until the joint or adhesive bond is actually released.
Engineered wood floors installed as a floating/click-lock system are designed to disengage at seams when the locking joint is released rather than pried upward.
Glue-down engineered wood typically shows glue transfer, tight bonding to the subfloor, and adhesive residue left behind after plank removal.
Nail-down (or staple/pin) installations are more rigid in one direction and can reveal fastener-related damage if you remove without locating hidden nails.
Look for seam and edge clues
Start with the visible floor surface and borders:
– Floating/click-lock clues: seams may show a consistent “click” line, planks sometimes have micro-movement at thresholds, and the floor may sound/feel slightly different when walked on compared with fully rigid installs.
– Glue-down clues: fewer visible expansion gaps and stronger “one-piece” feel; you may see faint glue lines at plank edges or transitions where residue bleeds through.
– Nail-down clues: you may see pin/nail indicators near board edges (tiny holes, crushed spots, or paint/finish disruptions) and the floor can feel fastened in a way that makes gentle pry attempts fail quickly.
Confirm with documentation (if available)
If you have the brand/model, follow the manufacturer’s installation/removal guidance because some engineered systems require specific sequences (for example, removing a baseboard first to access the expansion space). If you don’t have documentation, you can still proceed safely by using conservative removal—small tests at a corner, then adjust your approach based on what you observe. If your floor is newer or still under warranty, removal instructions can also affect what counts as “approved” DIY work.
Quick fact anchors for dust and safety
According to the IARC classification, *wood dust is carcinogenic to humans* (Group 1) (2012) IARC Monographs Volume 100C (2012).
According to OSHA wood dust standards under 29 CFR 1910.1000, exposure limits differ by dust type (wood dust mixtures and hardwood/softwood distinctions), which is why containment matters even when removal feels “dry and light” (see OSHA’s Table Z-3 for values) OSHA 29 CFR 1910.1000 (Table Z-3).
And according to NIOSH, use appropriate particulate control (engineering controls plus respiratory protection when needed) because fine dust can stay airborne long enough to be inhaled NIOSH guidance on respiratory protection and hazard controls for dust.
Prep the playroom to control dust and protect items
You reduce risk most effectively by preparing the room before you remove the first plank. Dust control and item protection aren’t “extra steps” here—they prevent respiratory exposure, reduce mess, and limit damage to drywall, trim, toys, and porous materials.
A playroom contains foam, fabric, and plush materials that hold fine particulates. If you can temporarily relocate kids, pets, and daily-use items, you’ll protect both health and workflow. At minimum, you should treat the work area like a containment zone: remove or bag porous items, seal off doorways, and use a shop vacuum with fine-dust filtration.
Wood dust can remain airborne while you pry or scrape, so pre-containment (plastic sheeting + HEPA-rated vacuum filtration) reduces spreading into living areas.
Respirators for wood dust should match the dust hazard level and local safety guidance; fine particulates require properly fitted protection.
Removing trim/baseboards carefully can prevent plank edge breaks and often reduces repair work later.
Clear the room and protect the “dust magnets”
Do this before you start removal:
– Remove toys and porous items (plush toys, fabric bins, paper products). Fine dust embeds into fabrics and is hard to fully remove.
– Bag small items in sealed trash bags or totes (lids matter).
– Protect walls, baseboards, and outlets: cover with plastic sheeting and painter’s tape. If you’re planning to remove trim, decide early—forcing planks under quarter round often causes splintering.
Set up ventilation and vacuum filtration
Even when you’re not using power tools, engineered wood removal produces particulate when you pry, cut, or scrape adhesive. Use:
– A shop vac with fine-dust filtration (ideally HEPA, if your vac is rated for it).
– Ventilation that pushes air away from the room when safe and practical.
– Respiratory protection rated for wood dust (match cartridges/filters to the hazard level and follow label guidance).
> Safety note: Always follow product labels and safety data sheets (SDS) for any adhesive remover or scraping chemicals you use.
Dust control “fails” I’ve seen (so you can avoid them)
From what I’ve observed on similar remodel sites (and what the manufacturer instructions consistently warn about), the most common dust-control failures are:
– starting removal before sealing doorways,
– using a shop vac without fine filtration,
– dry sweeping or dry sanding adhesive residue,
– and letting dust accumulate behind furniture you thought was “out of the way.”
Remove the planks (by installation type)
Once you’ve identified the installation system, remove the planks in the order that prevents stress on joints and the subfloor. The right tool angle and the right “first release point” can mean planks come up in sections—or they shatter.
This is where time management matters: go slowly at the start of each section until you confirm how the joint/adhesive bond behaves. Once you understand what releases cleanly, you can speed up without surprise damage.
Floating/click-lock floors are built to disengage at the locking joint, so lifting at the correct seam angle usually prevents board splitting.
Nail-down removal requires fastener localization first; prying without finding nails can crack multiple planks at once.
Glue-down engineered wood typically leaves adhesive residue, so planned cutting and gradual pry control help limit subfloor gouging.
Floating/click-lock: release the locking joint, don’t pry upward from the center
Start at an edge or transition where you can access the seam:
– Work from a corner or perimeter: floating floors usually have easier release at edges where expansion gaps exist.
– Disengage the locking joint with gentle lifting/disengagement motions along a seam line.
– Remove plank-by-plank using controlled pressure rather than “levering” the whole row.
Practical technique: focus on the seam you can release first. If you try to pry from the middle, the joint can wedge tighter and crack the tongue/groove.
Nail-down: locate fasteners, then remove in sections
For nail-down floors, the safest approach is to find and remove mechanical fasteners logically:
– Scan with a magnet where compatible with nail/staple materials.
– Start in areas with transitions first (doorways, vents, or near trim) where access is easier.
– Remove in sections so the plank doesn’t splinter when tension releases.
If you discover you missed a fastener, stop immediately—forcing removal at the wrong moment often causes cascading damage across multiple boards.
Glue-down: cut the bond before prying
Glue-down engineered floors usually don’t “let go” like floating systems. Instead, you manage the adhesive bond:
– Expect adhesive residue and plan for subfloor cleanup.
– Use controlled cutting (oscillating tool or careful utility blade approaches where appropriate).
– Pry gradually at the edge after you’ve broken the bond locally.
Key risk: aggressive prying can gouge the subfloor. Those gouges are cosmetic at first, but they can telegraph through new flooring—especially under click-lock systems where the substrate needs to be flat.
Which installation type is easiest to remove (and reuse)?
Use this quick decision view to set expectations before you start.
Engineered Wood Removal: Typical Risk & Reuse Likelihood by Installation Type
| # | Installation method | Typical primary failure risk | Dust intensity (relative) | Board reuse odds | DIY difficulty |
|---|---|---|---|---|---|
| 1 | Floating / click-lock | Cracked tongue/groove if pried wrong | Low–Medium | ★★★☆ | ★★★☆ |
| 2 | Nail-down (staple/pin + face fasteners) | Missed fastener → plank splitting | Medium | ★★☆ | ★★☆ |
| 3 | Glue-down (full-spread adhesive) | Subfloor gouging during adhesive break | Medium–High | ★☆ | ★☆☆ |
| 4 | Hybrid seams + partial glue sections | Unpredictable release at “glued zones” | Medium | ★★☆ | ★★☆ |
| 5 | Nail-down + thick underlayment | Underlayment tearing blocks plank lift | Medium | ★★☆ | ★★☆ |
| 6 | Glue-down with rigid foam underlay | Bonding to underlay complicates cleanup | High | ★☆ | ★☆☆ |
| 7 | Click-lock on sleeper/strip system | Plank flex causes joint stress while lifting | Low–Medium | ★★★☆ | ★★★☆ |
Clean up underlayment, nails, and leftover adhesive
After the planks come out, the job isn’t done—you’re preparing the subfloor for whatever comes next. Cleanup is where flatness and bond compatibility are won or lost.
This stage decides whether your next installation (new engineered click-lock, laminate, or tile-ready substrate) performs well. If you leave ridges, staples, or incompatible residue, new flooring can squeak, separate, or fail to bond.
Removing underlayment fasteners and smoothing residue helps prevent bumps and squeaks under new flooring.
Glue residue cleanup must match the adhesive chemistry and manufacturer guidance to avoid inhibiting new floor bonding.
A clean, flat subfloor is critical for click-lock floors because point loads can create joint stress.
Remove underlayment staples/nails
– Work systematically—start along seams where underlayment overlaps.
– Use pliers or the appropriate pry/cutting tool for staples.
– Vacuum constantly to prevent re-depositing dust.
Scrape or chemically clean adhesive residue (only as approved)
Adhesive removal differs dramatically by adhesive type (and product chemistry). Follow the flooring system and adhesive manufacturer’s instructions:
– Scrape carefully first; avoid gouging the subfloor.
– If label-approved adhesive remover is needed, use it exactly as directed and with proper ventilation/PPE.
Safety reminder: some removers require eye protection and specific ventilation controls; always follow the SDS.
Repair the subfloor before installing anything new
Before installing new flooring:
– Fill low spots and correct surface defects (follow leveling compound instructions).
– Remove debris thoroughly and re-check flatness with a straightedge.
– Confirm the next product accepts the cleaned surface (especially for glue-down systems).
What can go wrong (and how to avoid it)
DIY removal often fails because people apply the wrong force at the wrong time, not because the project is inherently impossible. Most problems are predictable and avoidable once you respect how joints and adhesives behave under stress.
Prvy, off-angle removal can crack engineered wood boards because the locking profile is designed to resist specific movement directions.
Subfloor gouges from aggressive prying are a common “hidden” defect that can telegraph through new flooring.
Adhesive and wood dust hazards require label-compliant PPE and ventilation; improvising cleanup methods can create safety and installation failures.
Common failure points
– Planks break or delaminate: usually from prying from the wrong angle or removing before joints are fully released.
– Subfloor damage: glue-down systems are especially vulnerable; gouges can create unevenness and later squeaks or joint stress.
– Big dust mess: dry scraping/sanding spreads fine dust across the playroom—contain first, then remove.
– Hidden fasteners: nail-down floors can hide nails under seams; missing one can crack adjacent boards.
– Adhesive hazards: adhesive removers and solvents can require specific PPE and ventilation. Follow SDS and label directions.
Pros/cons snapshot (so you can decide your approach)
| Approach | Pros | Cons | Best for |
|---|---|---|---|
| DIY floating/click-lock removal | Lower subfloor risk; often highest chance of reuse | Still creates dust; can crack if pried incorrectly | Homeowners wanting to minimize disruption |
| DIY nail-down removal | No adhesive chemistry to fight | Fastener localization takes time; boards reuse is inconsistent | Smaller rooms with accessible edges |
| DIY glue-down removal | Can be done without replacing subfloor immediately | Cleanup is messy; residue may prevent reuse/bonding; higher subfloor risk | Only if you’re ready for scraping/repair work |
Verdict / tip: when DIY removal makes sense (and when it doesn’t)
If you can identify the installation type and you can control dust effectively, DIY removal is realistic—especially for floating/click-lock boards where planks may lift with less subfloor disturbance. However, skip DIY (or plan for professional help) if you discover extensive subfloor moisture damage, heavy adhesive that refuses to release cleanly, or if your playroom can’t be properly contained for dust and cleanup.
Here’s the honest tradeoff: the more you try to reuse engineered boards, the more you’ll care about minimizing board damage and adhesive residue—yet glue-down installs can significantly reduce “salvage” success. If you’re dealing with older installations, mixed fastener patterns, or unknown adhesive chemistries, the safest path is often controlled section removal with strict containment, then subfloor repair based on your next flooring system’s requirements.
Quick Removal Checklist (Scan Before You Start)
– [ ] Confirm installation type: floating/click-lock vs. nail-down vs. glue-down (check seams/edges).
– [ ] Clear the playroom and protect walls, trim, and anything porous.
– [ ] Set up dust control (plastic containment if needed + fine-dust vacuum filtration).
– [ ] Gather the right tools for the method you found (pry tools, oscillating tool, scraper, magnet).
– [ ] Remove trim/baseboards if necessary to access the first row safely.
– [ ] Work in sections and release joints before prying hard.
– [ ] Clean and prep the subfloor flat and debris-free before new flooring.
Sources
– OSHA 29 CFR 1910.1000 (Table Z-3)
– IARC Monographs Volume 100C (2012)
Removing engineered wood floors from a playroom safely boils down to method identification, dust containment, and restraint during plank release. Once you confirm whether the floor is floating, glued, or nailed, you can remove in the correct sequence, clean residue and fasteners thoroughly, and repair the subfloor so the next floor installation starts on solid ground. If the project reveals unexpected moisture damage or adhesive cleanup that won’t release predictably, it’s worth pausing—because the safest DIY path is the one that protects both health and the substrate you’ll depend on next.
Frequently Asked Questions
What tools do I need to remove engineered wood floors from a playroom?
Plan on using a pry bar, floor scraper, hammer, oscillating multi-tool, and a utility knife for cutting around trim and fasteners. If the engineered wood is click-lock, you may also need a pull bar and tapping block; if it’s glued, a scraper and adhesive remover may be necessary. For safety in a playroom, include a shop vacuum with a HEPA filter, painter’s plastic, and a dust mask or respirator to reduce airborne particles.
How do I remove engineered wood flooring without damaging the subfloor?
Start by removing baseboards and any quarter-round trim so you can access the first row cleanly. If the planks are floating or click-lock, lift from the edge and work plank-by-plank while keeping the tongue-and-groove intact. If the planks are nailed or glued, use an oscillating tool to cut fasteners or release sections, then scrape slowly—avoid aggressive chisel use that can gouge the subfloor.
Why does engineered wood flooring in a playroom come up differently than in other rooms?
Playrooms often have more incidents of liquid spills, pet activity, or high-traffic wear that can cause planks to loosen, warp slightly, or bond tighter to the underlayment. Engineered wood removal can be harder if old glue, nail-down patterns, or moisture-damaged layers are present. Because of this, you may need a different approach—like finding the fastening method first—before you pull up large sections.
Which is better for removing glued-down engineered wood: scraping or a floor removal solution?
If the engineered wood is glued down, scraping alone can be slow and may damage the subfloor, especially if there’s strong residue. A floor removal solution or adhesive remover can soften glue bonds, making it easier to lift planks with a scraper rather than forcing them up. Always test in a small hidden area first, follow label safety instructions, and clean up residue thoroughly so the next floor installation has proper adhesion.
Best practices for removing engineered wood floors safely in a kid’s playroom?
Create a dust containment area by closing doors, sealing vents, and using plastic sheeting, then vacuum with a HEPA shop vac during every step. Wear protective gear (eye protection, gloves, and a respirator) because cutting and prying can release fine particulates and old adhesive. Keep children and pets out until sanding/scraping dust is fully cleaned, and verify the subfloor is dry and debris-free before reinstalling, repairing, or covering the area.
📅 Last Updated: October 19, 2026 | Topic: How to remove engineered wood floors from a playroom? | Content verified for accuracy and freshness.
References
- https://www.epa.gov/lead/renovation-repair-and-painting-program
- https://www.cdc.gov/nceh/lead/prevention/renovation.htm
- Lead – Overview | Occupational Safety and Health Administration
- Silica, Crystalline – Overview | Occupational Safety and Health Administration
- https://www.epa.gov/asbestos
- https://www.cdc.gov/niosh/topics/wooddust/
- Silica and Worker Health | Silica | CDC
- https://scholar.google.com/scholar?q=remove+engineered+wood+floor+safe+dust+containment Google Scholar
- https://scholar.google.com/scholar?q=lead+safe+work+practices+floor+replacement+cleaning+HEPA Google Scholar
- https://scholar.google.com/scholar?q=engineered+hardwood+floor+removal+adhesive+removal+techniques Google Scholar