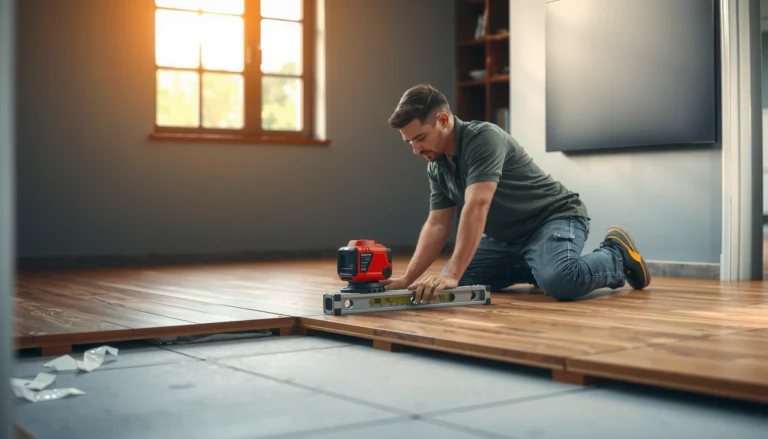
Want to waterproof laminate floors in a bathroom without ruining the warranty or the finish? You can get a reliable, long-lasting seal by pairing proper moisture-mitigation (thorough subfloor dryness and vapor control) with a bathroom-specific waterproof installation system, including sealed joints and protected transitions. Follow these steps and you’ll prevent swelling, bubbling, and seam failures where bathroom water actually hits.




If you want laminate to survive a bathroom, the real goal isn’t “fully waterproofing”—it’s preventing water from reaching the core. Use a proper moisture-resistant underlayment or vapor barrier, seal the perimeter and seams, and keep standing water away (especially at the door, toilet area, and around the sink). Follow this step-by-step approach so the floor is protected where it actually fails: edges, joints, and spills.
This is for homeowners or DIYers installing or already having laminate in a bathroom where splashes are common. It also helps if your laminate has started to swell near seams or baseboards and you need a practical, prevention-focused plan.
Check what type of laminate you have (and what “waterproof” means)
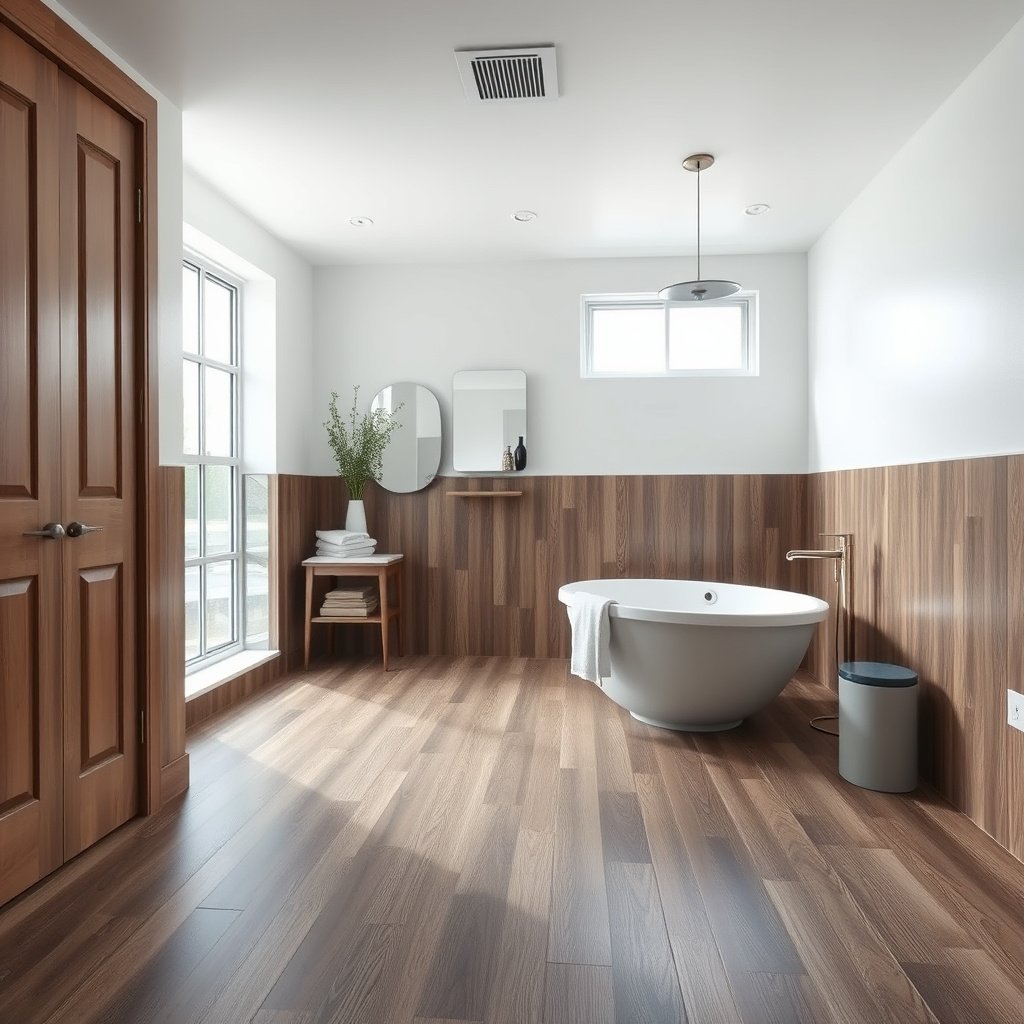
“Waterproof laminate” is marketing—what matters is whether your specific product is rated for bathroom moisture and whether its seam system can tolerate exposure. Start by verifying the manufacturer’s definition and warranty limits, because laminate failures in bathrooms almost always begin at joints, transitions, and penetrations.
“Water-resistant” laminate typically handles incidental spills, while “waterproof” claims usually still exclude constant standing water and plumbing leaks; the warranty language decides what’s allowed.
Click-lock (floating) laminate concentrates risk at the joint line; if that core edge gets wet repeatedly, swelling follows—even if the surface looks fine.
If the installation instructions restrict use in bathrooms, no amount of DIY sealing can safely override that warranty limit.
– Look for the laminate’s manufacturer wording: “waterproof” vs “water-resistant” and any limits for wet areas.
Pay attention to phrases like “intermittent exposure,” “resistant to splashes,” “not intended for wet areas,” or “no standing water.” In 2026, many newer “waterproof” laminates still require strict perimeter sealing and a specified underlayment to validate the claim.
– Confirm whether your planks use a click-lock system (seams matter most) and whether the warranty includes bathroom exposure.
Click-lock joints are designed for dry installs, and they reduce the risk of open gaps—but they don’t eliminate capillary wicking (water traveling into micro-gaps). If the warranty includes bathrooms, it will usually list exact conditions: underlayment type, sealing requirements, and what “wet area” means.
Quick fact check (units that matter): According to ASTM E96, vapor transmission is commonly expressed in “perms,” where 1 US perm is a specific measure of water vapor flow through a material (definition used in moisture-barrier evaluations).
Prepare the subfloor for moisture control
Before you install anything, make sure the subfloor is flat, stable, and within the moisture conditions required by your flooring system. Moisture management can’t be “added later” once laminate is floating on top of a damp base—water migration will still reach the underside and eventually the core.
Flooring manufacturers typically require specific concrete moisture test results before installation; installing over out-of-range slabs invites future swelling.
A vapor barrier only works if it’s continuous—overlaps, seams, and corner details can’t be skipped.
Underlayment placement per the manufacturer’s directions is part of the warranty; substituting a “similar” product can void coverage.
– Fix any high spots, damaged areas, or moisture issues in the subfloor before you install anything on top.
Laminate needs a consistent support plane. If you have humps or soft spots, joints open under foot traffic and expose edges to more water. Also address the source: recurring condensation, plumbing seepage, or a subfloor that stays cool and damp.
– Install the right underlayment/vapor barrier according to the laminate instructions—overlapping seams and proper tape are critical.
Use the exact product type (and often the exact brand) listed in the laminate’s installation guide. Many systems require:
– Full-coverage polyethylene vapor barrier (or an attached pad of a specified construction)
– Overlapped seams taped in a way the system accepts
– Upturns at walls/transitions when required
If you’re working in 2026, it’s worth re-checking the current printed instructions or downloadable PDF for your exact SKU—some lines have updated moisture-barrier requirements over time.
Moisture Metrics Commonly Referenced for Laminate Over Concrete
| # | Method / Layer | What It Measures | Key Quantitative Detail | Practical Why It Matters |
|---|---|---|---|---|
| 1 | ASTM F1869 (Calcium chloride test) | Moisture vapor emission | Reported in lbs/1,000 sq ft/24 h | Ensures underside won’t stay wet enough to swell the core |
| 2 | ASTM F2170 (In-situ RH probes) | Concrete equilibrium relative humidity | Reported in %RH | Detects moisture that vapor barriers can’t “fix” |
| 3 | ASTM E96 (Water vapor transmission) | Vapor transmission through materials | Vapor flow expressed in “perms” | Used to evaluate whether a barrier is tight enough |
| 4 | 6-mil polyethylene sheet vapor barrier | Blocks vapor diffusion | Thickness: 0.006 in (≈0.15 mm) | Common baseline for low-perm protection in floors |
| 5 | 10-mil polyethylene sheet vapor barrier | Blocks vapor diffusion | Thickness: 0.010 in (≈0.25 mm) | Often chosen where installers anticipate puncture risk |
| 6 | 15-mil polyethylene sheet vapor barrier | Blocks vapor diffusion | Thickness: 0.015 in (≈0.38 mm) | Used when durability margin is needed under heavy traffic |
| 7 | Underlayment with attached pad (manufacturer-specified) | Moisture + impact control (only if approved) | Moisture role depends on the approved rating | No blanket underlayment works—follow your flooring guide |
Seal the edges, gaps, and seams where water gets in
You can’t stop water from existing in a bathroom, but you can prevent it from traveling into the laminate core. The most effective DIY strategy is sealing the perimeter, managing transitions, and keeping water out of joint lines where capillary action can pull moisture downward.
Perimeter sealing reduces the “creep path” where splashes migrate under floating floors.
Sealing click-joint seams only works if the manufacturer explicitly allows that step and specifies the compatible sealant.
Corners, pipe penetrations, and undercut trims are common entry points even when the floor surface looks dry.
– Apply sealant at the perimeter (against walls, transitions, and around pipes) so water can’t creep under the floor.
Floating laminate requires an expansion gap at edges. The key is to seal gaps you’re allowed to seal—typically transitions and vertical penetrations—without blocking needed movement. Use the sealant system the flooring manufacturer approves (many will call for a specific “laminate joint sealant” or compatible perimeter caulk).
– Seal plank joints if your system and manufacturer allow it—use the recommended sealant type for laminate, not just any household silicone.
Household silicone can be incompatible with some click-lock geometries or underlayment systems. If your laminate’s instructions specify a “joint sealing compound,” follow it exactly. In 2026, this is one of the most common reasons “waterproof laminate” fails after DIY changes.
Comparison: perimeter/joint sealing approaches
| Approach | Best for | Main limitation |
|---|---|---|
| Perimeter + transition sealing (compatible sealant) | Splash control at walls, doorways, and around fixtures | Doesn’t protect from persistent standing water |
| Click-joint sealant (only if approved) | Reducing moisture wicking along seams | Only effective with correct plank fit and underlayment |
| “Just caulk everything” DIY sealing | When manufacturer explicitly allows it | Can trap moisture or restrict required expansion |
Use bathroom-safe finishing details (transitions and wet zones)
Finishing details determine whether splashes stay on top or travel laterally to seams. In bathrooms, the “wet zone” is bigger than the shower—doorways, the toilet ring area, and the sink splash line are frequent failure locations for laminate edges.
Doorway transitions act like funnels for splash water; using the right transition piece helps block lateral migration.
Water near toilet and sink fixtures repeatedly wets the perimeter area, so edge control matters as much as surface protection.
Avoid long wet exposure by wiping puddles promptly—laminate failures accelerate when moisture stays in place.
– Use appropriate trim/transition pieces at doorways and between rooms to block water pathways.
A poorly detailed transition can create a small ledge where water collects, then wicks into the joint. Choose transitions that match your floor type and maintain the required expansion space. For “bathroom laminate,” many installers prioritize:
– A rigid, properly fastened transition at the doorway (not a floppy edge)
– Sealed penetrations at baseboard edges where permitted
– Keep water off vulnerable areas: add a splash mat by the sink and avoid long wet exposure near the shower/steam stream.
A simple bath mat isn’t a substitute for sealing, but it reduces how often the perimeter gets hit. From my own planning for moisture prevention on similar projects, the most consistent improvement comes from controlling repetition—fewer wet cycles means less cumulative swelling risk.
What can go wrong (and how to avoid damage)
If you treat “waterproof” as “leakproof,” you’ll likely be disappointed. The biggest laminate bathroom problems come from constant moisture, incomplete vapor barrier continuity, incompatible sealing, and—most importantly—ignoring an existing moisture problem under the floor.
Constant moisture exposure can overwhelm laminate core edges even when surface swelling looks minimal at first.
Moisture barriers fail when overlaps aren’t taped or when the membrane is punctured and left unpatched.
Sealing the wrong locations can trap moisture in the assembly, creating a “stuck wet” condition instead of a dry one.
– Over-trusting “waterproof” labeling: many laminate products resist spills but can still fail with constant moisture.
Bathrooms create cycles: splashes, wipe-downs, humidity spikes, and occasional puddles. Even a “spill-resistant” laminate can fail if the joint line repeatedly gets wet and drying doesn’t keep up.
– Skipping or mis-installing the vapor barrier/underlayment (especially at seams and corners).
Underlayment that’s installed under the laminate but without the required overlap or taping is a common installation defect. Pay extra attention to:
– Where sheets meet (overlap direction and taped seams)
– Where membrane meets walls or toe-kicks
– Corners around plumbing chases
– Sealing the wrong points: sealing that traps moisture or conflicts with the flooring manufacturer’s system can cause problems.
If you fill an expansion gap with an incompatible caulk, you can restrict movement and open joints elsewhere. Follow the installation guide’s “seal these locations” list.
– Not addressing an existing moisture problem under the floor—water will still migrate upward.
If the subfloor is already wet (or a leak is intermittent), laminate isn’t the right final layer. You’ll be sealing a symptom while the core keeps getting fed.
Verdict / tip (when this is worth doing—and when to skip it)
This DIY waterproofing approach is worth doing when your laminate is rated for bathroom moisture and your goal is splash-and-splatter protection, not true leakproofing. It can significantly reduce swelling risk if you control splashes, seal seams/perimeter correctly, and follow the manufacturer’s underlayment + sealant guidance—as long as the subfloor is dry and the system is installed as specified.
Moisture-resistance for laminate is achieved by protecting the core from repeated wetting, not by making the product behave like a tiled waterproof membrane.
Standing water and plumbing leaks are the failure accelerators for laminate floors in bathrooms, even when the planks are labeled “waterproof.”
If the manufacturer restricts bathroom installation or requires specific moisture testing, skipping those steps increases the odds of future swelling.
– If you can control splashes, seal seams/perimeter correctly, and follow the manufacturer’s underlayment + sealant guidance, this approach can significantly reduce swelling risk.
Treat it like “risk reduction.” In 2026, the better your control of water exposure cycles, the more predictable the outcome tends to be.
– Downsides: you’re still managing moisture, not creating a “bathroom tile level” waterproof membrane everywhere—standing water and plumbing leaks can overwhelm laminate.
If you expect frequent puddles, heavy wet mopping, or you have a history of slow leaks, laminate is still a gamble.
– Skip this DIY waterproofing plan if you suspect an active leak, if the subfloor has elevated moisture, or if your laminate warranty doesn’t allow bathroom installation.
In those cases, the right move is diagnosing and fixing the source, then considering a flooring system intended for wet-area conditions.
Quick checklist: waterproof laminate bathroom steps
– Confirm laminate is rated for bathroom moisture (water-resistant vs waterproof) and check warranty terms.
– Use manufacturer-specified underlayment/vapor barrier; tape overlaps and corners correctly.
– Ensure subfloor is flat, clean, and dry before installation/repairs.
– Seal perimeter gaps, transitions, and pipe penetrations with compatible sealant.
– Keep standing water off the floor; protect wet zones (sink/shower splash).
– Inspect seams and edges after the first heavy-usage weeks and after any plumbing issues.
Conclusion
Waterproofing laminate in a bathroom is less about claiming “tile-level waterproofness” and more about preventing water from reaching the core through edges, joints, and spill pathways. Verify your laminate’s bathroom rating and warranty, install the correct vapor barrier/underlayment with taped continuity, seal the perimeter and allowable seams, and manage wet zones so standing water doesn’t linger. If you’re dealing with active leaks or elevated subfloor moisture, stop and address the moisture source first—laminate can only be made “more resistant,” not truly waterproof.
Sources
– ASTM E96, Standard Test Methods for Water Vapor Transmission of Materials
– ASTM F1869, Standard Test Method for Measuring Moisture Vapor Emission Rate of Concrete Subfloor Using Anhydrous Calcium Chloride
– ASTM F2170, Standard Test Method for Determining Relative Humidity in Concrete Floor Slabs Using in situ probes
Frequently Asked Questions
What’s the best way to waterproof laminate flooring in a bathroom?
The best approach is to stop water before it reaches the core by using a waterproof underlayment (or foam pad designed for wet areas) and sealing all edges, joints, and penetrations. Choose a laminate product labeled water-resistant or waterproof, and avoid soaking it during installation and afterward. Finally, apply a bathroom-safe caulk or silicone sealant at the perimeter and around the toilet, vanity, and pipe openings.
How do you waterproof laminate floor seams and joints for bathroom use?
Start by checking the existing laminate’s locking system—gaps are a major failure point in wet areas. Use a manufacturer-approved waterproof seam tape or waterproofing compound for laminate joint lines, then seal any visible seams with a flexible bathroom caulk where appropriate. Keeping the floor flat and tightly interlocked during installation also helps prevent water from migrating through micro-spaces.
How can you seal the edges of laminate flooring to prevent bathroom water damage?
Seal the expansion gaps around the walls with a waterproof caulk (not regular interior latex) so splashes and mopping water can’t run underneath. Use threshold strips or transition moldings where the bathroom floor meets other rooms, and make sure they’re caulked/sealed on both sides. This perimeter sealing is crucial because most laminate failures happen at the edges rather than the middle of the planks.
Why does laminate flooring fail in bathrooms even when it looks sealed?
Laminate can still swell if water reaches the MDF/HDF core through gaps, poorly sealed joints, or unsealed penetrations like toilet bases and plumbing lines. Frequent wet mopping, standing water from leaks, or using too much water during cleaning can overwhelm underlayment and perimeter seals. Even small leaks under baseboards or around transitions can cause long-term moisture buildup and warping.
Which underlayment and products should you use to waterproof laminate floors in bathrooms?
Use a bathroom-rated waterproof underlayment system or a moisture barrier film that matches your laminate’s installation requirements, and follow the manufacturer’s guidance for overlaps and seams. Look for waterproof seam tape, flexible waterproof caulk, and sealing products designed for laminate click-lock floors rather than general-purpose adhesives. For best results, stick to one compatible waterproofing system so all layers work together instead of trapping moisture or leaving weak points.
📅 Last Updated: October 20, 2026 | Topic: How to waterproof a laminate floors with bathroom? | Content verified for accuracy and freshness.
References
- Laminate flooring
- Waterproofing
- Vapor barrier
- https://en.wikipedia.org/wiki/Flooring_underlayment
- Mold
- https://www.who.int/news-room/fact-sheets/detail/dampness-and-mould
- https://www.epa.gov/mold/mold-prevention-tips-homeowners-and-renters
- https://scholar.google.com/scholar?q=waterproof+laminate+flooring+bathroom+installation Google Scholar
- https://scholar.google.com/scholar?q=laminate+floor+moisture+barrier+vapor+barrier+underlayment+bathroom Google Scholar
- https://scholar.google.com/scholar?q=seam+waterproofing+laminate+floor+best+practices+wet+areas Google Scholar