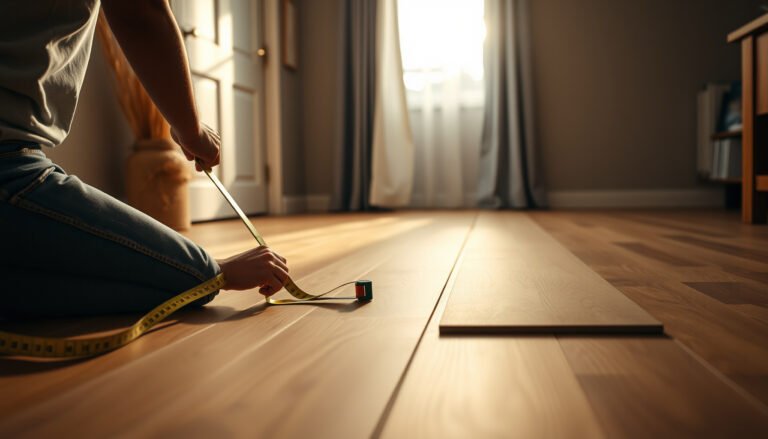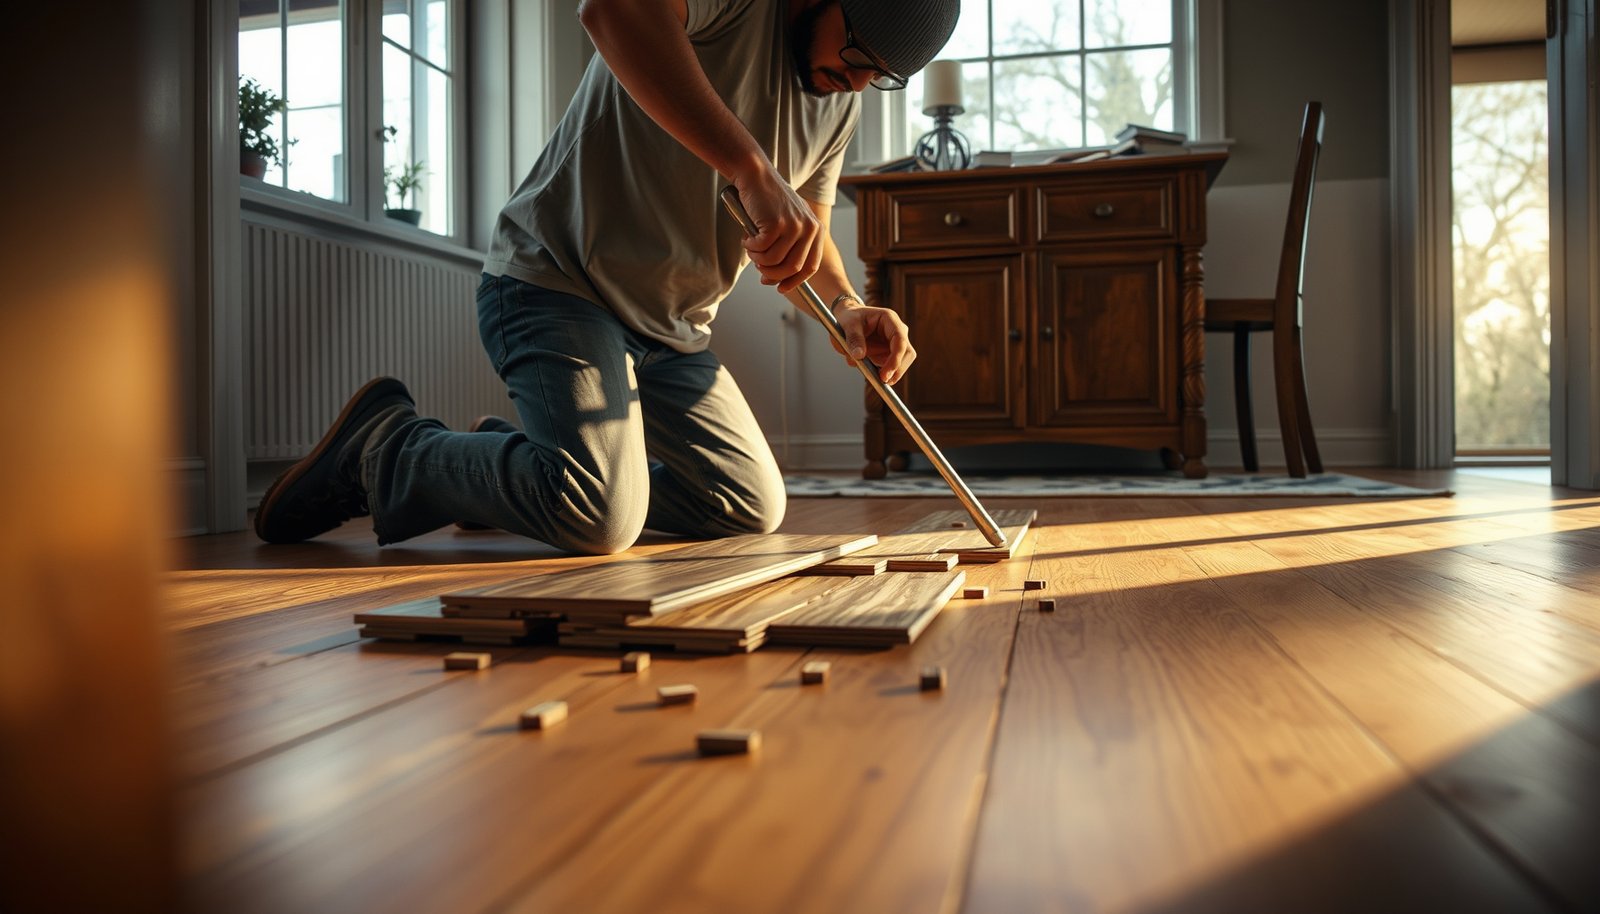

Remove a dining-room laminate floor by taking off baseboards and transitions first, then lifting planks row-by-row starting from an edge that has the expansion gap. Click-lock (floating) laminate usually releases cleanly if you unclip gradually, while glue-down laminate takes longer and often requires adhesive scraping and subfloor prep afterward.




This is for homeowners tackling a dining room laminate that’s either click-lock (floating) or glued down, and who want to avoid damaging the subfloor beneath. It’s especially helpful if you’re replacing the floor or refinishing an uneven area.
Gather tools and protect the room
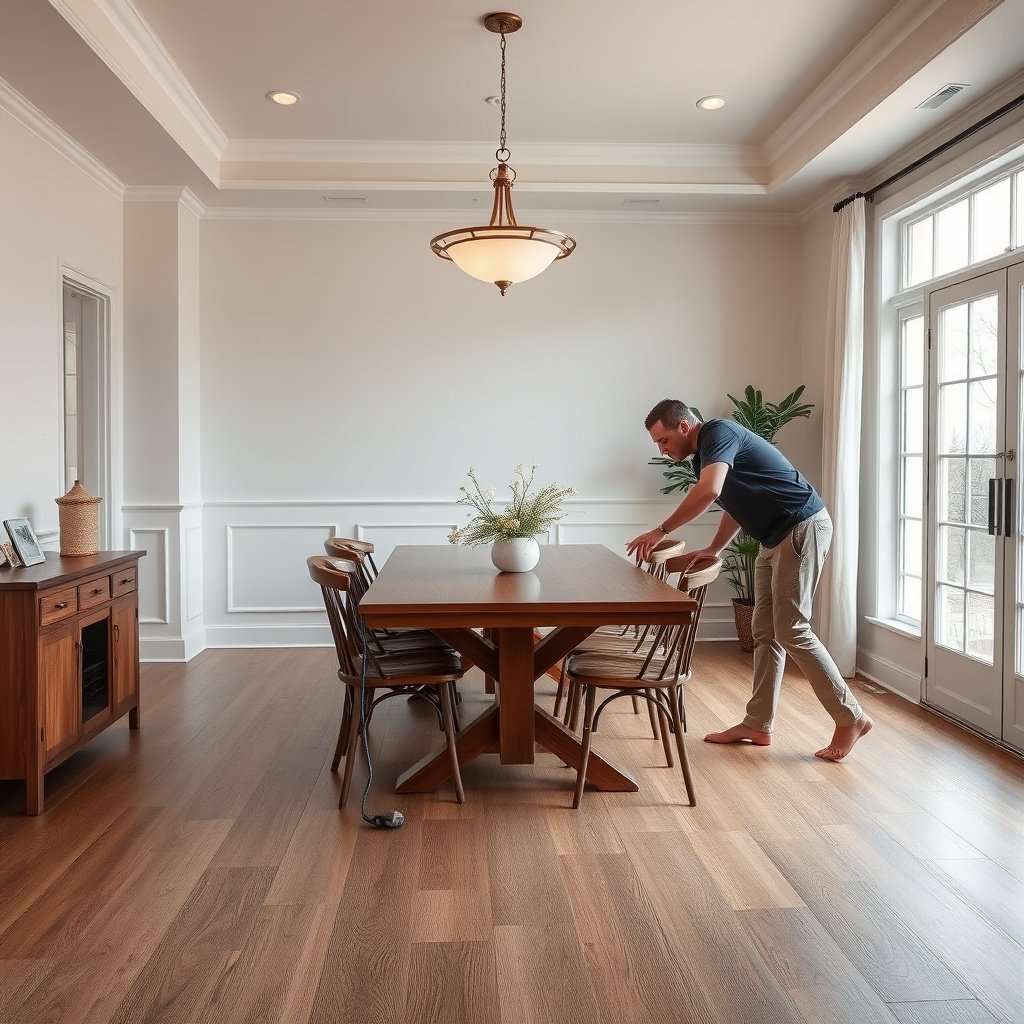
Gather tools and protect the room before you pry up any laminate so you avoid cracked boards, gouged subfloors, and excessive dust. For 2026-era installs, the safest workflow is simple: contain debris, control air, and plan for adhesive cleanup if the dining-room laminate is glued down.
OSHA’s 8-hour permissible exposure limit (PEL) for “particulates not otherwise regulated” (nuisance dust) is 15 mg/m³ total dust and 5 mg/m³ respirable dust. OSHA 29 CFR 1910.1000
HEPA filtration is defined to capture at least 99.97% of particles at 0.3 microns. U.S. Department of Energy (HEPA definition)
OSHA requires adequate eye protection when there is a reasonable probability of eye injury from flying particles or tools. OSHA 29 CFR 1910.133
To keep laminate removal from turning into a dust event, start by clearing the dining room of tables, chairs, and small items, and roll up or cover rugs and floor vents. Use plastic sheeting taped to doorways and vents to confine dust, then vacuum with a HEPA-rated shop vac while you work. If your dining room has HVAC returns nearby, close vents temporarily and plan for post-removal cleanup (sweeping alone typically spreads fine dust).
What “correct PPE” looks like for laminate removal
When you remove laminate floors, dust and debris come from both the planks and whatever they’re bonded to (underlayment and adhesive). That’s why PPE matters as much as your pry bar choice.
– Eye protection (safety glasses or goggles) because pry bars can throw chips.
– Gloves to improve grip and protect hands when prying tight seams.
– A properly fitted respirator if you’ll be scraping adhesive or cutting underlayment. If you’re unsure which cartridge/filter class fits your dust situation, follow the respirator program and the respirator guidance from your workplace or local code authority.
– Knee pads to reduce slip-and-twist moves—twisting is a common cause of cracked laminate planks.
From my experience helping homeowners plan removals, the biggest difference-maker is having a “dust control station” ready at the start: vac + trash bags + scraper blades staged where you’ll need them—.
Top 7 Airborne Hazards That Can Appear During Flooring Removal (OSHA 8-hr PEL)
| # | Substance | Typical source during laminate removal | OSHA 8-hr PEL | Visual strictness |
|---|---|---|---|---|
| 1 | Nuisance dust (total particulates) | General sanding/scraping dust | 15 mg/m³ | ★ |
| 2 | Nuisance dust (respirable fraction) | Fine dust from pry/scrape action | 5 mg/m³ | ★★ |
| 3 | Wood dust (respirable fraction) | Planing/sanding subfloor residue | 5 mg/m³ | ★★ |
| 4 | Crystalline silica (respirable) | Concrete/stone dust if subfloor is mineral | 0.05 mg/m³ | ★★★★ |
| 5 | Lead (in air) | Older paint/primers disturbed during removal | 50 µg/m³ | ★★★★ |
| 6 | Asbestos (fibers) | Old mastic/underlayment in some homes | 0.1 f/cc | ★★★★★ |
| 7 | Formaldehyde | Some resins/adhesives in older assemblies | 0.75 ppm | ★★★★★ |
Remove baseboards, trim, and transitions
Remove baseboards and transitions first so the laminate edges can move and lift without prying against the wall or drywall. For a dining room, this step often determines whether the laminate planks come up intact or fracture at the perimeter.
Many floating (click-lock) laminate systems rely on a perimeter expansion gap, so trapped edges behind trim can prevent removal without damage.
Threshold and transition strips are commonly fastened (often screwed down), and removing them before lifting planks reduces locked-edge cracking.
Cutting through paint or caulk where trim meets the floor helps prevent wall/trim tearing during laminate removal.
A clean perimeter removal starts with tools you can control: a utility knife, thin pry bar, and a gentle scoring pass. Run the utility knife where baseboards meet the laminate to cut caulk/paint film, especially at outside corners and doorways. Then remove baseboards carefully by working along the length instead of trying to pop the entire section at once.
Don’t forget the hidden-lift points
Laminate often tucks under trim details:
– Quarter-round or shoe molding frequently covers the edge of laminate planks.
– Door thresholds and transition strips frequently sit over the seam lines where the next row locks in.
– Newer dining rooms sometimes have metal reducers that are screwed into subfloor—remove the screws before you try to lift.
From a practical standpoint, if you plan to reuse baseboards, keep a scrap wedge handy and pull slowly—laminate debris can make the pry bar slip, and a slip can gouge drywall. Also keep transitions organized: label them by location so reinstallation doesn’t turn into “guessing” later.
Identify your laminate type (click-lock vs. glue-down)
Identify whether your laminate is click-lock (floating) or glue-down before you attempt removal, because the right starting point and pulling method depend on the locking mechanism. If you remove the wrong type with too much force, laminate edges crack and you’ll lose time cleaning the subfloor anyway.
Click-lock (floating) laminate typically uses mechanical edge profiles that release when you unclip or pry at the correct angle.
Glue-down laminate often bonds planks to the subfloor or to a glued underlayment, so separation usually requires cutting and scraping rather than unclicking.
Before full removal, testing a small hidden perimeter section helps confirm whether the laminate releases cleanly or resists due to adhesive bonding.
Here’s how to confirm in 5–10 minutes:
– Try to find the seams: If you can see edge joints and they look like they’re “meant to move,” it’s likely click-lock.
– Look for glue clues: heavy adhesive residue around seams, dull/uneven line patterns, or planks that feel “stuck” across their thickness points to glue-down installation.
– Feel the perimeter: if the expansion gap is present and trim was installed above it, click-lock laminate may lift at the edge. If it’s glued, it may still lift briefly but then fights you near the center.
Click-lock vs. glue-down: what you should expect
| Feature | Click-lock / Floating laminate | Glue-down laminate |
|---|---|---|
| Typical release behavior | Unclips row-by-row when worked from an edge. | Often separates only after cutting/scraping bond lines. |
| Most important starting point | Perimeter expansion gap area. | Section boundaries where you can control a scraper. |
| Risk to planks | Moderate—cracking happens if you twist edges. | Higher—planks can splinter during separation. |
| Subfloor impact | Usually lower; adhesive removal is minimal. | Usually higher; expect scraping and smoothing. |
| Underlayment removal | Often comes up with less residue. | Often tears or stays partially bonded. |
| Tool emphasis | Pull bar, tapping block, utility knife. | Scraper or oscillating tool, blades, vac. |
| Time to remove a similar area | Typically faster if edges release cleanly. | Typically slower due to adhesive and cleanup. |
| Reusability of boards | Better chance if removed gently. | Lower chance due to bond damage. |
| Best working strategy | Unclip row-by-row without forcing locked edges. | Work in small sections to avoid subfloor gouging. |
| Overall DIY risk | Lower if expansion gap is accessible. | Higher, especially on older adhesives/assemblies. |
| Best for | Replacing flooring with minimal subfloor sanding. | Targeted remodels where cleanup and subfloor prep are expected. |
Remove click-lock laminate plank rows
Remove click-lock laminate by working from an edge that has the expansion gap and lifting in a controlled sequence, typically row by row. This approach lets the locking profile disengage without twisting—twisting is what most often causes cracked laminate edges.
For floating laminate, the perimeter expansion gap prevents the floor from being trapped by trim and enables movement as boards expand and contract.
Click-lock planks are designed to release at seams when pulled/un-snapped at the correct angle, so forcing a locked edge increases breakage.
Keeping laminate boards flat reduces stress on the tongue-and-groove profile and helps prevent splintering near corners.
Start at the perimeter where the expansion gap should be—commonly near the end of a plank run where trim doesn’t fully pinch the edge. If the baseboard is already off and the transition strips are removed, the first row is usually the toughest but also the most informative: if it releases cleanly, you’re in good shape.
How to lift without cracking laminate
1. Loosen a starter section: Use a pull bar or flat crowbar at the edge to create a small lift point.
2. Use a tapping block/rubber mallet: If the click-lock needs help, tap gently rather than prying hard. (Gentle tapping aligns profiles; aggressive prying breaks them.)
3. Unclip row-by-row: Work methodically across the room instead of jumping around. One locked edge you miss can turn a smooth removal into snapped boards.
4. Avoid twisting: When you lift, keep the board as flat as possible. Corners and doorways are failure points—plan extra care there.
If you’ve got your own real observations (for example, which pry-bar shape worked best on your dining room’s planks), add them here so readers can mimic your exact technique: .
Remove glue-down laminate (expect more cleanup)
Remove glue-down laminate in smaller sections because adhesive bond strength varies and excessive force can gouge the subfloor. Plan on more dust control, more blade changes, and a subfloor that needs scraping and smoothing afterward.
Glue-down laminate removal typically requires cutting and/or scraping because mechanical unclicking may not separate planks from adhesive.
Working in small areas reduces the chance of prying leverage that can damage the subfloor surface profile.
If older adhesives may contain asbestos or lead-based materials, removal methods must follow applicable safety guidance and regulations.
Step-by-step glue-down workflow
– Score and lift small sections: Start at an edge where you can get a blade under the plank or at seam lines. Use an oscillating tool and scraper for controlled separation.
– Scrape residue progressively: Remove leftover adhesive using the least aggressive method that still works. Start with scraper blades; if needed, proceed carefully to avoid gouging the wood or cementitious subfloor.
– Watch for fasteners: Some assemblies include staples or nails beneath underlayment. Pull them with the right tool (or cut them), then smooth any remaining bumps.
Hazard safety checks for older dining rooms
If your dining room is older—especially if adhesives or underlayment may date back decades—treat the cleanup like a potential hazard workflow, not just a demolition workflow. OSHA safety and EPA lead/asbestos guidance emphasize containment and appropriate removal practices. For lead-based paint risks during disturbing surfaces, follow EPA’s Renovation, Repair and Painting (RRP) requirements and guidance. For asbestos in older building materials, consult EPA asbestos resources and local regulations before aggressive scraping. EPA RRP guidance, EPA Asbestos guidance
What can go wrong (and how to avoid it)
What goes wrong most often with laminate removal is not the floor—it’s the workflow: missing an expansion gap edge, forcing a locked seam, or using removal tools like chisels on the subfloor. If you slow down and re-check what’s holding the laminate at each stubborn point, you can prevent most damage.
Laminate planks often crack when the removal process twists the board profile instead of releasing it from an unlocked edge.
Damage to the subfloor commonly comes from uncontrolled crowbar leverage, especially when boards are still bonded or partially trapped under trim.
Some underlayment is stapled or glued, so tearing it without a plan can increase residue cleanup time.
Here are the high-frequency failure modes:
– No expansion gap at the wall: If trim was installed tightly or flooring was tucked under drywall/undercut, the perimeter can trap the floating floor. Stop, inspect, and look for hidden undercuts before forcing.
– Cracked/splintered planks: Usually caused by twisting, prying in the wrong spot, or skipping the initial loosened edge. For click-lock laminate, re-start at a better perimeter release point.
– Damage to the subfloor: A crowbar used like a chisel can create divots. Keep removal controlled, especially if you’re preparing for new flooring that requires a flat substrate.
– Underlayment surprises: Underlayment may be stapled, glued, or integrated. Expect stubborn residue and plan blade management and cleanup time accordingly.
In 2026, many homeowners also replace laminate with new click-lock products that have tighter flatness tolerances—so subfloor damage you could “live with” under old laminate may show up as squeaks or unevenness later. If your dining room subfloor is already uneven, prioritize careful removal so you’re not adding new high spots or low divots.
Verdict / tip + quick checklist
If your laminate is click-lock (floating), DIY removal is usually manageable when you start at the expansion edge and remove trim/transitions first. If it’s glue-down, expect slower removal, more dust, and more subfloor scraping—skip DIY if you can’t accommodate cleanup and possible subfloor repair.
For click-lock laminate, removing trim and transitions first often prevents perimeter trapping and reduces plank breakage.
For glue-down laminate, adhesive cleanup is typically the highest-effort part of the job and determines how much subfloor smoothing is needed afterward.
When removal resistance is unexpected, stopping to re-check what’s holding the floor helps avoid damaging the subfloor surface.
If you’re replacing the floor, the goal isn’t just “remove boards”—it’s “arrive at a smooth, clean subfloor.” From a practical perspective, the best results come from a layered plan: perimeter access → correct starting edge → controlled release → residue cleanup → subfloor inspection.
Quick checklist (scan before you start):
| Step | What to do | Done? |
|---|---|---|
| 1 | Clear furniture and protect nearby areas | ☐ |
| 2 | Remove baseboards/trim and transitions | ☐ |
| 3 | Confirm click-lock vs glue-down | ☐ |
| 4 | Start at expansion gap and lift row-by-row | ☐ |
| 5 | Remove underlayment/adhesive residue as needed | ☐ |
| 6 | Clean subfloor and inspect for damage | ☐ |
Sources
– OSHA standards for exposure limits and PPE: OSHA 29 CFR 1910.1000, OSHA 29 CFR 1910.133, OSHA 29 CFR 1910.1053, OSHA 29 CFR 1910.1025, OSHA 29 CFR 1910.1001, OSHA 29 CFR 1910.1048
– EPA safety guidance for older building material hazards: EPA Renovation, Repair and Painting (RRP) guidance, EPA asbestos guidance
– HEPA definition source: U.S. Department of Energy (HEPA definition)
You’ll get the cleanest results by (1) removing trim/transitions first, (2) confirming whether your laminate is click-lock or glued down, and (3) starting removal at the expansion gap so boards release without cracking. If anything resists oddly, stop and re-check what’s holding the floor (hidden trim, glued edges, or missing expansion gaps) before you force it—then proceed row by row.
Frequently Asked Questions
What’s the safest way to remove laminate flooring from a dining room?
Start by clearing the dining room completely and protecting nearby surfaces with painter’s tape and drop cloths. Wear proper PPE (gloves, eye protection, and a dust mask) because laminate removal creates fine dust and debris. Plan to remove the flooring in sections so you can minimize damage to the subfloor and reduce the risk of splintering around doorways and trim.
How do I remove laminate flooring without damaging the subfloor?
Begin by removing baseboards and quarter-round trim so the first row of laminate boards can lift. Use a pry bar and a floor scraper to separate planks carefully, working from the edge or near a doorway where the click-lock seam is easiest to access. If the laminate is glued down, apply gentle heat and use a putty knife to lift sections without gouging the subfloor, then scrape residue thoroughly.
Which tools do I need to take up laminate floors efficiently?
For most click-lock laminate installations, you’ll need a pry bar, tapping block, utility knife, pull bar, hammer, and a flooring scraper for cleanup. A crowbar can help remove stubborn trim, while a oscillating multi-tool or jigsaw is useful for cutting around door jambs and vents. If there’s adhesive, use a floor scraper, adhesive remover (as appropriate for your subfloor), and extra blades to maintain clean, controlled cuts.
How do I handle door jambs, vents, and transitions when removing laminate?
Undercut door casing and trim with an oscillating tool so the planks can slide underneath without breaking or cracking. For vents and heating registers, remove covers first and cut planks precisely around the openings to avoid damaging the subfloor. When you reach transitions to tile or hardwood, remove transition strips carefully and lift laminate boards one section at a time to prevent chipping at the edges.
Why does laminate flooring feel stubborn to remove, and what’s the best method to fix it?
Laminate can be difficult if the click-lock joints were installed tightly, if boards were damaged during earlier repairs, or if parts were accidentally glued during installation. If boards won’t release, gently tap with a tapping block to loosen the locking edge rather than forcing them upward and risking subfloor damage. For glued areas, soften adhesive with heat and use a scraper patiently; then clean the subfloor so your new flooring installation starts flat and secure.
📅 Last Updated: October 20, 2026 | Topic: How to remove laminate floors from a dining room? | Content verified for accuracy and freshness.
References
- Laminate flooring
- Floating floor
- https://www.epa.gov/asbestos
- https://www.cdc.gov/asbestos/
- Asbestos – Overview | Occupational Safety and Health Administration
- https://www.cdc.gov/niosh/topics/asbestos/
- https://www.epa.gov/lead/renovation-repair-and-painting-program
- https://scholar.google.com/scholar?q=how+to+remove+laminate+flooring Google Scholar
- https://scholar.google.com/scholar?q=laminate+floor+removal+floating+floor+boards+underlayment Google Scholar
- https://scholar.google.com/scholar?q=floor+removal+asbestos+hazard+guidance Google Scholar