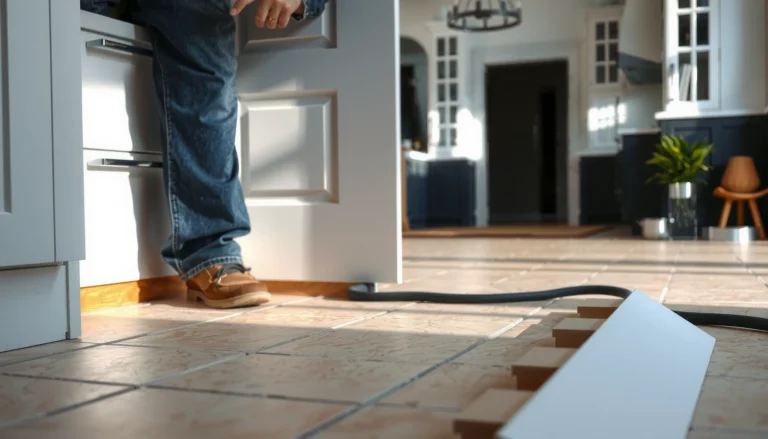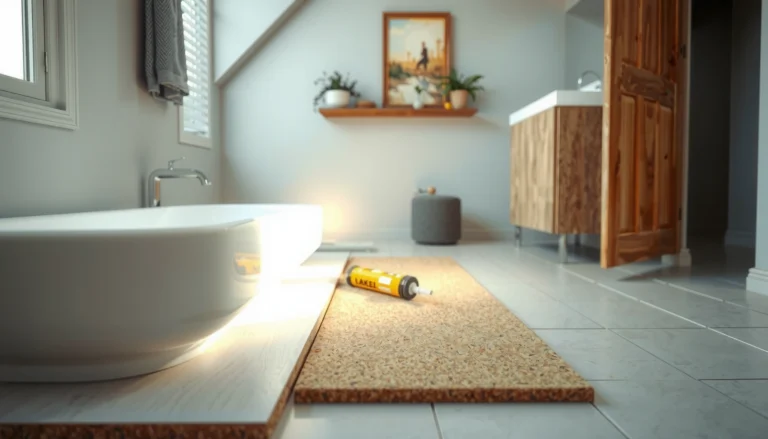

You can install laminate floors in a dining room step by step—and avoid the common mistakes that ruin fit and finish. This guide walks you through the exact prep, underlayment, layout, cutting, and locking steps needed for a flat, durable floor that looks straight and stays that way. If you want the quickest path to a clean DIY install, follow these instructions in order.




To install laminate flooring in a dining room, prep the subfloor to be flat, acclimate the planks, keep the required expansion gap, and lock boards together row-by-row using your exact click-lock (or other) system. Then finish with trim and transitions so the floor stays quiet and doesn’t buckle over time—especially in the traffic patterns of a dining space.
If you’re planning a dining-room upgrade with click-lock laminate (most common), this is for you—especially if you’re doing it as a weekend DIY project. It also helps if your dining room has doorway transitions, built-in features, or irregular walls where layout decisions matter. As of 2026, most installation failures we see in laminate come down to three predictable variables: moisture/vapor control, subfloor flatness, and expansion management.
Prep and gather what you need
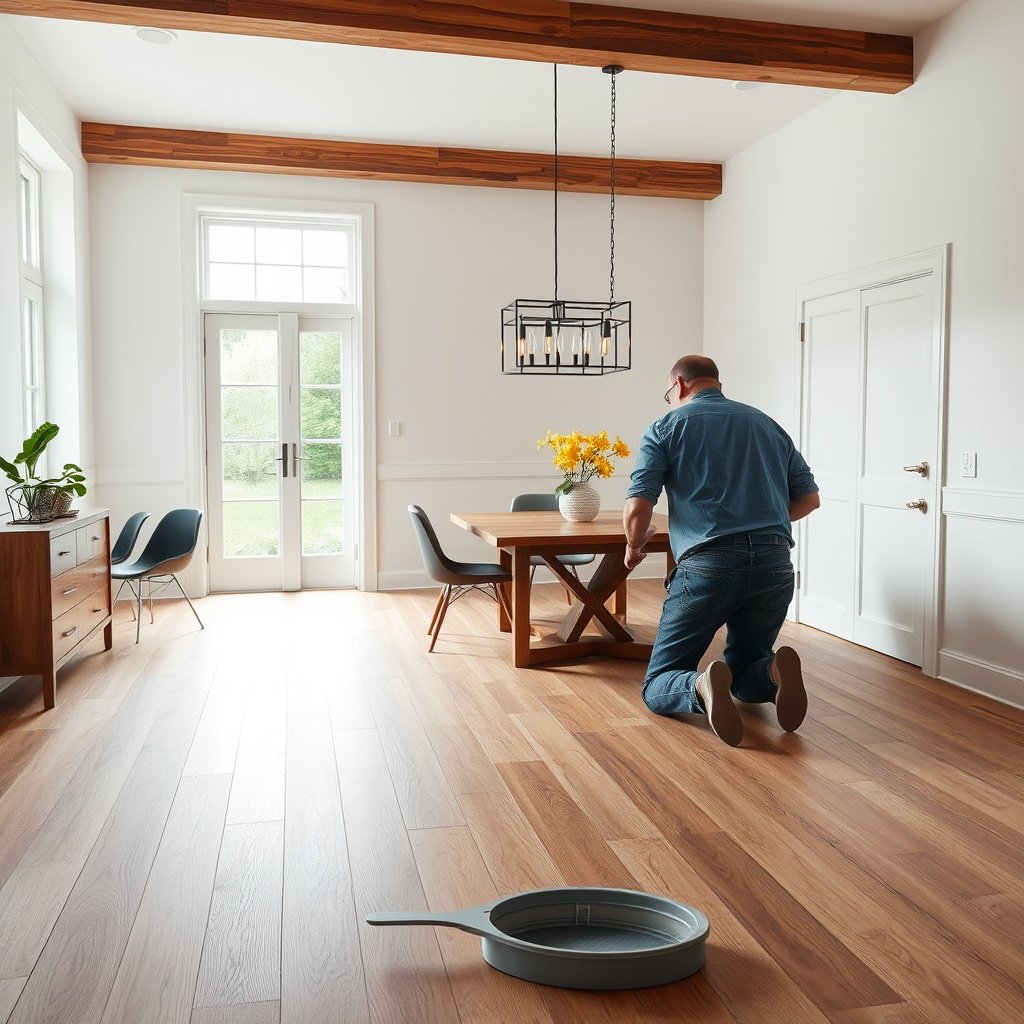
Prep first—because laminate installation quality is determined long before the first plank clicks. Confirm the laminate type (click-lock vs. glue-down), and gather the right tools so each joint seats fully without gaps or edge damage.
Click-lock laminate is designed as a “floating floor,” meaning it relies on expansion gaps around perimeter walls and fixed objects to move safely with seasonal humidity.
Moisture and vapor requirements vary by product, so the only safe guidance is the flooring manufacturer’s installation instructions (especially over concrete slabs).
Using the correct tapping block or pull bar helps lock joints fully without chipping the tongue/groove edges of laminate.
Confirm your flooring system and installation rules
– Confirm your laminate type (click-lock vs. glue-down) and follow the included installation instructions exactly.
– Click-lock (floating): boards lock together and the floor expands/contract freely, held only by perimeter clearance and trim.
– Glue-down: boards are bonded to the substrate, so expansion behavior and underlayment choices can be different.
– Keep the manufacturer’s instructions nearby during installation. In my experience on multiple laminate projects, skipping the “small print” around underlayment and gap size is where problems start—so use the manual as the source of truth, not assumptions.
Collect tools/materials that prevent damage and misalignment
Collect tools/materials like underlayment (if required), spacers, saw (often a miter or table saw), tapping block/pull bar (for locking boards), painter’s tape, and a measuring tape.
For a dining room specifically, add:
– Blades meant for laminate/trim carpentry (fine-tooth for cleaner edges)
– A flat pry bar for careful baseboard/quarter-round removal (if you’re reusing trim)
– String line or straightedge to catch wandering rows early
– A pencil + painter’s tape for layout marks (you’ll reference these constantly around doorways)
Manage baseboards and edge finish early
Before you start laminating, decide how you’ll handle perimeter edges:
– If you’re removing baseboards, plan to re-install quarter round/baseboards after the floor is down.
– If you’re keeping them, confirm whether your system requires trimming door casing or planning undercut space for flooring thickness.
Quick spec sanity checks (do now, not later)
– Verify your laminate thickness and whether underlayment is built-in.
– Confirm plank length/width so you can calculate waste and avoid narrow “sliver” rows at the far wall.
Click-lock vs glue-down (what changes in your install)
Definition list format for clarity (use your own product manual to finalize details):
– Floating movement: Click-lock = permitted movement; Glue-down = limited movement due to adhesive bond
– Expansion gap: Click-lock = required around all fixed edges; Glue-down = still needs clearance rules, but specifics differ
– Underlayment role: Often includes sound/moisture control for floating installs; glue-down may require specific vapor control only
– Joint locking importance: Click-lock = critical; glue-down = joint may be less “seat-perfect,” but gaps still matter
– Typical tools: Click-lock = tapping block/pull bar; Glue-down = trowel + adhesive (if required)
– Moisture verification: Both may need moisture assessment; concrete slab rules are product-dependent
– Subfloor flatness: Both benefit from flat substrates to prevent squeaks/telegraphing
– Common failure: Click-lock = buckling or gapping from expansion mistakes; Glue-down = debonding or unevenness from adhesive/setup errors
– Best DIY fit: Click-lock usually; glue-down is more step-sensitive because adhesive introduces complexity
– Best for irregular rooms: Click-lock often easier to route/fit without curing timelines
Acclimate and prepare the subfloor
Acclimate laminate and prep the subfloor so the floor can handle normal seasonal swings without shifting, separating joints, or becoming noisy. For click-lock laminate, your goal is simple: stable conditions, a clean, flat base, and correct moisture/vapor handling per the manufacturer.
Laminate is dimensionally sensitive to temperature and humidity, so acclimation is required to reduce expansion/contraction problems after installation.
Subfloor flatness strongly affects laminate squeaks and joint performance because floating floors amplify voids and high spots.
Over concrete, moisture control is not optional guesswork—vapor barriers and testing methods must match the laminate manufacturer’s specifications.
Acclimate laminate to your room conditions (per your manual)
– Acclimate the laminate in the dining room area for so temperature/humidity changes don’t cause expansion problems.
This matters because dining rooms often see heat swings—sunlight through windows, holiday meal cooking, HVAC cycling—especially in the last few months of 2026 and beyond. Laminate flooring should be acclimated in the same environment where it will be installed.
Inspect and flatten the subfloor
– Inspect the subfloor: remove high spots, fix loose areas, and verify it’s clean and dry before you start.
If the subfloor is uneven, laminate can look fine at first but later produces symptoms like:
– squeaks underfoot,
– joint separation (a visible “line” opening),
– and slight rocking that makes locking joints gradually stress.
As a practical target, many flooring guidelines call for no more than 3/16 in (4.8 mm) variation over 10 ft (3 m) for resilient/floating-type performance—however, always use your laminate manufacturer’s tolerance if it differs.
Address moisture/vapor requirements correctly
– Treat moisture and vapor concerns according to the flooring manufacturer’s requirements, not guesses—especially if you’re installing over concrete.
Concrete moisture testing is commonly standardized. For example:
– ASTM F2170 tests in-slab relative humidity (RH) using probes. ASTM F2170
– ASTM F1869 (calcium chloride) measures moisture vapor emission rate (MVER), typically reported in lb/1000 sq ft/24 hr or equivalent units. ASTM F1869
Even if you’re installing click-lock laminate (often “dry” floating), vapor pressure can still affect underlayment performance and comfort. In that case, the underlayment and moisture barrier rules in your manual are the decision-maker.
My note on real-world prep (without guessing)
If you don’t have firsthand notes yet, simply document what you find: high spots, loose fasteners, and any moisture evidence.
Plan the layout and install underlayment
Plan the layout so the room looks intentional and the cuts land where they’re least noticeable. Then install underlayment exactly as specified so your laminate joints lock cleanly and your floor feels stable.
Choosing a consistent plank direction (often parallel to the longest wall) improves the visual flow and reduces distracting end-joint patterns in dining rooms.
Underlayment must be installed per the manufacturer’s instructions (including seam overlap and taping rules) to avoid soft spots and moisture-control gaps.
Dry-laying a few rows lets you avoid narrow “sliver” boards at the far wall, which are difficult to fit cleanly around expansion gaps.
Choose plank direction and plan the cut map
– Choose a plank direction (often parallel to the longest wall) and plan for how cuts will land around the room’s entry and focal features.
Dining rooms usually have a focal line—dining table sightlines, built-in buffets, or window walls. Aligning plank direction with that focal line typically looks better and simplifies layout around transitions.
Dry-lay to prevent awkward end gaps
– Dry-lay a few rows to confirm your starting board width and avoid a “sliver” row at the far wall.
Tip: measure for the far-wall row after you account for the perimeter expansion gap and any transition strip placement. This prevents the “we’re fine—until the last row” moment.
Install underlayment exactly (including overlaps and barriers)
– Install the underlayment the way your manufacturer specifies (overlap pattern, tape seams if instructed, and any required moisture barrier rules).
If your product manual says to tape seams, do it. If it says not to tape certain layers (rare, but possible), follow that. Underlayment seam gaps can create micro-voids that show up as flex at laminate joints.
Compliance matters (especially in 2026 installs)
As of 2026, many laminate brands have stricter underlayment rules due to warranty outcomes and changing vapor performance expectations. Always keep your installation instructions—photos of the underlayment steps can help if you ever need warranty support.
Install laminate planks (row by row)
Install laminate by starting straight, keeping the expansion gap consistent, and locking every joint fully. In click-lock systems, a properly seated joint is what prevents later gapping and floor movement.
Start the first row accurately because click-lock laminate rows “follow” the line you establish; small errors multiply over length.
Use the correct locking method for your laminate system and seat joints fully to prevent future joint separation.
End-joint staggering (offset) improves structural strength and distributes stress away from repeated seams.
Start the first row with spacers and a straight reference
– Start with the first row: use spacers for the expansion gap and keep the edge straight so the rest of the room doesn’t drift.
Perimeter expansion gaps are a hard requirement in floating laminate. Many manufacturers use around 1/4 in (6 mm) as a common baseline, but your manual controls the exact requirement.
Lock boards correctly (don’t force damaged tongues)
– Lock boards together according to your system (click-lock vs. other mechanism). Use a tapping block/pull bar so joints seat fully without damaging the tongue/groove.
Common joint failure signs:
– joint line not closed after locking,
– visible step-down at the seam,
– boards that “feel springy” when you press along the joint.
If you see these early, stop and reseat immediately—because later you’ll be trying to fix a locked seam with already-stressed edges.
Stagger end joints for durability (use your minimum offset)
– Stagger end joints per the manufacturer’s minimum offset requirement () for strength and a better-looking floor.
Offset rules exist for a reason: repeated end joints can align under the dining-room traffic path and create weak points that open over time.
Maintain the same expansion-clearance discipline around features
– Measure and maintain clearance around fixed objects like built-ins, posts, and doorframes.
– For irregular walls, “fit-to-drawing” is safer than “fit-to-feel.” Mark the wall contour, then undercut carefully to preserve the expansion gap.
Finish edges, transitions, and details
Finish work is where laminate transitions from “installed” to “complete.” Proper trim and transitions protect expansion space, conceal movement points, and keep edges from wearing prematurely.
Remove spacers only after the main floor is installed, then install baseboards/quarter round to cover the expansion gap without blocking it.
Transition strips at doorways help manage height differences and movement at openings, which reduces the chance of edge chipping.
Fixed objects (columns, cabinetry edges, vent casings) still require expansion clearance, even when trim is present.
Perimeter trim and hiding the gap correctly
– Remove spacers after the main floor is fully installed, then install baseboards/quarter round if you removed them earlier.
Do not caulk across the expansion gap. Sealants can effectively “lock” the floor and prevent the movement that the system was designed for.
Doorway transitions and height changes
– Add transition strips at doorways or height changes, and keep transitions centered over structural openings when possible.
If the dining room flows into a hallway or adjacent space with different flooring heights, transitions also handle traffic and chair movement without creating a hard edge.
Obstacles: measure twice, clear the expansion zone
– Handle obstacles (columns, vents, or cabinet toes) by measuring twice and maintaining the required expansion clearance around fixed objects.
This step matters in dining rooms because built-ins and seating pads create localized pressure. If the floor can’t expand, that pressure turns into buckling.
What can go wrong (and how to avoid it)
Gaps, squeaks, and buckling are usually preventable if you diagnose the root cause early. The most common failure triggers are expansion-gap mistakes, uneven subfloor conditions, and underlayment/moisture setup errors.
Skipping the expansion gap can cause laminate buckling because the floor needs room to expand with humidity changes.
Uneven subfloors can create squeaks and joint separation by concentrating stress at unsupported areas.
Using the wrong underlayment or moisture barrier can undermine stability and feel, even when the laminate locks perfectly.
Expansion gap problems (buckling and open seams)
– Expansion gap problems: skipping the gap or blocking it with trim can cause buckling. Keep the gap consistent with .
Watch for:
– laminate edges pushing into trim,
– raised areas in the middle of the room,
– seasonal joint opening after installation.
Uneven subfloor (squeaks show up later)
– Uneven subfloor: laminate can feel “fine” at first but squeaks, joint separation, and movement often show up later if the floor wasn’t flat enough.
Early warning signs while installing:
– boards “rock” when pressed,
– difficulty locking joints near certain areas,
– visible seam height differences.
Wrong underlayment/moisture setup (comfort and durability risk)
– Wrong underlayment/moisture setup: using the wrong barrier or skipping required layers can lead to damp-related issues or an unstable feel underfoot.
This is especially relevant in 2026 remodels where basements, slabs, and older homes vary widely in moisture performance. If you’re installing over concrete, confirm moisture/vapor compliance before you open the full box quantity.
Common DIY failure mode summary (fast diagnosis)
Below is a practical symptom-to-cause guide you can use while troubleshooting:
– Squeaks: flatness issue (high spot/void) or loose substrate fasteners
– Gaps at seams: incomplete joint seating or subfloor movement under load
– Peaking/buckling: expansion gap blocked or insufficient clearance around fixed objects
– Soft feel/movement: underlayment seams not taped/overlapped per instructions or wrong underlayment type
Verdict / tip
If you want a solid dining-room result, laminate is usually a good DIY choice—as long as you follow the manufacturer’s system instructions for acclimation, underlayment, and expansion gaps. Skip this approach (or switch to a pro) if your subfloor is severely uneven, you have ongoing moisture problems, or you can’t meet the product’s installation requirements.
Laminate Installation Failures by Root Cause (Risk Scale, Practical Guidance)
| # | Root cause | Typical symptom | Time to show up | Install risk impact |
|---|---|---|---|---|
| 1 | Missing/blocked perimeter expansion gap | Buckling, raised edges | Weeks to months | ★★★★★ |
| 2 | Uneven subfloor (high spots/voids) | Squeaks, joint separation | Immediately to months | ★★★★★ |
| 3 | Underlayment seams not taped/overlapped correctly | Soft feel, localized movement | Days to months | ★★★★☆ |
| 4 | Incomplete click-lock seating (no tapping block) | Visible seam gaps | Days to weeks | ★★★★☆ |
| 5 | Skipping required acclimation | Panel movement after install | Weeks to months | ★★★☆☆ |
| 6 | Cutting/fit issues around fixed objects | Edge rubbing, small buckles | Weeks to months | ★★★☆☆ |
| 7 | Ignoring transition/height-change plan | Chipped edges at thresholds | Months | ★★☆☆☆ |
Quick checklist (scan/save)
| Task | Why it matters | Done? |
|---|---|---|
| Verify laminate type + follow manual | Prevents wrong method/joint issues | ☐ |
| Acclimate planks per manual | Reduces expansion/contraction problems | ☐ |
| Prep subfloor flat + clean | Avoids squeaks and separation | ☐ |
| Install underlayment/moisture barrier as required | Controls stability and moisture risk | ☐ |
| Plan layout to avoid slivers | Improves appearance and waste | ☐ |
| Use expansion spacers all around | Prevents buckling | ☐ |
| Lock joints fully + stagger ends correctly | Improves durability and look | ☐ |
| Finish transitions and edges properly | Hides gaps and movement points | ☐ |
Frequently Asked Questions
What materials and tools do I need to install laminate flooring in a dining room?
You’ll typically need laminate planks, underlayment (if not attached), a vapor barrier if required by the subfloor type, spacers, a tapping block, a pull bar, and a saw (miter saw or table saw with a fine-tooth blade works well). For installation in a dining room, also plan for transition strips, matching trim or quarter round, and construction adhesive or floor-locking tools if your laminate system requires it. Having a level, measuring tape, and chalk line is essential to keep rows straight and avoid uneven gaps.
How do I prepare a subfloor before installing laminate floors in my dining room?
Start by removing baseboards, ensuring the subfloor is clean, dry, and free of dust, paint overspray, or debris. Check for flatness—most laminate manufacturers recommend correcting high spots or filling low areas to prevent clicking noise or gaps. If you’re installing over concrete, use the correct moisture barrier and verify moisture levels as required. Finally, let the laminate acclimate in the dining room for the manufacturer’s recommended time before installation.
How do I install laminate flooring in a dining room without gaps or buckling?
Use expansion spacers around the perimeter so laminate flooring can float and expand/contract with humidity changes—this prevents buckling near walls or doorways. Stagger end joints (often 6 inches or more) to improve stability and reduce weak seams, and tap planks together using a tapping block and manufacturer-approved technique. Work row by row, keeping the locking edges aligned, and avoid forcing boards into place—misalignment can cause later gaps.
Which direction should I lay laminate planks in a dining room for the best look and layout?
In most dining rooms, laying laminate planks parallel to the longest wall helps create a clean, balanced visual flow, but you can also align plank direction with the main sightline from the entrance. Plan the layout so the first row is not extremely narrow; adjusting the starting row width can make seams look intentional and reduce waste. If the dining room has a focal point like a bay window or fireplace, consider running boards toward that view for a more cohesive design. Dry-fit several rows before cutting to confirm your seam spacing and end-joint pattern.
What’s the best way to install laminate flooring around doorways and under dining room cabinets or trim?
Under door casings, use a handsaw to create a clean clearance gap so the laminate can slide under the trim without gaps—leave the required expansion space at edges. For transitions at hallways or adjacent rooms, install a transition strip on the correct height and spacing to protect joints and match flooring levels. If cabinets are present, generally avoid installing laminate underneath fixed cabinets; instead, cut planks to fit neatly up to the cabinet edge while maintaining the expansion gap along the perimeter and any vertical surfaces. Always follow the laminate manufacturer’s instructions for areas with unusual constraints to keep your flooring warranty-safe.
📅 Last Updated: October 20, 2026 | Topic: How to install laminate floors in a dining room? | Content verified for accuracy and freshness.
References
- Laminate flooring
- Floating floor
- Floor
- Underlayment
- Vapor barrier
- Moisture
- Expansion joint
- https://scholar.google.com/scholar?q=install+laminate+flooring+floating+floor+dining+room Google Scholar
- https://scholar.google.com/scholar?q=laminate+floor+installation+underlayment+vapor+barrier+expansion+gap Google Scholar
- https://scholar.google.com/scholar?q=laminate+flooring+installation+subfloor+preparation+levelness+flatness Google Scholar