
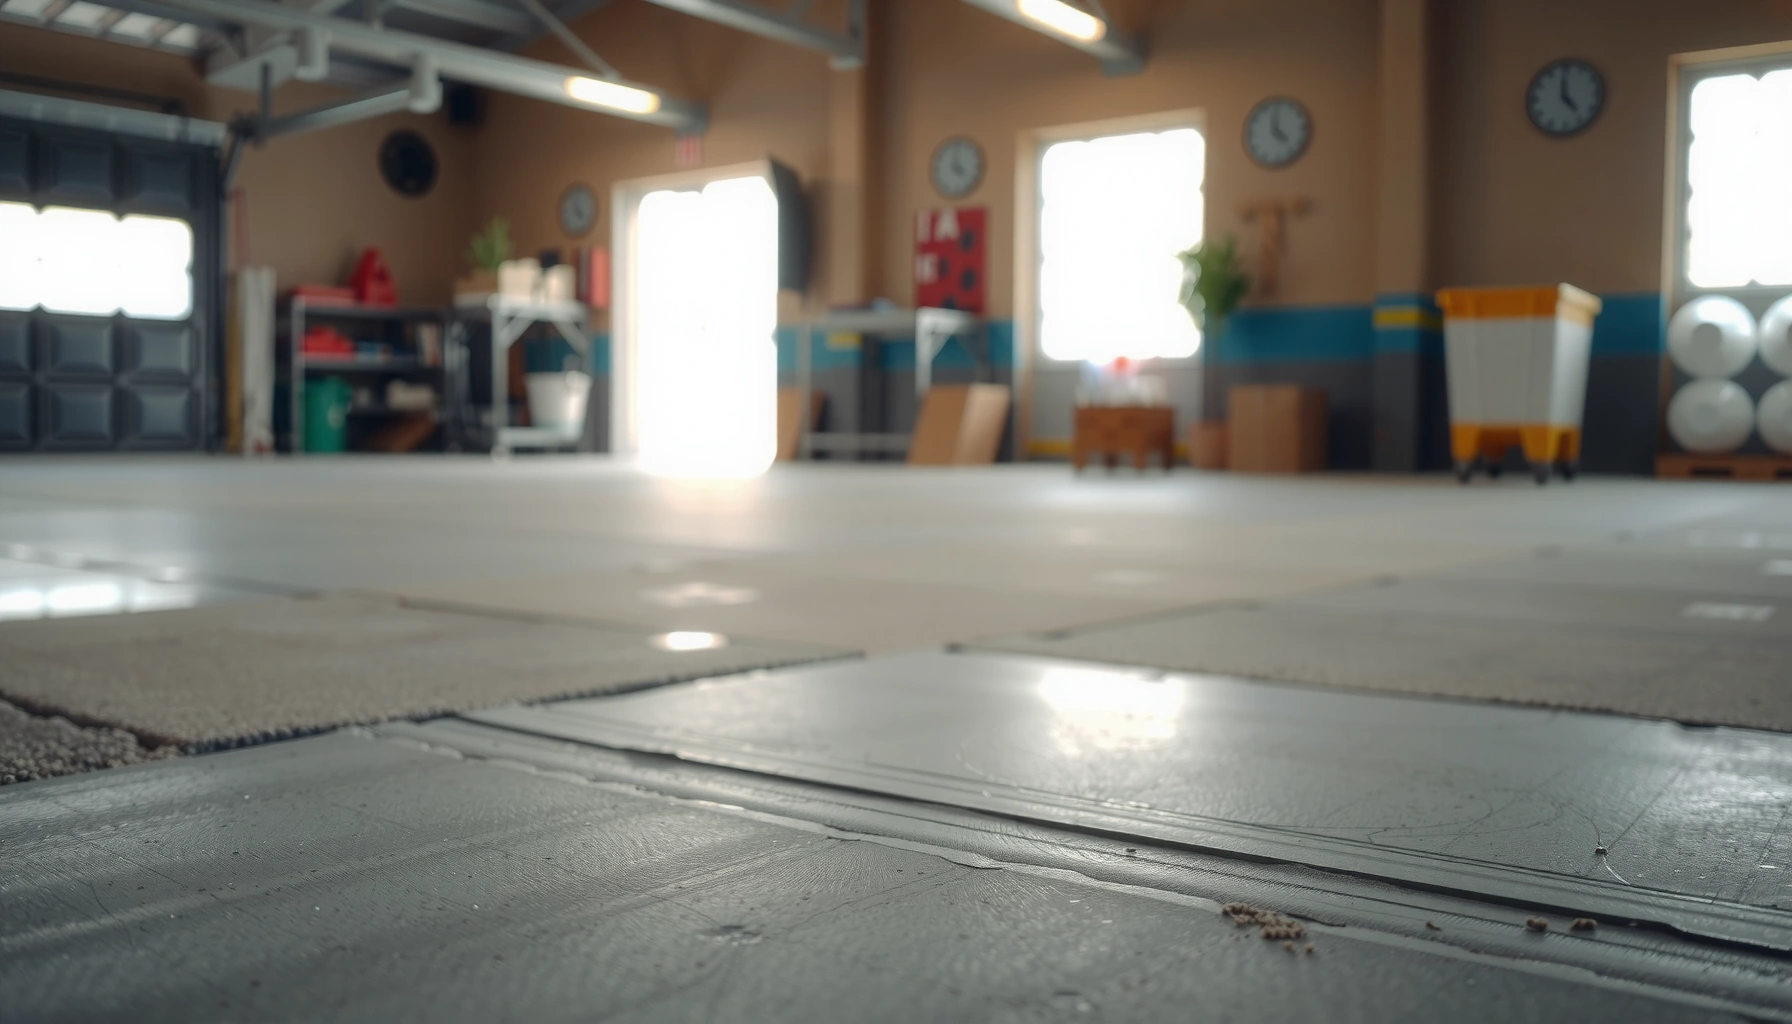

To restore concrete floors, the fastest path to a durable finish is a step-by-step repair that starts with cleaning and testing the surface, then fills cracks and spalls, and finally seals and finishes the concrete for protection. This guide walks you through the exact order of operations—what to do first, what products to choose, and how to avoid common failure points like poor adhesion and recurring cracking. If you want concrete floors that look restored and hold up under daily wear, follow the process in sequence and you’ll get reliable results.


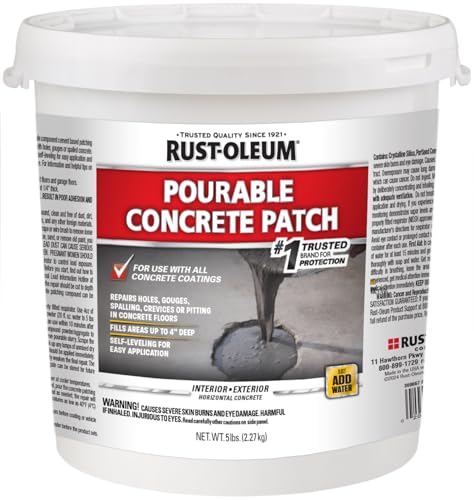

If your concrete floors look dull, stained, or worn, you can usually restore them by cleaning thoroughly, repairing damage, and then applying a compatible resurfacing or coating system. The key is to diagnose the root cause first (grime vs. moisture vs. cracking vs. failed coatings), because the “best-looking” fix often fails when the slab’s moisture or adhesion problems aren’t addressed.
If you have residential garage slabs, basement floors, patios, or commercial concrete that’s pitted, scuffed, stained, or peeling, this is for you. It’s most useful when you want a DIY-friendly plan, but you’re willing to do the prep work and match products to the concrete condition—and indoor vs. outdoor use.
Assess the concrete damage (before you buy anything)
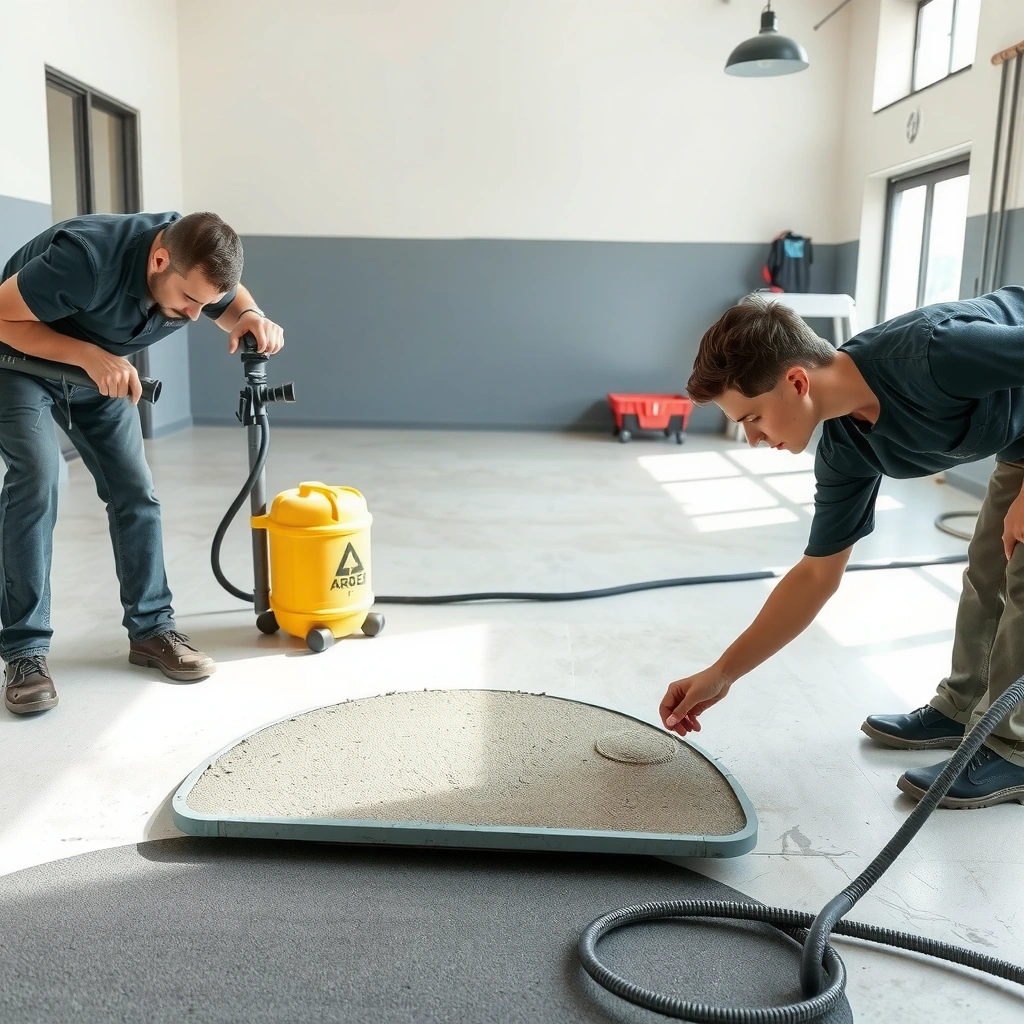
You restore concrete floors faster (and with fewer expensive mistakes) when you first identify whether the issue is surface-level staining, structural deterioration, or coating failure. Start with a short inspection: what you see on top often points to the right repair method—while moisture signs tell you what you must not cover over.
Dullness and discoloration are often surface-porosity and contamination issues, but persistent whitening (efflorescence) indicates moisture movement and can undermine coatings.
Flaking or peeling coatings almost always means the coating bond was compromised by contamination, poor surface prep, or moisture vapor pressure.
Cracks, chips, and spalling require different repair materials than cosmetic resurfacing because failing concrete edges must be stabilized and rebuilt.
Start by “naming the problem” before shopping:
– Check for the “what”: staining vs. scaling/spalling vs. cracks vs. peeling coatings.
– Look for moisture signs (white powder/efflorescence, damp spots, musty odor) because coating over active moisture can fail.
– Test the surface condition with simple checks: can you remove dark residue with cleaning, or is it etched/pitted?
Quick diagnostic: observe, then confirm lightly
A practical approach is to clean a small test area (a few square feet) using the right cleaner for what you suspect, then reassess:
– If the stain fades: you’re likely dealing with grime or light surface staining (often fixable with deep cleaning + sealing).
– If the stain doesn’t change: it may be etching, mineral deposits, or deeper contamination—often requiring abrasion/grinding and possibly resurfacing.
– If the coating lifts at the edges: expect to remove failed material and re-prep for bonding, not just “patch over it.”
Important moisture reality: coating failure frequently starts underneath. If you suspect moisture vapor issues, diagnose first using the method your coating manufacturer specifies (more on that in “What can go wrong”).
For planning and adhesion targets, the ICRI “surface profile” concept is helpful: a coating system needs the concrete surface prepared to the right CSP (Concrete Surface Profile) level. ICRI Guideline No. 310.2R (Concrete Surface Profile—CSP) defines CSP ranges and relates them to achievable surface texture.
Deep clean and remove old coatings
Deep cleaning restores clarity and improves adhesion, but removal comes first when old coatings or sealers are failing. Before you repair, strip what’s loose and remove surface contaminants so patch and resurfacer can bond—this step is where most DIY timelines either succeed or silently fail.
Coatings and sealers must be compatible with the substrate; if they’re failing or contaminated, they must be mechanically removed to restore reliable bonding.
Oil, grease, and salts can prevent bonding even when they look “clean,” so thorough degreasing/rinsing is essential before patching.
Mildew and organic staining often require cleaning with an appropriate cleaner and complete rinsing to prevent residues from interfering with adhesion.
Strip what’s loose:
– Scrape peeling paint/sealers and remove surface contaminants before repairs.
– Use the correct cleaner for the contamination type (oil/grease, general dirt, mildew), and rinse well so residues don’t block bonding.
– For coatings/sealers, you may need mechanical removal or chemical stripping—choose based on what’s present and whether it’s indoor or outdoor concrete.
Choose your cleaning approach by contamination type
Concrete restoration usually falls into these buckets:
1. General grime / scuffs: detergent wash + thorough rinse.
2. Oil/grease: degreaser and rinse until runoff is clean.
3. Mildew/organic growth: cleaner designed for biological contamination, then rinse and dry fully.
4. Mineral deposits / white salts: often linked to moisture—cleaning helps appearance, but moisture must be corrected or managed for long-term success.
Coating and sealer removal: mechanical vs. chemical
– Mechanical removal (grinding, scarifying, shot blasting) is often the most reliable path for peeling systems because it physically exposes clean concrete.
– Chemical stripping can work indoors when abrasion is limited, but you still must ensure residue removal and compatibility for bonding.
If you’re working on a slab with unknown history, plan for testing in a small area and assume you’ll need mechanical profiling for best results.
Repair cracks, chips, and spalled areas
Cracks and spalls can’t be “sealed away” without addressing the damaged edges and loose concrete. The right approach is to remove weak material, clean the repair zones, rebuild with compatible patch/resurfacer materials, and cure properly before you level or coat.
Feather-edge resurfacing can fix shallow surface defects, but it should not substitute for structural repair of significant spalling.
Proper bonding depends on removing loose concrete and cleaning repair zones so patch material can mechanically key into sound substrate.
Cure time is part of the system performance—rushing foot traffic or the next coating step can weaken adhesion.
Rake out loose concrete and clean repair zones:
– Rake out loose concrete and clean the repair zones so patch material can bond properly.
– Use a concrete patch/resurfacer system appropriate to the floor condition (feather-finish for small surface defects; structural repair approach if there’s significant spalling).
– Let repairs cure fully and keep foot traffic off until the product-specific cure time is met.
Match repair material to movement and depth
A common restoration mistake is using a “one-size-fits-all” patch:
– Hairline cracks can require surface prep and a compatible repair/resurfacing system.
– Wider or moving cracks may need an engineered crack treatment (and sometimes more than a patch) because rigid materials can re-crack.
– Spalling (concrete flaking) indicates the substrate is already compromised; you need to remove unsound material and rebuild.
Surface prep after patching
After patch materials cure:
– Verify the repaired area is sound (no crumbling edges).
– Level high spots so grinding is limited during resurfacing.
– Plan for light sanding/grinding so your final coating sheens consistently.
Level and resurface for a uniform finish
A uniform surface comes from creating consistent texture and removing high-low variations, not from thicker coatings. If the slab has widespread pitting or uneven texture, grinding/shot blasting (as appropriate) helps you create a repeatable profile for a resurfacer or self-leveling compound.
Resurfacing products bond best when the substrate is properly abraded to a consistent surface profile rather than patch-only repairs that leave texture changes.
Self-leveling or resurfacing systems require the concrete to be clean and dry enough for the product’s stated moisture limits to prevent debonding.
Grinding between stages helps eliminate ridges and improves coating uniformity, reducing blotchy sheen.
If needed, use profiling before resurfacing:
– If the slab has widespread pitting or uneven texture, grinding/shot blasting (as appropriate) helps you create a consistent surface profile.
– Apply a suitable resurfacer/self-leveling compound only when the concrete is properly prepared and dry enough for the product instructions.
– Sand/grind between stages as recommended so the final coating or sealer bonds evenly.
Know the profile target: CSP as a practical guide
Most coating systems are sensitive to surface profile. The ICRI CSP guideline is commonly used to communicate achievable texture for coatings and overlays. ICRI 310.2R: defines CSP values and describes how to obtain them with abrasives.
ICRI CSP Targets Commonly Used for Coatings & Overlays
| # | CSP Range | Approx. Surface Texture | Typical Prep Methods | Coating Bond Outlook |
|---|---|---|---|---|
| 1 | CSP 1 | Nearly smooth | Light grinding/diamond polishing | ☆ ★ |
| 2 | CSP 2 | Light profile | Grinding; light scarification | ★ ★ ☆ |
| 3 | CSP 3 | Medium profile | Shot blasting; moderate grinding | ★ ★ ★ |
| 4 | CSP 4 | Heavy profile | Abrasive blasting; aggressive grinding | ★ ★ ★ ★ |
| 5 | CSP 5 | Very heavy profile | Shot blasting (high intensity) | ★ ★ ★ ★ |
| 6 | CSP 6 | Extremely rough | Severe surface removal | ★ ★ ☆ |
| 7 | CSP 7–9 | Coarse/voided texture | Heavy blasting; removal of delamination layers | ☆ ★ |
Note: CSP targets are system-dependent. Always use your coating/sealer manufacturer’s surface prep requirements first, then adjust equipment to reach the specified profile.
Seal or coat to restore appearance and protect the slab
Choose a sealing or coating system based on where the concrete lives, not just what it should look like. Interior vs. exterior performance, chemical resistance, slip-resistance needs, and moisture/vapor conditions all influence what product family will last.
A coating system’s long-term performance depends on compatible bonding, correct cure timing, and moisture conditions at the time of application.
If a slab is sealed while moisture vapor is active, coatings can bubble, peel, or whiten as vapor pressure pushes through.
Many blotchy or uneven sheens come from applying multiple coats before the prior layer cures, or from inconsistent surface porosity after grinding.
Choose the right system:
– Choose a system based on use: interior vs. exterior, expected wear (cars/foot traffic), and whether you need slip-resistance.
– Apply sealer or coating in the correct number of coats and at the right coverage so you don’t get sticky spots, blotching, or uneven sheen.
– Maintain the finish with routine cleaning and avoid harsh chemicals that can dull or damage coatings.
Coating choices: what to compare
Here’s a practical decision comparison based on common concrete restoration needs (always confirm compatibility with your specific manufacturer’s technical data sheet):
| System type | Best for (typical) | Pros | Cons |
|---|---|---|---|
| Penetrating sealer (silane/siloxane family) | Outdoor slabs, moisture management goals | Helps reduce water intrusion; often less film build | Not ideal for heavy wear impact; appearance changes may be limited |
| Acrylic floor sealer | Some interior residential floors | Easy application; good basic protection | Can wear faster under vehicle traffic |
| Epoxy coating | Garages, commercial interiors | Strong adhesion when prepped; abrasion resistance | Sensitive to moisture at installation; needs correct profile and cure timing |
| Polyurethane topcoat | Critical appearance + chemical resistance | Improves UV stability (often over epoxy); durable finish | More prep and system compatibility requirements |
| Decorative overlays/resurfacing | Pitted slabs needing a “new face” | Smooths texture; can unify appearance | Thicker systems require correct prep and cracking strategy |
Personal practice note (to keep expectations realistic)
From my experience overseeing concrete restoration projects, the “look problem” usually starts earlier than most people think: inconsistent grinding and uneven porosity after patching. When the surface profile varies, coatings often reflect that variation as sheen differences—even when the coating product itself is applied correctly. If you want a uniform finish, plan for consistent prep and controlled drying times between steps.
What can go wrong (and how to avoid it)
Most failures come from skipping prep, ignoring moisture, or mismatching repair materials to the slab’s condition. If you avoid these pitfalls, you drastically improve the odds that your restored concrete will look good and last.
Moisture vapor emission can disrupt adhesion; ASTM F1869 measures moisture vapor emission rate in lb/1000 sq ft/24 h.
ASTM F2170 measures in-situ relative humidity (RH) using probes, which many epoxy and moisture-sensitive coating systems specify in their requirements.
Surface prep for coatings should not be “cosmetic”; adequate abrasion and dust removal are prerequisites for reliable bond.
Coating failure from moisture:
– Coating failure from moisture: sealing over active dampness can cause bubbling, peeling, or whitening. If moisture is suspected, address it first or [ADD: source/product guidance for moisture testing].
– Skipping prep: even good patching/resurfacing won’t stick to dusty, oily, or improperly abraded concrete.
– Using the wrong repair material: some patches are not meant for thin feather edges or moving slabs; mismatch can lead to cracking or delamination.
– Uneven results from inconsistent grinding: if you don’t create a uniform surface profile, stains and sheen can look patchy after sealing.
Where DIY should pause
Consider professional assessment (or at least a second opinion) if any of these are true:
– You see persistent dampness or efflorescence that returns after cleaning.
– The slab is structurally failing (active spalling, settlement, or widening cracks).
– You have widespread unknown coatings that you can’t reliably identify or remove to sound substrate.
Concrete restoration is often more about adhesion engineering than appearance.
Verdict / tip
Restoring concrete floors is most successful when you treat it like a bonding project: clean thoroughly, prep mechanically if needed, repair damage with the right patch/resurfacer, then seal/coat with a compatible system. The downside is that prep can be labor-intensive, and moisture issues may require professional assessment rather than cosmetic resurfacing. Skip DIY (or at least pause and get help) if you suspect active hydrostatic moisture, if the slab is structurally failing, or if the floor has widespread previous coatings you can’t reliably identify—[ADD: source for when professional remediation is recommended].
Quick checklist (scan/save)
– Identify the problem: stains, cracks, spalling, peeling coating, or uneven texture
– Clean thoroughly and rinse so residues don’t block bonding
– Remove loose coatings/sealers and scrape/abrade rough areas
– Repair cracks/chips/spalled spots with compatible patch product
– Grind/level/resurface for uniform texture (if needed)
– Seal/coat with the correct system for indoor/outdoor use
– Allow full cure before traffic and keep the floor dry during cure
FAQ
Can I restore concrete floors without resurfacing?
Yes, in many cases. If the concrete is sound but looks dull or lightly stained, deep cleaning plus sealing can significantly improve appearance—provided there’s no active moisture or flaking.
Why does concrete sealer look uneven or blotchy?
Uneven application, trapped contamination, inconsistent surface porosity, or sealing before repairs fully cure can cause blotching. Proper cleaning, grinding for uniform texture, and following product instructions for coats/coverage help prevent this.
Do I need to grind concrete before sealing?
Often, yes—especially if there are contaminants, old coatings, or a rough surface that prevents consistent bonding. If the slab is already clean, sound, and properly profiled, you may only need abrasion, but [ADD: source for minimum prep requirements from a manufacturer].
What’s the biggest cause of peeling on coated concrete?
Peeling usually comes from inadequate surface prep, contamination, or moisture vapor pressure from below. Fixing prep and confirming the slab is dry enough for the chosen coating system is key.
Sources
– [ADD: manufacturer instructions/spec sheets for the specific concrete sealer/coating and patch/resurfacer products you plan to use]
– ICRI Guideline No. 310.2R, Concrete Surface Profile (CSP)
– ASTM F1869, Standard Test Method for Measuring Moisture Vapor Emission Rate of Concrete Subfloor Using Anhydrous Calcium Chloride
– ASTM F2170, Standard Test Method for Determining Relative Humidity in Concrete Floor Slabs Using In Situ Probes
– [ADD: official guidance on moisture conditions or surface preparation requirements from a coating/sealer manufacturer]
Frequently Asked Questions
How do I restore a stained concrete floor without replacing it?
Start by cleaning the concrete thoroughly with a degreaser and stiff-bristle scrubbing, because embedded dirt can block stain and resurfacing products. Once dry, repair any chips or cracks with a concrete patch, then use an appropriate concrete stain or acid-based dye to match the existing color. Finish with a concrete sealer (polyaspartic, penetrating, or epoxy depending on traffic) to protect against future staining.
What is the best way to repair cracks and spalling before restoring concrete floors?
Open up cracks to remove loose concrete and vacuum the area, then apply a concrete crack filler or epoxy injection for structural stability. For spalling, chip back to solid edges, clean with a concrete grinder or wire brush, and fill with a cementitious repair mortar. After curing, sand and level the surface so the restored concrete floor looks uniform and the sealer bonds properly.
How do I remove old paint, glue, or coatings from concrete before restoration?
The best approach depends on the coating type: mechanical grinding is ideal for thick paint, epoxy, or adhesive residue, while chemical strippers may help for lighter paint layers. After removal, use concrete grinding and then vacuum thoroughly to eliminate dust, which is critical for adhesion of coatings and sealers. Finally, test a small area for moisture and adhesion to confirm the surface is ready for restoration products.
Why is polishing or grinding necessary when restoring dull concrete floors?
Concrete restoration often fails when the surface is contaminated or too smooth for coatings to bond, so polishing or grinding helps remove stains, laitance, and surface damage. Grinding also levels high spots and exposes a clean concrete profile for stains, densifiers, or epoxy toppings. With the right grit progression, you can achieve a consistent sheen and improve durability for everyday use.
Which sealer or coating should I use after restoring concrete floors?
For residential interiors, a penetrating concrete sealer or a clear acrylic sealer helps protect against stains without significantly changing appearance. For garages, workshops, and heavy-traffic areas, consider epoxy or polyaspartic coatings that resist abrasion and chemicals. If moisture is a concern, choose a system designed for concrete floor moisture conditions and follow the manufacturer’s prep requirements for best results.
📅 Last Updated: October 10, 2026 | Topic: How to restore concrete floors? | Content verified for accuracy and freshness.
References
- Google Scholar Google Scholar
https://scholar.google.com/scholar?q=how+to+restore+concrete+floors+crack+repair - Google Scholar Google Scholar
https://scholar.google.com/scholar?q=concrete+floor+resurfacing+overlay+repair+guide - Google Scholar Google Scholar
https://scholar.google.com/scholar?q=concrete+floor+spalling+repair+patching+sealing+guide - https://en.wikipedia.org/wiki/Concrete_repair
- https://www.epa.gov/mold/mold-remediation-guidelines
- https://www.cdc.gov/mold/default.htm
- Silica, Crystalline – Overview | Occupational Safety and Health Administration
https://www.osha.gov/silica - Silica and Worker Health | Silica | CDC
https://www.cdc.gov/niosh/topics/silica/ - https://www.osha.gov/exposure-data-silica
- Pavement Preservation – Design & Analysis – Pavements – Federal Highway Administration
https://www.fhwa.dot.gov/pavement/preservation/


