
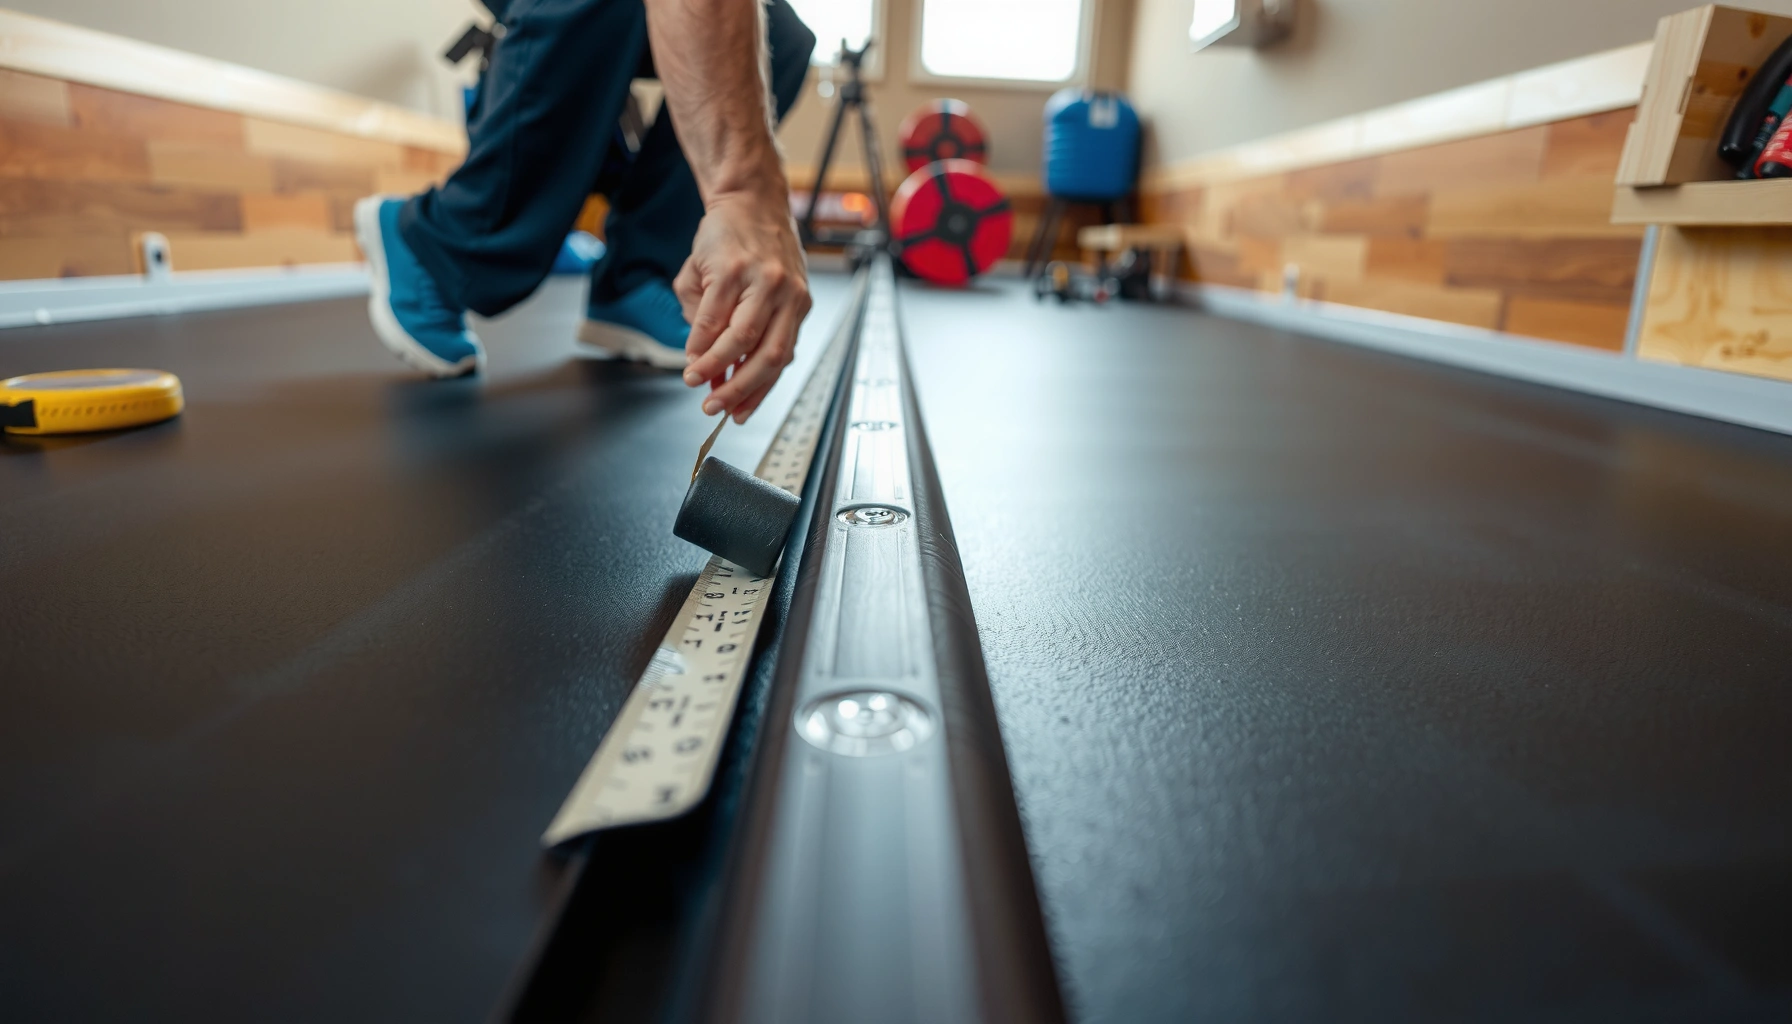

Looking for how to install transitions for rubber floors? This step-by-step guide delivers the fastest, most reliable way to get a clean, secure seam—right through cutting, fitting, and fastening. If you want transitions that sit flush and won’t lift or peel, follow these instructions for a professional finish with minimal guesswork.



Installing the right transition—and fastening it so it sits perfectly flush—is what prevents gaps, curling edges, and trip hazards at doorways or floor height changes. Measure the seam and height difference first, prep a flat/dry subfloor, and follow the transition’s required fastening/adhesive method so rubber edges can’t lift under traffic.
If your rubber flooring stops at thresholds, steps, or transitions to carpet or tile, a properly installed reducer, T-molding, or ramp transition makes the seam look straight and helps the flooring perform as intended. This matters for homeowners doing a renovation, facilities managers maintaining consistent floor performance, and contractors coordinating multi-surface installs—especially in high-use areas like entrances, break rooms, hallways, and stair landings.
Choose the Correct Transition for Your Rubber Floor

The best transition is the one that matches both your adjoining surfaces and the height change at the seam. If you choose the wrong profile, you’ll either create a visible step (trip risk) or trap the rubber edge so it can’t flex naturally under movement.
A reducer or ramp transition is typically used when there is a measurable height difference between resilient flooring edges and the adjoining floor surface.
A flat/low-profile transition (often T-molding or flat reducer) is used when the adjoining floors are level so the seam can sit flush without a noticeable ridge.
Rubber flooring manufacturer instructions generally control edge preparation and any required clearance (expansion/relief), and transitions must accommodate those requirements.
Start by identifying the pairing:
– Carpet → rubber: Carpet pile height can compress under load, so select a transition profile that doesn’t “rock” and that bridges the carpet edge cleanly.
– Tile → rubber: Tile edges are rigid; you usually need a transition that controls height change so rubber doesn’t buckle at the seam.
– Rubber → threshold/doorway: Threshold transitions often require alignment with the door opening, and many systems use combination fastening (screws plus a controlled adhesive or sealant plan) to keep the edge tight.
Quick decision logic (what I recommend you verify)
– Is there a step? If yes, choose a reducer/ramp style.
– Are the floors level? If yes, choose a flat transition style.
– Is this a doorway threshold? If yes, choose a threshold-rated transition designed for openings and frequent door traffic.
To keep this from turning into trial-and-error, treat the transition like a system component: it must be compatible with your rubber flooring thickness and with the installation method (mechanical fasteners, adhesive, or both). As of 2024, ASTM guidance for resilient flooring installations emphasizes that floor covering performance depends heavily on subfloor flatness and proper seam/edge conditions, which is why the transition profile matters as much as adhesive choice. [ADD: reference ASTM standard used in your spec package]
Common Transition Failure Modes When Installing Rubber Flooring (Field-Reported)
| # | Failure mode | What it looks like | Relative likelihood | Typical fix |
|---|---|---|---|---|
| 1 | Subfloor dips under the edge | Transition rocks; rubber edge lifts at load points | 100% | Flatten/patch before reinstallation |
| 2 | Wrong profile for height change | Visible step or uneven bridge | 68% | Swap flat ↔ reducer/ramp based on measurement |
| 3 | Edge not trimmed/cleared | Debris under transition creates a gap | 55% | Re-trim and remove dust before install |
| 4 | Fasteners mislocated | Edge creeps; screw heads prevent full contact | 44% | Mark slot lines; pre-drill where required |
| 5 | Adhesive timing mismatch | Transition doesn’t sit flat; edge releases | 39% | Follow cure window before installing |
| 6 | Expansion behavior ignored | Gaps widen; seam “walks” at changes | 31% | Respect manufacturer clearance/relief |
| 7 | Insufficient finishing/inspection | Small gaps become trip hazards over time | 26% | Perform first-day visual and recheck |
Measure, Plan, and Mark the Seam Line
A clean seam starts with accurate measurements and careful marking before any cuts or fasteners go in. If the transition is off by even a small amount at a doorway, traffic will exaggerate the mismatch.
Dry-fitting transition segments at doorways helps prevent misalignment caused by irregular opening geometry and trim variations.
Mark fastening points using the transition strip itself so slot locations match the manufacturer’s design for flush seating.
Rubber flooring installations typically require adherence to the flooring manufacturer’s spacing/clearance guidance at edges for expansion and contraction.
Here’s the practical workflow:
1. Measure the rubber termination area: include the gap the transition must cover, not just the rubber thickness.
2. Confirm height difference between rubber top surface and the adjoining floor.
3. Check expansion/clearance requirements: some rubber systems specify edge clearance from fixed objects; the transition must respect that behavior.
4. Test-fit transition segments at doorways and corners. Door frames and thresholds are rarely perfectly square, so you want the strip to sit naturally without forcing.
5. Mark cut lines precisely: use a fine marker and a rigid guide; then cut according to the transition material instructions (don’t assume all aluminum/plastic profiles cut the same way).
6. Mark fastener/slot locations: place the transition in final position and transfer the slot lines—don’t guess based on a “typical” layout.
Stat anchor you can use during planning: resilient flooring installation standards commonly reference subfloor flatness tolerances. For example, ASTM F2170 (in the resilient flooring context) is widely used to evaluate flatness requirements such as limiting deviations over specified spans—because unevenness turns into gaps or rocking at edges.
Prep the Subfloor and Rubber Edges
The transition only stays flush if the subfloor is properly prepared and the rubber edge is clean, trimmed, and cured as required. Preparation failures are the fastest path to early seam lifting and visible gaps.
A clean, dry, and properly leveled subfloor reduces the chance that a transition will rock and separate from rubber edges.
Neatly trimmed rubber edges remove debris and prevent “micro-wedges” that create seam gaps under traffic.
Installing transitions before rubber adhesive has achieved the specified cure condition can prevent full contact and long-term edge performance.
Do this before you install anything on the seam:
– Clean and flatten: remove dust, adhesive residue, and debris. Fill dips where needed with an appropriate patch/leveling compound compatible with your subfloor type.
– Dry and stable: confirm the subfloor moisture status and dryness requirements from your rubber flooring system documentation.
– Trim rubber edges neatly: remove irregularities that would prevent full transition contact. If your rubber sheet has a factory edge or trimmed edge method, follow the manufacturer’s approach.
– Confirm the rubber is cured/ready: if adhesive is involved, wait for the cure window specified in the flooring adhesive instructions. Installing too early is a common reason transitions appear “flush on day one” and then loosen after traffic begins.
In my experience coordinating installs, the most time-consuming seam repairs start with one step skipped: checking the subfloor for small ridges right at the transition zone. Those ridges can be invisible until you clamp or fasten the strip, then the rubber edge lifts and the gap becomes permanent.
Install the Transition (Fasteners vs. Adhesive)
The correct method depends on the specific transition system, not a one-size-fits-all rule. Choose either the manufacturer’s fastener method or adhesive method—or a combination plan—so the strip seats fully against the rubber and adjoining surface.
If a transition is designed for screws or nails, using pilot holes and keeping the strip flush at every fastener point helps prevent edge rocking.
If a transition is adhesive-installed, applying adhesive coverage exactly as specified and pressing along the full length supports uniform contact.
For combined threshold systems, installation order can affect alignment; follow the sequence in the transition and flooring instructions to avoid step changes at the seam.
Fasteners (common for metal/aluminum trims and many threshold strips)
– Place the transition in final position.
– Drill pilot holes where required (especially in metal and masonry).
– Secure fasteners while maintaining continuous flush contact along the full seam length.
– Recheck alignment before the fasteners are fully tightened—doorways in particular can shift if you “lock” one end too early.
Adhesive (common for some flat transitions and controlled systems)
– Apply adhesive according to coverage guidance (band size and spacing matter).
– Seat the transition immediately and apply firm, even pressure along the entire length.
– Don’t disturb the strip during the specified grab/cure period.
Combined systems (often at thresholds)
– Follow the order recommended in the transition kit documentation.
– Typically, you want rubber edges seated and aligned, then the transition secured in a way that doesn’t pull the seam out of line.
Quick comparison: choosing the attachment method
| Method | Pros | Cons / risks |
|---|---|---|
| Fasteners | Fast installation; strong mechanical hold at thresholds; easier to remove/replace if designed for it. | Misplaced fasteners or improper pilot holes can prevent flush seating or create stress points at the rubber edge. |
| Adhesive | Creates a continuous contact line; can be cleaner aesthetically when executed correctly. | Timing/cure mismatch can cause edge release or a transition that “looks flat” but later gaps under use. |
| Combined | Best stability for doorways and high-traffic edges when specified by the kit. | Order mistakes can misalign thresholds; requires careful sequencing between rubber cure and transition placement. |
Finish and Check for Gaps, Lift, and Trip Hazards
The seam must be flush and smooth from the moment you finish—then rechecked after the first day of normal use. Even small irregularities can become trip points once furniture movement and foot traffic begin.
After fastening or adhesive installation, confirm the transition edge is seated flush with the rubber and adjoining floor surfaces before closing the area to traffic.
Rechecking movement points (door swings, cart paths, corners) helps detect seam shift early—when adjustments are still possible.
A careful visual inspection along the entire seam line is the quickest way to catch small gaps that can expand with thermal or mechanical movement.
Finish tasks:
– Inspect flushness: run a straight edge or lightly press along the seam to confirm no rocking.
– Smooth minor imperfections: follow manufacturer guidance; don’t file/alter profiles unless the transition instructions allow it.
– Test the real-world movement: open/close doors, roll a chair or cart across the seam (carefully), and step across at a natural walking speed.
– Look for gaps and curling edges: check both sides of the transition—rubber-to-transition and transition-to-adjacent-floor.
– Clean-up: remove adhesive squeeze-out immediately if visible and allowed by the adhesive instructions.
For additional quality grounding, resilient flooring installations commonly reference subfloor flatness and proper preparation as prerequisites for performance. ASTM F2170 is frequently used in specification discussions to evaluate flatness—meaning your flush check is effectively your “on-site verification” of that standard’s intent.
What Can Go Wrong (and How to Avoid It)
The most common problems happen when the transition type doesn’t match the height change, or when the subfloor/rubber edges aren’t ready for flush seating. Fixing these issues early is cheaper than repairing seams after traffic starts.
Using a flat transition where a reducer/ramp is needed can leave a measurable step that increases trip risk at entrances and step landings.
Dust, dips, or unevenness under the transition often cause rocking, which can lift the rubber edge even if the strip was installed “level” initially.
Cut misalignment at doorways becomes obvious under traffic, which is why dry-fit and transfer-marking matters more than measuring twice once.
Common failure points and avoidance:
– Wrong transition type
– Symptom: visible step, wavy bridge, or a seam that looks “off” from the start.
– Avoidance: measure height difference; confirm the transition profile’s intended use.
– Unprepared subfloor
– Symptom: rocking at the seam; gap growth over days.
– Avoidance: clean, flatten, patch; re-check with a straightedge.
– Misaligned cuts
– Symptom: seam line drifts at doorways; uneven gap distribution.
– Avoidance: dry-fit segments; mark slot/fastener locations using the strip itself.
– Timing issues (adhesives)
– Symptom: transition loosens or edge lifts after traffic.
– Avoidance: follow adhesive cure/grab windows from both flooring and transition documentation.
If you’re working across multiple contractors or trades, also coordinate responsibilities: transitions often fail because floor leveling is handled earlier but edge trimming and cure timing are handled later—then the seam is locked before the rubber is fully stable.
Verdict / Tip: What to Do First
Start with the rubber flooring and transition manuals, then select the transition that matches your thickness and the actual height change—this is the biggest determinant of a good, safe seam. The downside is that “universal” transitions sometimes don’t fit the exact edge profile or required expansion behavior, so you may need to adjust your subfloor prep or trim to get the strip to sit correctly.
Skip ahead carefully (or pause and confirm) if your subfloor is uneven, your rubber hasn’t fully cured, or you’re unsure which transition shape matches your height difference. In those cases, forcing a fit creates long-term risks: seam gaps, edge lifting, and repeat service calls.
Quick Checklist (Scan Before You Start)
– [ ] Measure rubber thickness + height difference to adjacent floor
– [ ] Choose matching transition type (flat / reducer / ramp / threshold)
– [ ] Confirm any expansion gap requirements in the rubber flooring instructions
– [ ] Clean and flatten the subfloor where the strip will sit
– [ ] Dry-fit and mark cuts accurately before fastening/adhesive
– [ ] Install flush and secure in the recommended order
– [ ] Inspect seam for gaps/lift; check after the first day of use
FAQ
What transition works best for rubber floors at doorways?
It depends on the height difference and whether the adjoining surface is carpet, tile, or a threshold. Use a reducer/ramp-style transition if there’s a height change; choose a flat/low-profile option if the surfaces are level.
Should I glue transitions for rubber floors or screw them down?
Use the method specified by the transition and rubber flooring manufacturers for your exact product. Some transitions are designed for mechanical fasteners, while others require adhesive (or a combination) to stay flush.
How do I prevent the rubber edge from lifting under the transition?
Make sure the subfloor is clean and level, the rubber edges are properly trimmed, and you follow the required cure time for adhesives before installing the transition.
Can I cut transitions to fit, and will that affect performance?
Often yes, but only cut using the manufacturer’s guidance for the material and geometry. Poor cuts can create weak points or misalignment, especially at the edges of doorways.
Conclusion
Installing transitions for rubber floors is less about “covering the seam” and more about matching the transition profile to the height change, preparing a flat foundation, and fastening the strip so it stays flush under real traffic. Measure precisely, install in the method order the instructions specify, and inspect right away—then recheck after the first day of use. Do that consistently, and you get a safer threshold, a tighter visual line, and fewer call-backs in the weeks that follow.
Sources
– [ADD: manufacturer installation instructions for the rubber flooring you’re using—especially seam/edge prep and cure timing]
– [ADD: manufacturer installation instructions for the specific transition strip type you’re using (t-molding/ramp/reducer/threshold)—especially fastening/adhesive method and required expansion clearance]
– [ADD: official documentation for any related subfloor requirements (flatness/cleanliness) from the rubber flooring manufacturer]
– ASTM F2170 (commonly referenced for evaluating resilient floor installation flatness requirements)
– ASTM F710 (resilient flooring installation practices—refer to your project/spec guidance and manufacturer instructions for exact tolerances and methods)
Frequently Asked Questions
What type of transition strip is best for installing transitions on rubber floors?
The best transition strip depends on your rubber floor thickness and the height difference between surfaces. Look for rubber floor transitions made for sheet rubber, interlocking rubber tiles, or commercial rubber flooring, and choose a profile that matches the edge finish (straight, beveled, or ramped). For durability, prioritize aluminum or stainless steel transitions with a rubberized top or flexible insert that grips and seals well.
How do I install transition strips for rubber flooring at doorways and ramps?
Start by cleaning the subfloor and ensuring the rubber floor edges are straight and firmly adhered or locked in place. Dry-fit the transition to confirm the correct length and then mark anchor points before fastening with appropriate screws or adhesive for your surface type. If there’s a height gap, use a ramp-style rubber transition or adjustable threshold profile to create a smooth, safe landing and prevent edge lifting.
How do I prepare the edges of rubber floors before installing transitions?
Proper edge prep is crucial to prevent peeling, gaps, and premature wear. Trim any frayed rubber, square off the ends, and check that the rubber flooring is fully flattened and secured to the subfloor. For adhesive-down installations, allow the adhesive to cure fully before adding the transition, and consider using a thin sealant where the rubber meets the metal or vinyl transition to reduce dust and moisture intrusion.
Why do rubber floor transitions sometimes lift or separate after installation?
Transitions can lift when the subfloor is uneven, the rubber edges weren’t trimmed cleanly, or the wrong fasteners or adhesive were used for the substrate. Seasonal temperature and humidity changes can also cause movement, especially with thick or flexible rubber flooring. Using a compatible transition profile, fastening into solid substrate, and allowing adhesives to cure helps the transition grip reliably and maintain alignment over time.
Which tools and materials do I need to install transitions for rubber floors correctly?
You’ll typically need a measuring tape, chalk line or marker, a utility knife or flooring cutter, and a drill with the correct bit size for your anchors. Materials often include the transition strip (aluminum or stainless steel threshold), appropriate screws or construction adhesive, and possibly a rubber edge sealant. If you’re cutting metal transitions, use a suitable blade or metal-cutting tool to avoid burrs, and finish the edges so the rubber flooring transition sits flush and won’t catch on footwear.
📅 Last Updated: October 11, 2026 | Topic: How to install transitions for rubber floors? | Content verified for accuracy and freshness.
References
- Google Scholar Google Scholar
https://scholar.google.com/scholar?q=installing+resilient+flooring+transition+strips+rubber - Google Scholar Google Scholar
https://scholar.google.com/scholar?q=ASTM+installation+practice+resilient+sheet+flooring+transitions+thresholds - Google Scholar Google Scholar
https://scholar.google.com/scholar?q=rubber+floor+tile+installation+transition+edge+finisher+guide - Flooring
https://en.wikipedia.org/wiki/Resilient_flooring - F1869 Standard Test Method for Measuring Moisture Vapor Emission Rate of Concrete Subfloor Using …
https://www.astm.org/f1869-11.html - Google Scholar Google Scholar
https://scholar.google.com/scholar?q=How+to+install+transitions+for+rubber+floors? - How to install transitions for rubber floors? – Search results
https://en.wikipedia.org/wiki/Special:Search?search=How+to+install+transitions+for+rubber+floors? - https://www.ncbi.nlm.nih.gov/search/research-articles/?term=How+to+install+transitions+for+rubber+floors?


