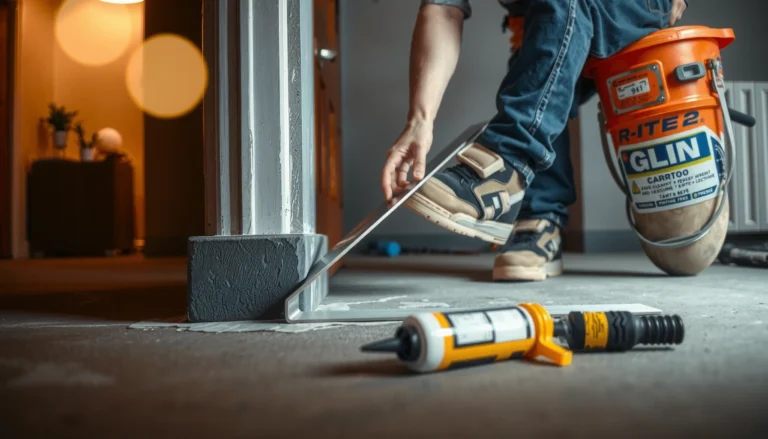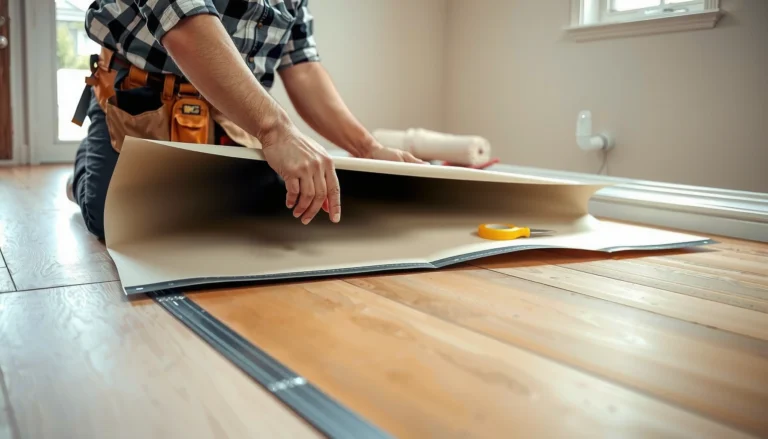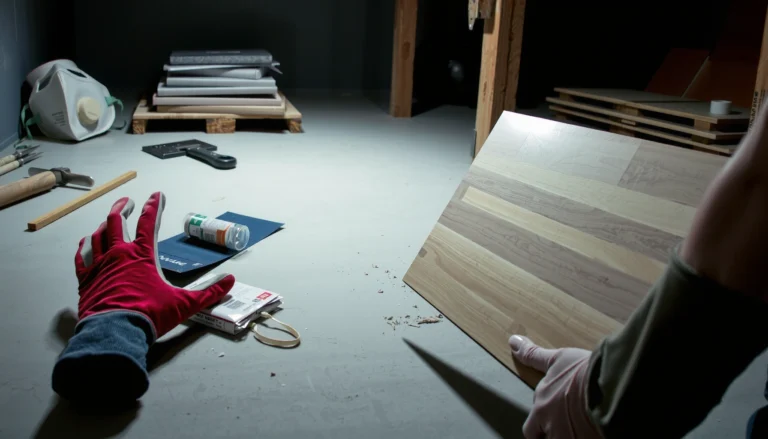

If you need to remove basement floors, this step-by-step guide shows the fastest, safest path from start to finish. It lays out exactly what to check before demolition, how to break up concrete or lift existing flooring, and how to handle debris and cleanup without damaging plumbing or wiring. By the end, you’ll know the exact process to get your basement ready for the next flooring system.




If you want to remove basement floors, the safest, most cost-effective approach is to identify the floor system first (concrete slab vs. tile/vinyl/wood layers) and then use the least-damaging removal method that matches the material. Before you cut or pry anything, check for moisture problems, contain dust, and plan the demolition so you don’t worsen hidden water intrusion or create unnecessary foundation risk.
This guide is for homeowners or DIYers replacing basement flooring, fixing damage, or preparing the space for refinishing—especially when the existing floor is old, cracked, or trapping moisture. If you suspect structural problems, widespread moisture intrusion, or hazardous materials (for example, asbestos-containing materials), plan on professional help before demolition.
Moisture & Dust Controls That Matter Most During Basement Flooring Removal
| # | Control step | When used | Coverage impact | Effect on rework risk |
|---|---|---|---|---|
| 1 | Containment plastic (sealed work zone) | Before cutting/breaking | ★ 5/5 | Low |
| 2 | Moisture inspection for efflorescence & odor | Before removal starts | ★ 4/5 | Low–Med |
| 3 | HEPA dust control (vacuum + tool attachments) | During demolition | ★ 4/5 | Low |
| 4 | HVAC airflow management (off/controlled during work) | During active dust generation | ★ 3/5 | Med |
| 5 | Adhesive removal to manufacturer-ready surface | After finishes lift | ★ 3/5 | Low–Med |
| 6 | Debris handling & disposal planning | Before the first load | ★ 2/5 | Med–High |
| 7 | Moisture remediation before new flooring | Before installation | ★ 5/5 | Low |
Identify What You’re Removing (Slab vs. Surface)
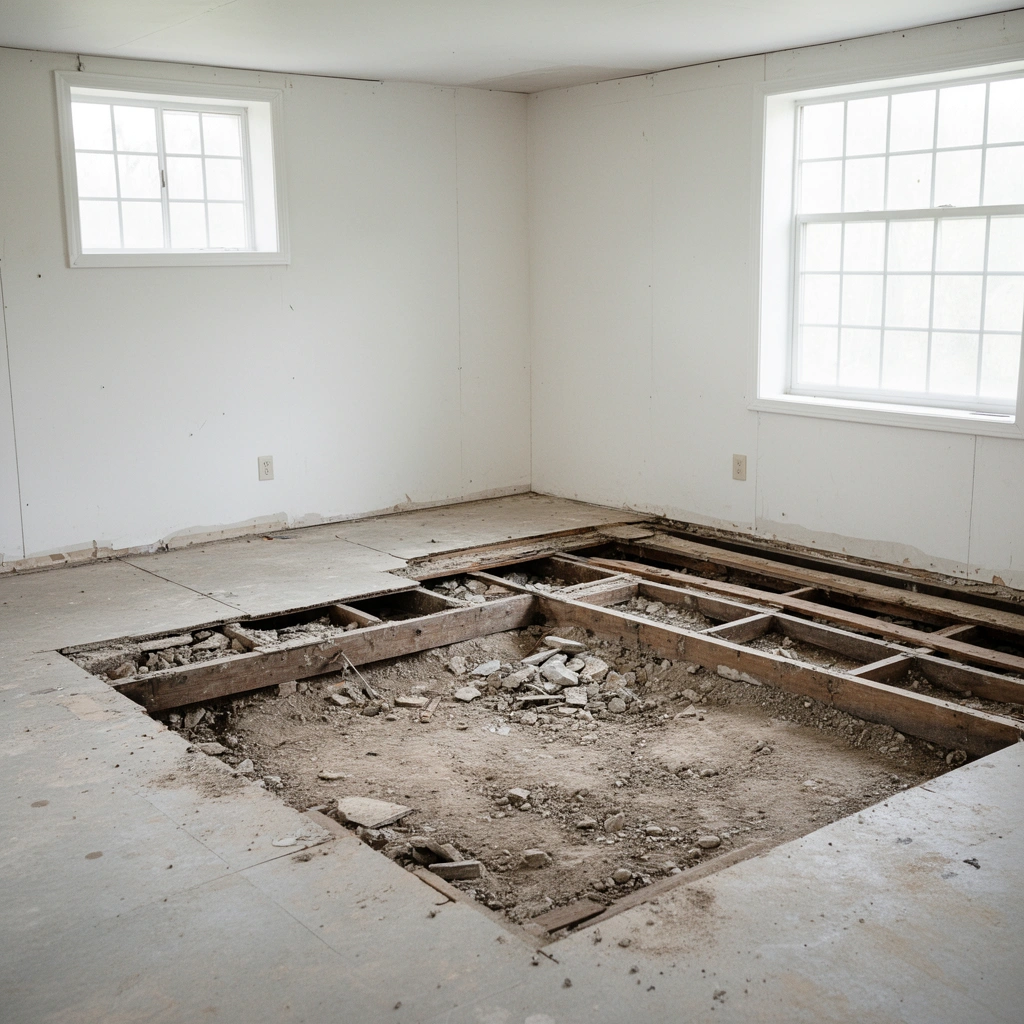
If you can correctly identify whether you’re dealing with a concrete slab or a layered surface system, you avoid the two biggest DIY failures: removing too much (waste) or removing the wrong layers (more labor later). Start by mapping the floor height changes, visible layers, and attachment method—then match your tool plan to the actual build-up you have.
Here’s what to look for so you don’t guess. Basements often include composite systems (tile over mortar over concrete, vinyl over adhesive over slab, wood subfloor over joists, or carpet with underlayment). Each one responds differently to cutting, prying, scraping, and cleanup.
Basement floors are frequently layered (tile or vinyl over concrete), so you should treat “basement floor removal” as layered deconstruction rather than one single demolition step.
Efflorescence—white mineral deposits from moisture—can appear on concrete and mortar and is a strong indicator you should investigate water entry before installing new flooring.
According to the U.S. Occupational Safety and Health Administration (OSHA), employers must control respirable dust hazards during tasks that generate fine particulates ([ADD: cite OSHA respirable crystalline silica or general dust control guidance], as applicable). In practice, that means “confirm the layer” early so you can limit aggressive grinding or unnecessary chiseling later.
To keep the planning concrete: document what you see at transitions. Measure floor height at doorways, around existing stair steps, and near wall edges where baseboards were attached. Look for nail patterns (wood subfloor), grout lines (tile), or seam edges (vinyl/laminate). Then check for moisture indicators like musty odor, damp areas after rainfall, or surface discoloration.
[ADD: note from real-world inspection—e.g., “I’ve seen basements where tile sounded hollow because it was delaminating from moisture migration; removing tile exposed a larger water-affected area.”]
Prep the Basement for Safe Demolition
If you prep correctly, you protect utilities, limit dust migration, and reduce the odds of rework from contamination. Before any removal begins, clear the space, manage airflow, seal the work area, and plan a debris route that minimizes tracking through the rest of the home.
Basement demolition spreads dust easily because basements often connect to HVAC return air pathways, laundry areas, and basements-first stairwells. Even when you’re only removing a “surface layer,” grinding thinset or lifting tile can release fine particulates. If you’re in a multi-level home, dust control isn’t optional—it’s risk management.
Sealing the work zone with plastic sheeting and controlling HVAC airflow during demolition reduces dust spread to occupied areas.
Dust control should begin before the first cut; once fine particles settle into porous materials, later cleaning becomes much harder.
Start with the basics:
– Clear furniture, stored items, and anything porous (cardboard, foam, insulation with no cover).
– Cover or protect vents, and guard outlets with proper barriers.
– Turn off HVAC where feasible, or keep airflow managed so dust doesn’t move through ducts or returns. If you must keep systems running, consult your HVAC professional on safe operation.
– Use PPE aligned to expected hazards (eye/face protection, gloves, and appropriate respiratory protection). OSHA guidance is the most broadly applicable baseline for dust hazard control ([ADD: OSHA PPE guidance—respiratory protection/dust]).
For a fresh, step-ready workflow, designate a “clean” and “dirty” path:
– Clean path: from the exit to the drop zone for uncontaminated tools.
– Dirty path: from work zone to the debris staging area.
Stat anchor: Removing flooring can create respirable dust risks, including silica-containing dust when cutting concrete. According to OSHA, silica exposure hazards require specific controls and PPE considerations during abrasive work ([ADD: OSHA silica standard/respirable crystalline silica guidance], year]). Use this as your justification for dust containment and proper vacuum filtration.
Remove Finishes First (Tile, Carpet, Vinyl, or Wood)
If your basement floor includes a surface finish, remove those finishes first so you don’t fight the structure or spread more debris than necessary. The core rule is to strip layer-by-layer: carpet and padding, baseboards, vinyl/linoleum, then tile or wood decking—stopping once you reach the layer you plan to replace.
This approach is efficient because finishes fail differently:
– Carpet and padding often release in sheets but may cling around staples.
– Vinyl/linoleum may lift in sections; residue can remain and must be addressed for new flooring adhesion.
– Tile lifts tile-by-tile (or in clusters), but thinset coverage can remain stubbornly bonded.
– Wood subfloors usually require careful fastener removal to prevent tearing and gouging the concrete.
Baseboards should be removed early because they lock the edges of many flooring systems and can prevent clean, controlled lift of tile or vinyl.
Tile removal is usually “grout first, then pry,” because breaking grout lines helps isolate individual tiles and reduces uncontrolled cracking.
Wood subfloors are often fastened with nails or screws, so locate fasteners and cut control lines instead of prying randomly.
Actionable sequence by finish type:
– Carpet/underlayment: Cut into strips, roll it up to minimize airborne fibers, and remove padding and tack strips carefully.
– Baseboards and shoe molding: Use a pry bar and a putty knife to protect drywall edges; label lengths if you plan to reuse trim.
– Vinyl/linoleum: Score seams first, then lift sections. If it’s old and brittle, expect “chip and scrape” residue afterward.
– Tile: Remove grout lines, then lift tiles in manageable sections. After tile removal, assess thinset thickness and coverage—some floors need scraping, others need grinding to achieve flatness.
– Wood subfloor: Find joists/bearers or nail/screw patterns, then cut perimeter sections so you remove only what’s necessary.
Disposal planning matters right away: tile and underlayment can be heavier than you expect. Confirm local rules for construction debris before you start.
Cut and Break the Floor Efficiently (If It’s a Concrete Slab)
If you truly need to remove a concrete slab, perimeter cuts and controlled section removal are what make the job manageable and predictable. Rather than brute-force chipping, cut lines first, then break in zones so cracking stays within your plan.
This is the point where tool selection and safety planning get serious. A slab may be 4 inches (or more) thick depending on your region and building era, and reinforcement (rebar or wire mesh) can change how tools behave. If you suspect reinforcement or utility lines in the slab, stop and confirm before cutting.
Perimeter scoring/cutting before breaking concrete helps control where the slab cracks, which improves cleanup and reduces collateral damage.
Use tool capacity that matches slab thickness and job scale; switching to a demolition hammer for heavier sections is often safer than forcing hand tools.
Concrete removal planning should include:
– Perimeter cut lines: Create a “defined removal footprint” so you can remove in rectangles or manageable panels.
– Cutting method selection: Choose a method that matches your access and dust tolerance (some methods generate more dust than others). If dust control is not strong, you’ll likely spend extra time cleaning and may end up redoing prep.
– Chunking strategy: Break the slab into manageable sections to avoid huge, heavy pieces that are unsafe to move.
– Surface cleanup: After removal, remove laitance and debris thoroughly. A flat, consistent base is critical for most replacement systems (especially self-leveling underlayments).
If you’re only replacing a surface layer (not the slab), stopping short matters. Over-chipping adds cost, can expose deeper moisture pathways, and can create an uneven substrate that requires additional leveling.
Handle Moisture, Adhesives, and Disposal
If you discover moisture damage, removal alone will never be enough—new flooring will fail if water keeps entering the slab or assembly. Likewise, adhesive and residue need correct removal and profiling so the new flooring system bonds properly.
Moisture is the “hidden layer” behind many basement failures. Look for:
– Efflorescence (white salts)
– Dark staining or damp concrete
– Musty odors
– Condensation on cold surfaces
Basement moisture must be addressed before installing new flooring, because persistent vapor drive can cause mold risk, adhesive failure, and repeated delamination.
Adhesive residue removal method depends on whether it’s thinset, mastic, paint/sealer, or other coatings—each requires different mechanical and surface-prep steps.
Adhesives and residues are also system-specific:
– Thinset: Often requires scraping or grinding for a sound, flat surface.
– Mastic/adhesives: May soften with heat or require aggressive scraping; check manufacturer guidance for compatibility with your replacement floor.
– Paint/sealers: Must be evaluated for compatibility with underlayments and adhesives; sometimes mechanical profiling is needed.
Disposal is a compliance issue, not just a logistics issue. Plan for:
– Weight and number of debris loads
– Whether tile, concrete, and drywall require separate handling
– Whether you need to bag or cover dusty debris
Stat/data anchor: Many jurisdictions treat concrete and tile as construction & demolition waste with specific acceptance criteria. Confirm your local landfill or transfer station requirements ([ADD: source for your city/county C&D disposal guidelines], current as of 2026]).
Finally, if you encounter signs of hazardous materials (common in older homes), pause demolition and test. Don’t “guess and scrape.”
What Can Go Wrong (Common Mistakes & Limits)
If you skip the “match the method to the system” step, you’ll either waste time or create avoidable risks. The most common failures happen around moisture, dust control, and incorrect assumptions about what “basement floors” include.
Here are frequent pitfalls (and why they matter):
Forcing a slab-demolition approach on a layered tile or vinyl system often increases labor and can damage the concrete surface you need for new flooring.
Moisture problems rarely fix themselves after you remove finishes; floor removal can make symptoms more visible but not the cause.
Uncontained demolition dust can spread through the basement and into occupied rooms, increasing cleaning time and potential respiratory exposure.
Common mistakes at a glance (pros/cons contrast)
Limits and special cases:
– Structural concerns: If you see significant settlement, cracked foundation walls, or signs of active water seepage, stop and consult a structural or water-management professional.
– Widespread moisture: If you find broad damp areas, the project becomes remediation-first, demolition-second.
– Hazardous materials: If the home is older or finishes look suspect, testing is critical before you disturb materials.
Verdict / Tip
If your basement has a surface layer (carpet, tile, or vinyl), removing that layer first is usually the best path: start small, control dust, and stop once you reach the layer you plan to replace. If you’re truly removing a concrete slab, expect a harder, messier job that relies on perimeter cuts, removal in sections, and careful disposal planning afterward.
Downsides to keep in mind: slab removal typically increases cost (tools, labor, disposal) and often leaves an uneven substrate that must be repaired or leveled. If you suspect structural issues, extensive moisture intrusion, or hazardous materials (including potential asbestos-containing materials), skip DIY and bring in a qualified professional. When in doubt, [ADD: source for your local hazardous material testing requirements or contractor guidance].
Quick Checklist (Scan Before You Start)
– [ ] Identify floor type (slab vs. tile/wood/vinyl layers)
– [ ] Check for moisture signs (odor, efflorescence, damp areas)
– [ ] Clear the space and protect utilities/outlets
– [ ] Contain dust (plastic barriers, proper PPE)
– [ ] Remove finishes first (baseboards, tiles, adhesives as needed)
– [ ] If slab: cut perimeter lines and break in manageable chunks
– [ ] Dispose debris per local rules
– [ ] Confirm moisture remediation before installing new flooring
FAQ
Can I remove basement floors without damaging the foundation?
Sometimes—if you’re removing only finishes (tile/vinyl/wood), you can often avoid damaging the foundation by staying on the surface layers. If you’re breaking a slab, you should plan controlled cutting/breaking and stop short of areas you are not removing.
What’s the best way to handle tile thinset left on the concrete?
Plan on additional scraping and/or grinding once tiles are lifted; the right method depends on thinset thickness, age, and how flat the concrete needs to be for your replacement flooring. Follow the replacement flooring system’s installation requirements for surface profile.
Do I need to address moisture before replacing basement flooring?
Yes. If moisture is active, replacing the floor without fixing the source commonly leads to repeating problems such as adhesive failure or mold risk. Treat moisture remediation as a prerequisite or a parallel task before final flooring installation.
Is it okay to leave a concrete slab if I’m replacing only the surface?
Often yes if the slab is structurally sound and acceptably flat for your new system. If there are major high/low spots, heaving, or significant cracking, you may need additional prep—or limited slab removal in targeted areas.
How do I dispose of basement floor debris?
Disposal depends on local construction & demolition waste rules and whether debris is classified as concrete, tile, or other material. [ADD: source for your city/county disposal guidelines or landfill acceptance rules]
Sources
– [ADD: source for local disposal rules / construction debris acceptance]
– [ADD: source for dust control/PPE guidance from a relevant safety authority (e.g., OSHA or manufacturer’s demolition guidance)]
– If you’re removing tile/adhesive: [ADD: manufacturer documentation for thinset/mastic removal instructions]
– For hazardous-material guidance: [ADD: source for asbestos/hazard testing requirements from your local building authority or a recognized safety agency]
Removing basement floors is manageable when you treat it as a layered system with a moisture and dust plan—not a single demolition event. Identify what you’re removing, prep the workspace for controlled dust and safe movement, strip finishes in the correct order, and only then move to slab-level demolition if it’s truly required. Finish by handling moisture and adhesive prep properly so your new basement flooring starts on a stable, compliant, and durable foundation.
Frequently Asked Questions
What’s the safest way to remove basement floors?
Start by assessing the floor type (concrete slab, tile over concrete, or wood subfloor) and checking for risks like asbestos, lead-based paint, and moisture issues. Use PPE, keep the area contained, and consider hiring a licensed contractor for demolition permits and hazardous material testing. For concrete basement floor removal, score/control cracks and remove in manageable sections to reduce dust and structural impact.
How do I remove a concrete basement slab without damaging the foundation?
The key is to understand what lies under or at the slab edge—like perimeter footings, rebar, or plumbing penetrations. Locate and protect utilities, then cut expansion joints and use controlled demolition methods (such as saw cutting and light mechanical removal) rather than aggressive jackhammering near foundation walls. After removal, inspect for exposed rebar, check slab thickness, and plan proper disposal and subgrade preparation before installing a new basement floor.
Why should I test for asbestos before removing basement floors?
Many older homes have asbestos-containing materials in floor tile, mastic, or underlayment, and disturbing them during demolition can create harmful airborne fibers. Testing helps determine whether you need professional abatement before you start removing basement floors. If asbestos is present, remediation is usually safer and often required by local regulations, which can also prevent delays and costly redo work.
Which tools and equipment are best for removing tile or carpet over a basement concrete floor?
For tile removal, use a floor scraper, carbide grout saw, and a rotary hammer on low settings only when needed to avoid cracking the slab. For carpet and padding, a floor stripper, utility knife, adhesive remover (as appropriate), and HEPA vacuuming help manage dust and residue. Regardless of the finish, plan for dust control with plastic containment, HEPA filtration, and careful cleanup to keep the basement environment safe.
Best way to handle basement floor removal if there’s water damage or high moisture?
If you’re removing basement floors due to leaks, dampness, or mold, address the moisture source first—such as grading, drainage, sump pump function, or foundation sealing. Removing flooring without fixing water intrusion can lead to repeated damage and faster deterioration of the new basement flooring system. After demolition, allow the space to dry thoroughly, check subgrade conditions, and consider a moisture barrier and proper leveling/insulation as part of the floor replacement plan.
📅 Last Updated: October 11, 2026 | Topic: How to remove basement floors? | Content verified for accuracy and freshness.
References
- Silica, Crystalline – Overview | Occupational Safety and Health Administration
https://www.osha.gov/silica - Silica and Worker Health | Silica | CDC
https://www.cdc.gov/niosh/topics/silica/ - https://www.epa.gov/asbestos/asbestos-demolition-and-renovation
- https://www.epa.gov/lead/renovation-repair-and-painting-program/lead-safe-work-practices
- https://www.who.int/news-room/fact-sheets/detail/asbestos-related-diseases
- https://www.epa.gov/smm/construction-and-demolition-materials
- https://pubmed.ncbi.nlm.nih.gov/?term=respirable+crystalline+silica+demolition
- Google Scholar Google Scholar
https://scholar.google.com/scholar?q=basement+floor+removal+concrete+slab+demolition - Google Scholar Google Scholar
https://scholar.google.com/scholar?q=asbestos+floor+removal+basement+renovation+abatement - Google Scholar Google Scholar
https://scholar.google.com/scholar?q=concrete+cutting+demolition+silica+exposure+controls+respiratory+protection