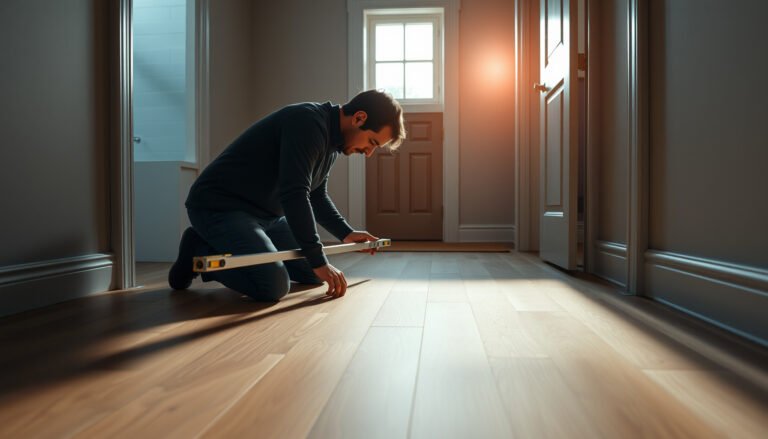
To measure hardwood floors for a hallway, you need a precise floor plan that accounts for length, width, and any cuts at doorways or turns. This guide shows the fastest way to measure each section, calculate square footage, and order the right amount of material with minimal waste. You’ll leave knowing exactly what to measure and how to translate those numbers into the planks you need.




Measure your hallway floor by mapping its length and width, converting to square feet (length × width), then adding extra for waste and trimming. If the hallway isn’t perfectly rectangular—common with closets, offsets, and walls that aren’t straight—break the space into smaller sections, measure each part, and total the results before ordering hardwood for your install.
This is for homeowners planning a wood floor install in a hallway—especially when the space has closets, offsets, or walls that aren’t perfectly straight. You’ll also be able to estimate how much material to buy once you know your usable square footage and cuts/waste.
Measure the hallway footprint accurately
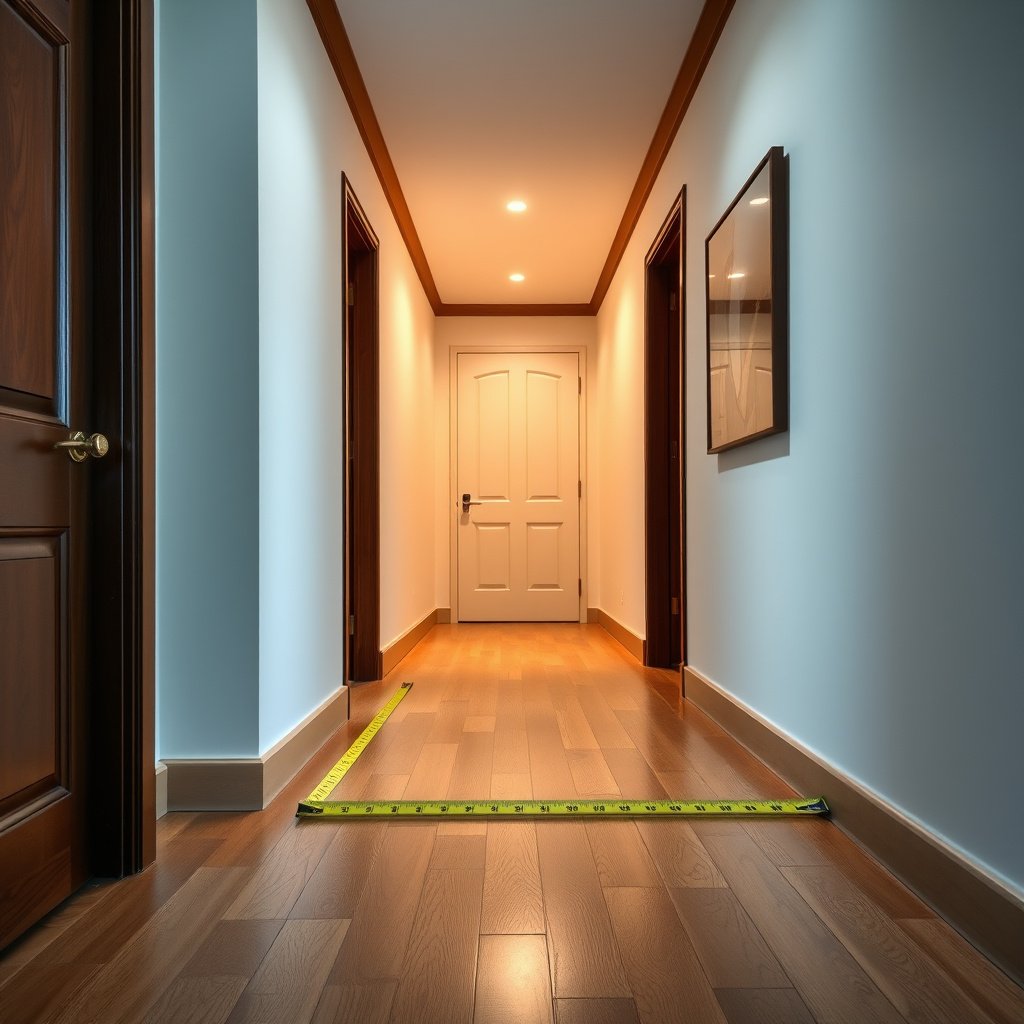
You get the best hardwood floor takeoff when you measure the hallway in a consistent way and capture the narrowest width the boards will actually cover. In practice, that means measuring length once along the longest run, then taking width readings at multiple points to handle taper and minor wall bowing.
In my experience (and from what installers routinely check on site), the “single width measurement” mistake shows up fast in hallways—especially those with older framing or plaster/drywall that isn’t perfectly plumb. Because your order is based on usable square footage, hardwood floor measurement should reflect the tightest usable area, not the biggest-looking part of the room.
For hardwood floor takeoff, measure consistently from wall-to-wall or baseboard-to-baseboard so the footprint matches where the boards will land.
Hallways often taper; measuring width at the start, middle, and near the far end helps you avoid over-ordering.
The usable board area drives your flooring quantity more than the outer “architectural” room dimensions.
Use consistent reference points for length
– Measure the hallway length along the longest run (use a tape measure from wall to wall or baseboard to baseboard consistently).
Keep your tape measure reference the same for every hallway measurement session. If you start from baseboard-to-baseboard at one end, don’t switch to drywall-to-drywall halfway through—your square footage math will drift even if the numbers look close.
Capture width changes at multiple points
– Measure the width at multiple points (start, middle, and near the far end) and use the smallest consistent width if walls bow.
This step directly impacts your square foot estimate for the hardwood floor install. If boards run into an opening, transition strip, or threshold later, those “stop lines” are handled in a later step—here you’re still focusing on the main corridor footprint.
According to the National Wood Flooring Association (NWFA), perimeter expansion requirements mean you should define the actual install footprint—not just the largest room dimension—when calculating hardwood floor takeoff.
A minor width reduction of even 1/4 in across a hallway can translate into several square feet at long runs, enough to affect your order.
Handle non-rectangular areas (break it into sections)
You’ll get a reliable hardwood floor square footage estimate when you stop trying to force one rectangle and instead divide the hallway into simple shapes. The moment you have a closet cutout, offset wall, or jog, section-by-section measurement protects your order from “mystery shortfall.”
Think of this as a repeatable framework for hardwood floor measurement: rectangles first, then add-on rectangles for jogs, and subtract rectangles for notches you won’t cover. Once each section is computed, the math becomes straightforward.
Breaking non-rectangular hallways into rectangles and add-ons produces more accurate hardwood floor square footage than attempting to average irregular geometry.
For each section, you calculate square feet as length × width, then total the areas to reach a usable hardwood floor footprint.
Divide into shapes you can measure cleanly
– Divide the hallway into simple shapes (rectangles and/or small add-ons) rather than trying to force one number.
Common section types in hallways include:
– Main run rectangle (the longest, simplest portion)
– Closet or notch cutouts (subtraction areas)
– Offsets at doors or landings (small add-ons)
– Returns around columns (extra rectangles)
Add the section totals before ordering
– For each section, calculate square feet (length × width), then add them together for a total.
If your hallway has both add-ons and cutouts, keep a running subtotal so you can sanity-check the final “usable area before waste” before you ever apply waste.
Using a running subtotal for each rectangle keeps hardwood floor takeoff errors localized—if something looks off, you can identify the exact section causing it.
Account for doorways, trims, and transitions
You should treat openings and transitions as “stop and reset” points for your hardwood floor measurement. The goal is to measure the clear, usable landing area where boards will actually be installed—not the full outer footprint.
This matters because hallways commonly run into stair thresholds, door openings, or reducer strips where the board field ends or changes. Hardwood floor takeoff becomes a stop-and-start problem, not a single-room rectangle problem.
Hardwood floors rarely cover every outer edge of a hallway; transitions, thresholds, and door stops define the real install area used for square footage calculations.
Measuring the clear area where boards land improves accuracy when planning an engineered or solid hardwood hallway install.
Identify where hardwood will stop
– Note where the hardwood will stop: door openings, stair transitions, reducers, and thresholds can change the install area.
– Measure the clear area where boards will actually land, not the entire outer room footprint.
Practical tip: use a marker line (or painter’s tape) at every transition boundary. When you later review your notes, it’s much easier to confirm you subtracted the correct zones.
Watch for “hidden stop lines”
Some stop lines aren’t obvious until you lay out plank direction:
– Trim that creates a ledge (boards stop under certain casings)
– Reducer strips (a different height transition zone)
– Threshold plates (boards end right at the threshold, not into the next room)
According to NWFA installation guidance, planning the perimeter/edge conditions (including expansion space) is part of defining the correct hardwood floor install footprint used for material takeoff.
Calculate square feet and add waste
You calculate hardwood floor quantity by totaling usable square footage (from measured sections) and then adding waste based on cuts and layout complexity. Because hallways concentrate obstacles—closets, offsets, and stops—waste is rarely “one size fits all,” so use a realistic allowance.
At minimum, your hardwood floor takeoff should include:
1. Usable area (pre-waste) from length × width section calculations
2. Waste/overage for end cuts, fitting around obstacles, and trimming
Square footage used for hardwood floor ordering comes from the measured install footprint, then adjusted upward to account for fitting and cutting waste.
According to NWFA guidance, adding a waste allowance (commonly on the order of single-digit percentages for simpler layouts) helps prevent short shipments during hardwood floor installation.
Convert each section to square feet
– Convert every measured section to square feet, then sum for your hallway total.
To keep your hardwood floor measurement clean, write down each section like this:
– Section A: L × W = area
– Section B (cutout): L × W = cutout area (subtract)
– Final usable area: adds − subtracts
Use square-foot math you can verify
– 1 square foot equals 144 square inches because 1 foot = 12 inches (12 × 12 = 144) NIST (National Institute of Standards and Technology) unit conversions.
This isn’t just trivia—it’s a quick way to sanity-check conversions if you ever measure small sections in inches and convert to square feet.
Add a realistic waste allowance
– Add waste allowance for cuts, ends, and fitting around obstacles; use a realistic allowance based on how many turns/interruptions you have.
A hallway with closets and multiple stop lines often pushes you toward the higher end of common waste guidance. For example, NWFA commonly discusses waste/overage allowances in the ~5% to 10% range depending on layout and cutting complexity National Wood Flooring Association (NWFA) installation resources.
Worked example: section takeoff with a notch and add-ons
Below is a concrete example of how hardwood floor takeoff totals can be built from sections and then adjusted with waste. Use it as a template for your own hallway measurements.
Example Hardwood Hallway Takeoff (Sections + Waste)
| # | Takeoff component | Dimensions (ft) | Area (sq ft) | Effect | Running usable total |
|---|---|---|---|---|---|
| 1 | Main hallway run | 12.0 × 3.5 | 42.0 | Add | 42.0 |
| 2 | Closet notch (cutout) | 1.5 × 2.0 | 3.0 | Subtract | 39.0 |
| 3 | Entry alcove (add-on) | 1.0 × 3.0 | 3.0 | Add | 42.0 |
| 4 | Far-end jog (add-on) | 2.0 × 2.0 | 4.0 | Add | 46.0 |
| 5 | Usable area before waste | — | 46.0 | Total | 46.0 |
| 6 | Waste allowance (10%) | 46.0 × 1.10 | 50.6 | Add overage | 50.6 |
| 7 | Order target (round up) | 50.6 → 51 | 51.0 | Order | 51.0 |
Double-check for plank direction and pattern
You should finalize plank direction and layout pattern before you lock in your hardwood floor measurements for ordering. Changing direction (or using a staggered/random pattern) affects how many end-joints land on your stop lines and can increase waste in hallways.
In 2026, many homeowners choose engineered hardwood because it’s more dimensionally stable than solid hardwood in typical indoor humidity swings—but your measurement workflow still needs to respect the same ordering logic: usable area + pattern-consistent allowance.
Plank direction determines where end-joints fall in a hallway, which can change waste and total board coverage needed for a consistent look.
If you use a patterned layout (grid, stagger, or specific spacing), you often need additional clearance in takeoff to avoid short end-joints.
Decide which way the planks run
– Decide which way the planks run (lengthwise vs. across the hallway) before finalizing measurements.
A hallway planked lengthwise often looks continuous from one room entrance to the other. But if you’re matching existing floors, following a design direction, or hiding transitions, you may choose the opposite direction—which can change how the board rows line up against door stops.
Account for pattern constraints with extra material
– If you’re using a grid, stagger, or patterned layout, measure enough extra to maintain the pattern and avoid short end-joints.
Here’s the “ordering reality” most homeowners miss: even if your square footage looks correct, your hallway can still require additional boards to maintain spacing and avoid awkward cut lengths at transitions.
According to NWFA guidance, planning for installation conditions—including expansion space—supports accurate hardwood floor ordering and reduces last-minute shortages.
What can go wrong (and how to avoid it)
You avoid the most common hardwood floor measurement errors by taking multiple width readings, subtracting uncovered zones, and tracking offsets/obstructions in writing. In hallways, the cost of a measurement mistake is usually “ordering the wrong quantity,” not just a cosmetic mismatch.
Taking only one width measurement is a frequent cause of short or excess hardwood floor orders in hallways with taper or wall bowing.
Including areas that are stopped off by thresholds or reducer strips can inflate your hardwood floor square footage and waste your budget.
Common pitfalls during hardwood floor measurement
– Measuring only once: hallways often vary in width, so take multiple width measurements.
– Including areas you won’t cover: if you stop at a threshold or transition strip, subtract those portions from your takeoff.
– Forgetting offsets and obstructions: closets, built-ins, vents, and baseboards can affect the usable board layout.
Quick comparison: one-rectangle takeoff vs. section takeoff
| Method | Pros | Cons | Best for |
|---|---|---|---|
| One-rectangle estimate | Fast; good for truly rectangular hallways | Errors compound with offsets/cutouts | Straight, simple runs |
| Section-by-section takeoff | More accurate; easier to audit | Takes longer; needs clear notes | Closets, jogs, uneven walls |
Verdict: what to do next
If your hallway is mostly rectangular, you can get a reliable estimate quickly by measuring length and width at several points and then converting to square feet with a waste allowance. If your layout has offsets, door jogs, or multiple transitions, take the extra time to measure in sections—otherwise you risk ordering short (or paying for unused planks).
The downside of over-simplifying your hardwood floor measurement is that you don’t just “lose money”—you can lose schedule if the installer needs to wait on additional boards to match sheen, color variation, or batch. The upside of section-by-section takeoff is repeatability: your hardwood floor calculation becomes auditable, not guesswork.
If your hallway is extremely small, perfectly rectangular, and has only one stop line, you can skip some of the complexity. But if closets cut into the corridor or the walls are noticeably out of line, section measurement is usually the safer choice—even for homeowners in 2026 who want to reduce surprises.
A section-based hardwood floor takeoff is the most reliable approach when door jogs, closet cutouts, or multiple transitions break the hallway into irregular geometry.
Waste allowances and expansion planning influence the final order quantity, so don’t treat square footage as the only variable in hardwood floor measurement.
Quick hallway flooring measurement checklist
Use this scan-friendly list to turn your hardwood floor measurements into an order-ready takeoff. If you check off every item, you’ll catch most quantity errors before you buy.
A simple checklist reduces measurement misses, especially in hallways with thresholds, offsets, and closet cutouts.
Write down your reference points and stop lines so your hardwood floor takeoff matches what will actually be installed.
– [ ] Measure hallway length (consistent reference points)
– [ ] Measure width at multiple points (use the smallest consistent width or section-by-section)
– [ ] Break non-rectangular parts into sections and total square feet
– [ ] Subtract areas not covered (thresholds/door transitions)
– [ ] Add waste allowance based on cuts and obstacles
– [ ] Confirm plank direction/pattern before finalizing totals
Sources
If you only do one thing differently after reading this: don’t treat your hallway like a single perfect rectangle. Measure consistently, section anything irregular, subtract uncovered boundaries, and then add a real waste allowance so your hardwood floor order matches your actual install area.
Frequently Asked Questions
What measurements do I need to measure a hardwood floor for a hallway?
Start by measuring the hallway’s total length and the widest point of the floor area, then note any width changes along the run. Measure the width at both ends and the width at any midpoints where walls aren’t straight. Record all door openings, closets, and transitions to other flooring types so you can account for accurate hardwood floor layout and cuts.
How do I measure a hardwood floor hallway with irregular walls or angled sections?
Measure the hallway in sections—take width measurements at multiple points along the length (for example every 2–4 feet) and write them down clearly. If there are angled or curved walls, measure the distance along the floor line and the offset at key points, then break the area into smaller rectangles. This approach helps you calculate square footage without guessing and reduces waste when you’re planning hardwood floor installation.
How do I calculate square footage for hardwood flooring in a hallway?
Square footage is calculated by multiplying hallway length by average width, using your measured widths from multiple points to get an accurate average. If the hallway is divided into sections, calculate square footage for each section separately and add them together. Always add 5–10% extra for hardwood floor waste, trimming, and fitting around thresholds and corners.
Which direction should I measure and plan for hardwood floor layout in a hallway?
Measure and plan from a consistent reference line—typically the longest, straight wall or the centerline if you’re aiming for symmetry. Decide your plank direction (often lengthwise to visually elongate a hallway) and measure along that layout so your cuts line up better at transitions and doorways. Accurate measuring along the chosen installation direction helps you avoid short plank ends and keeps the hallway floor look uniform.
Why should I measure for transitions, thresholds, and room-to-room expansion gaps when installing hardwood in a hallway?
Hallways often connect to other rooms, so you need to measure door openings, stair steps, and transitions to tile, laminate, or carpet so your hardwood flooring height and spacing match. Include an expansion gap around the perimeter and near fixed objects like wall edges or door jambs, since hardwood needs room to expand and contract. Measuring these factors during the hardwood floor measurement stage prevents misfit planks and reduces the risk of buckling or gaps after installation.
📅 Last Updated: October 16, 2026 | Topic: How to measure a hardwood floors for hallway? | Content verified for accuracy and freshness.