Want to refinish reclaimed wood floors without ruining their character? This step-by-step guide walks you through sanding, patching, and applying the right finish so your floors look rich, feel smooth, and last. Follow it closely and you’ll get a factory-clean result—whether your reclaimed planks are lightly worn or heavily stained.




Refinishing reclaimed wood floors comes down to three things: inspect the boards, sand to a uniform surface, and apply a finish system that’s compatible with the wood and any existing coating. If you take one shortcut—like skipping compatibility tests—you can end up with blotchy stain, peeling, or a finish that won’t cure evenly. This guide walks through the practical steps so you get a clean, consistent result.
Reclaimed floors vary a lot (old coatings, gaps, nail holes, prior stains, and how the boards were stored), so this is best for homeowners tackling a DIY refinish or planning a contractor scope. It’s especially relevant if the floor has been painted/varnished before, or the reclaimed boards were salvaged from mixed sources.
Inspect and plan for reclaimed wood floor issues
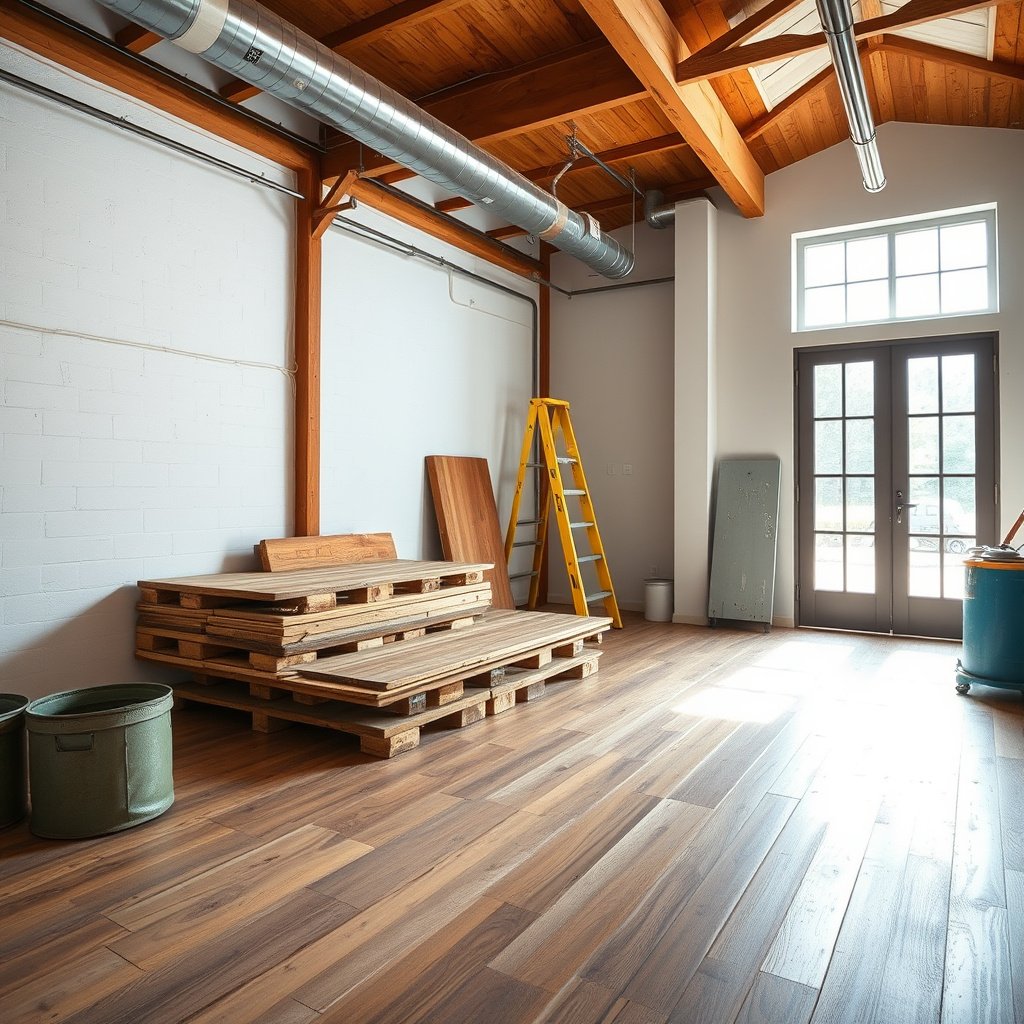
The fastest way to avoid rework is to assess reclaimed wood floors first—especially the coating history and board condition—then choose a sanding and finish plan that fits what’s already there. In most problem refinishes, the “what went wrong” starts long before the first pass with sandpaper.
Loose boards and protruding fasteners are refinishing failures waiting to happen because a moving board telegraphs through the new stain and finish.
Reclaimed wood floors often contain old wax, oil residue, shellac, or paint that can block stain penetration and cause adhesion problems unless fully addressed.
A moisture-and-dimension check helps prevent sanding a floor that’s still moving, which can later create finish checking or gaps on reclaimed wood floors.
What to inspect before you buy abrasives
Start by walking the entire reclaimed floor and marking anything that will affect sanding depth or finish adhesion. Check for:
– Loose boards: Look for squeaks and springiness. If a board flexes differently than its neighbors, your sanding may look “flat” in one area but not after the floor is loaded again.
– Popped nails/screws and protrusions: Fasteners that sit proud will chew through sandpaper quickly and can leave ridges that show after finishing.
– Localized defects: Dents, raised grain, old staple holes, or areas that feel “slick” to the touch (often indicates wax or sealer residue).
Identify what “prior finish” you’re dealing with
Reclaimed wood floors are commonly contaminated by one of these: wax, varnish/polyurethane, penetrating oil, paint, or shellac. Your goal isn’t to guess—it’s to decide the safest plan:
– If you see film-forming coatings (varnish/poly) or thick paint layers, plan for more aggressive abrasion to achieve a uniform surface.
– If you suspect penetrating oils, treat the surface more like “contamination risk” than “coating thickness,” because the oil can interfere with stain uniformity and later topcoat bonding.
Pick your high-risk locations up front
Reclaimed wood floors rarely fail uniformly. Mark areas that are likely to behave differently during sanding and sealing, such as:
– Heavy cupping (concave boards may require careful leveling so you don’t over-sand the edges)
– Deep stains or darker boards from prior weathering
– Board gaps that will telegraph as shadows after finishing
– Mixed stock (multiple species, or boards stored and dried differently before installation)
Planning framework (so you don’t improvise mid-sanding)
Use a simple scope model for reclaimed wood floors:
1. Leveling plan (what sanding steps remove dips/bumps without over-hollowing edges)
2. Contamination plan (how you’ll treat wax/oil/paint residue)
3. Finish plan (stain + clear coat system choice, including dry/cure windows)
A practical rule for reclaimed wood floors: if you can’t describe what’s on the surface, you’re not ready to commit to a stain color or topcoat brand.
Prep the room and protect the rest of your home
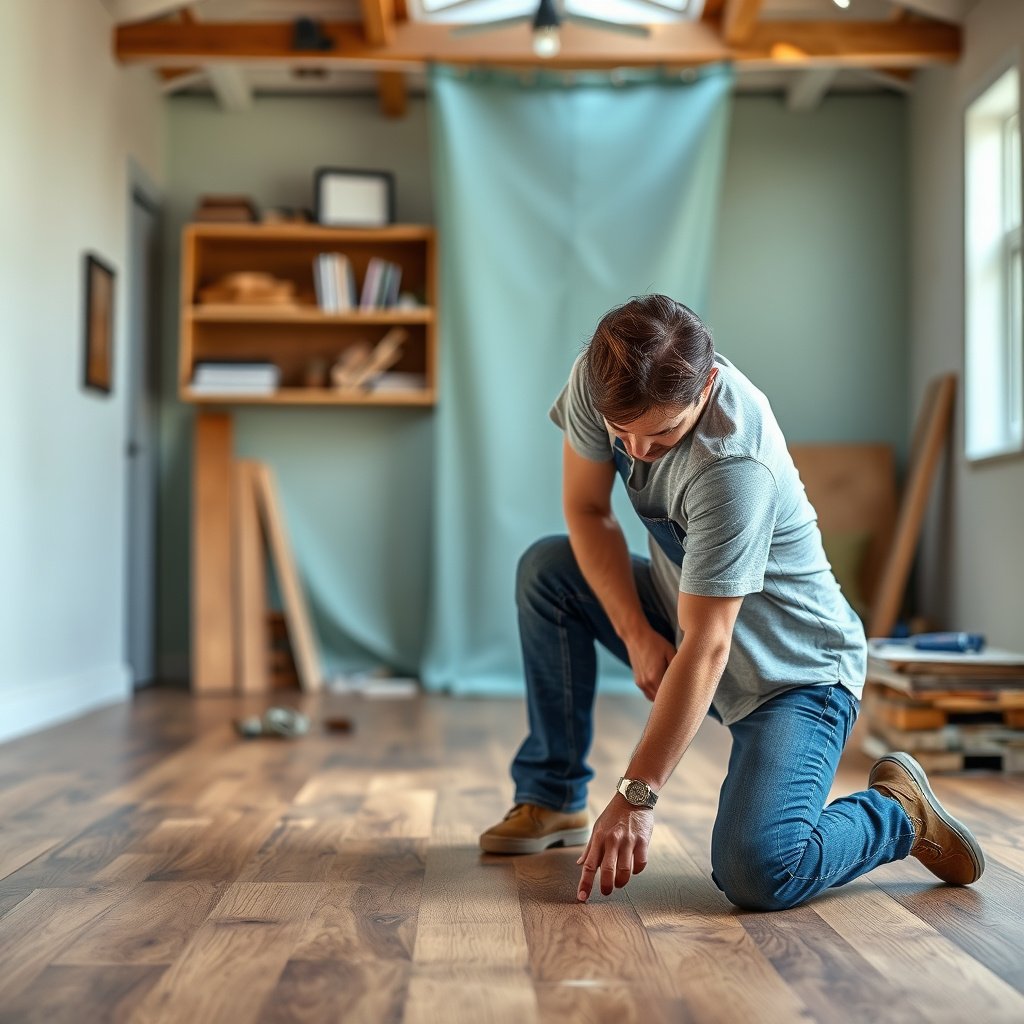
The room prep step determines whether sanding ends with a clean finish—or an uneven, dusty mess that ruins stain adhesion. For reclaimed wood floors, containment and residue-free cleaning are not “extras”; they are the foundation of consistent color.
Dust is the most common cause of fisheyes and roughness in refinishing because surface contamination prevents uniform wetting of stain and topcoats on reclaimed wood floors.
In refinishing workflows, floors are treated as “systems”: sanding quality, cleaning method, and finish application all have to match the finish manufacturer’s TDS.
Using proper dust control matters for reclaimed wood floors because older coatings and grit can create fine airborne particles during sanding.
Protect edges and adjacent finishes
You have two common approaches on reclaimed wood floors:
– Remove shoe molding/baseboards for the cleanest edge lines (and to avoid sanding through trim residue).
– Mask carefully if you don’t remove trim. Use quality painter’s tape and ensure the tape seals tight—loose edges let dust creep under and show later.
Clean for adhesion, not just appearance
After mechanical abrasion planning, clean in a way that won’t re-contaminate the surface.
– Vacuum thoroughly (not just sweeping).
– Remove fine dust before any stain or clear coat. On reclaimed wood floors, grit embedded in pores is common, and dry dust left behind can create color variation.
– Follow your chosen stain/topcoat manufacturer’s surface prep requirements from their Technical Data Sheet (TDS)—especially for wipe products and “do not use” solvents.
Dust control that’s realistic for reclaimed wood floors
Sanding reclaimed wood floors can release dust from old coatings and embedded grit. A practical containment plan includes:
– Sealed plastic barriers at doorways and vents where appropriate
– Dedicated shop vac + appropriate filtration (ideally HEPA)
– Frequent vacuuming during sanding breaks (don’t wait until the end)
According to the U.S. Department of Energy, HEPA filtration is rated to capture 99.97% of particles at 0.3 micrometers ().
According to OSHA 29 CFR 1910.1000 (particulate limits in general industry), respirable dust exposure limits apply to nuisance dust ().
(These are the kinds of numeric standards that matter when sanding reclaimed wood floors; confirm the applicable guidance for your location and setup.)
Sand strategically for a uniform reclaimed-wood surface
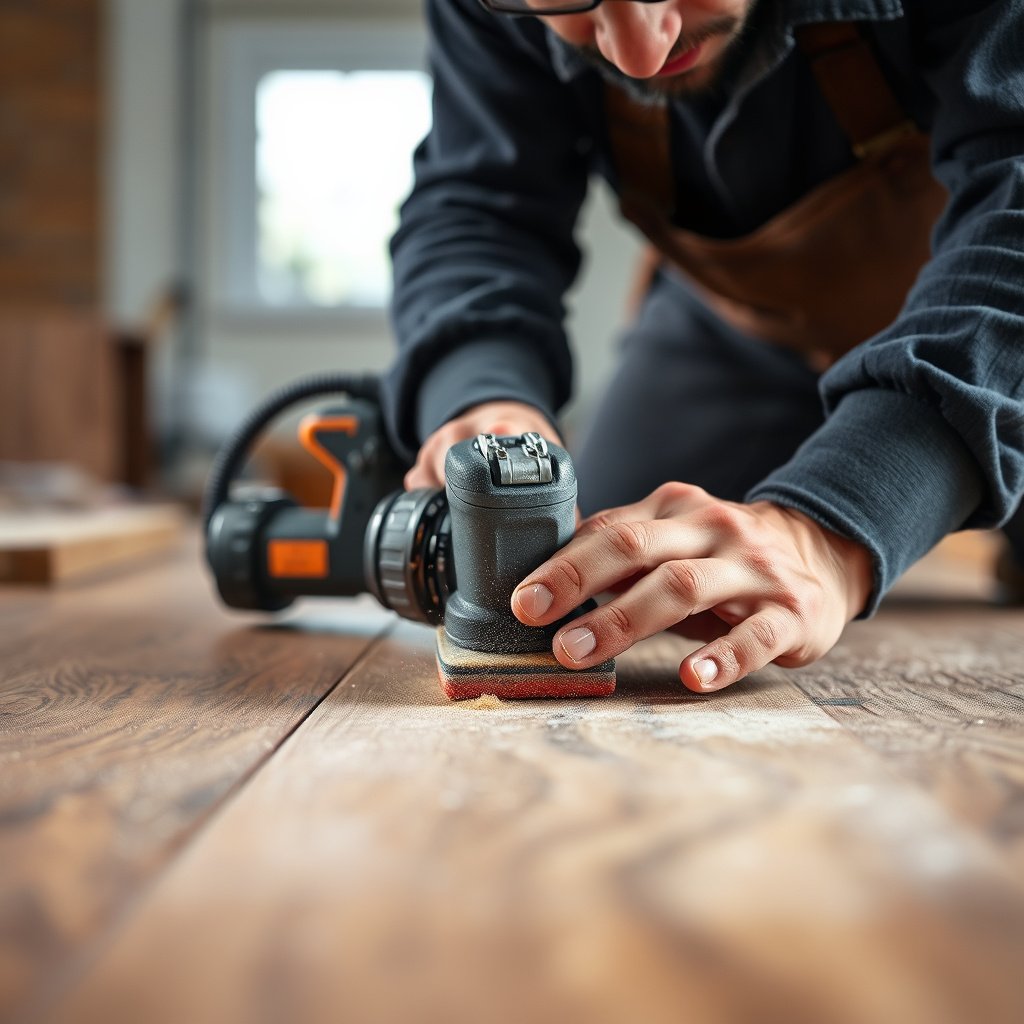
The best sanding plan for reclaimed wood floors is the one matched to the current coating level—light scuffing if the surface is already compatible, and deeper abrasion if you need true bonding. Your sanding job must leave a consistent profile so the stain and topcoat absorb and cure evenly.
Uneven sanding is a primary driver of blotchy color on reclaimed wood floors because stain absorption changes with surface density and remaining coating residue.
Vacuuming and following the finish manufacturer’s recommended wipe/prep between steps is critical to prevent fisheyes and haze on reclaimed wood floors.
Final abrasion level (the last grit stage) strongly influences how smoothly a clear coat lays down and how evenly reclaimed wood floors take stain.
Match your grit strategy to the floor’s current condition
Reclaimed wood floors aren’t all the same. Decide where you fall on this spectrum:
– Light scuff-needed: If the surface is compatible and only needs deglossing/leveling.
– Coating removal needed: If you’re dealing with multiple old layers (varnish/paint) or unknown residue.
– Spot strategy vs. full refinish: Spot repairs can work, but reclaimed boards with mixed weathering often look better when the whole floor is processed to the same “finish readiness.”
Prevent “waves” and telegraphing on uneven reclaimed boards
Because reclaimed boards can be uneven, your sanding must flatten the floor without creating a landscape. Focus on:
– Edge blending where board heights vary
– Progressive pass changes: avoid jumping too aggressively, especially near ends where reclaimed wood floors can be thinner
– Checking flatness repeatedly—don’t assume machine passes created uniformity
Clean between passes (this is where many DIY jobs fail)
After each sanding stage:
– Vacuum thoroughly
– Remove dust using an approach consistent with your stain/TDS instructions
– Only then move to staining or topcoat
Dust is not a “visual” problem; on reclaimed wood floors it’s a chemical wetting problem that leads to uneven color.
Typical Sanding Grit Targets for Reclaimed Wood Floor Refinishing (Workflow Stages)
| # | Workflow stage | Grit range (typical) | Finish readiness | Coating-removal capability |
|---|---|---|---|---|
| 1 | Heavy coating / paint knockdown | 40–60 | ★★☆☆☆ | 5/5 |
| 2 | Flattening and bulk leveling | 60–80 | ★★★☆☆ | 4/5 |
| 3 | Uniform scuff / stain-ready prep | 80–100 | ★★★☆☆ | 3/5 |
| 4 | Pre-stain/screen smoothing | 120–150 | ★★★★☆ | 2/5 |
| 5 | Final stain/clear coat abrasion | 150–180 | ★★★★★ | 1/5 |
| 6 | Edge blending (after main runs) | 120–150 | ★★★★☆ | 2/5 |
| 7 | Between-coat scuff (when required) | 220 | ★★★★★ | 1/5 |
(These are workflow targets you adapt to your reclaimed wood floors—especially if old coatings require deeper initial abrasion. Always follow the specific sanding/abrasion levels in your finish system’s TDS.)
Repair gaps, holes, and board defects before finishing
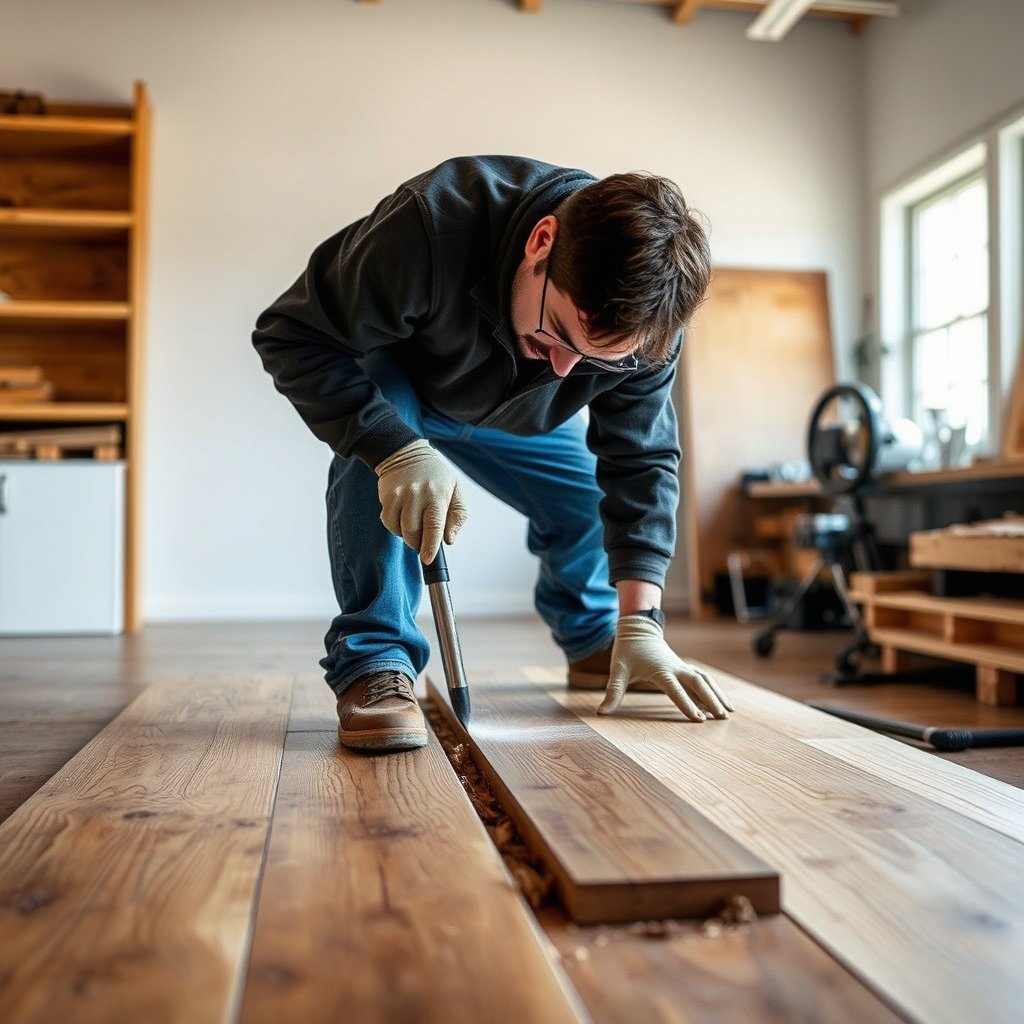
The right repairs keep your finish consistent on reclaimed wood floors—fill the defects, stabilize the surface, and then seal. If you skip repairs, gaps and nail holes can show as shadows or create localized finish failures.
Using floor-grade wood fillers (designed for hardwood refinishing) reduces shrinkage and helps reclaimed wood floors hold a uniform sheen after sealing.
Gaps between reclaimed boards almost always telegraph through clear coats because many finishes are transparent enough to reveal contour changes.
Repair timing matters: fill after the main flattening sanding, then re-sand the patched areas so the repaired surface matches the surrounding wood absorption.
Choose repair products that behave like hardwood
Reclaimed wood floors usually need:
– Nail hole filling: use a product rated for hardwood floors (not wall patch that can soften under finishes or shrink away).
– Dent and crack repair: pick fillers compatible with your planned sanding and stain process.
– Gap attention: if you’ll apply a clear coat, treat gaps like an optical issue as well as a durability one.
Don’t hide problems—decide what stays “character”
If boards are badly damaged, decide early whether you’ll:
– Patch (best when damage is localized)
– Replace (best when boards are structurally compromised)
– Keep as character (sometimes appropriate for mixed reclaimed textures, but expect a more rustic final look)
That decision affects sanding strategy: a patched area often needs additional leveling, and board replacement changes how much total material you can remove on reclaimed wood floors.
Re-sand and re-clean after repairs
After filling and drying, sand the repaired regions so the final surface is uniform. Then vacuum and prep exactly as your stain/topcoat system specifies—reclaimed wood floors can be more sensitive because of mixed porosity across old boards.
Choose a compatible stain and protective topcoat
The best stain + clear coat choice for reclaimed wood floors is a compatible system that matches how the wood is currently behaving and how the surface was sanded. Your decision should be driven by compatibility testing, not by what looks good in a can.
Finish compatibility failures often come from applying a film-forming topcoat over residue or a surface that wasn’t abraded and cleaned per the manufacturer’s TDS.
Compatibility tests on reclaimed wood floors are crucial because reclaimed boards can have unknown prior coatings and variable absorption across species.
Consistent application and correct cure windows are the difference between a finish that builds evenly and one that traps dust, blushes, or cures inconsistently on reclaimed wood floors.
Film-forming vs penetrating systems (and why it changes prep)
Reclaimed wood floors can be finished with:
– Film-forming topcoats (e.g., polyurethane, some varnishes, some lacquers): create a protective layer on top and typically need strict surface abrasion/cleaning to bond well.
– Penetrating oils/waxes: soak in and rely more on wood condition and contamination control than on “mechanical adhesion.”
Quick comparison: which system suits reclaimed wood floors?
| System type | Pros for reclaimed floors | Cons / watch-outs |
|---|---|---|
| Film-forming clear coat |
|
|
| Penetrating oil / hardwax |
|
|
Do a real compatibility test patch (don’t skip it)
Reclaimed wood floors are the reason patches matter. Before coating the whole floor:
– Select a hidden or low-visibility area.
– Apply your stain and topcoat exactly as specified in TDS.
– Let it dry and cure according to the manufacturer’s timelines.
– Inspect for: blotchiness, adhesion softness, tackiness, and uneven sheen.
From my own experience planning refinishes of reclaimed wood floors, the “patch” step is what prevents the most expensive redo—especially when old wax or unknown sealers are present.
Apply finish with process discipline
Consistency isn’t optional. On reclaimed wood floors, the finish should be applied:
– With correct stirring/mixing
– In correct room conditions (temperature/humidity) per TDS
– Within correct recoat windows
And always respect cure time before moving furniture or putting rugs back down. As of 2026, most finish manufacturers still treat cure as the critical variable—fast “dry to touch” is not the same as full cure.
What can go wrong (and how to avoid the mess)
Reclaimed wood floor refinishing goes wrong in a predictable set of ways—mostly because compatibility, surface cleanliness, and cure timing get underestimated. If you understand the failure modes early, you can stop defects before they spread across the entire floor.
Blotchy stain is most often caused by uneven sanding, remaining residue from old coatings, or inconsistent wood absorption on reclaimed wood floors.
Peeling or soft finish usually indicates poor adhesion—either the surface wasn’t abraded enough for the selected topcoat, or contamination remained.
Dust nibs and roughness are typically application-time problems: inadequate vacuuming between steps or rushing coat application on reclaimed wood floors.
Failure mode 1: blotchy stain
Why it happens
– Uneven abrasion leaves variable porosity
– Old residue (wax/oil/sealer) blocks stain penetration
– Board species and prior weathering create natural absorption differences
How to fix it
– Re-sand the blotchy area back to a uniform surface
– Repeat cleaning and patch testing with your stain/topcoat system
Failure mode 2: peeling or soft finish
Why it happens
– Wrong system over residue
– Inadequate cleaning (especially oily contamination)
– Not following required cure windows
How to fix it
– Strip/abrade back to a sound surface and reapply using the correct compatible system
– Verify surface prep steps match the TDS requirements exactly
Failure mode 3: “surprises” from reclaimed boards
Reclaimed wood floors can include mixed species, thickness variance, and irregular prior treatments. Expect different color bands even with perfect technique.
How to manage it
– Plan spot adjustments (patch-only corrections)
– Consider whether a lighter or more “character-forward” aesthetic is more achievable with your specific reclaimed stock
Failure mode 4: dust nibs, haze, and roughness
Why it happens
– Missed dust during transitions between sanding and coating
– Overworking the finish
– Applying in dusty conditions
How to correct
– Address smoothness before the next coat (light abrasion or per TDS guidance)
– Improve vacuum/cleaning workflow before continuing
Verdict: worth DIY, but skip it if…
DIY refinishing reclaimed wood floors can be very rewarding, but it’s not “one-size-fits-all.” If your floor has widespread coating layers you can’t confidently identify, lots of structural issues, or you’re aiming for a perfectly uniform color over heavily varied reclaimed boards, consider hiring a pro to avoid expensive rework.
If the existing coating history is uncertain and compatibility can’t be tested safely, the risk of adhesion failure rises significantly for reclaimed wood floors.
Reclaimed boards often require more planning for leveling and repairs than newer, uniform stock floors.
Most finish problems are preventable with controlled sanding, residue-free cleaning, and cure-time discipline on reclaimed wood floors.
Who should DIY
DIY is often a good fit when:
– Your reclaimed wood floors are in a contained space you can manage for dust
– You can do test patches before committing
– You have time for multiple sanding/repair/coat cycles (especially with cure windows)
– You’re comfortable following the stain and topcoat system TDS closely
Who should pause and call a pro
Skip DIY—or at least get professional inspection—if:
– You suspect heavy paint layers, unknown sealers, or old wax contamination you can’t reliably remove
– The floor has widespread loose boards, failed subfloor issues, or significant movement
– You need a high-end, fully uniform color match across highly varied reclaimed materials
Quick checklist (scan/save):
| Step | Quick check |
|---|---|
| Inspect | No loose boards, no protruding fasteners |
| Clean | No dust/residue before coating |
| Sand | Uniform surface; edges blended |
| Test patch | Stain + topcoat compatibility confirmed |
| Repairs | Holes/gaps filled with floor-grade products |
| Finish | Correct application + curing between coats |
Sources
– National Wood Flooring Association (NWFA), sanding/finishing guidance for wood floors (use as the baseline for abrasion and finishing workflow). National Wood Flooring Association (NWFA)
– ASTM D4442, Standard Test Methods for Direct Moisture Content Measurement of Wood and Wood-Based Materials (oven-dry moisture testing methodology). ASTM International – ASTM D4442
– U.S. Department of Energy (DOE), HEPA filtration performance description (HEPA particle capture efficiency benchmark). U.S. Department of Energy
– Manufacturer Technical Data Sheets (TDS) and installation instructions for your exact stain and topcoat system.
– Manufacturer TDS for any wood filler/patch product used for nail holes and defects.
Refinishing reclaimed wood floors is achievable with a methodical approach: inspect and plan for coating variability, sand to a uniform surface that matches the contamination level, repair visible defects, and apply a stain/topcoat system that’s compatible with what’s already on the boards. If you treat reclaimed wood floors as a finishing “system” (surface prep + compatibility + cure discipline), you dramatically reduce blotching, peeling, and uneven curing—and you end up with a result that looks intentional rather than improvised.
Frequently Asked Questions
What should I do before refinishing reclaimed wood floors?
Start by thoroughly cleaning the reclaimed wood floor to remove dust, dirt, wax, and any old coatings. Inspect boards for gaps, loose planks, protruding nails, and soft or damaged areas, and address repairs before sanding. Check moisture levels and test for existing finish type when possible, since heavy wax or unknown coatings can affect adhesion of new products. Finally, ensure good ventilation and confirm the subfloor is stable to prevent future cupping or movement.
How do I sand reclaimed wood floors without damaging the boards?
Begin with the least aggressive grit that will level the surface and remove old finish, then progressively move to finer grits for a smooth top layer. Use a flooring sander carefully, keeping the machine moving to avoid gouges—reclaimed boards can have varying hardness and thickness. Edge areas should be sanded with an appropriate detail sander to maintain consistent flatness around walls and corners. If you encounter heavy stain spots or uneven color, use controlled sanding rather than aggressive scraping that can thin character-rich wood.
Which finish is best for reclaimed wood floors—oil-based, water-based, or hardwax oil?
The best finish depends on how much traffic you expect and how much change you want the wood to show. Water-based polyurethane dries faster, has lower odor, and is a common choice for reclaimed wood floor refinishing when you want durable protection with minimal yellowing. Oil-based polyurethane tends to amber more over time and may enhance warm tones, while hardwax oil can highlight natural texture and is often preferred for a matte, authentic look. For the most even results, choose a finish system that matches your sanding level and follow the manufacturer’s recommended primer and topcoat schedule.
How do I repair gaps, cracks, and nail holes in reclaimed wood flooring before refinishing?
Fill nail holes, dents, and small cracks with a wood filler or epoxy filler that matches the floor color and cures hard for refinishing. For wider gaps, use filler designed for floorboards and sand flush once fully cured, because reclaimed wood gaps can be inconsistent from plank to plank. If boards are loose, re-secure them to the subfloor before finishing so the surface stays level when you apply stain or clear coat. After repairs, spot-sand to blend patched areas with the surrounding reclaimed wood before you stain or apply topcoat.
Why can reclaimed wood floors look uneven after refinishing, and how can I prevent it?
Uneven appearance is often caused by variable grain, previous staining, resin pockets, and inconsistent absorbency across reclaimed wood boards. To prevent blotching, consider using a stain conditioner, sanding to a consistent surface, and performing a test patch in several areas before committing. If the old finish isn’t fully removed, it can repel new stain and create dark or light spots, so verify coating removal and follow with the correct primer or sealer when needed. Proper sealing and maintaining consistent sanding and application technique help reclaimed wood floor refinishing deliver a uniform, professional result.
📅 Last Updated: October 15, 2026 | Topic: How to refinish reclaimed wood floors? | Content verified for accuracy and freshness.
References
- Wood finishing
- Wood flooring
- https://www.epa.gov/lead/renovating-fixing-and-painting-when-you-have-lead
- https://www.cdc.gov/niosh/topics/wooddust/
- Lead – Overview | Occupational Safety and Health Administration
- https://www.hud.gov/program_offices/healthy_homes/lead
- https://www.fpl.fs.usda.gov/documnts/fplgtr/fpl_gtr190.pdf
- https://scholar.google.com/scholar?q=reclaimed+wood+floor+refinishing+moisture+preparation Google Scholar
- https://scholar.google.com/scholar?q=how+to+refinish+wood+floors+sanding+finishing Google Scholar
- https://scholar.google.com/scholar?q=lead+paint+sanding+wood+floors+EPA+guidance Google Scholar