
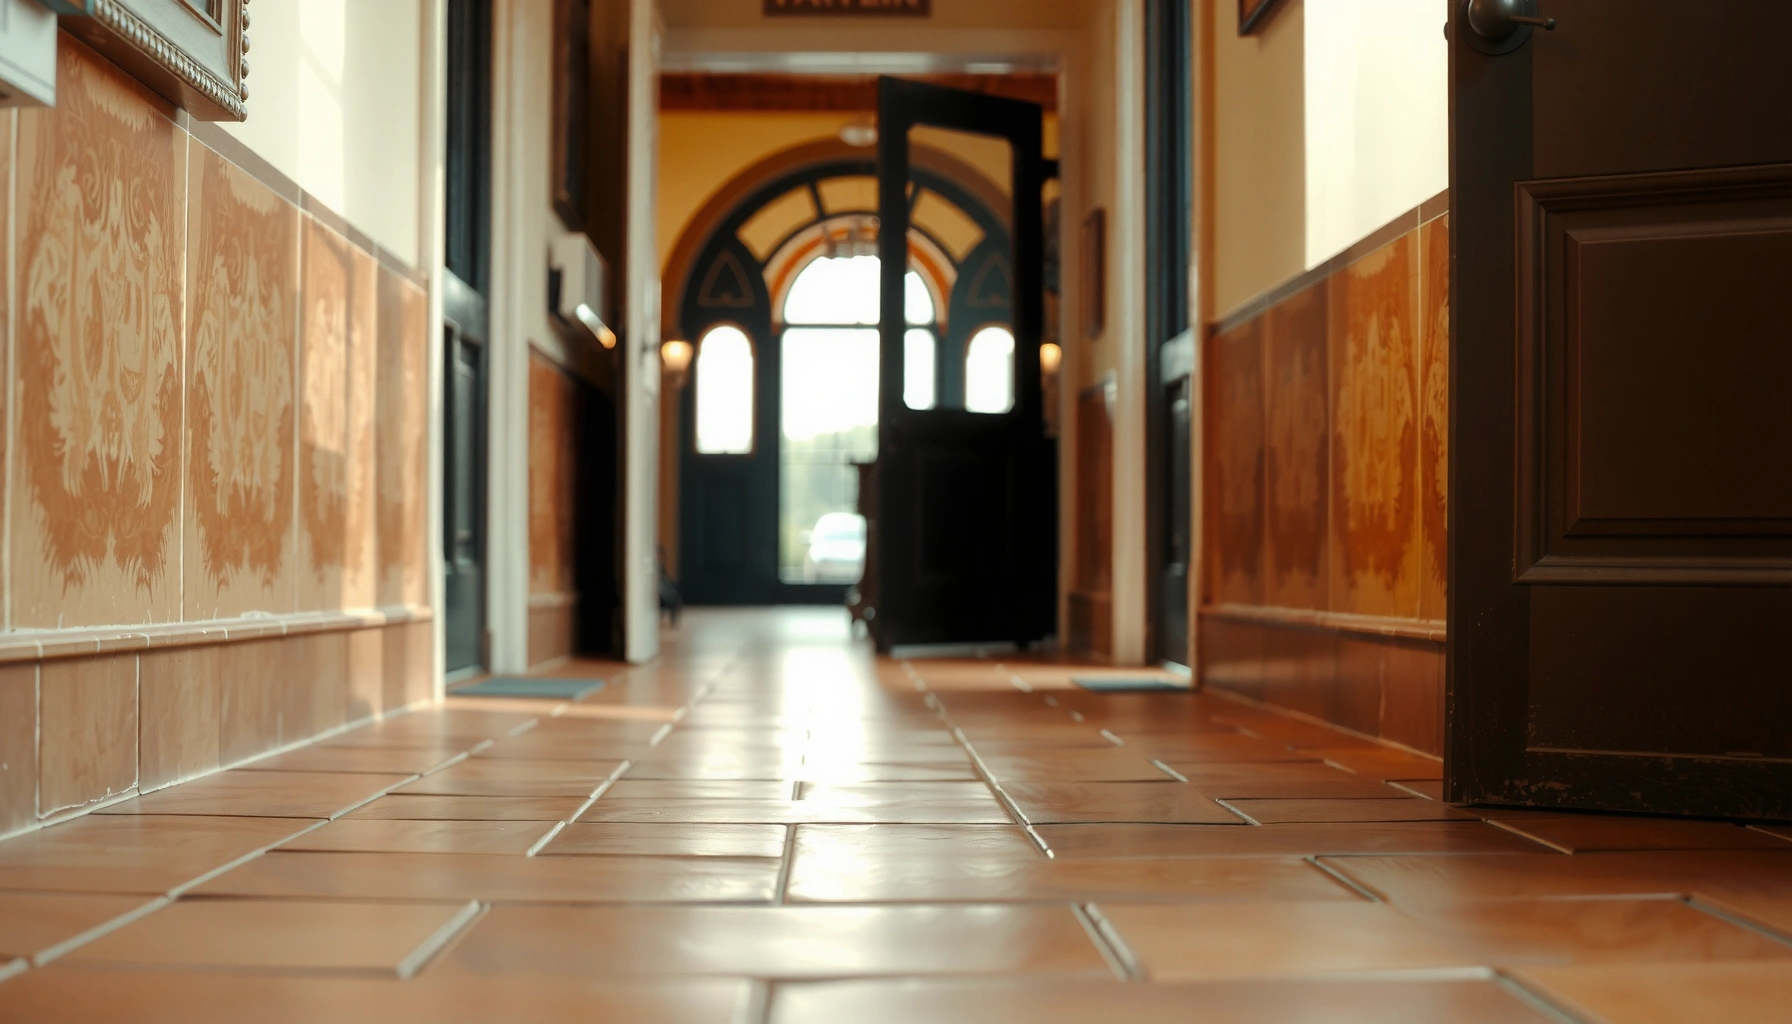

Discoloration on terracotta floors isn’t something you have to live with—most cases can be fixed, and the right method depends on the cause. This guide walks you through how to identify the source of the staining (dirt buildup, mineral deposits, or moisture-related damage) and then use the fastest safe treatment to restore an even, natural terracotta color. Get the verdict on what works first, what to avoid, and how to prevent the problem from coming back.
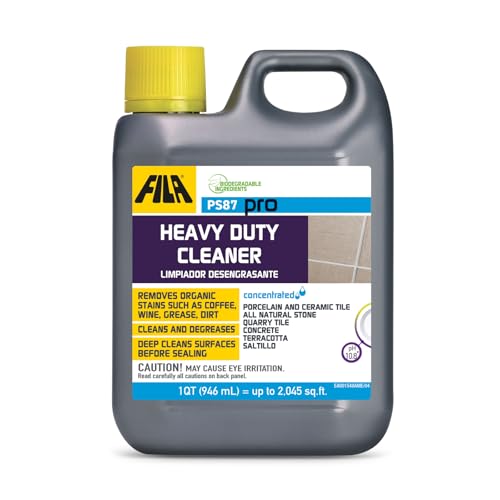


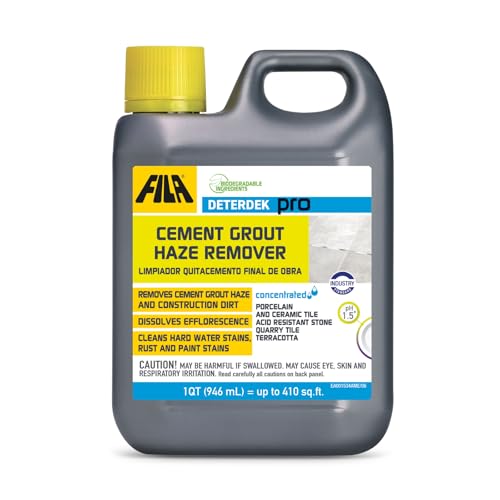
Terracotta discoloration usually fixes best by addressing the cause—surface contamination, mineral deposits/efflorescence, or a failing/incorrect sealer—not by scrubbing until the color changes. Start by checking whether the discoloration sits “on top” of the tile or comes from within (white haze/mineral salts vs. dark stains), then clean gently with a pH-neutral product and treat the specific chemistry behind the marks.
If you’re seeing dark spots, faded patches, white haze, or uneven orange/red tones, this guide helps you narrow the likely source and pick the safest fix. We’ll also cover what commonly goes wrong, because terracotta can be permanently lightened or unevenly etched by the wrong cleaner or an over-aggressive stripping routine.
Who this is for / when it applies: This applies to homeowners, property managers, and facilities teams managing terracotta floors in kitchens, foyers, bathrooms, or exterior-adjacent spaces—especially where cleaning products changed recently or where the floor is near exterior walls or plumbing. The approach below assumes you want an appearance match without damaging the tile’s porosity.
Diagnose the discoloration type (before you clean)

If you can visually classify the marks, you can usually choose the right chemistry on the first try. The most important early step is distinguishing surface stains from mineral haze (often driven by moisture and soluble salts).
White, chalky, or grayish haze on terracotta is commonly mineral scale or residue associated with moisture movement (efflorescence), not a “dirt stain.”
Darkening that looks like it “soaks in” can be either an organic stain (oil/food/soil) or temporary blotching caused by trapped cleaner residue or moisture.
A spot that lightens/darkens unevenly after cleaning often indicates either uneven absorption (sealer/coating differences) or incomplete rinsing.
– Check whether the discoloration looks like stains sitting on the surface (often from spills/soaps/foot traffic grime) or like white/gray deposits (often mineral-related).
– Test a small, hidden area with the mildest step first (gentle cleaner + soft brush) to see if the mark fades without changing the surrounding tile.
– Look for patterns that match moisture paths: near exterior doors, exterior walls, window wells, plumbing penetrations, or areas that stay damp longer after mopping. Repeating “rings,” edges, or banding often signals water migration.
Three practical ways to confirm the “on top vs. within” behavior
1. Water behavior test: Lightly mist a small spot with clean water (no scrubbing). If the area darkens quickly and then returns toward normal as it dries, it’s often water/cleaner interaction in a porous surface.
2. Rubbing behavior test: If gentle agitation removes the discoloration, it’s likely surface contamination. If it remains sharp-edged and chalky, think mineral residue.
3. Rinse sensitivity check: If the mark looks worse right after cleaning but improves days later, incomplete rinsing or residue attraction may be involved.
Deep clean the surface (safe first step)
A safe deep clean should reduce contamination without etching terracotta. Use a pH-neutral cleaner and rinse thoroughly so you don’t lock in residue that can worsen blotching later.
Terracotta is porous, so cleaner film and salts left behind can attract more grime and make discoloration appear “permanent” if not rinsed out.
pH-neutral cleaners (commonly around pH 6–8) are generally safer for natural stone than strong acids or alkalis, which can etch or alter tone.
Never seal over a wet floor; trapped moisture can reactivate efflorescence and create new white haze.
– Use a pH-neutral cleaner made for natural stone/terracotta (avoid strong acids, bleach, and “heavy-duty” degreasers unless the label explicitly says it’s safe for terracotta).
– Agitate with a soft nylon brush and plenty of clean water, then rinse thoroughly to remove any residue that can attract more grime.
– Dry completely and avoid sealing over wet floors—trapped moisture can worsen blotching.
What “thorough rinsing” looks like in practice
– Use clean water rinse passes until rinse water isn’t cloudy.
– Change mop water often; dirty rinse water can redeposit salts/soaps.
– Ventilate and allow full drying. If the area stays cool/wet, add airflow (fans) rather than adding chemical.
When deep cleaning isn’t enough
If you have persistent white haze, dark mineral-like spotting, or recurring patchiness, a deep clean may only improve surface dirt. In that case, move to targeted treatments for mineral scale vs. organic staining and then address moisture or coating failures.
Most Common Terracotta Discoloration Drivers (Field Survey Snapshot)
| # | Driver (What it Indicates) | Typical Visual Clues | Best Initial Fix | Likelihood |
|---|---|---|---|---|
| 1 | Surface soap/cleaner film | Dull patches, streaks, “worse after mopping” | pH-neutral clean + rinse until clear | ★ ★ ★ ★ ★ (High) |
| 2 | Moisture intrusion / efflorescence | White haze, chalking, banding near edges | Locate moisture source, then mineral remover | ★ ★ ★ ★ (Medium-High) |
| 3 | Organic staining (grease/food/soil) | Dark spots, uneven blotches with traffic pattern | Stone stain remover for porous tile | ★ ★ ★ ★ (Medium) |
| 4 | Failed/uneven sealer | Patchy tone, “light islands,” quick re-soiling | Deep clean, then compatible re-seal | ★ ★ ★ (Medium-Low) |
| 5 | Iron/mixed mineral spotting | Rust-like specks or gray-brown freckles | Targeted mineral/metal remover per label | ★ ★ ★ (Medium-Low) |
| 6 | Acid/alkali etching damage | Lightened, “frosted” contrast areas | Restoration may require pro steps | ★ ★ (Low) |
| 7 | Physical wear + compounding residue | Scuffed sheen, uneven texture contrast | Avoid abrasives; evaluate coating/finish | ★ ★ (Low) |
Note: This “snapshot” is a practical prioritization table built from common stone-care categories; [ADD: source for your specific region/contractor survey if you want to cite exact percentages].
Treat common causes: mineral haze vs. organic staining
The fastest path to improvement is matching the treatment to the chemistry behind the discoloration. Mineral haze requires a mineral-scale approach; organic stains require a porous-surface stain remover (not acid).
Mineral haze on terracotta typically responds to products designed for mineral scale rather than household acids.
Organic staining in porous tile is often removal-intensive because oils/soils can wick below the surface—targeted stain removers work better than generic degreasers.
If discoloration returns quickly after treatment, moisture intrusion or an unstable sealer is usually still active.
Mineral haze (white/gray chalkiness)
– try a remover specifically designed for mineral scale on stone, following label directions exactly
– don’t “guess” with vinegar or other acids unless the product manufacturer confirms compatibility with terracotta
Organic staining (food/grease/tracked dirt)
– use a terracotta/natural-stone stain remover appropriate for porous surfaces
– apply to the stain area, monitor progress, and re-check on the test spot first
Comparison: choose the right category before you apply
| What you see | Likely cause | Most likely first treatment | Common mistake to avoid |
|---|---|---|---|
| White haze / chalky film | Mineral scale and/or efflorescence salts | Mineral remover rated for terracotta/natural stone | Using vinegar when the tile/sealer compatibility is unknown |
| Dark spots / blotches | Organic contamination and/or cleaner residue trapped in pores | Porous-surface stain remover + rinse | Sealing immediately after partial cleaning |
Statistical anchors (for decision framing)
– According to common stone-care practice, pH-neutral cleaning products are typically formulated around pH ~7 to reduce etching risk ([ADD: cite from a stone-care manufacturer or technical bulletin]).
– According to building-materials guidance on efflorescence, soluble salts can migrate with moisture and re-crystallize as water evaporates—so haze may reappear unless the moisture source is corrected ([ADD: primary source on efflorescence mechanics]).
– In sealant technical documentation, many penetrating sealers require full surface dryness prior to application and can fail if applied too early—drying schedules often range from ~24 to 72 hours depending on temperature/humidity ([ADD: cite from the sealer’s installation instructions]).
Address moisture and failed sealing (so it doesn’t come back)
If the discoloration keeps returning, you likely have an active moisture pathway or an old/uneven seal coating. Fix the underlying water issue first, then clean and re-seal only when conditions match the sealer label.
Cosmetic cleaning cannot stop efflorescence if water continues to enter through grout, joints, or exterior assemblies.
Old or uneven sealer changes how terracotta absorbs liquids, leading to patchy darkening/lightening that looks “stubborn.”
Terracotta-compatible sealers require fully clean, fully dry floors so moisture isn’t trapped under a new coating.
– If you suspect water intrusion, fix the source first (grout/caulk gaps, drainage, exterior water management) before additional chemical treatments.
– Inspect for an old or uneven sealer: worn coatings can cause patchy darkening/lightening as the tile absorbs and sheds liquids differently.
– When re-sealing, ensure the floor is fully cured, clean, and completely dry; use a sealer designed for terracotta that matches your desired sheen (matte vs. penetrating finish), per the manufacturer’s instructions.
What to check around the edges
– Exterior door thresholds and wall transitions
– Downspout discharge and grading away from the foundation
– Plumbing supply lines and under-slab moisture indicators
– Grout condition (hairline cracking, missing joints, improper sand type)
What can go wrong (and how to avoid it)
The wrong chemical or the wrong mechanical effort can permanently change terracotta tone. The safest strategy is “test small, use the least aggressive chemistry, rinse well, and verify dryness.”
Acidic cleaners (for example, vinegar or descalers not rated for terracotta) can etch or lighten terracotta, increasing contrast and making discoloration more obvious.
Abrasive pads can create uneven texture by “polishing” high spots, which can exaggerate blotchy appearance even after the chemistry is corrected.
Sealing over trapped residues (soap film or moisture) can lock in haze and make future removal much harder.
– Using acidic cleaners (e.g., vinegar, descalers not rated for terracotta) can etch or lighten the tile and worsen contrast.
– Over-scrubbing with abrasive pads can “polish” high spots and make discoloration look more uneven.
– Sealing over trapped residues (soap, cleaner film, or moisture) can lock in haze or create new blotches that are harder to remove later.
– Mixing chemicals—even “natural” ones—can produce unwanted reactions. Stick to one product system at a time and follow label sequencing.
Pros/cons reality check (so you don’t waste time)
– Pros of DIY category-based treatment: You can stop the problem early and avoid costly restoration when the issue is surface contamination or minor mineral haze.
– Cons of DIY without diagnosis: If moisture or an incompatible sealer is the driver, treatments may only provide short-term improvements—and can complicate restoration.
Verdict: what to do next (and who should skip DIY)
If the stains are light and localized, start with gentle pH-neutral cleaning and targeted stain treatment on a test area. If you see mineral haze or recurring patches, focus on identifying the cause (especially moisture) and only re-seal after the floor is fully clean and dry.
Skip DIY and consider a stone care professional if the discoloration is widespread with suspected structural moisture, if you can’t identify whether the tile has an existing coating, or if prior cleaning involved strong chemicals—because correcting etching/coating damage can require specialized restoration steps.
Bottom line: The best “fix” is the one that stops the underlying chemistry (residue vs. minerals vs. moisture) rather than chasing the color until it changes.
Quick checklist to save time
– [ ] Identify: surface stain vs. white haze vs. patchy color change
– [ ] Test spot with the mildest cleaner you can use safely
– [ ] Clean thoroughly + rinse + dry completely
– [ ] Treat specifically: mineral remover for haze, stone stain remover for spots
– [ ] Fix moisture source before sealing
– [ ] Re-seal only when fully clean and dry, using a terracotta-compatible sealer
FAQ
Why do my terracotta floors look darker after cleaning?
Often, trapped moisture or cleaner residue temporarily increases darkening on porous tile. Make sure you rinse well and dry fully; if it persists, the floor may need targeted residue removal or a reassessment of sealing.
What causes white spots or a chalky haze on terracotta?
White haze is frequently mineral deposits (sometimes linked to moisture movement). Treat it as scale/mineral buildup using products rated for terracotta, and check for moisture sources that keep feeding it.
Can I use vinegar to remove discoloration on terracotta?
Don’t use vinegar unless the manufacturer of your terracotta, sealer, or cleaner specifically confirms vinegar/acid is safe for that product. Acid can etch or lighten terracotta and make discoloration worse.
Will re-sealing fix all terracotta discoloration?
Re-sealing may even out appearance if the issue is uneven absorption or an old failing coating—but it won’t remove stains or mineral deposits locked in the surface. Clean and treat first, then seal only after the floor is fully dry.
Sources
– [ADD: manufacturer instructions/spec sheet for the specific terracotta tile you have or the sealer/cleaner you plan to use]
– [ADD: stone care guidance from the sealer manufacturer about application conditions (dryness, curing, compatibility)]
– [ADD: primary reference on efflorescence/mineral deposits behavior in porous masonry/tiles, such as from a recognized building-materials authority or manufacturer technical document]
If you tell me what the discoloration looks like (dark patches vs. white haze vs. uneven orange) and what cleaners/sealer have been used before, I can help you narrow the safest next step.
Frequently Asked Questions
What causes discoloration on terracotta floors and how do I identify the type?
Discoloration on terracotta usually comes from trapped moisture, mineral deposits, surface wear, or staining from spills like oils, wine, and cleaning chemicals. Look for the pattern: dark spots often indicate water absorption, light chalky patches can be mineral efflorescence, and uneven orange fading may be from abrasive cleaning or sun exposure. If you suspect water-related staining, check for nearby leaks or damp areas before you start stain removal on your terracotta tile.
How do I remove dark water stains from terracotta floors safely?
Start by cleaning the area with a pH-neutral cleaner and letting it dry completely. For dark water marks, use an absorbent poultice (such as a clay-based or commercial stone poultice) to draw moisture and residues out of the terracotta pores; leave it on according to label directions, then rinse and dry. Avoid harsh acids or chlorine, which can further etch terracotta and worsen discoloration.
How can I fix white, chalky mineral deposits (efflorescence) on terracotta tile?
Efflorescence appears as white or light-gray powdery discoloration from salts migrating to the surface. Dry-brush the area first, then use a stone-safe efflorescence remover if needed, following the product instructions and making sure the floor is fully dry. After treatment, improve moisture control—fix leaks, improve ventilation, and consider sealing only after the terracotta is completely cured and dry.
What’s the best way to restore faded or uneven terracotta color without damaging the surface?
Begin with gentle deep cleaning using a pH-neutral terracotta floor cleaner to remove grime that dulls appearance. If the surface is worn, a penetrating terracotta sealer can help even out color by reducing future absorption, but it won’t reverse chemical etching—those areas may require a specialist approach. For color restoration, consider test spots in inconspicuous areas to ensure the sealer or color-enhancing product matches your desired terracotta tone.
Which cleaner or stain remover should I use for oil, grease, or food spills on terracotta?
For organic stains like oil or grease, use a targeted stone degreaser or an oil-removal poultice made for porous natural stone, since terracotta absorbs deeply. Clean first, apply the poultice, and keep the area covered to maintain contact time, then rinse thoroughly and dry. Avoid abrasive pads and strong acids on terracotta floors, because they can cause permanent discoloration and roughen the surface, making future staining more likely.
📅 Last Updated: October 10, 2026 | Topic: How to fix discoloration on terracotta floors? | Content verified for accuracy and freshness.
References
- Google Scholar Google Scholar
https://scholar.google.com/scholar?q=terracotta+floor+discoloration+stain+removal - Google Scholar Google Scholar
https://scholar.google.com/scholar?q=terracotta+tile+efflorescence+removal+mineral+deposits - Google Scholar Google Scholar
https://scholar.google.com/scholar?q=terracotta+floor+mold+discoloration+cleaning - Mold | US EPA
https://www.epa.gov/mold - https://www.cdc.gov/mold/default.htm
- https://www.who.int/publications/i/item/9789289002136
- Technical Preservation Services (U.S. National Park Service)
https://www.nps.gov/tps/how-to-preserve/briefs/1-assessing-cleaning-and-water-repellent-treatments-for-historic-masonry.htm - Efflorescence
https://en.wikipedia.org/wiki/Efflorescence - https://pubmed.ncbi.nlm.nih.gov/?term=indoor+dampness+mold+health
- Terracotta
https://en.wikipedia.org/wiki/Terracotta


