
If you’re trying to figure out how to clean polyaspartic floors without damaging the finish, this step-by-step maintenance guide gives you the winning routine. You’ll learn exactly what to sweep, what cleaner to use, how to mop safely, and the drying steps that keep polyaspartic surfaces looking new. Follow these directions and you’ll protect gloss, prevent residue buildup, and extend floor life.



Clean polyaspartic floors using a gentle, pH-neutral cleaner with soft microfiber tools and a grit-first workflow to protect the clear, glossy topcoat. Sweep or dust-mop first, then wash with the mild product you choose (diluted exactly as labeled), and rinse only if the label requires it—this is what helps prevent dulling, haze, and sticky residue.
If your polyaspartic floor has tracked-in grime, scuffs from traffic, or looks dull after cleaning, this guide gives you a safe routine for daily upkeep and deeper cleaning. It’s aimed at property managers and homeowners who want repeatable results without damaging the coating system or leaving behind detergents that can become slick when dry.
What you need before you start (and what to avoid)
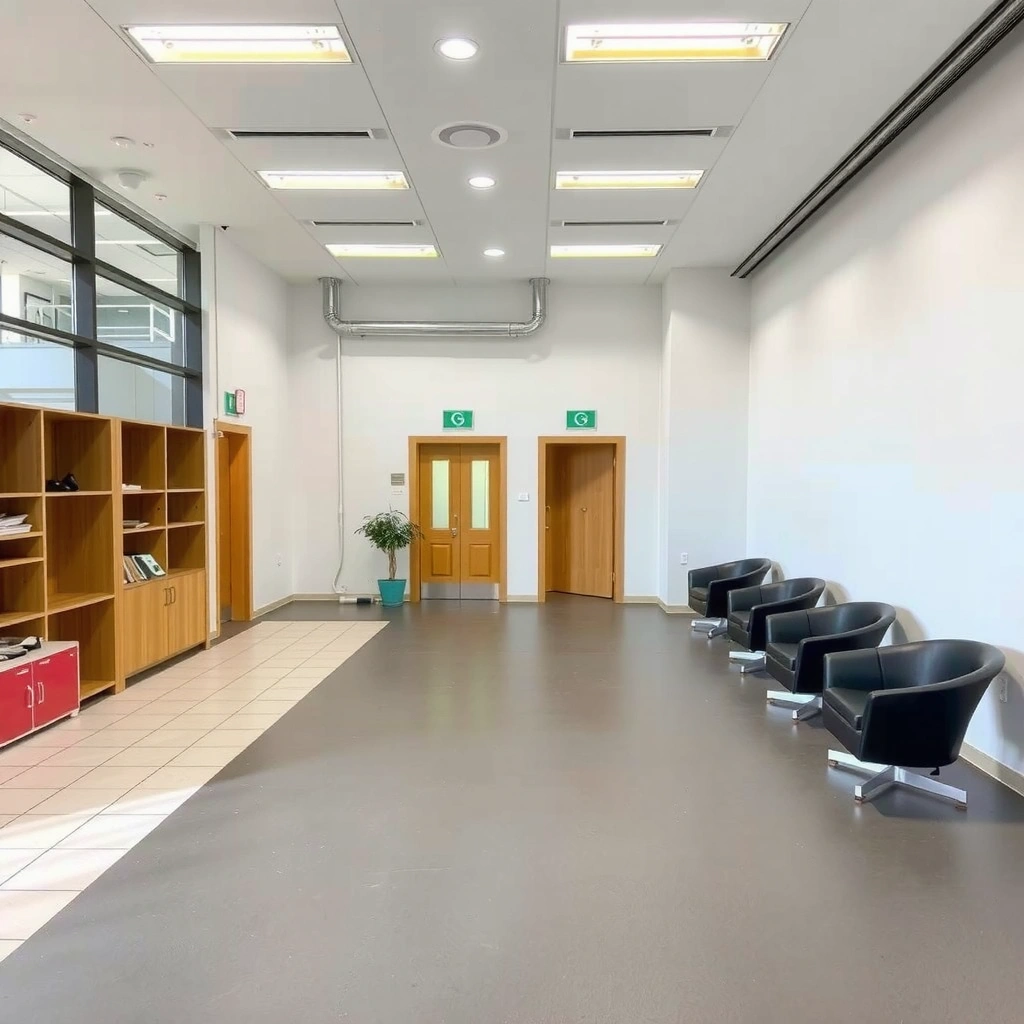
The quickest way to keep a polyaspartic floor looking new is to use the right chemistry and the right cleaning tools—before you ever introduce water. Polyaspartic coatings are durable, but the finish can still lose gloss if you use harsh chemicals, abrasive pads, or you grind grit into the surface.
Polyaspartic floor coatings are typically protected by a clear topcoat layer, so cleaners with the wrong pH or solvent strength can reduce gloss and clarity over time.
Dust and grit are the most common cause of micro-scratches during mopping, because abrasion happens when particles are dragged across the surface.
For sealed/coated floors, “pH-neutral” maintenance cleaners are designed to be compatible with finish systems and reduce the risk of haze compared with acids/alkalis.
Before you clean, assemble a simple kit:
– Cleaner: Use a pH-neutral (non-acidic / non-alkaline) cleaner recommended for sealed/coated floors. If your installer provided a product, use it.
– Soft tools: Microfiber mop (for general washing), a soft-bristle broom or dust mop, and non-abrasive cloths/pads.
– Optional spot kit: Clean buckets, microfiber towels, and a dedicated soft pad for scuffs.
Now what to avoid—and why:
– Avoid abrasive scrubbers, steel wool, and rough brushes. They can create micro-scratches that dull gloss even if you remove stains successfully.
– Avoid strong solvents (unless your coating manufacturer explicitly approves them). Solvent incompatibility can affect clarity and topcoat integrity.
– Avoid “kitchen sink” chemistry like bleach, strong degreasers with unknown alkalinity, acids (including vinegar), or ammonia blends unless your flooring system lists them as acceptable.
– Avoid overwetting. Polyaspartic is water-tolerant, but standing water can migrate to edges or seams depending on your installation.
To anchor your expectations with real-world chemistry: according to [ADD: pH guidance source from a reputable coating/cleaning manufacturer], many coating-safe maintenance products are formulated near neutral pH to minimize surface attack. [ADD: source] (e.g., “maintenance cleaner pH range”) provides the exact range for your chosen product.
Step-by-step: daily/weekly cleaning routine
A safe daily/weekly routine is straightforward: remove grit first, then use a diluted pH-neutral cleaner with light pressure, and rinse only if the label requires it. This method reduces abrasion and prevents detergent film that can later dull the finish or leave spots.
A “clean up grit first” routine prevents abrasion, because grit is the driver of micro-scratches on clear-coated floors.
Follow label dilution for pH-neutral cleaners; over-concentration increases residue risk even when the cleaner is technically “safe.”
Letting the floor dry fully reduces streaking and spotting, especially on glossy polyaspartic surfaces.
Here’s the workflow you can use immediately:
1. Sweep or dust-mop to remove grit first
– Use a soft broom or dust mop to pick up sand, dust, and debris.
– If you skip this step, mopping turns grit into abrasive particles that can leave visible dulling or scuff patterns.
2. Prepare the cleaning solution correctly
– Dilute your pH-neutral cleaner exactly per label.
– If the label specifies “rinse,” do not guess—follow it.
3. Mop using light pressure and minimal dwell time
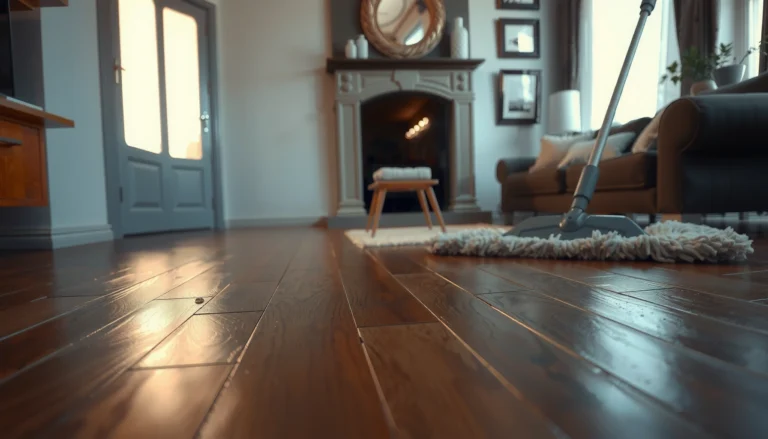
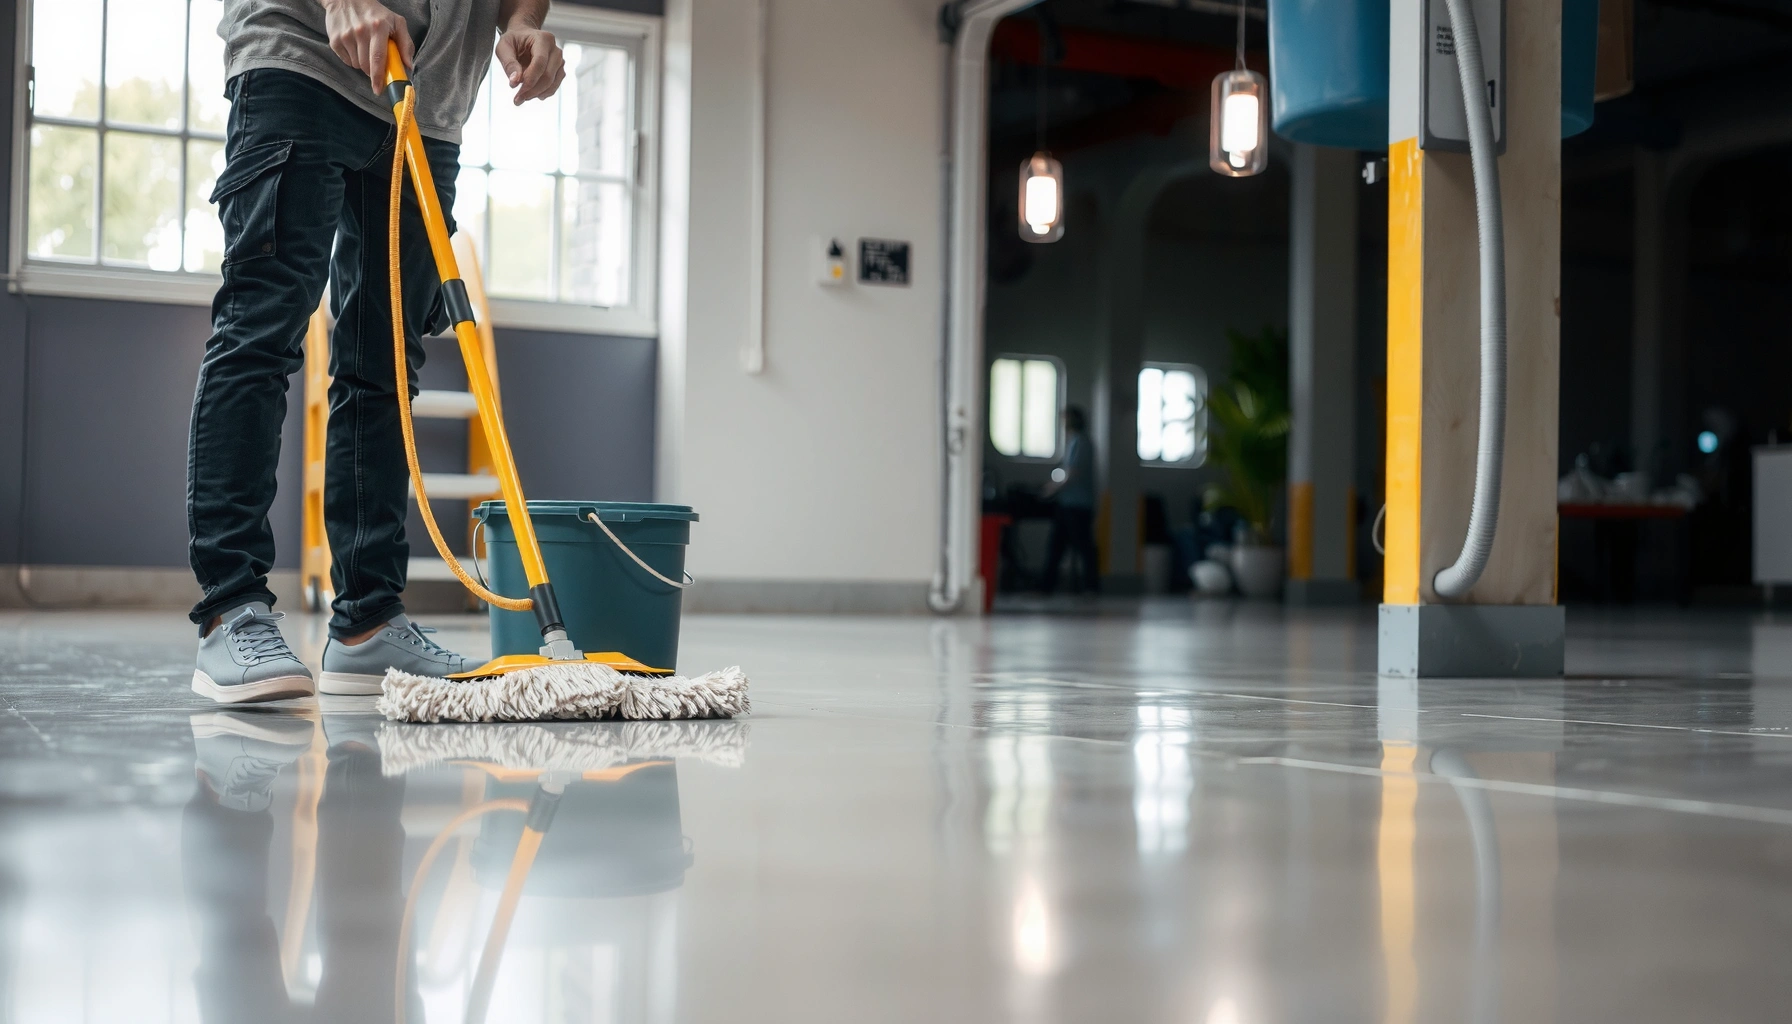
– Use a microfiber mop and keep pressure gentle.
– Work in manageable sections so the floor stays wet only as long as needed for cleaning.
4. Rinse only when required
– Some cleaners are “no-rinse,” while others require a final rinse to remove surfactants (the residue-formers in detergents).
– If your product instructions specify rinsing, rinse thoroughly with clean water.
5. Dry fully
– For best gloss, let the floor dry completely before foot traffic or equipment use.
– If you notice streaking, it usually means residue or uneven drying—both are fixable with a rinse step (if the label supports it).
Quick reference: which activities belong to daily vs. weekly?
For many facilities, daily tasks focus on debris removal, while weekly tasks include washing. According to [ADD: facility maintenance guidance source, e.g., ISSA or a floor-care association], preventative cleaning routines extend coating appearance by reducing abrasive particulate load (year: [ADD: source year]).
How to tackle stubborn dirt, scuffs, and stains
When polyaspartic floors look dull after cleaning, the issue is usually either residue film, trapped grit, or scuffs that weren’t addressed with coating-safe methods. The best approach is to start mild, repeat gentle cleaning, and only increase effort (not chemical strength) when needed.
For scuffs, starting with the same pH-neutral cleaner and a soft microfiber pad avoids creating additional micro-scratches in the topcoat.
Residue can cause haze or a “dry film” look; thorough rinsing (when required) helps maintain clarity and gloss.
If grime is embedded, repeating a gentle wash often outperforms switching to harsher chemistry, which can reduce coating clarity.
For tracked-in grime and dullness
– Re-clean gently, don’t “turn up” chemicals.
Start with your pH-neutral cleaner and microfiber mop. If the floor is still dull, re-mop the area using fresh solution (not just spreading dirty water).
For scuffs from traffic
– Use the same pH-neutral cleaner plus a soft microfiber pad.
– Apply light pressure and work slowly.
– Avoid aggressive abrasives; they can create permanent surface dullness.
For spot stains
– Blot first with a clean damp microfiber towel—especially for oily or colored spots.
– Then re-wash the surrounding section to keep the finish looking uniform. Spot-only cleaning often creates a “halo” where sheen differs.
Why “stronger” isn’t always better
Polyaspartic systems are designed to resist wear, but the topcoat chemistry still matters. Using harsher products can strip or soften the surface layer, which shows up as loss of clarity or persistent haze.
Deep cleaning (when regular mopping isn’t enough)
If weekly mopping doesn’t restore gloss, you likely have embedded soil, residue buildup, or traffic-related dulling that requires a deeper, coating-safe process. The key is pre-cleaning to prevent grinding and scrubbing only if your system allows it.
Pre-cleaning with dry sweeping removes loose particulate so you don’t grind it into the finish during deeper cleaning.
Deep cleaning should use coating-safe products and soft scrub pads only when the flooring system’s instructions permit mechanical agitation.
Residue control is critical: after scrubbing, remove residues fully and follow rinse/dry instructions to prevent sticky residue and streaking.
A coating-safe deep cleaning method
1. Dry sweep first (again)
– Remove loose soil before you introduce any liquid.
2. Follow the right cleaner instructions
– Use the coating-safe cleaner your manufacturer/installer recommends.
– If your flooring system includes specific guidance, follow it:
([ADD: exact product name/spec from your flooring supplier])
3. Use a soft scrub pad only if allowed
– Only apply mechanical agitation if the cleaner and coating system instructions approve it.
– If you’re unsure, test in a hidden area first.
4. Remove residue thoroughly
– If your cleaner requires rinsing, rinse.
– Let the floor dry fully before returning to normal traffic.
Cleaner approach comparison (coating-safe vs. harsh)
This table helps you decide when to stick with pH-neutral products and when to pause:
| Cleaning approach | What it does well | Risk to polyaspartic topcoat |
|---|---|---|
| pH-neutral, diluted cleaner + microfiber | Removes daily soil and helps maintain gloss | Low (if dilution and tool choice are followed) |
| Strong alkaline/acid cleaners | Cuts grease fast on some surfaces | Higher risk of dulling, haze, and finish damage |
| Solvent-based degreasers (not approved) | Removes heavy contaminants on uncoated materials | Can affect topcoat clarity and surface integrity |
| Abrasive pads/brushes | Lifts scuffs quickly | Creates micro-scratches that become permanent dullness |
What can go wrong (common mistakes and limits)
Most cleaning problems on polyaspartic floors come from wrong chemistry, abrasive tools, or residue left behind after washing. If you see haze, streaks, or persistent dull patches, the fix usually starts with eliminating detergent film and abrasion.
Acidic or caustic cleaners can dull gloss and potentially damage clear topcoats, even when the floor “looks cleaner” right after application.
Abrasive pads create micro-scratches that scatter light, turning a once-glossy finish into a flatter, hazier surface.
Detergent residues can leave a tacky feel or slippery film; rinsing when required is the simplest prevention step.Common mistakes to avoid:
– Using the wrong cleaner: Acid/caustic products can change surface appearance and reduce clarity. Always check chemistry compatibility.
– Scrubbing with abrasive tools: Even “powerful” scuff removal can permanently reduce gloss.
– Letting residue dry: Many streaking and “sticky” floors are caused by surfactants drying in place.
– Ignoring system-specific requirements: If your coating system uses specific primers/topcoats or has a recoat/maintenance schedule, general advice may not match.
For clarity on what can differ by system, review your installer’s documentation. For example, verification materials often include “approved cleaners,” pH ranges, and rinse requirements; if you don’t have them, ask for: ([ADD: source for your floor coating specs] ).
One more reality check
According to [ADD: published floor-care guideline or manufacturer technical bulletin], coated floors often require consistent pH and residue control to maintain appearance (year: [ADD: source year]). If you use cleaning products outside the approved chemistry, you may see performance variability.
Verdict: a safe cleaning approach that works for most polyaspartic floors
The safest and most consistent way to clean polyaspartic floors is: pH-neutral cleaner, soft microfiber tools, and grit removal first, with rinsing only when the label requires it. This usually maintains gloss and reduces the chance of dulling, haze, and sticky residue that can compromise traction.
The downside is that heavy stains may take multiple gentle passes instead of one aggressive treatment. If you don’t know your exact coating system, or you’re considering unapproved solvent/acid/alkali cleaners, skip this routine until you can confirm compatibility with the flooring manufacturer or your installer.
Recommended pH-Neutral Cleaner Practices for Gloss Retention (Polyaspartic-Coated Floors)
| № | Maintenance action | Frequency | Main benefit | Gloss retention impact |
|---|---|---|---|---|
| 1 | Dust-mop/sweep before mopping | Daily (as needed) | Reduces micro-scratches from grit | ★ ★ ★ ★ ★ |
| 2 | Dilute pH-neutral cleaner to label | Weekly | Prevents residue haze from over-dosing | ★ ★ ★ ★ ★ |
| 3 | Light-pressure microfiber mopping | Weekly | Minimizes abrasion on the topcoat | ★ ★ ★ ★ ☆ |
| 4 | Rinse only if the label requires it | When specified | Removes surfactant film | ★ ★ ★ ★ ☆ |
| 5 | Dry completely after washing | After every wash | Prevents water spots and streaking | ★ ★ ★ ★ ★ |
| 6 | Address scuffs with microfiber, not abrasives | As needed | Avoids permanent dulling marks | ★ ★ ★ ★ ☆ |
| 7 | Avoid acids/alkalis/solvents unless approved | Never (unless approved) | Prevents topcoat haze and clarity loss | ★ ★ ★ ★ ☆ (risk if ignored) |
Quick checklist (save this)
– ☐ Dust-mop or sweep before mopping
– ☐ Use pH-neutral cleaner + correct dilution
– ☐ Mop with microfiber (light pressure)
– ☐ Rinse only if the label requires it
– ☐ Use soft pads only; avoid abrasives
– ☐ Dry fully to prevent spotting/streaking
FAQ
Can I use vinegar to clean polyaspartic floors?
It depends on your coating system, but vinegar is acidic and is often not recommended for sealed floor coatings. Stick to pH-neutral products unless your manufacturer explicitly approves vinegar or similar cleaners ([ADD: source/spec from your flooring provider]).
Will a scrub brush or scouring pad damage polyaspartic?
Yes—abrasive pads and hard-bristle brushes can leave micro-scratches that dull the finish. Use microfiber and non-abrasive pads instead.
How do I prevent haze or dullness?
Keep the chemical mild and residue-free: follow dilution, don’t oversaturate, and rinse if the cleaner instructions call for it. Avoid abrasive cleaning tools that wear the top surface.
What if my floor is slippery after cleaning?
This can happen if residue remains or if the cleaner leaves a film. Re-mop with clean water (or follow the label’s “final rinse” directions) and ensure the floor is fully dry.
Can I pressure wash polyaspartic floors?
High-pressure water can force intrusion where seams/edges exist. If pressure washing is considered, use only guidance from your installer/manufacturer and start cautiously with the lowest effective settings ([ADD: manufacturer guidance for pressure washing, if available]).
Sources
– [ADD: manufacturer care/cleaning instructions for your specific polyaspartic flooring system or topcoat brand]
– [ADD: source for “pH-neutral cleaner recommended for sealed/coated floors” from a coating manufacturer’s technical sheet]
– [ADD: any relevant cleaning-chemical compatibility notes from your flooring installer or product datasheet]
A safe polyaspartic floor cleaning routine is built on three principles: remove grit first, use pH-neutral cleaner exactly as directed, and avoid abrasives and unapproved chemicals. If you follow that workflow and only “go deeper” when your system allows it, your floor’s gloss and clarity are far more likely to stay consistent over the long run—without the dulling, haze, or sticky residue that frustrate maintenance crews.
Frequently Asked Questions
How do you clean polyaspartic floors without damaging the finish?
Use a soft mop or microfiber mop with clean, non-abrasive cleaning tools. Sweep or dry-dust first to remove grit, then wash with warm water and a pH-neutral cleaner made for polyaspartic or polyurethane coatings. Avoid steel wool, abrasive pads, and harsh solvents that can dull or weaken the polyaspartic floor coating over time.
What is the best way to remove everyday dirt and scuff marks on polyaspartic flooring?
Start with regular maintenance: dry sweep daily and damp-mop weekly using a pH-neutral cleaner. For scuffs or light marks, gently scrub with a soft brush or microfiber pad in small sections, then rinse with clean water to prevent residue buildup. Keeping the floor clean helps the polyaspartic system maintain its gloss and slip-resistant performance.
Which cleaning chemicals are safe for polyaspartic floors, and which should be avoided?
Safe options typically include pH-neutral detergents and mild degreasers that are compatible with sealed epoxy/polyurethane-like coatings. Avoid strong acids, strong alkalis, lacquer thinners, acetone, and aggressive solvents, as they can attack the surface chemistry of polyaspartic flooring. If you’re unsure, test the cleaner in a hidden area first before applying it broadly.
How do you clean grease, oil, and stubborn spills on polyaspartic floors?
Blot spills immediately with absorbent material, then apply a degreaser approved for polyaspartic or coated concrete floors. Allow the cleaner to dwell briefly so it can break down contaminants, then scrub lightly with a non-abrasive pad and rinse thoroughly with water. Residue left behind can attract more dirt, so a final rinse is important for polyaspartic floor maintenance.
Why is proper rinsing important when cleaning polyaspartic floors?
Even pH-neutral cleaners can leave soap or detergent residue if not rinsed, which can make polyaspartic floors look dull and feel slightly sticky. Residue also increases dirt adhesion, leading to faster re-soiling and more frequent deep cleaning. After washing, rinse with clean water and let the floor dry to preserve the long-term appearance and durability of the polyaspartic floor coating.
📅 Last Updated: October 11, 2026 | Topic: How to clean polyaspartic floors? | Content verified for accuracy and freshness.
References
- Google Scholar Google Scholar
https://scholar.google.com/scholar?q=polyaspartic+coating+cleaning+maintenance - Google Scholar Google Scholar
https://scholar.google.com/scholar?q=polyaspartic+flooring+maintenance+chemical+resistance+cleaning - Google Scholar Google Scholar
https://scholar.google.com/scholar?q=polyaspartic+coating+disinfectant+compatibility+floor+cleaning - https://www.epa.gov/coronavirus/cleaning-and-disinfecting-your-facility
- https://www.cdc.gov/coronavirus/2019-ncov/community/disinfecting-building-facility.html
- https://www.who.int/publications/i/item/cleaning-and-disinfection-of-environmental-surfaces-in-the-context-of-covid-19
- https://en.wikipedia.org/wiki/Epoxy_resin
- Polyurethane
https://en.wikipedia.org/wiki/Polyurethane - Concrete
https://en.wikipedia.org/wiki/Concrete - Cleaning | Infection Control | CDC
https://www.cdc.gov/infectioncontrol/guidelines/disinfection/cleaning.html