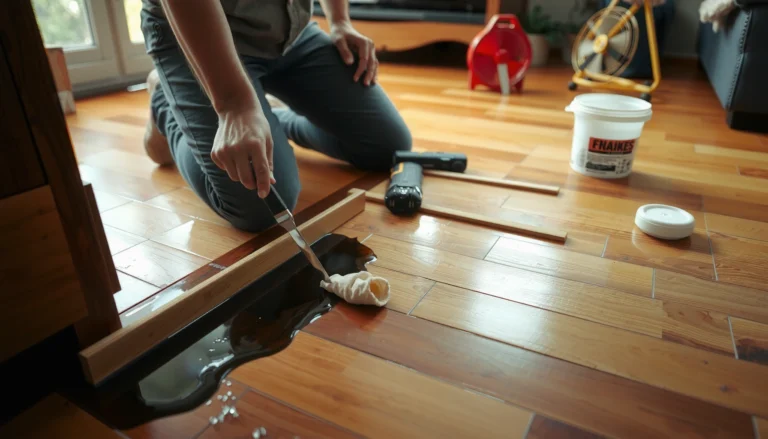

Scratches on hardwood floors don’t have to mean a full refinishing—this step-by-step repair guide shows you exactly how to fix them and restore the finish. You’ll follow a clear process from assessing scratch depth to sanding, filling, and matching stain so the damage is minimized or disappears. Stop guessing and get a decisive result with the right fix for your specific scratch.




If the scratch doesn’t snag your fingernail, you can usually fix it with cleaning plus a finish touch-up. If the scratch catches (or shows gouging into the wood), you’ll need wood filler, careful sanding, color-matching, and—when the finish is too worn—partial or full refinishing to make the repair blend.
If you’ve noticed scratches from pets, moving furniture, shoes, or everyday cleaning mishaps, the most important step is figuring out whether you’re repairing the finish layer or actual wood damage. This guide walks you through scratch-depth assessment, prep, the right repair path for light vs. deep damage, and how to finish so the area looks consistent with the rest of your floor—without accidentally making the problem more visible (a common outcome when product compatibility and sheen are ignored).
This is for homeowners (and landlords) dealing with visible scratches from pets, furniture, foot traffic, or cleaning mishaps—especially in finished hardwood floors. If you’re not sure whether the damage is just the finish or has cut into the wood itself, the steps below will help you decide what to do next.
Assess the Scratch Depth (Finish vs. Real Damage)
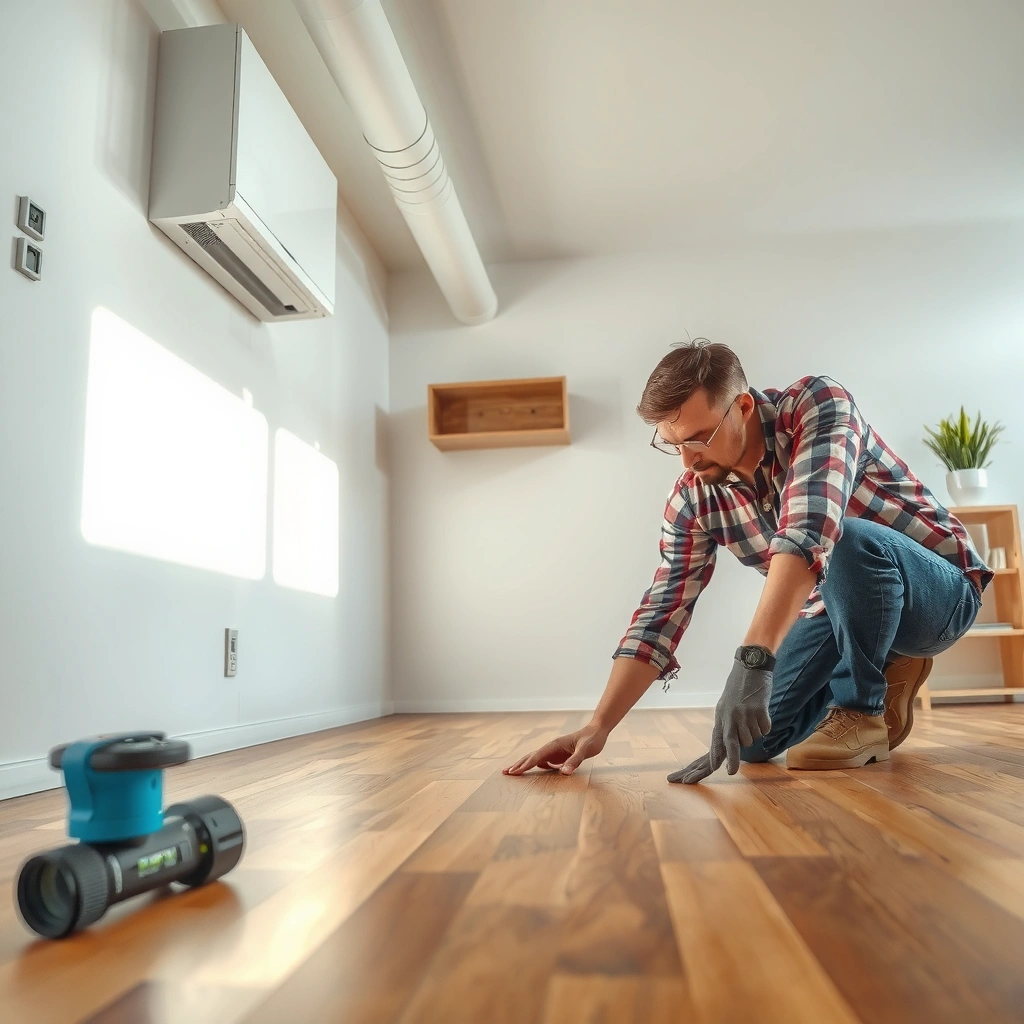
The fastest way to choose the correct repair is to determine whether the scratch is only in the clear coat/finish or whether it’s cut into the wood. Start with simple “mechanical” checks (fingernail and surface feel) because they correlate directly with whether you can use touch-up products or need filler and sanding.
A fingernail “catch” test is a practical way to distinguish finish scuffs (smooth to the touch) from gouges that require filler because the groove has broken through the surface coating.
Finish scuffs often appear as lighter gray/white marks, while deeper damage can look darker and more channel-like because exposed wood fibers absorb finish and stain.
Cleaning the area first prevents grit and embedded debris from being mistaken for wood-cut scratches, which leads to the wrong repair method.
What to check first (and what it usually means)
1. Fingernail test (finish vs. wood):
– Smooth scratch / glide test: Likely a finish-only issue.
– Snagging scratch / catches your nail: Likely cut into the wood or through to the substrate—expect filler and sanding.
2. Visual clues (color and shape):
– White/gray, “hazy” marks: Often trapped residue in a scuff, or a finish surface disruption.
– Darker channels, lines with depth: More consistent with wood damage.
3. Debris check (clean first, judge second):
I recommend you clean before you judge depth—because sanding dust, abrasive cleaner residue, and wax build-up can sit in the mark and make a “light scratch” look deeper than it is.
Decision shortcut: touch-up vs. filler
If you can’t feel a groove with your nail after cleaning, treat it as finish-only (clean → buff → touch-up). If you feel a groove or see a channel that retains dirt, treat it as real damage (clean → filler → sand → match color/finish).
Clean and Prep the Area Before Repair
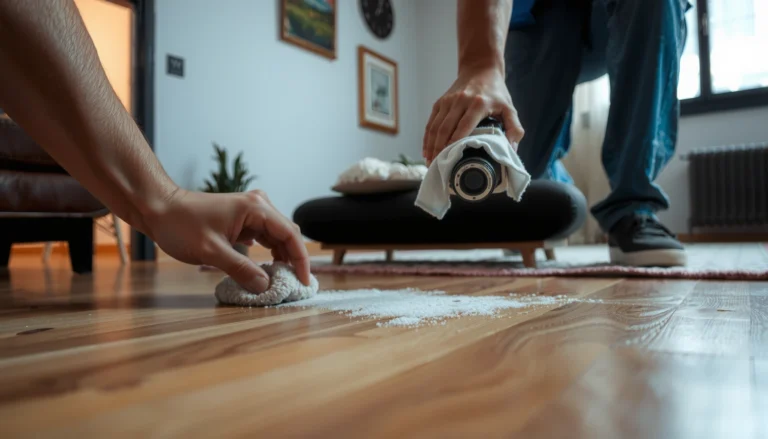
Cleaning isn’t optional—it determines whether your touch-up or filler bonds correctly and blends cleanly. The best repairs start with contaminant-free surfaces so products can adhere and lay down evenly.
Most touch-up and wood filler systems require a clean, dry surface for adhesion; waxy residues and dust commonly cause poor bonding and visible failure lines.
Microfiber cloths reduce lint and help create an even surface texture before applying finish-compatible products.
Masking surrounding edges helps keep stains, fillers, and repair pastes from spreading and darkening the area beyond the scratch.
Step-by-step prep
– Use a hardwood-safe cleaner and wipe away residue completely.
Finished hardwood care products typically specify “no wax” or “no oil” cleaners depending on finish type—follow the product label.
– Dry fully:
Any lingering moisture can trap under touch-up compounds or interfere with curing.
– Microfiber wipe:
A gentle wipe helps remove remaining dust and creates a consistent surface for the repair material.
– Mask the perimeter when needed:
If you’re using filler, stain, or a color-matched repair kit, mask nearby planks and edges with painter’s tape (remove promptly after the application so it doesn’t tear finish).
Why “finish compatibility” starts here
Even if the scratch depth is right for touch-up, contamination and sheen mismatch are common reasons repairs become more noticeable over time. Prep protects the repair twice: adhesion and appearance consistency.
Fix Light Scratches with Buffing and Touch-Up
Light surface scratches—those that don’t snag your nail—are usually best handled with gentle buffing plus a finish-compatible touch-up product. Done correctly, this route restores the surface without needing sanding that can create a visible “patch.”
For finish-only scuffs, touch-up markers or repair pastes are designed to restore color and reduce the contrast caused by finish disruption.
When your floor uses polyurethane or another clear topcoat, you should select a touch-up product intended for that specific finish system to avoid haze or uneven sheen.
Following the manufacturer’s sheen guidance matters because many repair products reflect light differently than the surrounding floor.
Step-by-step: buff first, then touch up
1. Gentle buff test (start with the least aggressive option):
– Use a soft microfiber cloth and apply light pressure.
– Avoid harsh abrasives. If your touch-up product requires a particular prep (some systems specify “clean and dry only” vs. “lightly abrade”), follow that instructions section.
2. Apply color-matched finish touch-up:
– Use a touch-up marker or paste matched to your floor color.
– Apply sparingly; you can usually build in thin layers, but you can rarely “subtract” excess cleanly.
3. Wipe off excess and blend:
Wiping excess promptly prevents a visible “rim” around the scratch.
If your floor is polyurethane-finished
Polyurethane floors are common in commercial and residential settings, and they can look cloudy when repair products don’t chemically and visually match the coating system. Choose a touch-up product specifically designed for polyurethane-type finishes (or whatever your floor’s label specifies).
[ADD: source for your floor’s finish type, e.g., manufacturer documentation or product label.]
Suggested outcome target
For light scratches, the goal isn’t to make the scratch disappear at a microscopic level—it’s to eliminate the light reflection difference that makes the scratch visible from normal viewing angles.
Quick comparison: touch-up vs. filler (so you pick the right path)
| Repair method | Best for | What you must do | Main risk |
|---|---|---|---|
| Buff + touch-up | Finish-only scuffs (nail doesn’t catch) | Clean/dry, match color + sheen, wipe excess | Haze or mismatch sheen from incompatible products |
| Wood filler + sand + stain | Deeper grooves that snag or expose wood | Fill level, cure fully, sand lightly, color-match | “Low spot” or dark plug if sanding/color is off |
Repair Deeper Scratches with Wood Filler (Then Match Color)
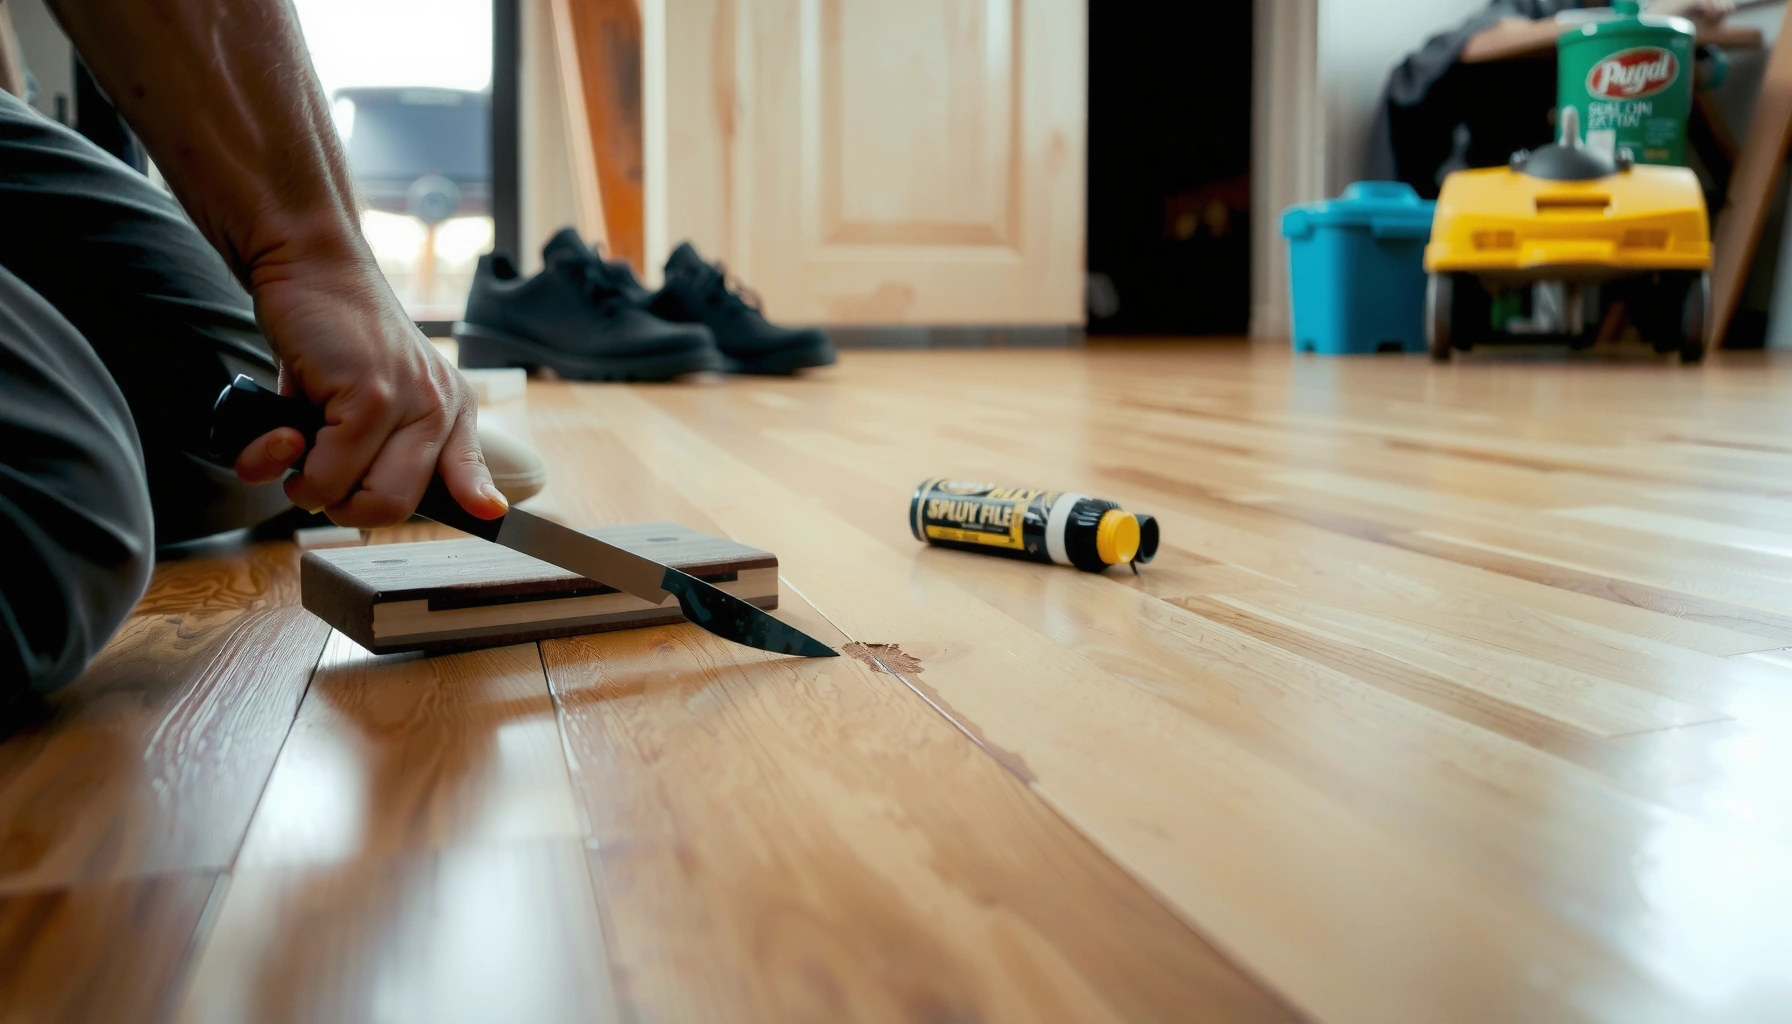
When the scratch catches your fingernail or shows a groove, you’re dealing with wood damage—not just finish. The most reliable DIY approach is to fill, cure, sand flush, then color-match before re-establishing the appearance of the clear coat.
Wood filler products formulated for hardwood floors are designed to be sandable after cure, which is critical for creating a level repair that blends with adjacent boards.
Proper cure time matters: filling too early can cause shrinkage or uneven sanding, making the repair visible under light.
Color-matching after sanding reduces the “plug” effect by letting the repair surface accept stain more evenly.
Step-by-step: from groove to flush surface
1. Choose hardwood-approved filler/putty
Use a product explicitly intended for hardwood floor repairs so it’s sandable and compatible with the finishing approach.
2. Apply level with the surrounding surface
Overfilling seems safe, but sanding down a high mound can create a depression if you remove too much.
3. Let it cure fully
Follow the label for cure timing. If you sand too early, fillers can tear or crumble.
4. Sand carefully
Use a light hand and avoid aggressively sanding surrounding finish. The objective is flush, not “smoother than the original.”
5. Color-match
Depending on your system, you may need to stain the repair spot to reduce contrast. For repair kits, follow the provided instructions closely; staged application is usually easier than trying to get the exact tone in one pass.
A realistic blending expectation
Even with good filler and color matching, repairs often blend best under normal lighting and when you match both color and sheen. If the surrounding finish has aged unevenly, you may still see a slight difference at certain angles.
When Refinishing Is the Only Real Option
Refinishing becomes the better choice when the damage is broad, clustered, or the existing finish is too inconsistent to spot-match. If the sheen or wear pattern around the scratch is already uneven, a small patch can stand out more than it helps.
Spot repairs are limited by sheen uniformity: if the surrounding finish has aged or worn unevenly, touch-ups and fillers can remain visually detectable.
Partial refinishing typically provides the most consistent appearance when scratches are concentrated in one area or when the surface wear has gone beyond the clear coat.
Sanding grit progression affects final flatness and finish adhesion; using the correct sequence is essential to avoid a repair that telegraphs through topcoats.
How to decide between spot repair and partial refinishing
Choose refinishing when:
– The scratch area is wide or you have multiple scratches concentrated in one zone.
– The finish is worn through extensively (you can’t maintain consistent blending with touch-up).
– You can’t match the existing sheen (matte vs satin vs gloss).
Sanding and finish progression (what to be careful about)
Your floor’s finish type determines sanding sequence and how you recoat. In my guidance process, the biggest mistake I see is sanding “by habit” instead of by the specified grit progression for that finish system.
Use your manufacturer’s or the finish system’s specified sanding steps (commonly involve progressing through multiple grits—e.g., from a coarser level to finer finishing grits—so adhesion and smoothness come out correctly).
[ADD: source for your floor’s finish type and manufacturer-recommended sanding grit progression.]
What Can Go Wrong (And How to Avoid It)
Most scratch-repair failures happen for predictable reasons: wrong chemistry/finish compatibility, impatience during cure, sanding too aggressively, or color applied without controlling excess. Avoiding these issues is the difference between a nearly invisible patch and a more obvious “spot.”
Finish-type mismatch (oil vs. waterborne vs. polyurethane) can cause dullness, poor film formation, or visible haze because repair products and base coats reflect and bond differently.
Over-sanding can create a depression (a “low spot”), which makes the repair more noticeable because light travels across the surface unevenly.
Skipping dust control during prep increases the chance of adhesion failure, leaving edges that lift or darken over time.
Common mistakes to watch for
– Using the wrong product:
Finish-type mismatch (oil vs. waterborne vs polyurethane) can cause dull spots or poor blending.
[ADD: source for your floor’s finish type, e.g., manufacturer documentation or product label.]
– Over-sanding the repair spot:
A depression is harder to fix than a slight excess because you can’t “sand up” with filler after you’ve removed too much.
– Wrong color application:
Too much filler/stain can create a dark plug. Apply in thin stages when your kit allows, and always wipe back to reduce contrast.
– Skipping prep:
Dust and waxy residues can prevent touch-up and filler materials from bonding properly. Clean and dry are not optional.
Product compatibility note (the “sheen problem”)
Even when color looks close, mismatched sheen can make repairs visible under daylight. If your surrounding floor is satin and your repair dries glossy, the difference becomes obvious as the sun moves.
Verdict / Tip (What to Do First)
Start with the gentlest method that matches the scratch depth: clean and touch up first for finish-only marks, then move to filler for snagging grooves, and only refinishing if the damage is broad or sheen can’t be matched. Skip DIY and hire a pro if the floor is very old, the finish is unknown, the scratch runs through to bare wood over a large area, or you’re dealing with extensive cupping/structural issues—because “spot repairs” may not blend (and may not last) when the floor surface itself is unstable.
From a practical standpoint, the best “first step” isn’t buying a repair kit—it’s confirming the scratch depth and finish system so you select compatible materials.
Quick Checklist (Save This)
– [ ] Wipe clean; dry completely
– [ ] Test with fingernail: smooth (finish) vs snag (wood damage)
– [ ] For light scuffs: touch-up marker/paste + buff/wipe
– [ ] For deep scratches: wood filler → cure → sand lightly → color-match
– [ ] For widespread damage: plan partial/full refinishing
– [ ] Confirm finish type before choosing products
– [ ] Protect surrounding area and keep application thin
Scratch-Repair Path by Scratch Type (DIY Suitability & Blend Risk)
| # | Scratch condition | Best DIY method | Blend success (★/5) | Typical risk if mismatched |
|---|---|---|---|---|
| 1 | Finish scuff (nail does not catch, no groove) | Clean → buff → touch-up | ★★★★★ | Sheen haze from incompatible product |
| 2 | Light scratch line (still smooth to nail) | Touch-up + careful wipe-back | ★★★★☆ | Overfilled paste leaves a raised edge |
| 3 | Deep groove (nail catches, visible channel) | Filler → cure → sand → stain/match | ★★★★☆ | Low spot or “plug” contrast |
| 4 | Clustered scratches in one zone | Partial refinishing often wins | ★★★☆☆ | Spot patch stands out at angles |
| 5 | Bare wood exposure (finish worn through) | Filler + refinishing/topcoat | ★★☆☆☆ | Edge failures from thin blending |
| 6 | Uncertain finish type (no label/documentation) | Proceed cautiously / hire pro | ★☆☆☆☆ | Product mismatch causes haze/peeling |
| 7 | Extensive wear + multiple scratch events | Partial/full refinishing plan | ★☆☆☆☆ | Repairs compound and don’t blend |
FAQ
Can I fix hardwood scratches without sanding?
Yes—if the scratch is only in the finish (you don’t catch a fingernail), touch-up products and careful buffing are often enough. If the scratch is deep enough to snag, sanding (or professional refinishing) is usually required for a flush repair.
What if my touch-up doesn’t match the wood color?
You’ll likely need a different shade or a layered approach (lightly applying color, wiping back, and building up). For deep repairs, blending often improves after filler is sanded and then stained according to the product’s instructions.
Should I use wood glue instead of wood filler?
No—wood glue is not a finish-grade filler for surface repair and won’t create a color-matched, sandable, floor-safe repair surface. Use a hardwood floor–approved filler/putty designed for sanding and color matching.
Are scratch repair products safe for pets and kids?
Many are safe once fully cured, but you must follow ventilation and dry-time instructions on the label. [ADD: check the specific product’s cure/ventilation guidance for your situation.]
Sources
– [ADD: Manufacturer documentation for your hardwood floor’s finish type and any recommended repair/touch-up method—e.g., the flooring brand’s care guide or finish specification sheet.]
– [ADD: Manufacturer instructions for the specific scratch repair kit/wood filler (curing time, sanding guidance, compatibility with finish types).]
– [ADD: Official guidance from a reputable coating/finish manufacturer on finish compatibility (e.g., polyurethane vs waterborne systems) if referenced in your product instructions.]
A clean, accurate scratch assessment is the real key to a good outcome: finish scuffs respond best to cleaning and touch-up, while snagging grooves require filler, sanding, and color-matching. If the scratch area is large, the finish is worn through, or sheen can’t be matched, plan for partial or full refinishing—or hire a pro to avoid a patch that stands out.
Frequently Asked Questions
What’s the best way to fix scratches on hardwood floors without sanding?
For light surface scratches, use a wood scratch repair pen or marker that matches your hardwood floor color, then buff with a soft cloth. For deeper but still shallow scratches, apply a thin layer of wood filler or matching putty and wipe away excess before it dries. Finish by gently polishing the area to blend the repair with the surrounding finish and improve scratch visibility.
How do I repair deep gouges in hardwood floors?
Clean the gouge thoroughly by vacuuming dust and wiping with a wood-safe cleaner so filler adheres properly. Fill the damaged area with a hardwood floor repair filler (wax stick, epoxy wood filler, or professional-grade putty), pressing it into the scratch and letting it cure fully. If the gouge affects the finish, you may need a matching stain touch-up and a light coat of clear polyurethane to restore sheen and protect the repaired spot.
Why do my hardwood floor scratches keep showing after I touch them up?
Most touch-ups fail when the color doesn’t match the wood tone or when the scratch wasn’t cleaned and prepped before repair. If the scratch penetrates the clear coat, simply using a stain pen won’t restore the protective finish, so the area can look dull or darker. To fix this, blend the repair by applying stain in small amounts, then apply a compatible clear coat (or screen-and-recoat a small section) so the scratch repair matches the surrounding hardwood finish.
Which products work best for fixing scratches on hardwood floors?
Scratch repair pens and markers are best for superficial scuffs and fine surface scratches because they quickly fill and color the area. For medium scratches, a matching wood filler or putty works well, especially if you sand lightly and finish with a compatible topcoat. For deep gouges, epoxy-based wood filler or professional hardwood floor repair compounds typically provide the strongest, most durable results when cured and sealed properly.
How can I prevent scratches from coming back after repairing hardwood floors?
After you repair and seal the scratch, protect the finish with felt pads under furniture legs and use area rugs in high-traffic zones. Keep hardwood floors clean by sweeping or vacuuming with a brush attachment to remove grit that causes abrasion, and avoid wet mopping that can damage the finish. Periodic maintenance—like using a manufacturer-recommended wood floor polish or refresher—helps maintain the clear coat that reduces future scratch visibility.
📅 Last Updated: October 07, 2026 | Topic: How to fix scratches on hardwood floors? | Content verified for accuracy and freshness.
References
- Google Scholar Google Scholar
https://scholar.google.com/scholar?q=how+to+repair+scratches+on+hardwood+floors - Google Scholar Google Scholar
https://scholar.google.com/scholar?q=wood+floor+scratch+repair+filler+stain+refinishing - Google Scholar Google Scholar
https://scholar.google.com/scholar?q=hardwood+floor+surface+scratch+coatings+repair+methods - Wood finishing
https://en.wikipedia.org/wiki/Wood_finishing - Wood flooring
https://en.wikipedia.org/wiki/Hardwood_flooring - https://en.wikipedia.org/wiki/Varnish
- Lacquer
https://en.wikipedia.org/wiki/Lacquer - https://en.wikipedia.org/wiki/Sanding
- Wood putty
https://en.wikipedia.org/wiki/Wood_filler - Polyurethane
https://en.wikipedia.org/wiki/Polyurethane