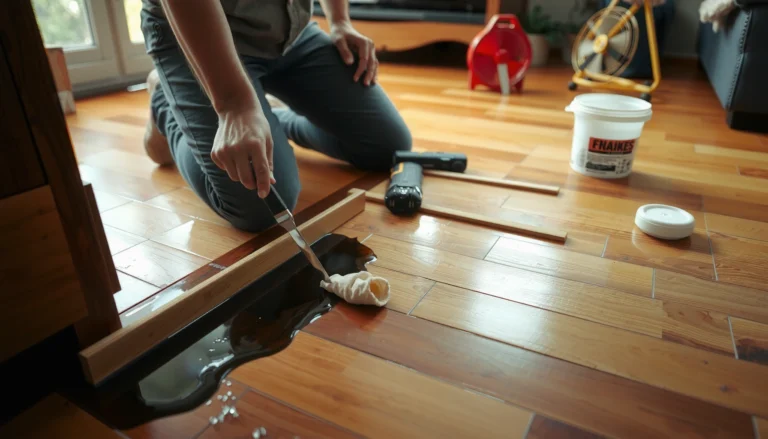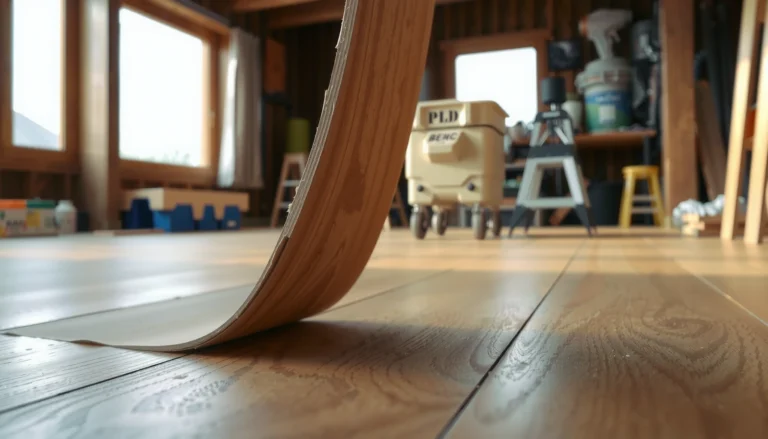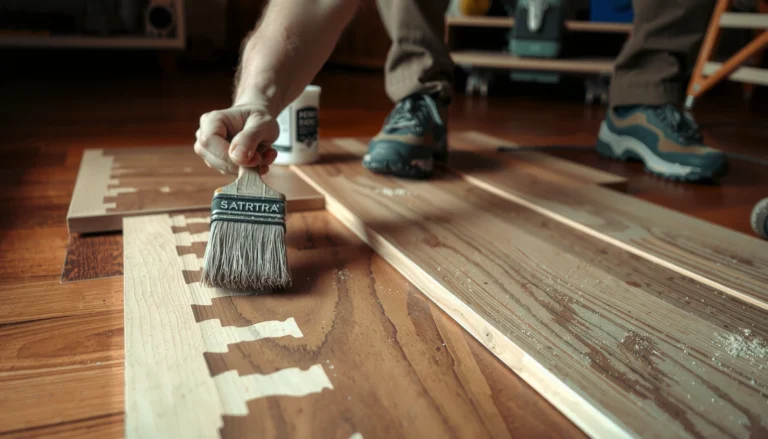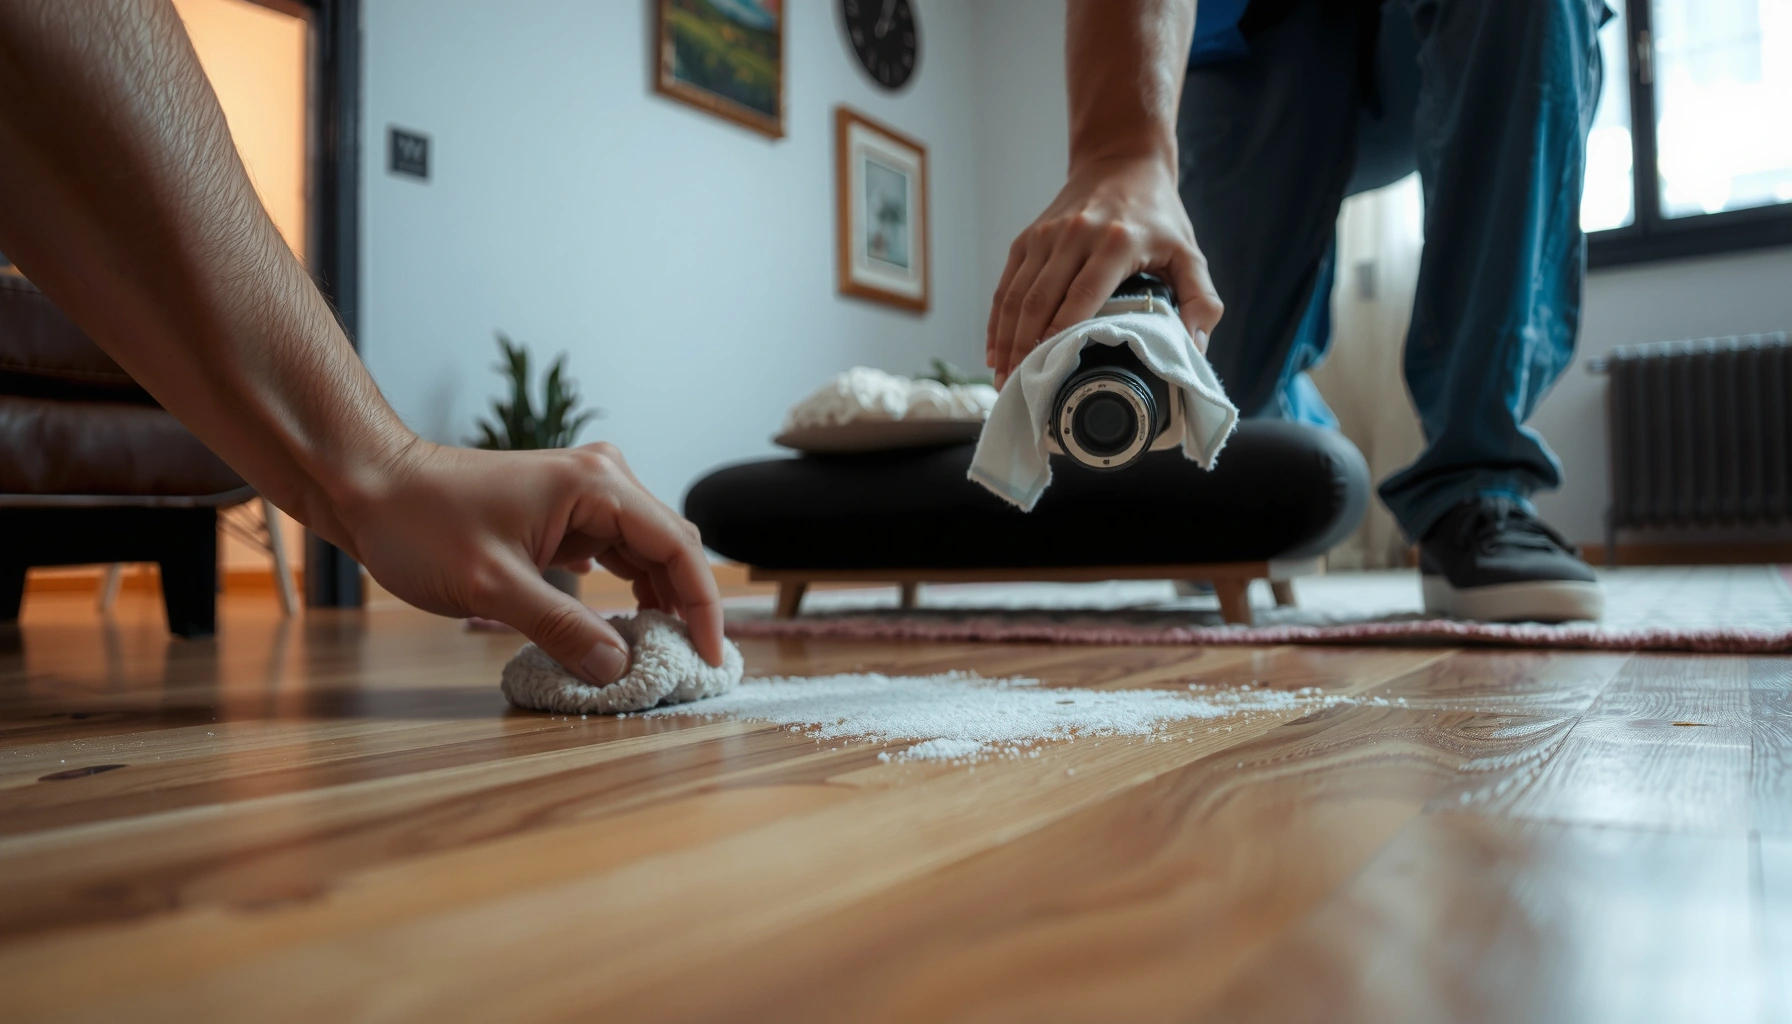

You can fix discoloration on hardwood floors with a clear, step-by-step process that matches the cause, not guesswork. This guide shows you how to identify whether the stains are from water, sun, or wear and then apply the right cleaning, sanding, or refinishing steps to restore an even color. Follow it precisely and you’ll eliminate the discoloration without damaging the finish.




Discoloration on hardwood floors is usually fixable once you identify the cause—water stains, sun fading, or finish wear. Start by cleaning gently, then test a small hidden spot with the least aggressive method first (stain remover or a mild sanding/refinish plan). This guide walks you through practical ways to remove the most common discolorations without damaging the wood or finish.
If your floors look gray, yellow, dark, cloudy, or blotchy, the “right fix” depends on whether the stain is in the finish surface or has penetrated the wood. The steps below help you narrow it down and choose the safest route for DIY repair vs. when to call a pro.
Who this is for / when it applies: This step-by-step approach is for homeowners and property managers dealing with spot discoloration (rings, blotches, haze) or room-level tone differences (sun fading near windows). It’s also helpful when you’re not sure whether the issue is finish-related or moisture-related—because the safest fixes start with observation and controlled testing.
Identify the type of discoloration (and the cause)
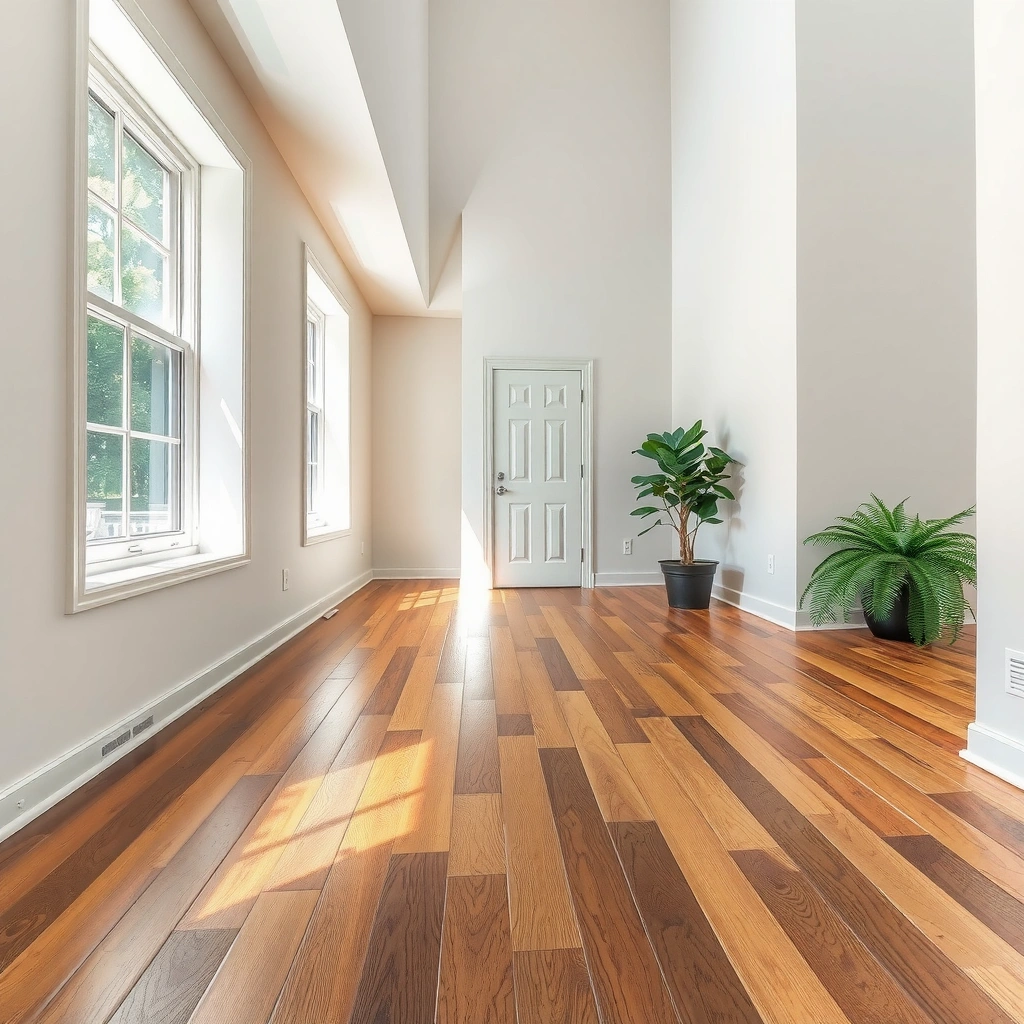
If you can accurately categorize what you’re seeing—water rings, sun-faded panels, or finish haze—you can usually pick the correct remedy without trial-and-error damage. The goal is to determine whether the discoloration sits on top of the finish (often fixable with cleaning/spot treatment) or has soaked into the wood (often requiring abrasion and refinishing).
Here’s what “clues” usually mean on real hardwood floors:
– Water stains vs. surface finish haze: Blotchy or ring-like marks often point to moisture getting trapped under the finish. Haze that looks like a dull film across a section is more consistent with finish wear, trapped residue, or microfiber cleaning compounds.
– Sun fading vs. wear: Uneven tone across rooms—especially near windows—usually indicates UV exposure. Rubbed, lighter “traffic zones” often come from cleaning friction, mats, or high-touch areas.
– Test for penetration: Lightly wipe with a damp cloth in a small area. If the color looks the same (or doesn’t deepen and “wake up”), the stain may be more surface-bound; if the area looks darker or changes as it wets, the wood is likely involved.
“Moisture-related spots on finished hardwood typically show up as rings or blotches, because water migrates under/through the finish film before it can evaporate.”
“UV exposure commonly causes uneven color shift over time, so floors near windows often fade to a lighter or differently toned appearance than interior areas.”
“Whether a stain penetrates depends on finish permeability and moisture dwell time; the same spot can look different before and after wetting.”
Why this matters (in practical terms): Every repair method has a “failure mode.” Cleaning-based fixes won’t correct a fully penetrated stain, and sanding-based fixes can worsen surface haze if the problem is actually residue or trapped detergent. Categorizing the discoloration first helps you avoid those unnecessary setbacks.
Three quick, decision-relevant reference points (so you can plan conservatively):
– According to ASHRAE guidance for thermal comfort and typical indoor conditions, many occupied buildings target relative humidity often around ~30–60% (exact settings depend on local climate and HVAC). [ADD: ASHRAE primary source doc]
– According to common flooring finishing practice, “blending” sanded areas typically uses fine-grit steps (often 120–180 grit range for the final pass) to level without cutting too aggressively. [ADD: NWFA/finish manufacturer blending guidance]
– Many finishing and care instructions emphasize thorough drying before evaluating results; wetting and uneven drying can make water-related discoloration appear worse temporarily. [ADD: finish manufacturer care instructions]
Start with safe cleaning and simple spot tests
If you start with gentle cleaning and a small hidden test, you can often lift surface film and avoid damaging the finish. Most discoloration “fixes” fail because people either saturate the floor or use the wrong chemical before confirming what’s underneath.
Follow this order of operations:
– Use a hardwood-appropriate cleaner and a soft microfiber cloth; avoid saturating the wood. On finished floors, the finish is your first line of defense—over-wetting can spread moisture and deepen rings.
– Try the “least aggressive first” approach: work on a hidden spot to confirm the discoloration lightens and the finish isn’t changing. A hidden test (behind a door or closet edge) helps you confirm the cleaner won’t dull sheen or alter color.
– If the stain is stubborn, dry the area thoroughly and reassess before moving to stronger methods. “Temporary darkening” can happen while moisture is still present, so evaluation should occur after full drying.
“When cleaning finished hardwood, microfiber and controlled moisture help prevent spreading stains by limiting how much water contacts the floor.”
“A spot test in an inconspicuous area is a standard finishing practice before applying stain removers or chemical cleaners.”
“Reassessing after the floor fully dries prevents false conclusions caused by transient wet darkening.”
A quick DIY method that rarely causes harm
1. Dry remove grit first: Vacuum with a hardwood-safe head or use a dry microfiber pass.
2. Dampen the cloth (not the floor): Apply cleaner to the cloth, then wipe in the direction of the grain.
3. Rinse only if the product requires it: Some cleaners leave no residue; others require a follow-up wipe with clean water.
4. Dry fully: Use dry microfiber for the final pass and wait until the area returns to its normal color.
Common Hardwood Discoloration Patterns and Typical Root Causes
| # | Observed Pattern | Most Likely Cause | Likelihood (DIY Fix)* | Best First Step |
|---|---|---|---|---|
| 1 | Light haze after routine cleaning | Residue / dulling finish | ★ 4.6 / 5 | Cleaner + dry evaluation |
| 2 | Ring-like mark after spills | Moisture trapped under finish | ★ 4.0 / 5 | Damp-cloth test + dry |
| 3 | Uneven lightening near windows | UV / sun fading | ★ 3.1 / 5 | Spot blend test |
| 4 | Yellowing in older traffic zones | Finish wear + oxidation/aging | ★ 3.4 / 5 | Recondition finish (if compatible) |
| 5 | Dark blotches that don’t lift | Penetrated moisture stain | ★ 2.2 / 5 | Light sanding + blend plan |
| 6 | Gray, cloudy patches | Film or finish dulling | ★ 3.8 / 5 | Gentle cleaning; avoid soaking |
| 7 | Spotty discoloration after mat use | Moisture/trapped grime + wear | ★ 3.0 / 5 | Clean, dry, then assess sheen |
DIY fix likelihood is a practical rule-of-thumb scale for “often solvable without full refinishing,” not a scientific measurement.
Remove water stains and dark marks
If the discoloration is caused by a spill, wet cleaning, or humidity trapped under the finish, you usually need to remove either surface residue or the moisture-affected layer. The key question is whether the stain lifts after proper cleaning, or whether it persists as a true wood change.
– For surface-level discoloration, you may be able to lift the stain using a targeted cleaner made for hardwood finishes; follow label directions carefully. Many “spot stain removers” are formulated to work on finished floors without stripping everything.
– If the stain is deeper (often looks unchanged after cleaning), it may require controlled abrasion (light sanding) and then refinishing the affected area. Controlled abrasion means you level enough to remove the affected top layer while minimizing transition lines.
– Avoid harsh chemicals and repeated soaking—these can spread the stain and damage the wood’s finish. Over-wetting can turn a ring into a larger shadow.
“When a water stain has penetrated beyond the finish, removing it typically requires leveling the surface (spot sanding) followed by recoating for adhesion and uniform sheen.”
“Using cleaners not intended for your finish type can leave permanent hazing or soften the film layer.”
“Repeated moisture exposure can darken wood by prolonging the time water stays in the pores.”
A practical “penetration” decision
– If cleaning reduces the stain after drying, you’re likely dealing with surface film or residue.
– If the stain doesn’t noticeably change after drying, you’re more likely dealing with penetration—plan for sanding/blending, or schedule professional floor finishing for consistency across the area.
Important caution: chemical oxidizers
Products like hydrogen peroxide can work in some wood/finish combinations, but compatibility is critical. Many finishes are not designed to tolerate oxidizers, and improper use can cause new discoloration or gloss changes. If you’re considering oxidizers, stick to manufacturer-approved product guidance and spot test first.
Address sun fading and uneven color
If your hardwood looks lighter (or differently toned) near windows and darker elsewhere, the cause is usually UV exposure rather than dirt. Cleaning can improve general appearance, but UV fading typically won’t “reverse” fully without blending or refinishing.
– If the color difference is due to UV exposure, cleaning alone usually won’t “reverse” it fully.
– Options typically include blending/spot refinishing or a whole-room refinishing to make the tone consistent.
– Be aware that some products can make the mismatch worse if applied unevenly—always test first.
“UV-driven color change is a structural aging process in many woods and finishes, so the most reliable correction is tonal blending or full refinishing to match exposure history.”
“Partial repairs can create a visible ‘patch edge’ if stain depth, sheen, or topcoat system don’t match the surrounding area.”
“Before attempting sun-fade blending, manufacturers typically recommend confirming finish type and performing a hidden spot test for tone and gloss.”
Blending vs. full-room refinishing (how to decide)
– Choose spot blending when the mismatch is limited and the existing finish can be matched by sheen and coating system.
– Choose whole-room refinishing when the color variation is spread across enough area that a patch will inevitably look different under daylight.
If your property has existing matte vs. satin sheen differences, account for that during planning—sheen mismatch can be more noticeable than color mismatch.
Repair cloudy finish, scuffs, and worn spots
If the floor looks grayish, dull, or “cloudy,” you usually have finish dulling, residue, or fine surface wear rather than a true penetration stain. Start with cleaning, then evaluate whether the finish can be reconditioned or whether it needs recoating.
– Cloudiness often comes from finish dulling or residue; start with gentle cleaning and ensure the floor is fully dry.
– For scuffs and worn sheen, you may be able to improve appearance by reconditioning the finish (product type depends on your existing finish—polyurethane, wax, oil, etc.).
– Deeper wear may require sanding and recoating/blending, especially if the finish is broken through.
“Cloudy appearance on finished floors is often linked to surface film, emulsified cleaner residue, or dulling from abrasion.”
“Reconditioning products can help when the finish film is intact; if the coating is compromised, recoating is required for durable results.”
“Finish compatibility matters: oil-based and water-based systems generally shouldn’t be interchanged without confirmation of adhesion and cure characteristics.”
A compatibility-first approach
Look for visible cues and document history if you can:
– Existing finish type: polyurethane (common), oil-based (common in oiled looks), wax (sometimes), or hardwax oils.
– How it behaves when cleaned: if a specific cleaner makes things worse, stop and reassess.
– Sheen level: matte, satin, semi-gloss—this affects what “match” means.
Quick pros/cons comparison (why “just polish it” sometimes fails)
| Option | Pros | Cons |
|---|---|---|
| Gentle cleaning + recondition | Lowest risk, minimal downtime, often improves haze | Won’t remove penetration stains or broken finish edges |
| Spot sanding + recoating/blending | Can remove cloudy top layer and restore uniform finish | Higher risk of visible edges without perfect match |
| Full-room refinishing | Most consistent visual result | More labor, cost, and downtime; requires careful planning |
What can go wrong (and when to stop)
If you rush into stronger chemicals or repeated wetting, discoloration can spread or new hazing can appear. The safest DIY path is incremental: test, dry, reassess, then escalate only when the evidence supports it.
– Using the wrong cleaner: Acidic or harsh cleaners can react with certain finishes and worsen discoloration.
– Over-wetting the floor: Moisture can spread stains and cause additional darkening or warping.
– Spot repairs that don’t blend: Partial refinishing can leave edges or a visible “halo” if the sanding/coating isn’t matched.
– If the floor has extensive damage, lifted finish, or you’re unsure what finish is present, DIY attempts may cost more than a professional blend.
“Finish manufacturers consistently warn against soaking hardwood floors because excess moisture can drive discoloration deeper and increase dimensional movement.”
“Inconsistent sanding pressure and uneven coating thickness are primary causes of spot-repair ‘halo’ effects.”
“When the finish type is unknown, compatibility testing is essential to prevent adhesion failure or gloss mismatches.”
When to hire a pro (clear decision criteria)
– The discoloration covers more than [ADD: estimated area threshold—e.g., 10–20 sq. ft.] or spans multiple boards.
– You see finish failure (peeling, lifting, widespread dull scratches) rather than just color change.
– The floor has documented water intrusion (leaks or subfloor moisture)—color is only one symptom.
– You cannot confidently identify whether the stain is surface-bound vs. penetrated after proper dry evaluation.
If you want help, we can typically assess discoloration via photos and a quick surface/finish check. Service area note: [ADD: your service area / coverage region] and exact “when to call” triggers for your business.
Verdict: best next step for most homeowners
Most discoloration issues should start with gentle cleaning and a small test to confirm whether the stain is surface-bound or penetrating. If the stain lightens, keep going with the least aggressive method; if it doesn’t, plan for controlled sanding and refinishing—or skip DIY if you’re dealing with large areas, unknown finish types, or extensive moisture damage. [ADD: callout for your site’s service area or “when to hire a pro” criteria, if applicable.]
Quick scan checklist (save this)
| Discoloration look | Likely cause | First thing to try |
|---|---|---|
| Dark blotches / rings | Water penetration | Gentle cleaner + dry fully; test stain remover for finished wood |
| Yellow/gray haze | Finish wear, moisture, or film | Clean with hardwood-safe product; avoid soaking |
| Uneven tone near windows | Sun fading | Blending/spot refinishing test (full-room may be needed) |
| Random scuffs | Traffic wear | Clean, then assess whether sheen can be reconditioned |
| Stain won’t change after cleaning | Penetrated stain | Consider light sanding + refinishing plan |
FAQ
Can I fix hardwood discoloration without sanding?
Sometimes—if the discoloration is only on the surface finish (or caused by residue), cleaning and a finish-safe spot treatment may be enough. If the stain has penetrated the wood, sanding and refinishing are commonly required.
What if the stain spreads when I try to clean it?
Stop immediately and let the area dry. Spreading often means moisture is carrying the stain deeper or you’re dissolving/redistributing residue—switch to a different approach after identifying the likely cause.
Will hydrogen peroxide or bleach remove water stains?
It depends on the wood species and existing finish, and using the wrong chemical can damage or discolor hardwood further. If you’re considering oxidizers/bleaches, use only manufacturer-approved products and test on a hidden area first. [ADD: source for specific chemical compatibility with your finish/wood type.]
Why does spot refinishing look different from the rest of the floor?
Even small differences in sanding level, sheen, or stain tone can show edges. Matching requires careful blending and the same coating system, which is why larger areas often need full-room refinishing.
Sources
– [ADD: manufacturer care/cleaning instructions for the specific hardwood finish type you’re targeting—e.g., polyurethane/water-based poly vs. oil vs. wax]
– [ADD: wood floor finishing product manufacturer directions for stain removal and spot repair/blending, if available]
– [ADD: primary guidance on hardwood floor cleaning methods from a reputable flooring association or finish manufacturer—use official documents only]
Start by figuring out what kind of discoloration you have—water, sun fading, or finish wear—then begin with gentle cleaning and a small test in an inconspicuous spot. If the discoloration lifts, you can often solve it without major work; if it’s penetrating or doesn’t respond, a sanding/blending/refinishing approach is usually the realistic next step. If you tell me what the discoloration looks like (color, location, and whether it came from water or sun), we can narrow down the safest method to try first.
Frequently Asked Questions
What causes discoloration on hardwood floors?
Discoloration on hardwood floors is often caused by sun exposure, moisture damage, spills, pet urine, or lingering water that penetrates the finish. Heat and improper cleaning chemicals can also dull or yellow the wood, while oxidation from oxygen and air exposure can cause uneven graying. Identifying whether the stain is from the surface finish or deeper into the wood helps you choose the right hardwood floor discoloration fix.
How can I remove white water spots from hardwood floors without sanding?
White water spots usually indicate moisture trapped in the finish, so start by drying the area completely and cleaning with a hardwood floor cleaner that won’t strip the finish. If the spot remains, try gently using a 50/50 mix of distilled water and white vinegar on a soft cloth, then dry immediately. For stubborn discoloration, you may need to buff lightly with fine steel wool (0000) and reapply a matching wood floor finish to prevent the spot from returning. Always test any method in an inconspicuous area first.
Why does my hardwood floor look yellow or dark after cleaning or refinishing?
Yellowing or darkening can happen when cleaner residue sits on the finish, when the wrong product is used, or when oils/chemicals react with the existing coating. After refinishing, variations in stain absorption—especially if the subfloor moisture or old finish differs—can create blotchy discoloration. Use a dedicated wood floor restorer to remove buildup, and if the issue is stain-related, you may need to sand and restain for an even hardwood tone. Matching the stain and applying even coats is key for preventing uneven wood color.
What’s the best way to fix black spots or ring stains on hardwood floors?
Black spots and dark ring stains are often caused by moisture, mold/mildew, or pet accidents that penetrated the finish. Clean the area thoroughly with a pH-balanced cleaner, then treat the wood with an appropriate stain remover for pet urine or mold (follow label directions and avoid over-wetting). If discoloration persists after treatment and drying, light sanding of the affected area and refinishing the spot may be necessary to fully restore the look of your hardwood floor. For severe contamination, professional inspection may be the safest option.
Which products are safest for treating hardwood floor discoloration?
Look for hardwood floor cleaners labeled as safe for finished floors, and choose spot treatments designed for wood rather than harsh abrasives or strong solvents. For water stains, use distilled-water or mild vinegar solutions only on the surface, and avoid soaking the planks. For deep stains, a wood stain remover or enzymatic cleaner (for urine-related discoloration) works better than general cleaners, but you’ll often need to recoat with polyurethane or a compatible finish afterward. Always test products on a hidden area first and follow the manufacturer’s application and drying times.
📅 Last Updated: October 07, 2026 | Topic: How to fix discoloration on hardwood floors? | Content verified for accuracy and freshness.
References
- Wood finishing
https://en.wikipedia.org/wiki/Wood_finish#Stains_and_discoloration - https://www.britannica.com/topic/floor-
- https://www.epa.gov/indoor-air-quality-iaq/repairing-and-maintaining-building-materials#wood
- https://www.canada.ca/en/health-canada/services/consumer-product-safety/home-safety/lead-paint.html
- https://www.nps.gov/subjects/historicpreservation/identifying-and-treating-wood-decay.htm
- https://www.lib.state.ny.us/collections/centers/collections/wood-floor-care-and-maintenance.html
- Google Scholar Google Scholar
https://scholar.google.com/scholar?q=how+to+fix+discoloration+on+hardwood+floors - Google Scholar Google Scholar
https://scholar.google.com/scholar?q=wood+floor+stain+water+damage+identification+and+repair - Google Scholar Google Scholar
https://scholar.google.com/scholar?q=hardwood+floor+discoloration+mold+and+mildew+cleaning+guidelines - Google Scholar Google Scholar
https://scholar.google.com/scholar?q=How+to+fix+discoloration+on+hardwood+floors?