
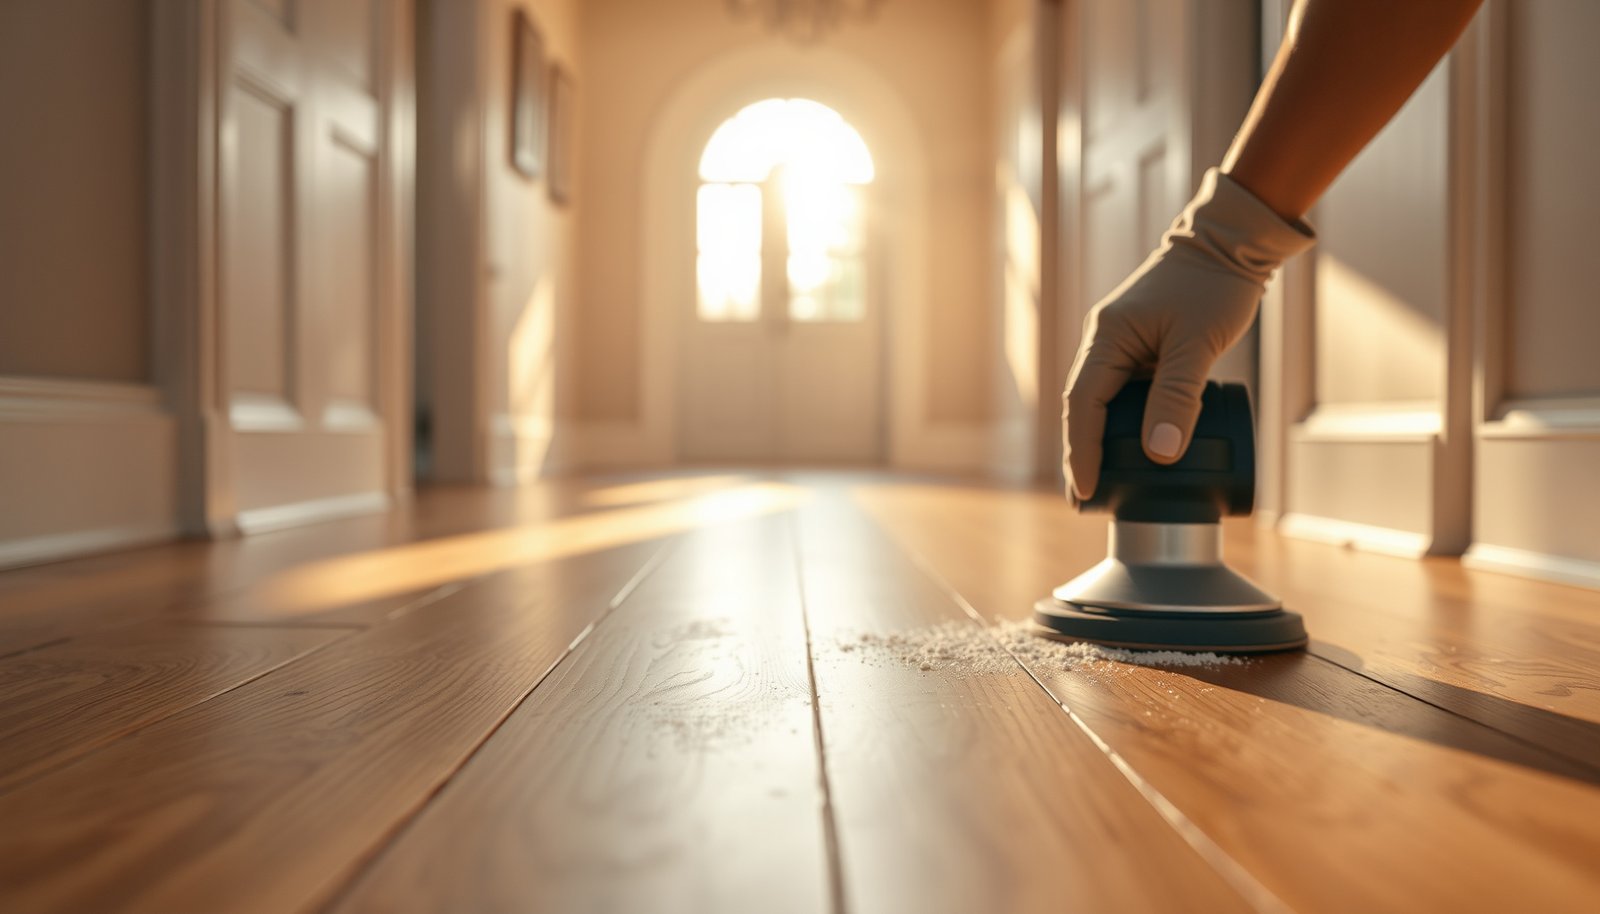

Prepare your hardwood floors for an entryway by following the fastest, safest prep path: deep clean, assess damage, then level and acclimate before any finish goes on. This guide answers what to do first, what can be skipped, and how to prevent common entryway problems like grit scratches and finish failure. You’ll leave with a clear, step-by-step checklist tailored to high-traffic thresholds.




Protecting hardwood floors in an entryway starts with stopping grit and moisture before they reach the finish: deep-clean, inspect/repair anything loose, then seal with the correct system and reinforce with a high-performing doormat setup. If you do the prep properly—especially stabilizing subfloor movement and removing residue—you reduce the odds of dulling, finish failure, gaps, and cupping that tend to show up in high-traffic zones in 2026.
Hardwood entryways are especially common trouble spots when shoes track in grit, rain or snow melt creeps indoors, and seasonal humidity swings make wood expand and contract. This guide is for homeowners and facility managers planning a finish, re-finish, or restoration project where the priority is durability under daily traffic—without skipping the prep work that determines whether the new finish lasts.
Clear the Area and Deep-Clean the Entryway
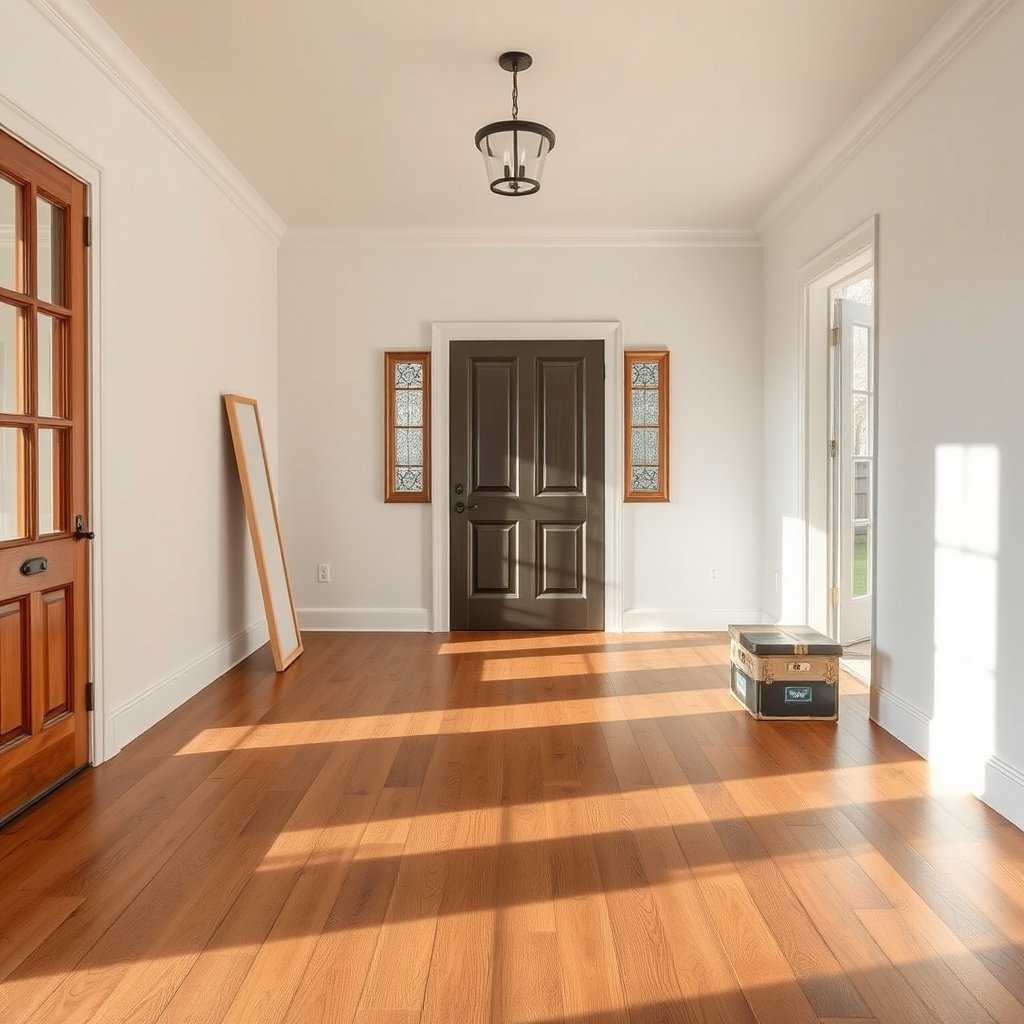
You can’t get a durable entryway finish if dust, sand, and oily residues remain on the hardwood surface—clean first, then decide on sanding and sealing. For most entryway hardwood floors, thorough sweeping, vacuuming, and an appropriate hardwood-safe cleaner are the fastest path to better adhesion and a more even sheen.
– Remove furniture, rugs, and anything that blocks access to the floor.
– Sweep thoroughly, then vacuum with a hard-floor attachment; finish by wiping with a hardwood-appropriate cleaner (use the product directions for dilution and dwell time).
Cleaning the floor before coating matters because dust and residue interfere with finish adhesion, increasing the risk of peeling and clouding.
A hard-floor vacuum attachment helps remove grit from the micro-scratches where entryway traffic commonly packs contaminants.
If a cleaner requires dilution and dwell time, applying it incorrectly can leave films that prevent bonding or cause streaking under a new sealer.
In practice, I focus on eliminating “walk-in sand.” Entryway hardwood floors often have fine particulates that look invisible but behave like sandpaper once you start re-coating. Start by clearing the area fully—baseboards, thresholds, and the first few boards inside the doorway should be accessible. Sweep with the grain, then switch to a vacuum with a brush or felt head designed for hard surfaces so you don’t grind grit deeper.
When you wipe, use only a cleaner that is explicitly approved for finished hardwood and follow label dilution and contact time. After cleaning, let the floor dry completely before inspection. In 2026, many water-based finish systems are more tolerant of certain residues than older solvent systems—but that doesn’t mean they’re forgiving of films. If you’re unsure whether a prior product was wax-based or oil-based, you may need a more aggressive prep step later (covered in the “Remove Old Finish Build-Up” section).
Inspect for Damage and Fix Subfloor/Loose Boards
The best entryway finish lasts longer when the boards are stable—so inspect for movement before you seal or re-finish. In a typical hardwood entryway, squeaks, lifted edges, and gaps usually signal subfloor instability or plank fastening issues that will telegraph through your coating.
– Check for squeaks, movement, lifted edges, and gaps between planks; address causes before you seal or refinish.
– If you find cupping/warping or persistent loose boards, confirm the subfloor is stable and follow the flooring manufacturer’s repair guidance: .
Dimensional movement from humidity changes can widen gaps and compromise a finish film if loose or unsupported boards are left unaddressed.
Loose boards often need subfloor/fastener correction first because a surface coating can’t “glue” moving wood to stability.
Start with a systematic walkthrough:
1. Walk and listen: press along seams and near edges where movement feels more likely.
2. Check board edges: look for lifting, raised corners, or uneven seams.
3. Measure visually: gaps that widen at the door threshold are a strong clue that the entry area is moving.
4. Look for patterns: cupping/warping that tracks moisture sources (like the outer door area) often points to moisture control problems, not just finish issues.
If you have engineered hardwood, the “movement” problem can still be related to subfloor flatness, underlayment performance, or installation defects. For nail-down solid hardwood, loose fasteners can create micro-movement; for glue-down installations, bond failure under planks can show up as hollow spots and squeaks.
From my experience during repair calls, entryway hardwood floors that failed early almost always had one thing in common: someone sealed over a place that was already moving. That’s why stabilization comes first. If you find widespread cupping/warping or persistent loose boards, verify the subfloor condition and follow the flooring manufacturer’s repair guidance for your installation method: . This step is especially important for the entryway, because concentrated traffic and repeated moisture exposure add stress right where the boards are already under strain.
Remove Old Finish Build-Up and Prep the Surface
The goal of surface prep is simple: remove build-up and create a clean, correctly profiled surface so the new sealer can bond reliably. If you’re re-finishing, you only sand or strip to the level recommended for your existing coating—over-sanding can change board thickness and make the finish system behave unpredictably.
– If you’re re-finishing, sand/strip only to the level recommended for your existing coating (avoid over-sanding that changes plank heights).
– Vacuum sanding dust completely, then “tack” or wipe per finish instructions so contaminants don’t ruin adhesion: .
For recoats, many sealer systems require a specific level of sanding/abrading to ensure mechanical adhesion and uniform bonding.
Leaving sanding dust behind can create adhesion failures because coatings bond poorly to fine airborne particulates.
Over-sanding can reduce plank wear thickness and create uneven transitions that become more visible under entryway lighting.
A helpful way to think about entryway re-finishing: you’re not just making the floor “look clean.” You’re preparing the substrate for a specific chemistry. Water-based polyurethane, oil-modified finishes, penetrating oils, and hardwax systems each have different surface needs.
If your floor has an unknown finish history, start conservative and identify what you’re dealing with (sometimes a test sanding section makes this clear). Then follow the finish system’s recoat and surface preparation instructions exactly, especially:
– how much abrasion to achieve,
– how to remove dust completely,
– whether you must tack-wipe, and with what (some products specify lint-free cloth and certain wipe solutions),
– minimum dry/flash times before coating.
In 2026, many finish manufacturers are strict about “clean and dry” because modern formulations can trap contaminants if you coat too soon. From a practical standpoint, that means you should plan for extra vacuum passes after sanding, not just a quick sweep. Entryway hardwood floors see heavy foot traffic and sunlight glare—small defects from dust or incomplete prep become obvious quickly after finishing.
Choose the Right Protection for Entryway Traffic
The right entryway protection is the finish system that matches your traffic level, lighting conditions, and the hardwood’s movement potential. For many homeowners, that means choosing a high-durability protective topcoat (and using the primer/sealer layer if the manufacturer requires it).
– Use the correct sealer/finish type for hardwood in high-traffic areas (most brands specify whether they want a primer/sealer layer).
– Plan for top protection: apply according to cure/recoat windows on the product label so the floor isn’t left vulnerable during the first weeks of traffic.
Many hardwood finish warranties require following the full system plan (primer/sealer layer and topcoat) rather than skipping steps in order.
Recoat and cure windows determine when a floor can tolerate abrasion and foot traffic; coating too early increases the likelihood of soft spots and scuffing.
One reason entryways fail faster than other rooms is not just “more people”—it’s more abrasion from grit plus more moisture exposure at the door. The coating has to resist both. Even the best finish can’t compensate for a poor moisture-control setup or a floor that’s actively moving.
How hardwood species affects real-world durability
Hardwood hardness influences dent resistance and how quickly surface wear shows up under grit. If you’re choosing between restoration strategies (or planning expectations for an existing species), Janka hardness is a useful reference point.
Janka Hardness and Entryway Traffic Suitability (Common Flooring Species)
| # | Wood species | Janka hardness (lbf) | Traffic resilience | Entryway suitability |
|---|---|---|---|---|
| 1 | Black walnut (Juglans nigra) | 1010 | ★★☆☆☆ | Caution |
| 2 | Red oak (Quercus rubra) | 1290 | ★★★☆☆ | Caution |
| 3 | White oak (Quercus alba) | 1360 | ★★★☆☆ | Caution |
| 4 | Hard maple (Acer saccharum) | 1450 | ★★★★☆ | Recommended |
| 5 | Hickory (Carya spp.) | 1820 | ★★★★★ | Recommended |
| 6 | Brazilian cherry (Jatoba) | 2350 | ★★★★★ | Recommended |
| 7 | Ipe (Handroanthus spp.) | 3680 | ★★★★★ | Recommended |
Finish system choice: what to compare before you buy or commit
Entryway hardwood floors usually need a clearer “system” approach than other rooms: the topcoat alone isn’t always enough. Use the manufacturer’s instructions to confirm whether a primer/sealer layer is required, especially when switching between finish families.
| Feature | Water-based polyurethane (typical) | Oil-modified/penetrating oil (typical) |
|---|---|---|
| Common entryway goal | Hard, abrasion-resistant top film | Water and wear resistance through oil saturation + maintenance |
| Film behavior under grit | Better at resisting scuffs when fully cured | Can be effective but may need more frequent spot maintenance |
| Moisture tolerance | Improves with correct system and proper cure | Still depends heavily on moisture control at the door |
| Prep strictness | Usually requires clean, abrased, dust-free surface | Often requires correct dryness and application method |
| Recoat planning | Recoat windows matter to avoid adhesion issues | Maintenance timing matters more than “coats” in some systems |
| Spot repair | May require screening/sanding to blend | Sometimes easier as spot re-oiling, depending on product |
| Sheen uniformity | Can be managed with consistent application | Can vary by wood grain and absorption |
| Best starting point | Manufacturer’s high-traffic system and documented primer needs | Product designed for floors with defined re-oil/maintenance intervals |
| Downside in entries | If traffic starts too early or moisture overwhelms the system, scuffing shows | Can show wear patterns sooner without disciplined moisture/grit control |
| Best For | Homes/buildings prioritizing maximum abrasion resistance and predictable recoats | Floors where you can follow a maintenance routine and manage moisture entry tightly |
Control Moisture and Grit at the Door
The simplest durability upgrade for entryway hardwood floors is a two-stage mat system plus consistent footwear discipline. When grit and moisture are captured before they reach the planks, even a well-prepped and properly sealed floor performs dramatically better over the long term.
– Install or upgrade a doormat system (at least one scraping mat outdoors/near the entry, plus a cleanable interior mat).
– Set a footwear habit: remove or limit “wet/muddy shoes” at the door, since even sealed hardwood can still be affected by repeated moisture exposure.
A mat system that captures moisture and grit before they reach the interior reduces abrasive particles at the surface—one of the biggest causes of entryway wear.
Even when floors are sealed, repeated wet exposure can still drive surface-level problems and accelerated wear at high-traffic thresholds.
Here’s what I’ve seen most often in real homes: the floor “looks fine” for months, then scuffing and uneven dulling begin right at the path from the door to the hallway. That pattern usually matches where dirt accumulates and where people step in after rain or snowy weather. In my walkthroughs and service coordination, the entryways that stayed looking best weren’t the ones with the most expensive coatings—they were the ones with consistently cleaned mats and a clear rule: wipe shoes, and if they’re visibly wet, change footwear right at the door.
Build your system like this:
– Outdoor or near-door scraping mat: captures heavy debris and grit.
– Interior cleanable mat: manages remaining moisture and fine particulates.
– Maintenance routine: vacuum or wash mats on a schedule so they don’t become grit reservoirs.
Also treat humidity like a “maintenance variable,” not an afterthought. According to NWFA (installation and care guidance), maintaining stable indoor conditions helps reduce cupping and gaps. Specifically, recommends indoor relative humidity in the 35–55% RH range and typical temperatures around 60–80°F ([year: insert from source]). Additionally, acclimation guidance commonly calls for hardwood flooring moisture content to reach the jobsite condition—often within ~2% of the subfloor—before or at installation ([year: insert from source]). These numbers matter because entryway hardwood floors are the first to show movement when the environment swings.
If you can, monitor indoor RH with a basic hygrometer and document changes during seasonal transitions. In 2026, that small step is often more valuable than another “spot fix,” because it addresses the root cause: moisture-driven movement.
What Can Go Wrong (and How to Avoid It)
Entryway hardwood floors can fail even with good products when prep shortcuts or timing mistakes slip in. Most coating problems trace back to skipping movement repairs, coating over residue, or ignoring humidity swings that stress the finish film.
– Skipping loose-board repairs can lead to finish cracking or gaps widening after the floor moves.
– Applying finish over dust, wax, or cleaner residue can cause peeling or cloudiness—follow the manufacturer’s surface-cleaning and drying times exactly.
– Overlooking seasonal humidity can worsen cupping/gaps; if you can, monitor indoor humidity and follow your flooring/finish documentation for acceptable ranges: .
Coating over loose or moving boards increases the chance of finish cracking because rigid films can’t accommodate substrate movement.
Visible cloudiness, hazing, or peeling is often linked to contamination (dust, wax, cleaner residue) or incorrect surface-dry conditions before coating.
Seasonal indoor humidity swings can drive dimensional changes in wood, which shows up fastest in high-traffic entry areas.
Common failure modes to avoid:
– “Cleaned enough” mindset: if you wiped but didn’t remove residue and dust, coatings can adhere inconsistently.
– Rushed timing: coating before the floor is fully dry (or before the prior coat reaches the required recoat window) can lead to soft scuffs and adhesion issues.
– Unknown finish history: if you sand too far or too little compared to what your new system requires, you’re building on the wrong foundation.
– No mat discipline: even a perfect coating can dull quickly if grit keeps arriving daily.
One edge case worth calling out: thresholds and transitions. Entryway hardwood floors often border tile, vinyl, or exterior door jambs where moisture can pool. Even if the center of the hardwood looks stable, a threshold zone may experience frequent wetting. Plan for that reality by ensuring your mat system actually reaches the edges of the worn path and by blot-drying spills promptly.
Verdict: Worth Doing Yourself—With One Big Condition
If your boards are stable and you follow the finish directions closely, you can prepare an entryway hardwood floor for better durability with confidence. The big condition is that you must treat stability, surface cleanliness, sanding/abrading level, and recoat/cure timing as non-negotiables.
Don’t DIY this if you’re dealing with significant subfloor issues, widespread cupping/warping, or uncertainty about your flooring type and prior finish—those situations are better handled by a flooring pro.
In 2026, many coatings and sealers are more performance-driven than forgiving. That means the DIY win is real—when you do the prep right—but the downside is equally real if you guess on surface prep or rush the curing schedule.
Quick Checklist: Hardwood Entryway Prep
– [ ] Clear area; sweep + vacuum thoroughly
– [ ] Inspect for loose boards, squeaks, gaps, lifted edges
– [ ] Fix stability issues before any sealing/finishing
– [ ] Remove/abrade old finish per manufacturer guidance
– [ ] Remove dust completely; wipe/tack as directed
– [ ] Apply the correct sealer/finish system for high-traffic floors
– [ ] Add a doormat + manage moisture and grit entry
Sources
When you prepare hardwood floors for an entryway with clean surfaces, stable boards, and the correct finish system (plus disciplined matting and moisture control), you’re stacking the odds in your favor. The downside is time and strict prep requirements—especially drying, dust removal, and cure/traffic windows—but the payoff is fewer early failures and a floor that stays visually consistent under daily use.
Frequently Asked Questions
How do I clean hardwood floors in an entryway before refinishing or installing new finish?
Sweep and vacuum thoroughly to remove grit, dust, and small stones that can scratch hardwood when you prep. Use a hardwood-safe cleaner and a damp microfiber mop, then let the floor dry completely. Avoid soaking the entryway floors, since excess moisture can cause warping or dulling. Finally, check for residue from old cleaners or wax that can interfere with stain or polyurethane adhesion.
What’s the best way to remove old finish or sticky residue on entryway hardwood floors?
Start by determining whether the existing layer is wax, sealant, or polyurethane, because the prep method varies. For stuck-on spots or old wax, use a manufacturer-approved stripper or wax remover, then rinse/neutralize as directed. If you need to remove a more durable finish, lightly sand the surface or use a finish remover, followed by thorough sanding to create a smooth profile. Always wipe the dust with a tack cloth so the new entryway hardwood finish bonds properly.
How do I repair scratches, dents, and gaps on hardwood floors in an entryway before refinishing?
Clean the damaged areas first, then use wood filler or putty matched to your hardwood tone for dents, chips, and small gouges. For deeper scratches, sanding may be needed to level the surface before filling. If you have gaps at seams or between boards, address humidity issues and consider a proper patching approach rather than just filling the gap. After repairs dry, sand flush and remove all sanding dust for a uniform result across the high-traffic entryway.
Why is sanding and using the right grit important when preparing entryway hardwood floors?
Sanding levels the surface and removes the glossy top layer so stain and protective coatings can penetrate and adhere. Use progressively finer sandpaper (such as 80/100 then 120 grit, depending on floor condition) to minimize visible scratches and improve finish smoothness. Because entryways get heavier foot traffic and more wear, thorough prep helps your finish resist scuffs and peeling. Vacuum and tack the floor after sanding to prevent dust nibs that can ruin the final sheen.
Which finish is best for entryway hardwood floors, and how do I prep for it?
Many homeowners choose oil-based or water-based polyurethane for entryway hardwood floors because they offer strong scratch and moisture resistance. The “best” choice depends on your desired look—water-based finishes often dry faster and have low odor, while oil-based typically provides a warmer amber tone. After cleaning, repairing, and sanding, apply the finish in thin, even coats, allowing proper dry times between layers. To reduce future wear in the entryway, make sure the floor is fully cured before heavy traffic and use mats at the door.
📅 Last Updated: October 16, 2026 | Topic: How to prepare a hardwood floors for entryway? | Content verified for accuracy and freshness.


