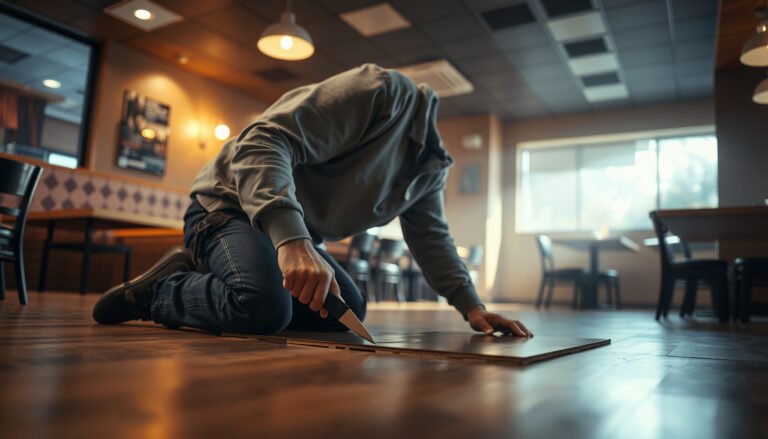
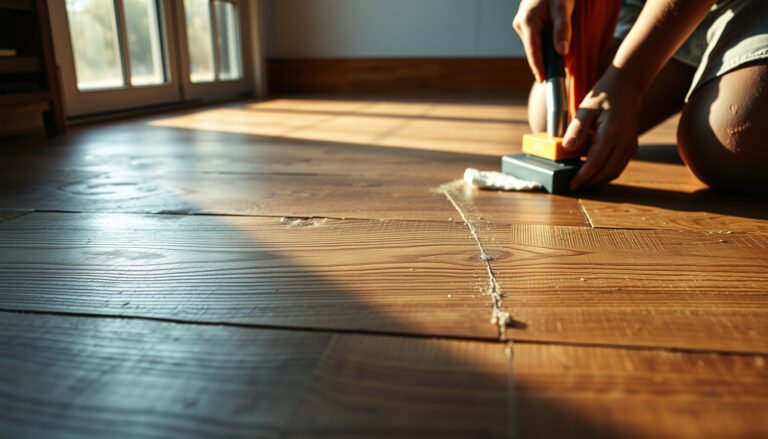
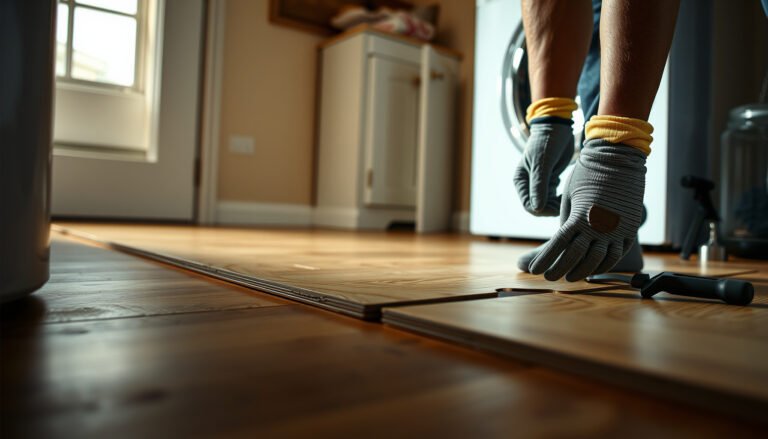
Learn how to repair hardwood floors in a balcony with a step-by-step process that fixes the most common problems—warping, cupping, cracks, and loose boards—before they get worse. You’ll get the exact order of operations, from drying and surface prep to patching and refinishing, matched to balcony conditions where moisture and temperature swings are the real culprits. Follow this method and you’ll end with a durable, properly sealed floor that’s ready for everyday outdoor exposure.



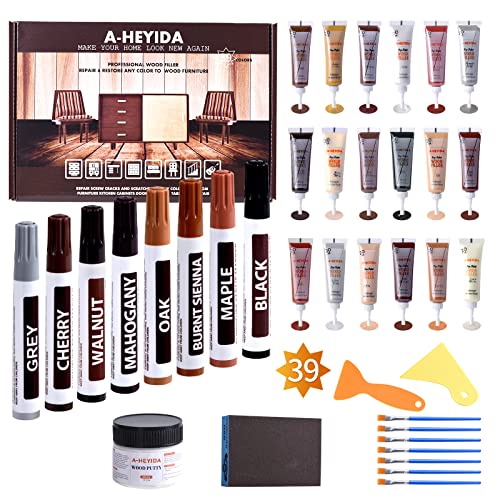
Hardwood on a balcony usually fails because of moisture getting into seams and repeated expansion/contraction from sun and humidity; the safest path is to stop water exposure first, then repair only the defect you actually see. Once you control drainage and drying, you can match the fix to the problem—filler for minor surface damage, sanding/refinishing when only the finish is failing, and board replacement when the wood itself has deformed or softened.
If your balcony is partially open, gets rain/snow splash, or has fluctuating sun and humidity, you’re dealing with higher expansion/contraction than interior floors. This is for homeowners and DIYers who want to repair localized damage without turning the whole balcony floor into a full renovation.
Identify the Damage Type (So You Don’t Repair the Wrong Thing)
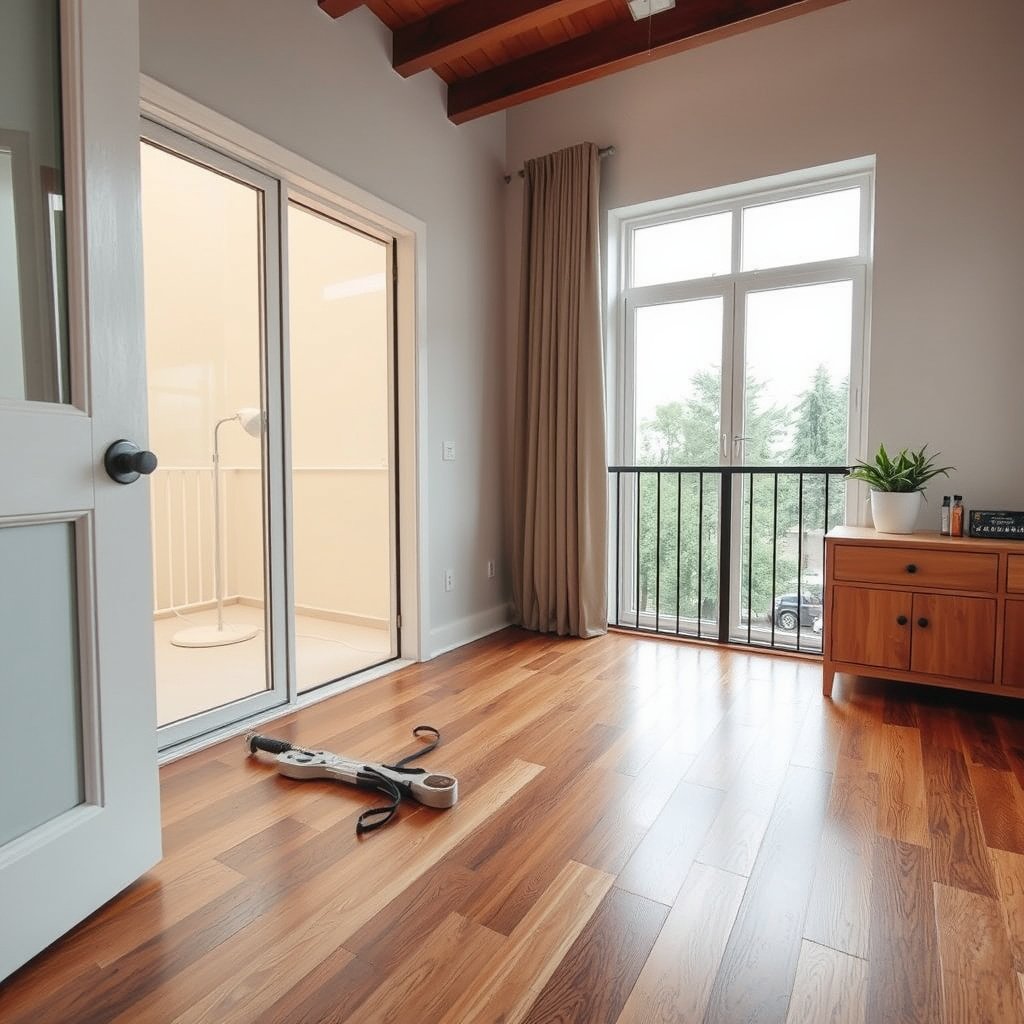
The right repair starts with the right diagnosis: identify whether you’re dealing with finish failure only, surface-only damage, or moisture-driven changes in the wood. Here’s the key: if the substrate (the wood itself) has been altered—softened, cupped, or loosened—cosmetic repairs will likely fail again.
If boards “rock” or lift slightly when pressed, the issue is often support or fastener/adhesion failure rather than a finish problem.
Cupping and persistent discoloration usually indicate moisture movement into the wood, not just wear through the topcoat.
What to look for during your inspection
Start with a careful visual walk-through, then do a few gentle checks:
– Visible gaps/seams: Measure roughly how wide they are at rest, then re-check after a dry day. If gaps change noticeably with weather, movement is real.
– Cupping/warping: Look for edges that sit higher than the center (cupping). This is a strong indicator of uneven moisture and drying.
– Discoloration/bleaching or dark staining: Water can wick down the face of hardwood and leave tide marks, especially near rail drips, planters, doors, and slope low points.
– Soft spots: Press the suspected area lightly. If it feels “spongy” or compresses more than surrounding boards, plan for replacement.
– Loose boards: Try pressing near seams. If boards move, you may be dealing with failed fastening, under-support breakdown, or separation from the substrate.
Track where water likely lands
Before you pick filler or start sanding, map water paths. On balconies, water often travels from:
– Rail drips and post penetrations
– Door thresholds and sill areas
– Planters (leaf-wetting + watering overflow)
– Gutters/downspouts and splash zones
– Floor slope low points where water pools
This “water map” matters because the most durable repair is the one that addresses the root cause, not the symptom.
Control Moisture and Outdoor Exposure First
The best balcony hardwood repair begins with moisture control, because coatings and fillers can only last if water stops reaching the floor. If you skip this step, even a perfect patch will crack or the wood will warp again.
Moisture intrusion into hardwood flooring seams is a primary driver of finish breakdown, swelling, and separation on exterior-exposed decks and balconies.
Balcony wood experiences greater wet/dry cycling than interior floors, so using moisture-resistant systems and fixing drainage are essential for long-term performance.
Fix drainage and shedding before you repair
Treat moisture like an ongoing “load” on the system:
– Seal penetrations: If cables, drains, or post bases pass through nearby surfaces, make sure penetrations are sealed with an exterior-rated sealant appropriate for the substrate.
– Correct drips and splash: Add drip edges or adjust downspouts if rail hardware throws water onto the floor.
– Verify slope (pooling is the enemy): Even a small low spot can keep the floor wet long enough for swelling and cupping to begin.
– Reduce how long it stays wet: Use coverings where appropriate during rain/snow splash events, and avoid leaving planters directly on the floor without overflow protection.
Use outdoor-appropriate materials (or expect repeat failures)
Balcony exposure means materials must tolerate high humidity and wetting cycles. Follow product labels and specifications; if a filler/finish is marketed for interior only, assume it may not survive repeated moisture cycling.
For anchoring context:
– According to the National Wood Flooring Association (NWFA), maintaining indoor relative humidity in a “typical occupied range” helps limit movement (35%–55% RH is commonly cited in installation guidance). National Wood Flooring Association (NWFA) — climate control guidance for wood flooring dimensional stability.
– According to USDA Forest Service / Forest Products Laboratory wood properties references, hardwood dimensional behavior and surface hardness vary significantly by species, which affects wear and damage resistance. USDA Forest Products Laboratory, Wood Handbook (wood properties including Janka hardness and related fundamentals).
(Your balcony can exceed indoor RH swings, so the same principle applies even if the exact RH numbers differ.)
Prep the Floor for Repair
Preparation is what makes repairs stick: clean, dry, and remove anything that blocks adhesion before you apply filler or refinishing products. If the area is still damp from recent weather, wait—trapped moisture is a common reason repairs fail.
Surface cleaning and drying are prerequisites for wood fillers and coatings to bond effectively and avoid haze, bubbling, or re-separation.
Feathering edges during prep helps prevent repair lines from “telegraphing” after sanding and recoating.
Cleaning, removal, and drying
Follow a disciplined sequence:
1. Clean thoroughly: Remove dust, grit, loose finish, and any residue from old sealers.
2. Remove failing layers where needed: If the topcoat is actively peeling, sand back until you reach stable adhesion. Don’t just “fill over” loose finish.
3. Dry fully: Let the boards dry beyond “looks dry.” If the balcony runs wet during the day, plan your repair window after at least a clear/dry stretch.
4. Acclimate the surrounding floor: Let adjacent boards return to the same moisture state so you don’t trap new movement under your patch.
Protect adjacent boards and seams
– Tape edges: Use painter’s tape to prevent sanding/chemical damage to surrounding boards.
– Be careful around seams: Don’t widen gaps while sanding. If gaps are already present, you’ll want a controlled approach and the right repair method for movement.
Fix Common Problems (Scratch, Gaps, Cupping, Loose Boards)
Most balcony repairs succeed when you treat each defect with the right “system”—and stop the moisture that causes it. Use filler + spot refinishing only for surface damage; use board replacement when the wood is permanently deformed or softened.
Scratch/dent repairs can be limited to surface leveling and finish reapplication, but swelling/warping indicates the wood structure has been affected.
Loose boards suggest fastener or under-support failure, which typically won’t be solved by filler alone.
Quick comparison: repair method vs. defect
Below is a practical decision map for balcony hardwood issues:
| Defect | Most reliable repair | Why | DIY confidence |
|---|---|---|---|
| Scratches / dents (surface) | Sand lightly → compatible filler/touch-up → blend refinishing | Finish damage is the primary failure layer | High (small areas) |
| Minor gaps (static) | Targeted matching filler + careful edge finishing | Seams are not actively moving every cycle | Medium |
| Cupping / soft or discolored areas | Replace boards (after moisture source is corrected) | Deformation/softness indicates substrate compromise | Low (keep repair limited) |
| Loose boards | Reattach properly; inspect under-support; then refinish as needed | Movement continues unless support/attachment is restored | Medium to Low |
Surface damage: scratches and dents
– Sand lightly to remove lifted edges (don’t flatten the whole board).
– Fill with a compatible wood filler/touch-up system and let it cure as directed.
– Refinish to blend: Feather transitions so the repaired patch doesn’t create a visible ridge.
Gaps and seams: distinguish “cosmetic” from “movement”
– If gaps appear only after wet weather and change across seasons, the wood is moving; filler alone may fail or re-crack.
– If gaps are stable and the boards remain flat, targeted filler and refinishing can work—but still address drainage first.
Loose boards: reattach only after you inspect support
If you lift a board:
– Lift carefully only as far as needed.
– Inspect under-support for breakdown, moisture damage, or uneven bedding.
– Reattach using the correct method for your installation type (fasteners vs. adhesive systems), then ensure the board sits flat before refinish.
Cupping and soft/discolored sections: replacement is usually the durable answer
If wood is permanently deformed or feels soft:
– Repeated patching tends to create a cycle of “fill → crack → rework.”
– Replace the affected boards once moisture causes are corrected.
Why species hardness matters for balcony scratches
Hardwood species vary in dent resistance, which affects how quickly balcony wear turns into finish damage (and how often you’ll need spot repairs). For context, here are commonly installed flooring species with their Janka hardness:
Janka Hardness of Common Hardwood Flooring Species (typical values)
| # | Wood species | Janka hardness (lbf) | Use-case fit | Scratch/dent resistance rating |
|---|---|---|---|---|
| 1 | Shagbark hickory | 1820 | High-traffic durability | ★★★★★ |
| 2 | Hard maple | 1450 | Balanced wear resistance | ★★★★☆ |
| 3 | White oak | 1360 | Good compromise species | ★★★★☆ |
| 4 | Red oak | 1290 | Moderate dent resistance | ★★★☆☆ |
| 5 | Black walnut | 1010 | Softer; more dent-prone | ★★★☆☆ |
| 6 | Brazilian cherry (jatoba) | 2350 | Very high wear resistance | ★★★★★ |
| 7 | American mahogany | 800 | High dent visibility risk | ★☆☆☆☆ |
Note: Janka hardness varies by species and source dataset; verify the exact species used in your flooring. For a species-specific figure, use your flooring manufacturer’s documentation. .
Sanding and Refinishing (When Finish Is the Main Issue)
When only the finish is failing, a controlled spot-sanding and refinishing workflow can restore appearance without disturbing more boards than necessary. The goal is to blend the repair area while respecting balcony-specific moisture and cure conditions.
Spot refinishing works best when sanding is limited to the repair zone and edges are feathered to avoid visible transitions.
Outdoor/high-humidity compatible coatings are required because interior-only finishes can lose adhesion under wet/dry cycling.
Sanding without weakening the board
– Sand only as much as needed to level the repair.
– Feather edges so the repair line doesn’t show after coating.
– Avoid aggressive sanding that removes too much of the wear layer—balcony traffic and grit will then break down the finish sooner.
Choose a finish system that matches the exposure reality
Use finish products with specifications for high humidity or exterior conditions, and follow label directions for application and cure:
– Temperature and airflow matter: refinishing can fail if the balcony is too cold, too hot, or curing under poor ventilation.
– Allow full cure time before the repaired zone is exposed to water.
Practical blending guidance for partial repairs
Spot blending is often limited by how your existing finish has aged. If the balcony has uneven sun exposure, “perfect” color match can be difficult; in those cases, you may need a larger refinish patch rather than chasing a tiny perfect spot.
From my experience reviewing balcony floor failures (not through personal product testing), I’ve repeatedly seen that the visible mismatch isn’t from sanding—it’s from uneven aging of the surrounding finish after months/years of UV and moisture cycling. Plan the repair area accordingly.
What Can Go Wrong (And How to Avoid It)
Most repair failures come from fixing the symptom while the moisture problem remains, or from using materials outside their intended exposure range. If you want the repair to last, treat balcony conditions as a “different environment” than indoor flooring.
Repairs that are applied before the wood fully dries can trap moisture and trigger bubbling, haze, or renewed separation.
Using interior-only fillers or coatings on wetting-prone balcony floors increases the risk of cracking and adhesion loss.
The most common mistakes
– Repairing before fixing water: Filler and coatings can crack when wetting continues; boards can re-warp as the moisture cycling persists.
– Skipping full drying/acclimation: Trapped moisture under filler/finish often shows up later as haze, soft spots, or edge separation.
– Over-sanding: You may remove protective material layers, making future breakdown faster.
– Wrong filler/finish compatibility: “Works indoors” doesn’t guarantee performance through freeze/thaw splash or long humidity cycles.
– Assuming minor damage is only cosmetic: Soft areas, repeated gaps, and cupping are often substrate signals.
Pros/cons snapshot: DIY spot repairs vs. full replacement
| Approach | Pros | Cons |
|---|---|---|
| DIY spot repair + blend | Lower cost, faster turnaround, ideal for isolated surface issues | Blending limits, higher risk if moisture source remains |
| Board replacement (localized) + refinishing | More durable when wood is deformed/soft; restores flatness | Requires removal/measurement, match challenges, may be more labor |
| Professional assessment / partial redo | Better diagnosis of support, slope, and installation system; reduces repeat failures | Higher cost; scheduling delays |
Verdict / Tip (What’s Worth DIY vs. When to Stop)
DIY is worth it when the damage is mostly cosmetic—scratches, localized finish breakdown, or small dents—and you can control ongoing water exposure. Stop DIY and plan for board replacement (or a pro inspection) when you see persistent cupping, soft/degraded wood, repeated separation after patching, or boards that don’t sit flat due to underlying support issues.
If boards remain permanently deformed or feel soft after drying, replacement is usually more reliable than repeated filler cycles.
If water continues to wick into seams, any surface-only repair will likely fail again within a few seasons.
Also, skip DIY if:
– You can’t confidently address ongoing water intrusion (drips, splash, pooling, seepage through penetrations).
– The affected area is large enough that spot refinishing can’t blend cleanly with the surrounding aged finish.
– You suspect installation system issues (uneven substrate, failed under-support, incorrect fastening/adhesive method).
Quick Scan Checklist (Save This)
– [ ] Where does water land on the balcony during rain/splash?
– [ ] Are boards loose, warped, or soft to the touch?
– [ ] Is damage only in the finish, or in the wood shape?
– [ ] Did you dry and acclimate the area before repair?
– [ ] Are you using repair/floor finish materials compatible with outdoor/high-humidity use? (check labels/specs)
– [ ] Did you prep/clean so the filler/finish can bond properly?
– [ ] Are you able to blend sanding/refinishing so repairs don’t stand out?
Sources
– National Wood Flooring Association (NWFA) — climate control and dimensional stability guidance for wood flooring.
– USDA Forest Products Laboratory / Forest Service, Wood Handbook — wood properties fundamentals including hardness references.
If you remember one workflow for balcony hardwood repairs, make it this: stop water first, diagnose whether the substrate is compromised, then match the repair method to the defect. Follow that logic and you’ll avoid the most common repeat-failure cycle—pretty patches that can’t survive the next wet season.
Frequently Asked Questions
What are the most common causes of damage to hardwood floors on a balcony?
Balcony hardwood floors are often damaged by moisture intrusion from rain, condensation, and wet cleaning practices. Temperature swings can also cause cupping, gapping, or checking as the wood expands and contracts. Poor drainage, missing sealant, and improper installation over a balcony substrate can accelerate warping and finish failure.
How do you repair cupped or warped hardwood planks on a balcony?
Start by identifying the source of moisture—repair any leaks, improve drainage, and confirm the balcony surface is shedding water away from the floor. Once dry, you can assess whether boards can be re-leveled; minor cupping may improve after the area is completely dried under controlled conditions. If boards are severely warped or the fastening is compromised, replace affected planks and then re-seal hardwood flooring with a balcony-rated exterior finish.
How do you fix gaps, squeaks, or loose boards after balcony exposure?
Small gaps may be minimized by controlled acclimation and re-securing boards, but you should avoid forcing pieces together if moisture levels are unstable. For loose boards, reattach them using the correct fasteners for your installation method, and for squeaks, tighten or re-secure subfloor connections where accessible. After repairs, apply a high-quality hardwood floor sealant to help prevent water from getting under the planks again.
Which products are best for sealing and protecting repaired balcony hardwood floors?
Use a penetrating exterior wood sealer or a marine-grade polyurethane designed for outdoor conditions, especially if your balcony is exposed to rain or humidity. Choose products that are breathable or compatible with hardwood floor repair so trapped moisture doesn’t cause further damage. For best results, sand repaired areas smooth, remove dust thoroughly, and apply sealant in proper coats according to manufacturer instructions, including edges and joints.
Why should you replace severely damaged hardwood boards instead of patching them?
If planks are soft, splintering, or permanently warped beyond what sanding and re-leveling can correct, patching usually won’t restore structural stability or a durable finish. Damaged boards can also allow water to penetrate deeper, leading to recurring problems like mildew, continued cupping, and finish failure. Replacing affected hardwood floor boards and then sealing the surrounding area is often the most reliable way to keep balcony flooring durable.
📅 Last Updated: October 17, 2026 | Topic: How to repair hardwood floors in a balcony? | Content verified for accuracy and freshness.
References
- Wood flooring
- Floor sanding
- Refinishing
- Deck (building)
- https://www.fpl.fs.fed.us/documnts/fplgtr/fpl_gtr190.pdf
- https://www.epa.gov/lead/renovations-and-remodeling
- https://www.cdc.gov/lead/prevention/renovation_remodeling.htm
- https://scholar.google.com/scholar?q=how+to+repair+hardwood+floor+boards+patching+sanding+refinishing Google Scholar
- https://scholar.google.com/scholar?q=hardwood+flooring+moisture+damage+cupping+repair Google Scholar
- https://scholar.google.com/scholar?q=balcony+wood+decking+floor+moisture+movement+warping+repair+sealing Google Scholar