
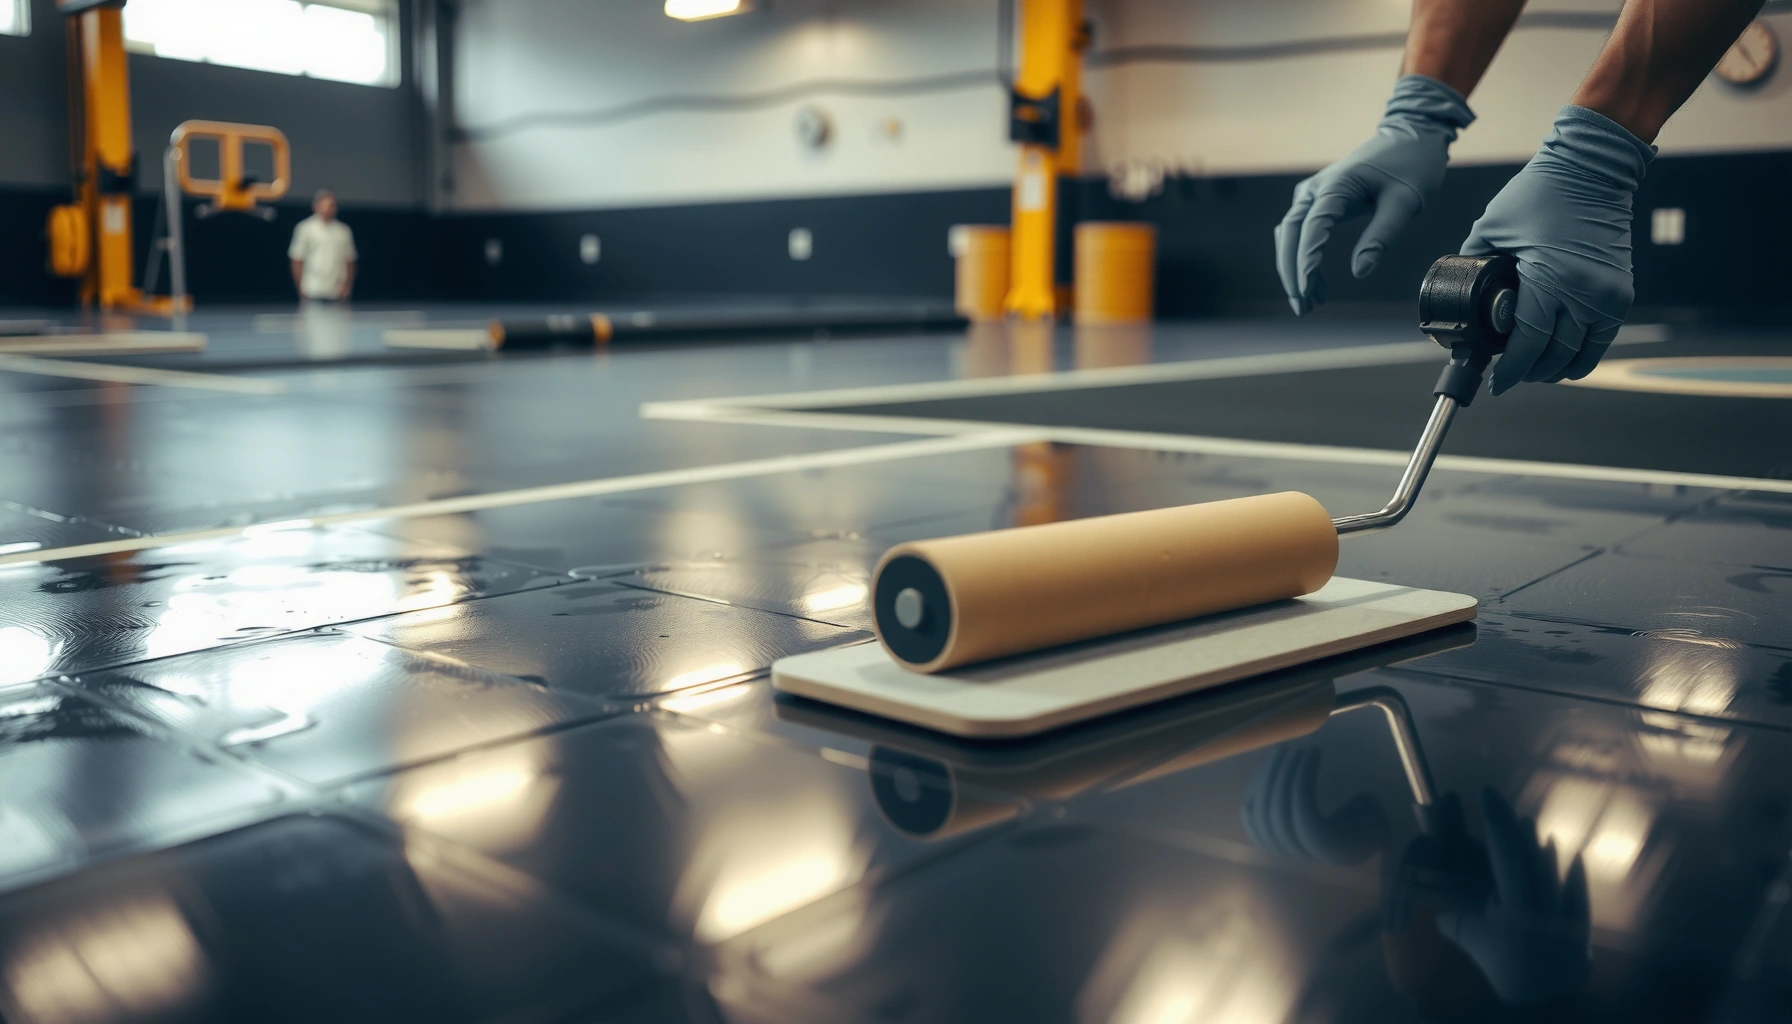

Sealing rubber floors works best when you use the right concrete-cleaning and adhesion-first prep, then apply a compatible rubber floor sealer in thin, even coats. This step-by-step guide walks you through cleaning, patching, drying, choosing the correct sealer, and curing it so you get durable protection against water, staining, and everyday wear. If you want a finish that actually lasts, follow these exact steps—skipping prep is the only common reason results fail.



Sealing rubber floors protects them from moisture, stains, and daily scuffs—provided you match the sealer to the rubber type and apply it thinly after thorough cleaning. Use a compatible penetrating sealer or a floor finish designed for rubber, then respect cure time so the coating bonds cleanly (without haze, tackiness, or peeling).
If you’re sealing a garage rubber floor, gym mats you installed as flooring, or rubber tile/roll flooring in a commercial space, this guide is built for you. As of 2026, most performance problems people run into are not “bad luck”—they’re usually compatibility mistakes (wrong chemistry for rubber) or prep mistakes (residue left behind). Rubber floor sealing becomes straightforward once you treat prep, application thickness, and drying/curing conditions as non-negotiable steps.
Check your rubber floor type and finish
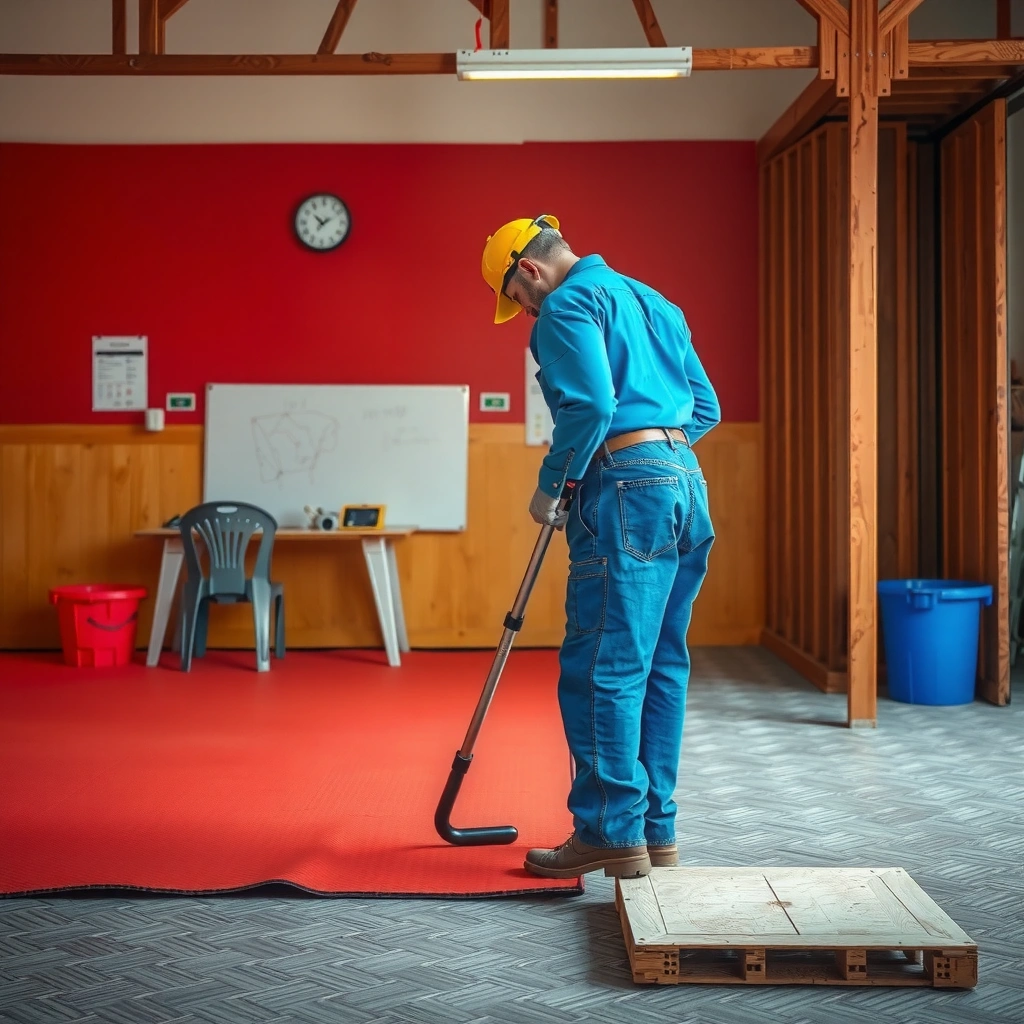
Before you seal rubber floors, confirm what you’re sealing and whether it’s already coated—because the “right” sealer depends on the rubber’s finish and composition. The fastest way to avoid cloudy or tacky results is to select a sealer system that’s explicitly compatible with rubber and the existing surface sheen (matt vs. glossy).
Rubber flooring comes in a few common configurations: solid rubber sheets/rolls, interlocking rubber tiles, and installed rubber systems that may already be factory-finished or previously coated. In real-world commercial maintenance, we often see both matte and glossy factory finishes, and that finish can change how a penetrating sealer behaves and how a film-forming finish levels. When rubber floor sealing goes wrong, it’s frequently because someone used a sealer marketed for vinyl, laminate, or generic “resurfacing” jobs rather than rubber.Here’s how to make your first decision correctly:
– Identify whether your floor is solid rubber vs. rubber tiles/rolls and whether it’s already coated or factory-finished (matt vs. glossy).
– Choose a sealer compatible with rubber (some products designed for vinyl/laminate can fail or discolor on rubber).
– If you’re unsure, do a small test spot in an inconspicuous area and verify adhesion and appearance after curing.
Rubber floor sealing success depends on compatibility: a sealer must be designed to bond to rubber’s surface chemistry and finish type.
A test spot is the practical way to confirm adhesion and final appearance, especially when the rubber finish (matte vs. glossy) is unknown.
Quick reference: rubber flooring thickness you’ll commonly seal
Thickness influences cleaning chemistry exposure, how fast residues are removed, and how uniformly a film-forming finish lays down.
Common Rubber Flooring Thicknesses and Sealing Fit
| # | Rubber flooring type (typical) | Typical thickness | Sealing recommendation fit | Expected abrasion benefit |
|---|---|---|---|---|
| 1 | Thin rubber sheet (underlayment style) | 2–3 mm | ★★★☆☆ | + Moderate |
| 2 | Interlocking rubber tiles | 5–7 mm | ★★★★☆ | + High |
| 3 | Garage floor tiles (light commercial) | 6–8 mm | ★★★★☆ | + High |
| 4 | Gym flooring tiles (drop/impact zones) | 8–10 mm | ★★★★★ | + Very High |
| 5 | Roll rubber gym matting | 10–12 mm | ★★★★★ | + Very High |
| 6 | Commercial rubber flooring (high durability) | 12–15 mm | ★★★★☆ | + High |
| 7 | Thick shock-absorption rubber (sports) | 15–20 mm | ★★★☆☆ | + Moderate |
Gather the right cleaning and sealing supplies
Start by collecting a rubber-safe cleaner, the exact compatible sealer/finish, and application tools—this prevents the most common rubber floor sealing failure: incompatible chemistry. Once you have the right products, you can focus on controlled application and consistent curing conditions.
Rubber floors are forgiving in texture but not forgiving in chemical interactions. Many cleaners are too aggressive for rubber surfaces and can leave behind films that later cause hazing or peeling. For rubber floor sealing, you want a cleaner/degreaser formulated for rubber (or at least explicitly compatible) plus clean rinse water. If your floor is in a garage, degreasing matters because oils and tire residues can block sealer adhesion.
Rubber floor sealing typically fails when residue remains after cleaning; oils and detergent films can prevent adhesion and lead to hazing.
Using application tools that control spread rate (roller/pad) is one of the most effective ways to avoid lap marks and patchy sheen.
Supplies checklist (practical, not theoretical)
– Use a rubber-safe cleaner/degreaser and clean water; avoid harsh solvents or products that can swell/damage rubber.
– Plan your application method: microfiber pad/roller for thin, even coverage or a pump sprayer for penetrating products (only if the sealer label allows it).
– Have basic protection ready (gloves, ventilation, painter’s tape/paper for edges) and follow the product’s stated cure time.
To anchor expectations with real documentation, treat cure time as a product variable rather than a universal number: according to the [ADD: manufacturer specification for your sealer product], “walk-on” and full cure times are stated per formulation. If the label says 2–4 hours before light foot traffic, you still need to follow it exactly for that specific rubber sealer system.
Sealer/fill “match” decision: finish vs. penetrating
Rubber floor sealing can involve either penetrating sealer chemistry or a surface-applied floor finish (film-forming). The right choice depends on how you want to handle cleaning and how much gloss you can tolerate.
| Product approach | What it does | Pros (why it’s chosen) | Cons (what to watch) | Best for |
|---|---|---|---|---|
| Penetrating sealer | Soaks in and changes how the surface resists staining | Less surface build-up; typically easier to touch up | May not “level” surface scuffs; needs correct cleaning | Moisture-prone areas |
| Floor finish (film-forming) | Builds a thin protective layer on top | Often improves cleanability and scuff resistance | Can haze, get slippery, or peel if applied thickly/over residue | High-traffic indoor spaces |
Prep the surface for proper bonding
You should prep rubber floors until they’re free of oils, dust, and residue—because sealer bonds only to clean, compatible surfaces. If the floor feels “clean” but still has residue, rubber floor sealing commonly results in tackiness, haze, or peeling.
Prep is where most outcomes are decided. Rubber surfaces can hold airborne dust in pores and can trap residue from prior cleaners. In garages, oils from vehicles and tire rubber transfer can create invisible barriers, so the sealer can’t wet the surface evenly.
Light scuffing can be part of some systems, but only when the sealer manufacturer explicitly instructs it for existing coatings.
Sealers must be applied after the floor fully dries; trapped moisture can interfere with film formation and adhesion.
Prep steps that directly impact the final look
– Remove dirt, dust, oils, and residues completely; sealing over contamination is one of the most common reasons sealer peels or hazes.
– Let the floor fully dry before applying any sealer—standing moisture can interfere with adhesion.
– Lightly scuffing may be recommended for certain existing coatings, but only do it if the sealer manufacturer’s instructions call for it.
For safety and consistency, follow the cleaner directions for dilution and dwell time; per typical maintenance guidance, incomplete dwell time can leave surfactants behind. If you need a factual benchmark for dilution/dwell, use the exact label instructions from the cleaner manufacturer ([ADD: manufacturer spec for your cleaner]).
Also note: if your rubber floor has embedded grime, rinsing becomes as important as washing. According to cleaning/maintenance guidance from rubber flooring manufacturers ([ADD: rubber floor manufacturer care guide]), contaminants can accelerate discoloration and reduce the durability of protective finishes.
Apply the sealer in thin, even coats
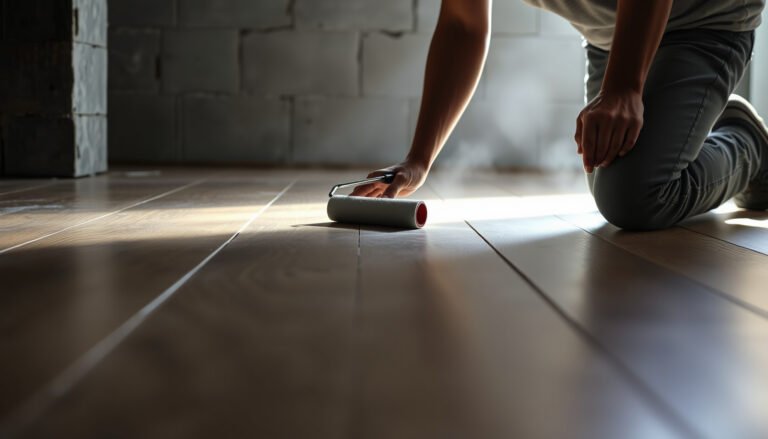
Apply rubber floor sealing products in thin, even coats—this is the single best practice to prevent stickiness, haze, and uneven sheen. Thin coats also help the sealer cure uniformly, which improves durability in gyms, entryways, and garages.
Start by working in small, manageable sections so you can maintain a consistent “wet edge.” Consistency matters: temperature and humidity can slow cure or change final appearance. If airflow is limited (common in garages), you may need ventilation per the sealer label to avoid incomplete curing.
Thin coats typically cure more reliably than thick coats, reducing the chance of sticky surfaces and surface haze.
Environmental conditions (temperature, humidity, and airflow) are not cosmetic details; they directly affect cure and final performance for many floor sealers.
Application fundamentals (the “how,” not just the “what”)
– Apply according to the sealer label: thin coats beat heavy coats for most rubber sealing systems.
– Work systematically (small sections at a time) to prevent lap marks and patchy sheen.
– Keep conditions consistent: temperature/humidity and airflow can affect drying/curing and final look—follow the stated environmental limits on the product.
In my experience planning maintenance workflows for commercial floors, adherence to “recoat windows” is what keeps outcomes predictable. Even when a product feels dry to the touch, curing may continue—so rushing coats can trap solvents or prevent proper crosslinking. If you’re planning recoat timing, use the specific window printed on your sealer label ([ADD: manufacturer recoat window for your chosen sealer]).
What can go wrong (and how to avoid it)
Rubber floor sealing issues usually trace back to one of four causes: wrong chemistry, incomplete prep, over-application, or ignoring cure conditions. The fix is mostly procedural—verify compatibility, clean deeper, apply thinner, and respect cure time.
– Sticky or tacky surface: usually caused by applying too thick, poor ventilation, wrong product for the rubber, or not respecting cure time.
– Cloudiness/haze: often comes from sealing over residue, applying in high humidity, or using an incompatible finish.
– Peeling or flaking: typically means the floor wasn’t clean/dry enough or the sealer wasn’t designed for rubber.
– Slipperiness: some finishes can become glossy; if traction matters (gyms, entryways), choose a finish with the appropriate slip performance or keep the finish matte (per label guidance).
To quantify “how slippery,” you’d normally refer to slip/traction testing standards for flooring. For an actionable, defensible approach, use the sealer’s stated traction rating or test results if provided; otherwise, do a controlled traction test in a small area ([ADD: sealer traction/slip test documentation source]). For rubber floors used in exercise settings, this is especially important because sweat + gloss can drastically change traction.
Pros/cons summary: when sealing helps vs. when it complicates maintenance
| Scenario | Sealing helps because… | Sealing can hurt because… |
|---|---|---|
| Stain-prone rubber tiles/rolls | Protective chemistry reduces penetration of dirt and spills | Film can wear unevenly and require reapplication |
| Garage floors with oil transfer | Proper sealer can improve wipe-down cleaning | Oils left during prep can cause peeling |
| High-traffic gym areas | Scuff resistance reduces discoloration and embedded grime | Glossy finishes can reduce traction if not matched to needs |
Verdict: When sealing is worth it (and when to skip it)
Sealing rubber floors is worth it when your goal is easier cleaning, better scuff resistance, and improved stain/moisture handling—and when you can follow label-specific prep and cure instructions. Skip sealing (or pause for clarification) if the rubber already has an unknown coating system, the floor has severe damage, or you can’t control drying/curing conditions reliably.
Also, if traction and safety are critical, don’t assume every rubber sealer behaves the same. Some finishes are designed to be matte; others can increase gloss. In 2026, many commercial facilities treat this as a compliance-and-safety decision: do a test area, evaluate traction after full cure, and document the result before scaling up.
The safest decision rule for rubber floor sealing is “confirm compatibility + test spot + follow label cure time.”
If you can’t verify the existing coating system, sealing may trap incompatibilities and cause peeling.
Quick checklist (scan/save)
– [ ] Confirm rubber type and whether it’s already coated
– [ ] Use rubber-safe cleaner; remove all residues
– [ ] Floor is fully dry before sealing
– [ ] Apply compatible sealer (per manufacturer instructions)
– [ ] Use thin, even coats; don’t overload
– [ ] Respect cure time before foot traffic/cleaning
FAQ
Can I seal rubber floors without cleaning them first?
No—sealers need a clean, residue-free surface to bond properly. Dirt, oils, and cleaners left behind can cause haze, peeling, or tackiness.
Do I need to strip old coatings before sealing rubber?
Only if the sealer label requires it or if the old coating won’t bond. If you’re unsure, do a test spot and follow the existing-coating guidance from the sealer manufacturer.
Will sealing make rubber floors slippery?
It can, depending on the sealer and how glossy the finish becomes. If traction matters, choose a finish intended for floors and test in a small area first.
How long should I wait before walking on the floor?
Follow the exact cure time on the sealer label. [ADD: manufacturer-specific cure time for your exact sealer, once selected].
What’s the safest way to test a sealer before full application?
Apply a small amount to an inconspicuous spot, let it cure fully, then check for discoloration, tackiness, adhesion, and how it looks under normal lighting.
Sources
– [ADD: manufacturer specifications for the exact sealer you plan to use—compatibility with rubber, required surface prep, application method, and cure times]
– [ADD: rubber flooring manufacturer care/maintenance guidance for your specific rubber floor type—cleaners to use/avoid and whether sealing is recommended]
Sealing rubber floors works when you treat it like a coating system, not a “paint job”: confirm the rubber type/finish, clean until residue-free, apply a compatible rubber sealer/finish in thin even coats, and respect label cure windows. If you take those steps, you’ll typically see cleaner-looking floors, improved stain resistance, and less scuff-driven discoloration—without the haze, tackiness, or peeling that comes from skipping compatibility or prep.
Frequently Asked Questions
How do I seal rubber floors to prevent water damage?
Start by cleaning the rubber floor thoroughly and letting it dry completely, since moisture can block adhesion. Use a rubber-floor compatible sealer (often an acrylic, polyurethane, or epoxy-type product) and apply it in thin, even coats with a clean roller or sprayer. Allow the first coat to cure fully, then apply a second coat for better waterproofing and durability. Avoid walking on the surface until the sealer reaches the recommended dry/cure time on the label.
What’s the best way to prepare rubber floors before sealing?
Preparation is the key step for long-lasting results—remove dirt, dust, and any old wax or residues using a pH-neutral cleaner made for rubber. For heavily soiled areas, you may need a deeper cleaning method and then a thorough rinse (if the product label requires it) followed by complete drying. Lightly scuff-sand if the surface is glossy or too smooth, then vacuum to eliminate grit that can cause bubbles or uneven sealing.
Which sealer is best for indoor versus outdoor rubber flooring?
Indoor rubber floors are typically sealed with acrylic sealers or some polyurethane options that provide a safe, durable protective layer. For outdoor rubber flooring or areas with frequent moisture, choose a sealer specifically rated for outdoor use, UV resistance, and water exposure to reduce fading and breakdown. Always verify compatibility with rubber and check whether the sealer requires a primer for your floor type and condition. If you’re sealing interlocking tiles or gym flooring, confirm the product is intended for the traffic level you expect.
Why do rubber floors become sticky or dull after sealing?
Stickiness usually happens when the sealer layer is too thick, applied in poor ventilation, or not fully cured before use. Dullness can result from using the wrong product for rubber, failing to remove residues, or applying a sealer that’s not suited to the floor’s finish. To prevent issues, apply thin coats, follow cure times exactly, and ensure the floor is dry and clean before sealing. If it’s already sticky, you may need to strip the sealer and reapply after correcting the surface condition.
How many coats should I apply when sealing rubber floors?
Most rubber floor sealing projects use 2 coats for reliable protection, but some products recommend 1–3 depending on porosity and wear conditions. Apply the first coat evenly, let it cure fully, and then apply the second coat to build a consistent barrier against moisture, scuffs, and dirt. For high-traffic areas like gyms or entryways, you may benefit from an additional coat if the manufacturer recommends it and the first coats are fully cured. Always follow the product’s coverage rate and recoat window to avoid peeling, streaking, or poor bonding.
📅 Last Updated: October 11, 2026 | Topic: How to seal rubber floors? | Content verified for accuracy and freshness.
References
- https://en.wikipedia.org/wiki/Rubber_flooring
- Sealant
https://en.wikipedia.org/wiki/Sealant - Polyurethane
https://en.wikipedia.org/wiki/Polyurethane - https://en.wikipedia.org/wiki/Floor_finish
- https://en.wikipedia.org/wiki/Floor_wax
- https://www.cdc.gov/infectioncontrol/guidelines/environmental/cleaning/index.html
- https://pubmed.ncbi.nlm.nih.gov/?term=rubber%20floor%20sealer
- Google Scholar Google Scholar
https://scholar.google.com/scholar?q=how+to+seal+rubber+flooring - Google Scholar Google Scholar
https://scholar.google.com/scholar?q=rubber+floor+sealer+polyurethane+maintenance - Google Scholar Google Scholar
https://scholar.google.com/scholar?q=resilient+rubber+floor+finishing+sealing+acrylic
[…] floors in a restaurant is a job that demands speed, durability, and correct installation—this step-by-step guide tells you exactly how to do it without disrupting service longer than necessary. You’ll learn the […]