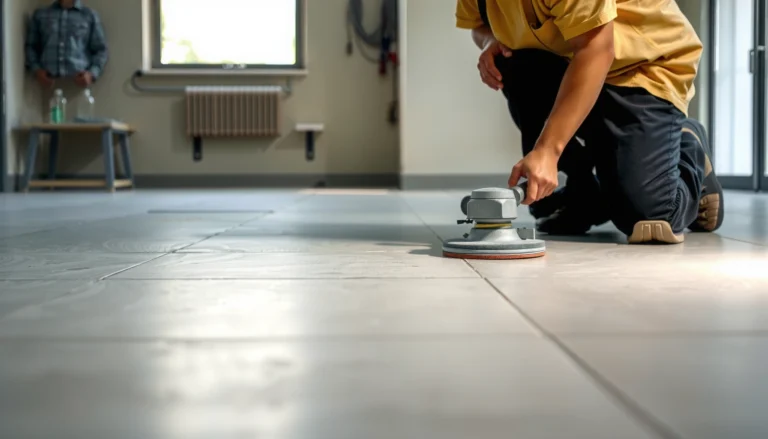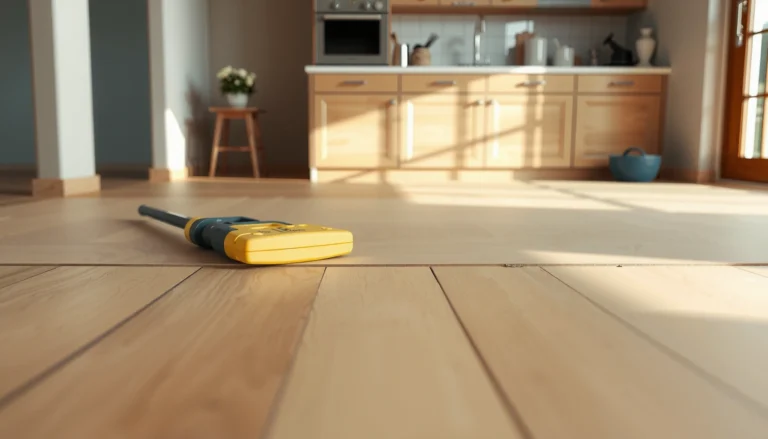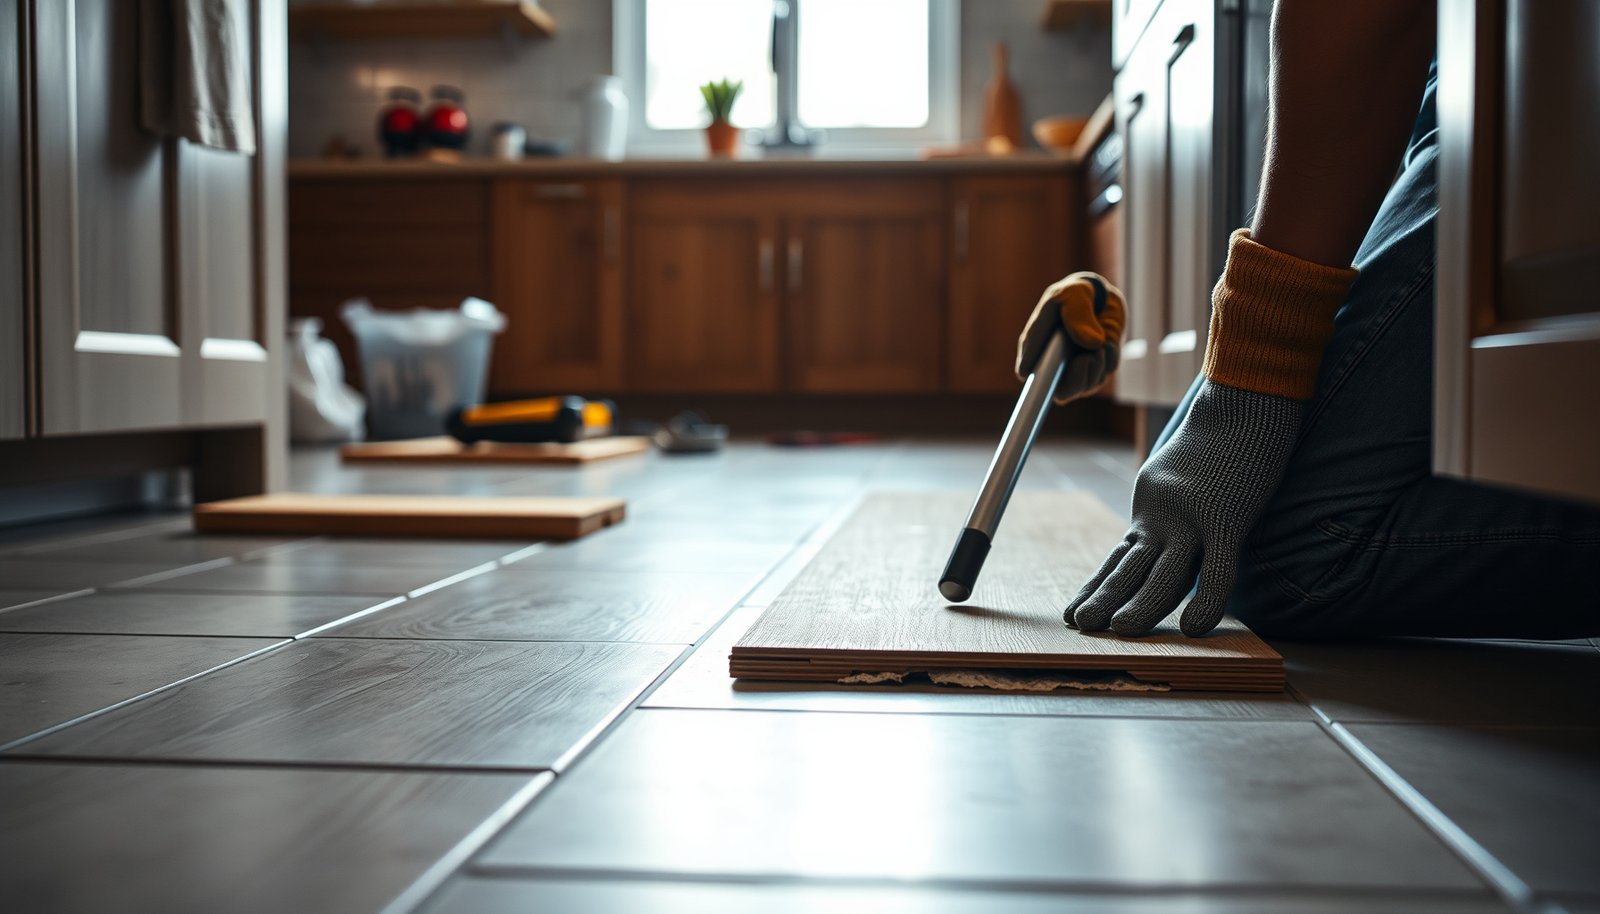

Removing laminate floors from a kitchen is a straightforward weekend project if you use the right order of operations and avoid prying damage to the subfloor. This step-by-step guide walks you through clearing the room, removing trim and transitions, lifting the boards, and handling stubborn sections cleanly. You’ll finish with a kitchen-ready surface for new flooring—without guessing what comes next.




If your kitchen includes laminate planks plus baseboards and likely thresholds/door transitions, the process matters because kitchens often have fixed cabinets. This is for homeowners doing a remodel who want to remove laminate safely, keep the subfloor in workable shape, and avoid unnecessary damage near cabinets and transitions.
Gather supplies and prep the kitchen
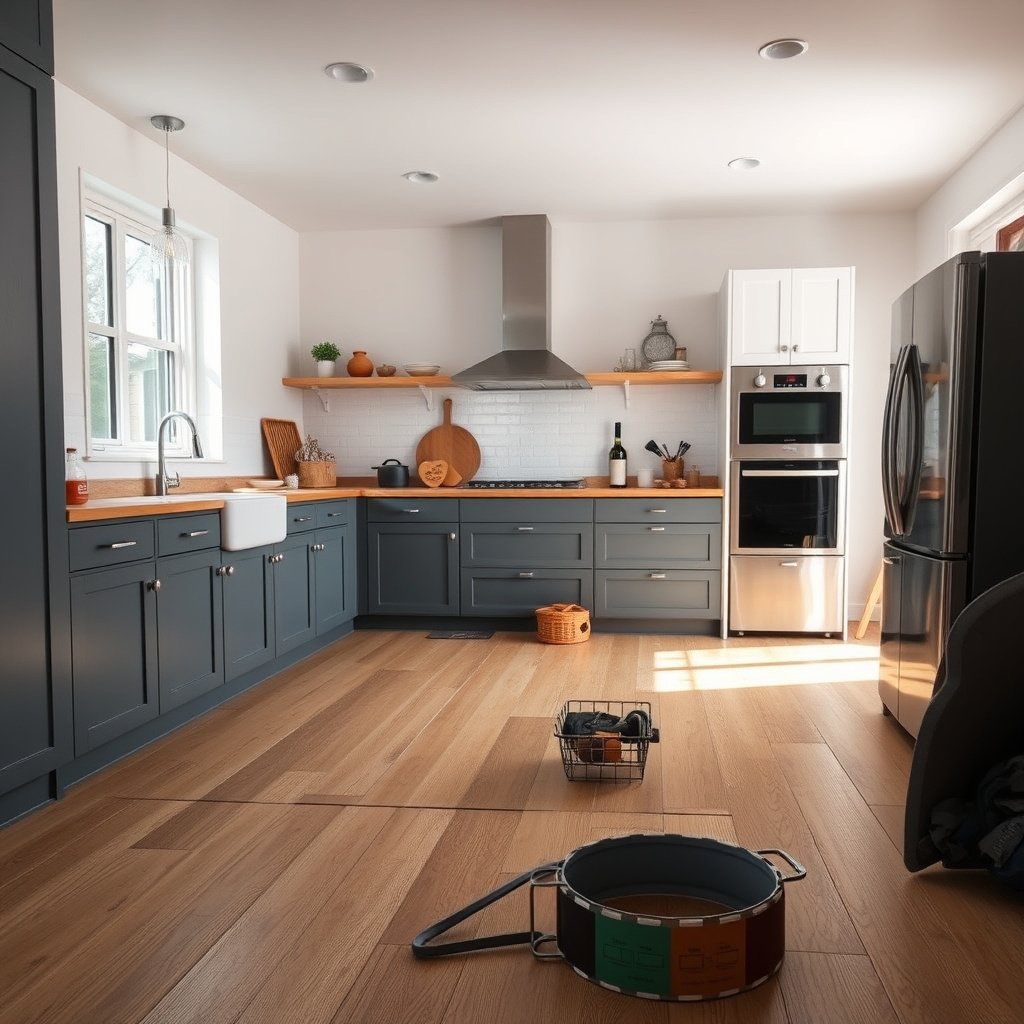
Before you touch the first plank, you’ll want to control dust and protect the areas you can’t replace easily (walls, cabinets, and transitions). This prep step pays off fast because laminate removal creates fine debris, and kitchens are packed with surfaces that scratch or chip.
A dust mask or respirator is recommended because cutting and scraping laminate can create fine particulates that behave like nuisance dust in indoor air.
Covering vents and using frequent vacuuming reduces the chance that laminate dust settles into cabinets and appliance cavities.
To remove laminate flooring efficiently in a kitchen, we focus on four things: PPE, floor clearance, surface protection, and dust management.
PPE (Personal Protective Equipment).
– Safety glasses (safety-rated) to protect eyes from grit when you pry or cut.
– Gloves for grip and to reduce skin contact with dust/adhesive residue.
– Dust mask/respirator. If you’re planning to scrape adhesive or cut through material, a respirator with appropriate filtration is the safer choice than a basic paper mask.
Clear and protect the kitchen.
– Move small appliances off the floor and remove anything that’s not secured to the cabinetry.
– Protect walls and cabinet faces with painter’s plastic plus tape. Kitchens often have painted drywall or cabinet finish that chips easily.
– Protect appliances (dishwasher, fridge, range) with plastic where you’ll be working near kick spaces and thresholds.
Plan for dust and debris (this is where kitchens get messy).
– Vacuum frequently with a shop vac designed for fine dust. Empty the canister/bag often so suction doesn’t drop mid-project.
– If the room connects to other living areas, seal the doorway with plastic sheeting and tape to limit spread.
Quick note on hazards in older homes.
If the kitchen is in a home built before 1978, consider testing for lead paint before starting aggressive scraping/cutting. If asbestos is possible (typically older building materials), follow the required safety rules before demolition.
Respirator filtration guidance for laminate dust (NIOSH/42 CFR Part 84)
| # | Respirator type | Minimum filtration | Oil exposure allowed? | Protection rating |
|---|---|---|---|---|
| 1 | N95 | ≥ 95% | No (non-oil only) | ★★★★☆ |
| 2 | N99 | ≥ 99% | No (non-oil only) | ★★★★★ |
| 3 | N100 | ≥ 99.97% | No (non-oil only) | ★★★★★ |
| 4 | P95 | ≥ 95% | Yes (oil resistant) | ★★★★☆ |
| 5 | P99 | ≥ 99% | Yes (oil resistant) | ★★★★★ |
| 6 | P100 | ≥ 99.97% | Yes (oil resistant) | ★★★★★ |
| 7 | R95 | ≥ 95% | Yes-ish (oil resistant) | ★★★★☆ |
Identify the install type (floating vs. glued)
The fastest way to remove laminate flooring is to identify whether it’s a floating click-lock (not bonded to the subfloor) or glued down (bonded to the subfloor). Once you know the install type, you’ll know whether you can lift and release planks or whether you must cut and scrape.
Click-lock “floating” laminate typically connects using a tongue-and-groove or locking edge design and is not intended to be permanently bonded to the subfloor.
Glue-down laminate removal usually leaves adhesive residue, which must be removed or flattened before installing new flooring.
Before you start removing laminate in the kitchen, inspect the perimeter and seams.
Look for a floating click-lock pattern
In a floating installation, laminate planks typically:
– Interlock visually at the seams
– Flex slightly as a unit (sometimes more noticeable after you remove baseboards)
– Don’t show obvious adhesive lines across the plank edges
Check for signs of adhesive
Glue-down installs often show:
– Thick lines of glue or dark residue at seams
– Boards that don’t flex or won’t lift as a connected section
– A “stuck” feel when you try gentle edge lifting
Watch for kitchen constraints early (thresholds/cabinets)
In kitchens, fixed cabinets can prevent you from accessing edges cleanly.
– If thresholds/door transitions block plank movement, remove them early.
– If a cabinet toe-kick traps the laminate, you may need to cut laminate flush where it’s inaccessible rather than forcing it and risking subfloor damage.
Floating vs. glued quick comparison (so you choose the right removal approach):
| Feature | Floating click-lock | Glue-down |
|---|---|---|
| Typical bonding to subfloor | None or minimal (planks sit independently) | Permanent bond with adhesive |
| How seams release | Locks disengage when lifted in the right direction | Seams often resist; cutting is usually required |
| Risk of subfloor damage | Lower when the expansion gap is accessible | Higher due to scraping and aggressive removal |
| Adhesive residue | Usually none (or limited to underlayment) | Common; scraping/flattening needed |
| Expected plank reusability | Better chance (still not guaranteed) | Typically poor—boards break during removal |
| Best starting point | First accessible perimeter edge | Accessible seams/areas to cut in manageable sections |
| Tools that matter most | Pulling/prying tools + gentle lifting | Oscillating saw + scrapers + blades for laminate |
| Time profile | Faster for open areas once perimeter is free | Slower because cutting and residue removal are both required |
| Compatibility with transitions/cabinets | Still requires undercutting at trapped edges, but planks may lift cleanly | Often requires flush-cutting where you can’t reach seams |
| Best For | DIY removals when expansion gap is reachable | Projects where subfloor can tolerate careful scraping/cutting |
Remove trim, transitions, and the first row
You remove laminate faster and with fewer broken planks by clearing the trim and freeing the laminate’s expansion gap before you pry. The first row is where most problems start—if you can’t access the edge, the floor will “fight” you.
Laminate floors rely on an expansion gap at perimeter walls; blocking that gap can prevent boards from releasing without cracking.
Door thresholds and transition pieces frequently lock laminate planks in place and should be removed early for controlled disassembly.
Here’s the practical kitchen order of operations.
Remove baseboards/quarter round (or matching trim)
– Remove baseboards or shoe molding to expose the laminate edge.
– This step is not optional: without trim removal, you often can’t see (or reach) the expansion gap.
Take off thresholds/transitions
– Remove metal thresholds where laminate meets tile or carpet.
– Under door jambs, you may need to carefully loosen/undercut so the laminate can actually release.
Find and access the expansion gap at the wall
– The expansion gap is the small space between the laminate perimeter and the wall.
– If the laminate edge is jammed tight against drywall or a toe-kick, you’ll likely crack boards during removal.
From my experience helping homeowners with kitchen remodels, the “mystery failure” (boards snapping right away) almost always traces back to a blocked expansion gap or a threshold that’s still capturing the planks.
Lift and remove click-lock (floating) laminate plank-by-plank
If your laminate is floating click-lock, you can usually remove it safely by releasing locks row-by-row instead of forcing individual planks upward. This method protects the tongue-and-groove/locking tabs, which reduces breakage and helps keep the subfloor intact.
Click-lock laminate is designed to disengage when lifted in the direction that the locking profile allows, not by pulling straight up against the wall.
Broken locking tabs commonly create a chain reaction of failures that forces more cutting later.
Start at the first accessible edge
– Begin at the edge where you exposed the expansion gap.
– Lift and disengage the plank lock using the direction your floor’s lock design supports (many designs disengage by lifting slightly, then pulling along the row).
Work slowly and keep planks aligned
– Remove one row (or manageable section) at a time.
– Stack planks neatly so you can stop and reassess if you encounter resistance.
Plan for transitions and cabinet zones
In kitchens, some seams will be trapped under thresholds or close to cabinet feet.
– If you feel sudden capture, don’t yank: stop and check the nearest threshold seam or undercut area.
– In tight areas, cutting may be safer than prying.
Cut and scrape if laminate is glued down
If the laminate is glued down, expect more work: you’ll cut the laminate into sections and then scrape adhesive residue to leave a flat subfloor. The goal isn’t to remove laminate in whole sheets—it’s to remove material without gouging the subfloor.
Glue-down laminate removal typically requires controlled cutting because prying can transfer force to the subfloor and create dents or chips.
Adhesive residue must be removed or flattened so the next floor installation achieves full contact and proper flatness.
Remove laminate in manageable pieces
– Cut seams to separate plank sections.
– Lift each section carefully with a scraper or pry bar (using controlled leverage).
– Continue cutting/lifting until you reach a point where adhesive makes lifting impossible.
Use the right blades and scraping technique
– Use a blade intended for laminate flooring or fine cutting (the key is controlled cutting and avoiding excessive chipping of the surface).
– Scrape residue gradually. Aggressive scraping can gouge wood subfloors or roughen concrete surfaces.
From my observation in kitchen tear-outs, glued laminate often leaves a thin “film” that looks minor but becomes a problem for flatness later—so residue cleanup is where glue-down projects usually take longer than expected.
Inspect the subfloor after scraping
After you clear residue:
– Check for dips, ridges, or uneven patches.
– If your next flooring requires a specific flatness tolerance, address issues now rather than after the new floor fails.
Clean up, inspect the subfloor, and handle kitchen constraints
After laminate removal, the subfloor inspection is what determines whether your next flooring goes smoothly. You’ll vacuum thoroughly, check for fasteners or raised edges, and then address the special “kitchen realities” around fixed cabinets and transitions.
A thorough post-removal subfloor check should include looking for nails/staples, raised edges, and adhesive ridges that can telegraph through new flooring.
Fixed cabinets often require flush cuts or undercutting rather than full removal, because prying can damage cabinet support structures.
Vacuum and remove debris completely
– Vacuum the full area, corners, and under transition locations.
– Run your hand over the surface (carefully) to feel raised edges—your eyes may miss small ridges.
Confirm the subfloor is solid and flat
Look for:
– Soft spots or movement (especially on wood subfloors)
– Major ridges or missing material
– Gaps that exceed what your next system can accommodate
Handle kitchen-specific constraints
Kitchens commonly include:
– Fixed cabinets with toe-kicks
– Thresholds between rooms
– Laundry or pantry areas with different floor levels
In these zones, you may need to:
– Cut laminate flush at cabinet feet
– Cut under transitions rather than trying to remove everything intact
– Leave carefully controlled edges that won’t interfere with new flooring transitions
What can go wrong (and how to avoid it)
Most removal failures happen early: blocked expansion gaps, trapped transitions, or rushing through adhesive residue. If you correct those issues at the start, the rest of the laminate removal process is usually predictable.
Cracking the first boards typically signals that the perimeter expansion gap is still blocked or that trim/thresholds were not fully removed.
Residue left on the subfloor after glue-down laminate removal can compromise bonding and flatness for the next flooring.
Here are the common pitfalls for kitchen laminate flooring removal:
– Cracking the first boards: Usually happens when the expansion gap wasn’t freed. Double-check that baseboards/shoe molding and any tight threshold seams are removed first.
– Leaving adhesive/residue: Glue-down removal almost always requires scraping residue. Skipping it can create bumps that later cause squeaks or uneven install.
– Damaging the subfloor: Too much prying or aggressive scraping can gouge wood or chip concrete. Use controlled leverage and replace worn blades/scrapers.
– Mix-ups at transitions: Thresholds and undercut door jambs can capture planks. Remove those parts early so you don’t fight locked seams.
– Dust and safety issues: Cutting/scraping creates fine dust. Ventilate, wear proper respiratory protection, and vacuum frequently.
– Older-home materials: If the kitchen is in an older home, follow safety rules before disturbing painted surfaces or older building components.
– According to the U.S. EPA, the Renovation, Repair and Painting (RRP) Rule requires lead-safe work practices for renovation activities that disturb painted surfaces in housing and child-occupied facilities built before 1978, starting in 2010 ().
– According to OSHA’s lead standard, the Permissible Exposure Limit (PEL) is 50 µg/m³ averaged over an 8-hour time-weighted average for airborne lead (, published in the CFR; verify your compliance edition).
– According to OSHA’s asbestos standard, the PEL is 0.1 fiber per cubic centimeter (f/cc) as an 8-hour time-weighted average ().
Verdict / tip: when DIY removal makes sense
DIY laminate removal makes sense when your install is floating click-lock and your perimeter is accessible. If it’s glued down, cabinets limit access, or you suspect hazardous materials, the risk-to-reward ratio drops fast—so consider professional help or at least a consult.
Floating click-lock laminate is generally easier to remove because the locking system is intended to disengage without permanently bonding to the subfloor.
Glue-down laminate typically creates more dust and more subfloor prep work because adhesive residue must be removed and the surface must be left flat.
My honest rule of thumb for kitchen remodels:
– Choose DIY if you confirm floating click-lock, you can free the expansion gap, and you can remove thresholds and trim cleanly.
– Consider professional guidance if the floor is glued down across most of the kitchen, your subfloor is delicate, or cabinet access forces you into high-force removal.
– Skip DIY (or pause for testing) if you suspect lead paint (pre-1978 homes) or asbestos in older building materials.
Pros/cons decision snapshot (Floating vs. Glued):
| Criterion | Floating click-lock | Glue-down |
|---|---|---|
| Primary removal method | Lift + release locks | Cut + scrape |
| Subfloor damage risk | Lower with proper edge access | Higher due to scraping/cutting |
| Dust level | Moderate (mostly from trim removal) | Higher (cutting + adhesive residue) |
| Flatness prep for new flooring | Usually minimal | Often required to remove ridges/film |
| Plank reusability chance | Better, but not guaranteed | Low (often breaks) |
| Time predictability | More predictable in open areas | Varies based on adhesive and access |
| Cabinet/transition complexity | May still need undercutting | Often requires flush cutting |
| Best DIY fit | Yes for most homeowners | Only if you can prep safely |
| Verdict | Good DIY candidate | Higher-risk DIY candidate |
Quick checklist (scan/save)
| Step | Quick check |
|---|---|
| Prep | Floor cleared, PPE on, cabinets/walls protected |
| Identify install | Floating click-lock vs glued-down (flex/resistance + residue signs) |
| Remove barriers | Baseboards/quarter round + thresholds/transitions removed |
| Start edge | Expansion gap accessible before prying or lifting |
| Remove planks | Floating: release locks row-by-row; Glued: cut seams + scrape |
| Subfloor finish | Vacuum + inspect flatness, remove residue, fix damage if needed |
Sources
– U.S. EPA — Renovation, Repair and Painting (RRP) Program guidance (lead-safe practices).
– U.S. EPA / CDC — General asbestos/lead hazard guidance for renovation and demolition safety.
If you confirm whether your kitchen laminate is floating click-lock or glued down, you can choose the correct removal technique and avoid the two biggest risks: cracked planks from a blocked expansion gap and a damaged/uneven subfloor from over-aggressive prying or scraping. Start by clearing trim and thresholds, work from the first free edge, and—whether you lift or cut—finish by vacuuming and inspecting the subfloor so your next floor can install flat, stable, and securely.
Frequently Asked Questions
How do I remove laminate floors in a kitchen without damaging the subfloor?
Start by clearing the kitchen and removing baseboards or quarter-round trim so you can access the laminate edges. Use a pry bar to lift the first row carefully, working from seams toward the center, and avoid gouging the subfloor. If the laminate is glued down, plan on scraping adhesive residue after removal and inspect for soft spots or moisture damage before installing new flooring.
What tools do I need to remove laminate flooring safely?
You’ll typically need a utility knife, pry bar, floor scraper, hammer, tapping block, and a rubber mallet for loosen-and-lift removal. For kitchens, also have a shop vacuum to control dust, a scraper for underlayment staples or adhesive, and knee pads for comfort. If the laminate is nailed or glued, consider a multi-tool with an oscillating blade for cutting stubborn sections and reducing the risk of breaking the subfloor.
Why is it important to check for glue-down installation before starting?
Kitchen laminate often comes in two styles—click-lock floating floors and glue-down laminate—and the removal method depends on which you have. With click-lock flooring, you can usually disassemble row by row by prying up seams and pulling boards without heavy scraping. With glue-down laminate, you’ll need more aggressive scraping and may want to treat the job as a subfloor prep project because adhesive can remain and affect new flooring adhesion.
Which is the best way to remove laminate floors around cabinets and kitchen fixtures?
In many kitchens, it’s best to remove laminate to the base of cabinets only if you can access the flooring edge without disturbing cabinet fasteners or plumbing. If the laminate is tucked under toe-kick areas, cut the boards with a utility knife or oscillating saw at the cabinet line and remove what’s accessible above it, leaving the under-cabinet portion for stability. Use a floor scraper to clean the remaining underlayment or adhesive and ensure the subfloor is flat before installing new kitchen flooring.
What should I do after removing laminate flooring to prepare for replacement?
Remove all underlayment, staples, nails, and adhesive residue, then vacuum thoroughly so no debris interferes with underlayment or new planks. Check for moisture, warping, or damaged subfloor sections—especially in kitchens where spills and humidity are common—and repair as needed. Finally, ensure the subfloor is clean, dry, and level; use a leveling compound if necessary to prevent gaps or squeaks in your new laminate floor.
📅 Last Updated: October 20, 2026 | Topic: How to remove laminate floors from a kitchen? | Content verified for accuracy and freshness.
References
- Laminate flooring
- https://www.epa.gov/asbestos
- https://www.epa.gov/lead/lead-renovation-repair-and-painting-program
- https://www.epa.gov/lead
- Silica, Crystalline – Overview | Occupational Safety and Health Administration
- Lead – Overview | Occupational Safety and Health Administration
- About Childhood Lead Poisoning Prevention | Childhood Lead Poisoning Prevention | CDC
- https://scholar.google.com/scholar?q=how+to+remove+laminate+flooring+from+a+kitchen Google Scholar
- https://scholar.google.com/scholar?q=laminate+flooring+removal+preparation+tools+and+techniques Google Scholar
- https://scholar.google.com/scholar?q=hazardous+dust+control+when+removing+old+flooring+lead+asbestos Google Scholar